Materials:
- Red Heart Super Saver in white, black, red, cream, brown, grey and light grey
- Darning needle
- Size 3.5mm hook
- Scissors
- Stuffing
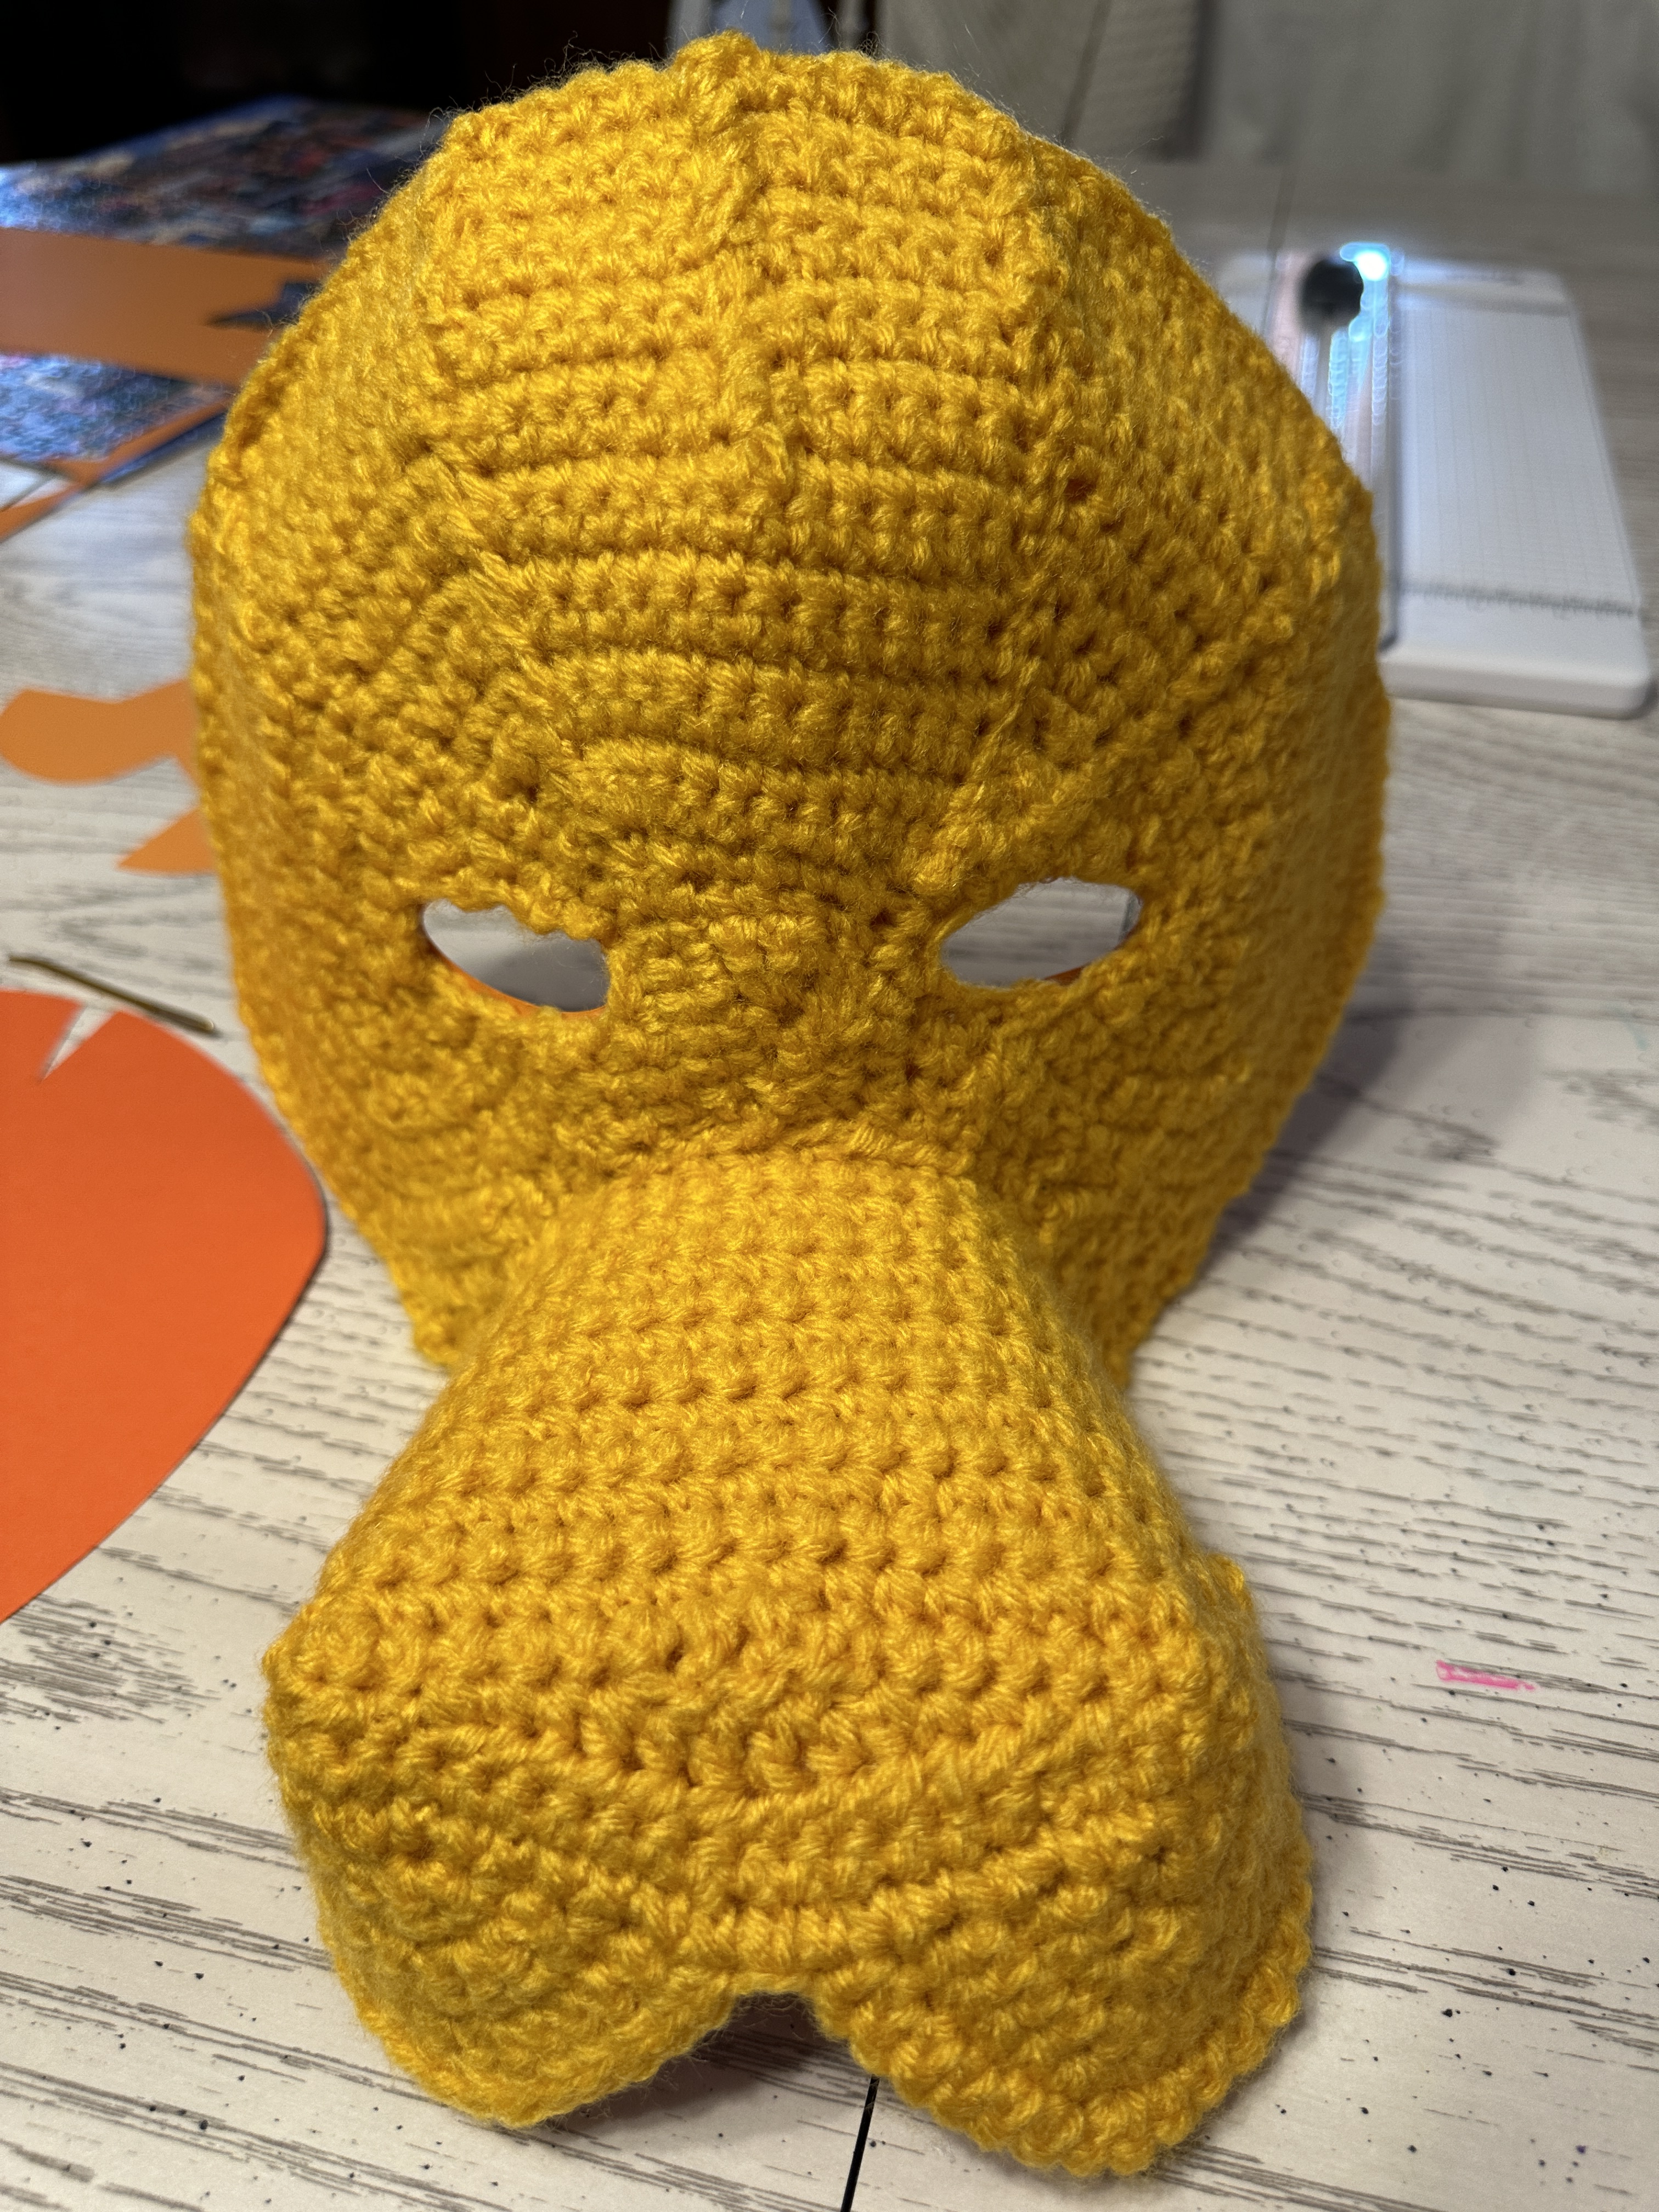
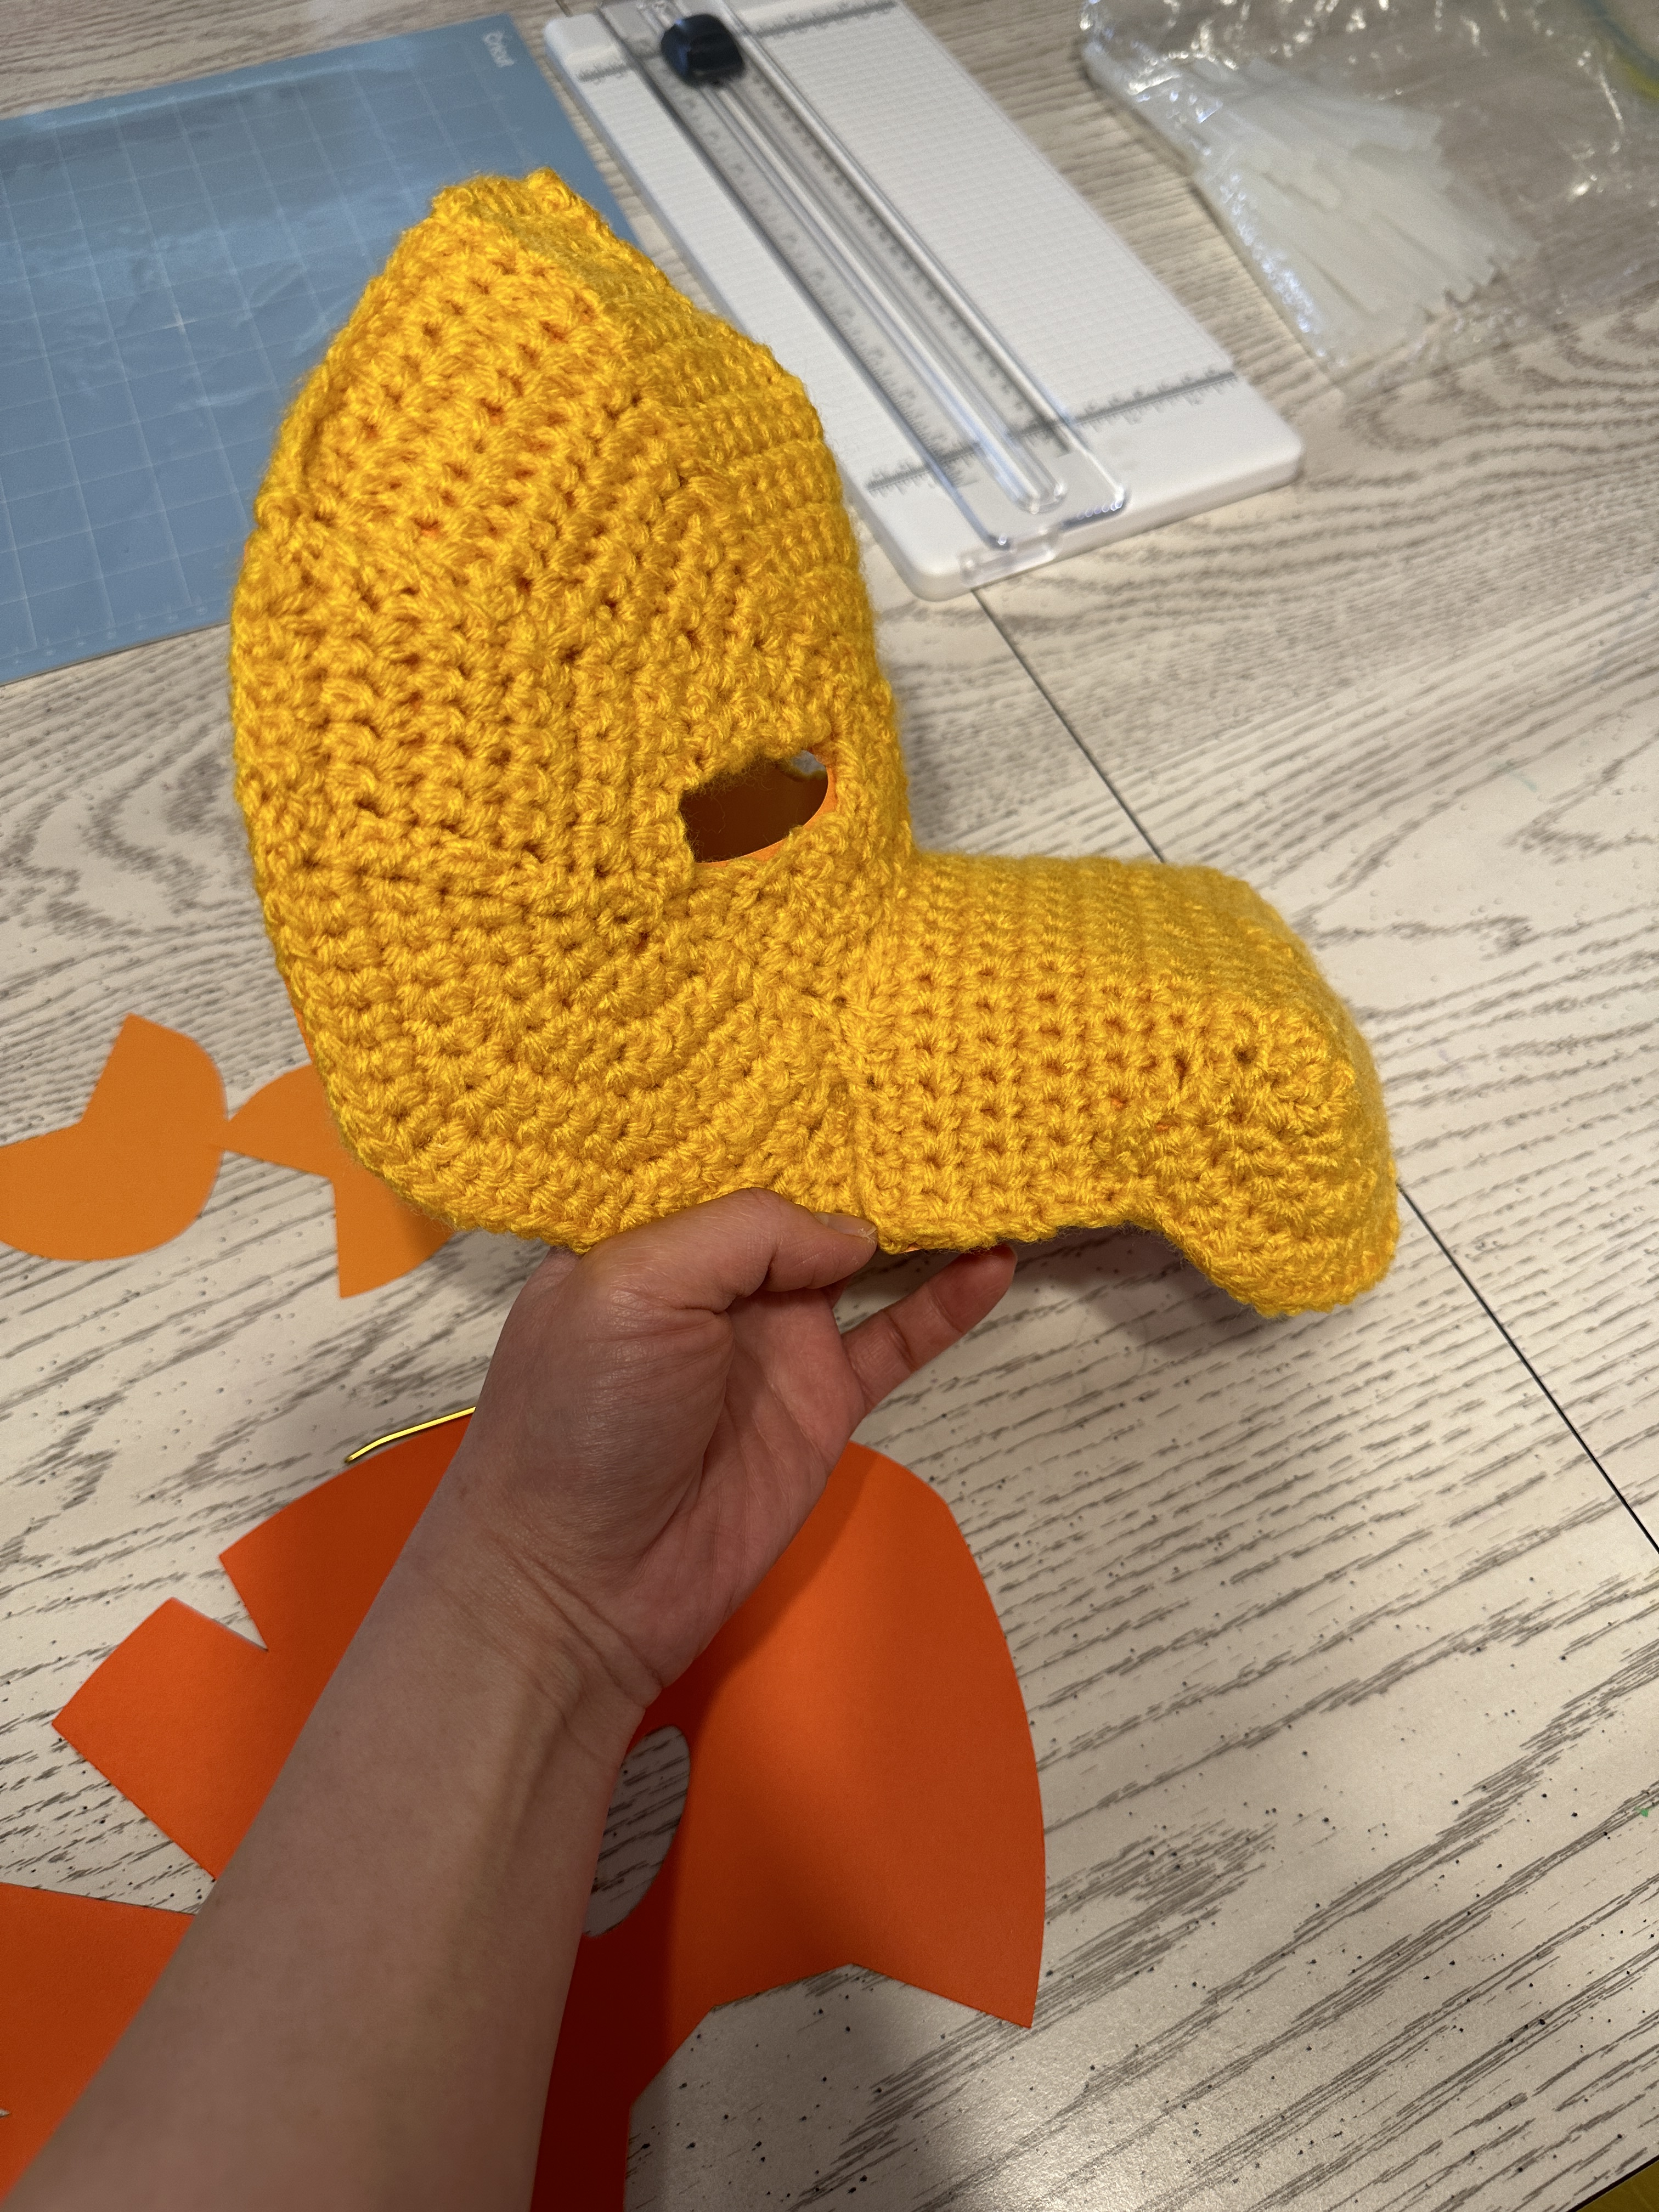
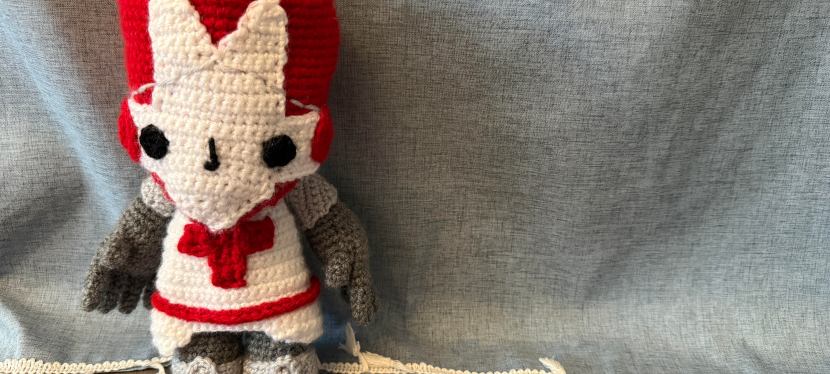
Helmet:
Rnd 1. With red color.
Rnd 2. Inc x 6. (12)
Rnd 3. (1sc. Inc.) x 6. (18)
Rnd 4. (2sc. Inc.) x 6. (24)
Rnd 5. (3sc. Inc.) x 6. (30)
Rnd 6. (4sc. Inc.) x 6. (36)
Rnd 7. (5sc. Inc.) x 6. (42)
Rnd 8. (6sc. Inc.) x 6. (48)
Rnd 9. (7sc. Inc.) x 6. (54)
Rnd 10. (8sc. Inc.) x 6. (60)
Rnd 11-27. 60sc. (60)
FO.
White face on helmet:
Row 1. Chain 2.
Row 2. 3sc in sc starting in the second chain from the hook. (3)
Row 3. Inc x 3. (6)
Row 4. Chain 1. Turn. 6sc. (6)
Row 5. (1sc. Inc.) x 3. (9)
Row 6. (2sc. Inc.) x 3. (12)
Row 7-12. Chain 1. Turn. 12sc. (12)
Follow the video for the rest of the white face.
Sew this part onto the helmet.
Eyes (Make 4):
Rnd 1. Use black color. 6sc in magic circle. (6)
FO. Sew onto the face. You can embroider white dots in the eyes if you want but this is optional. This pattern is for the eyes for the helmet and the face.
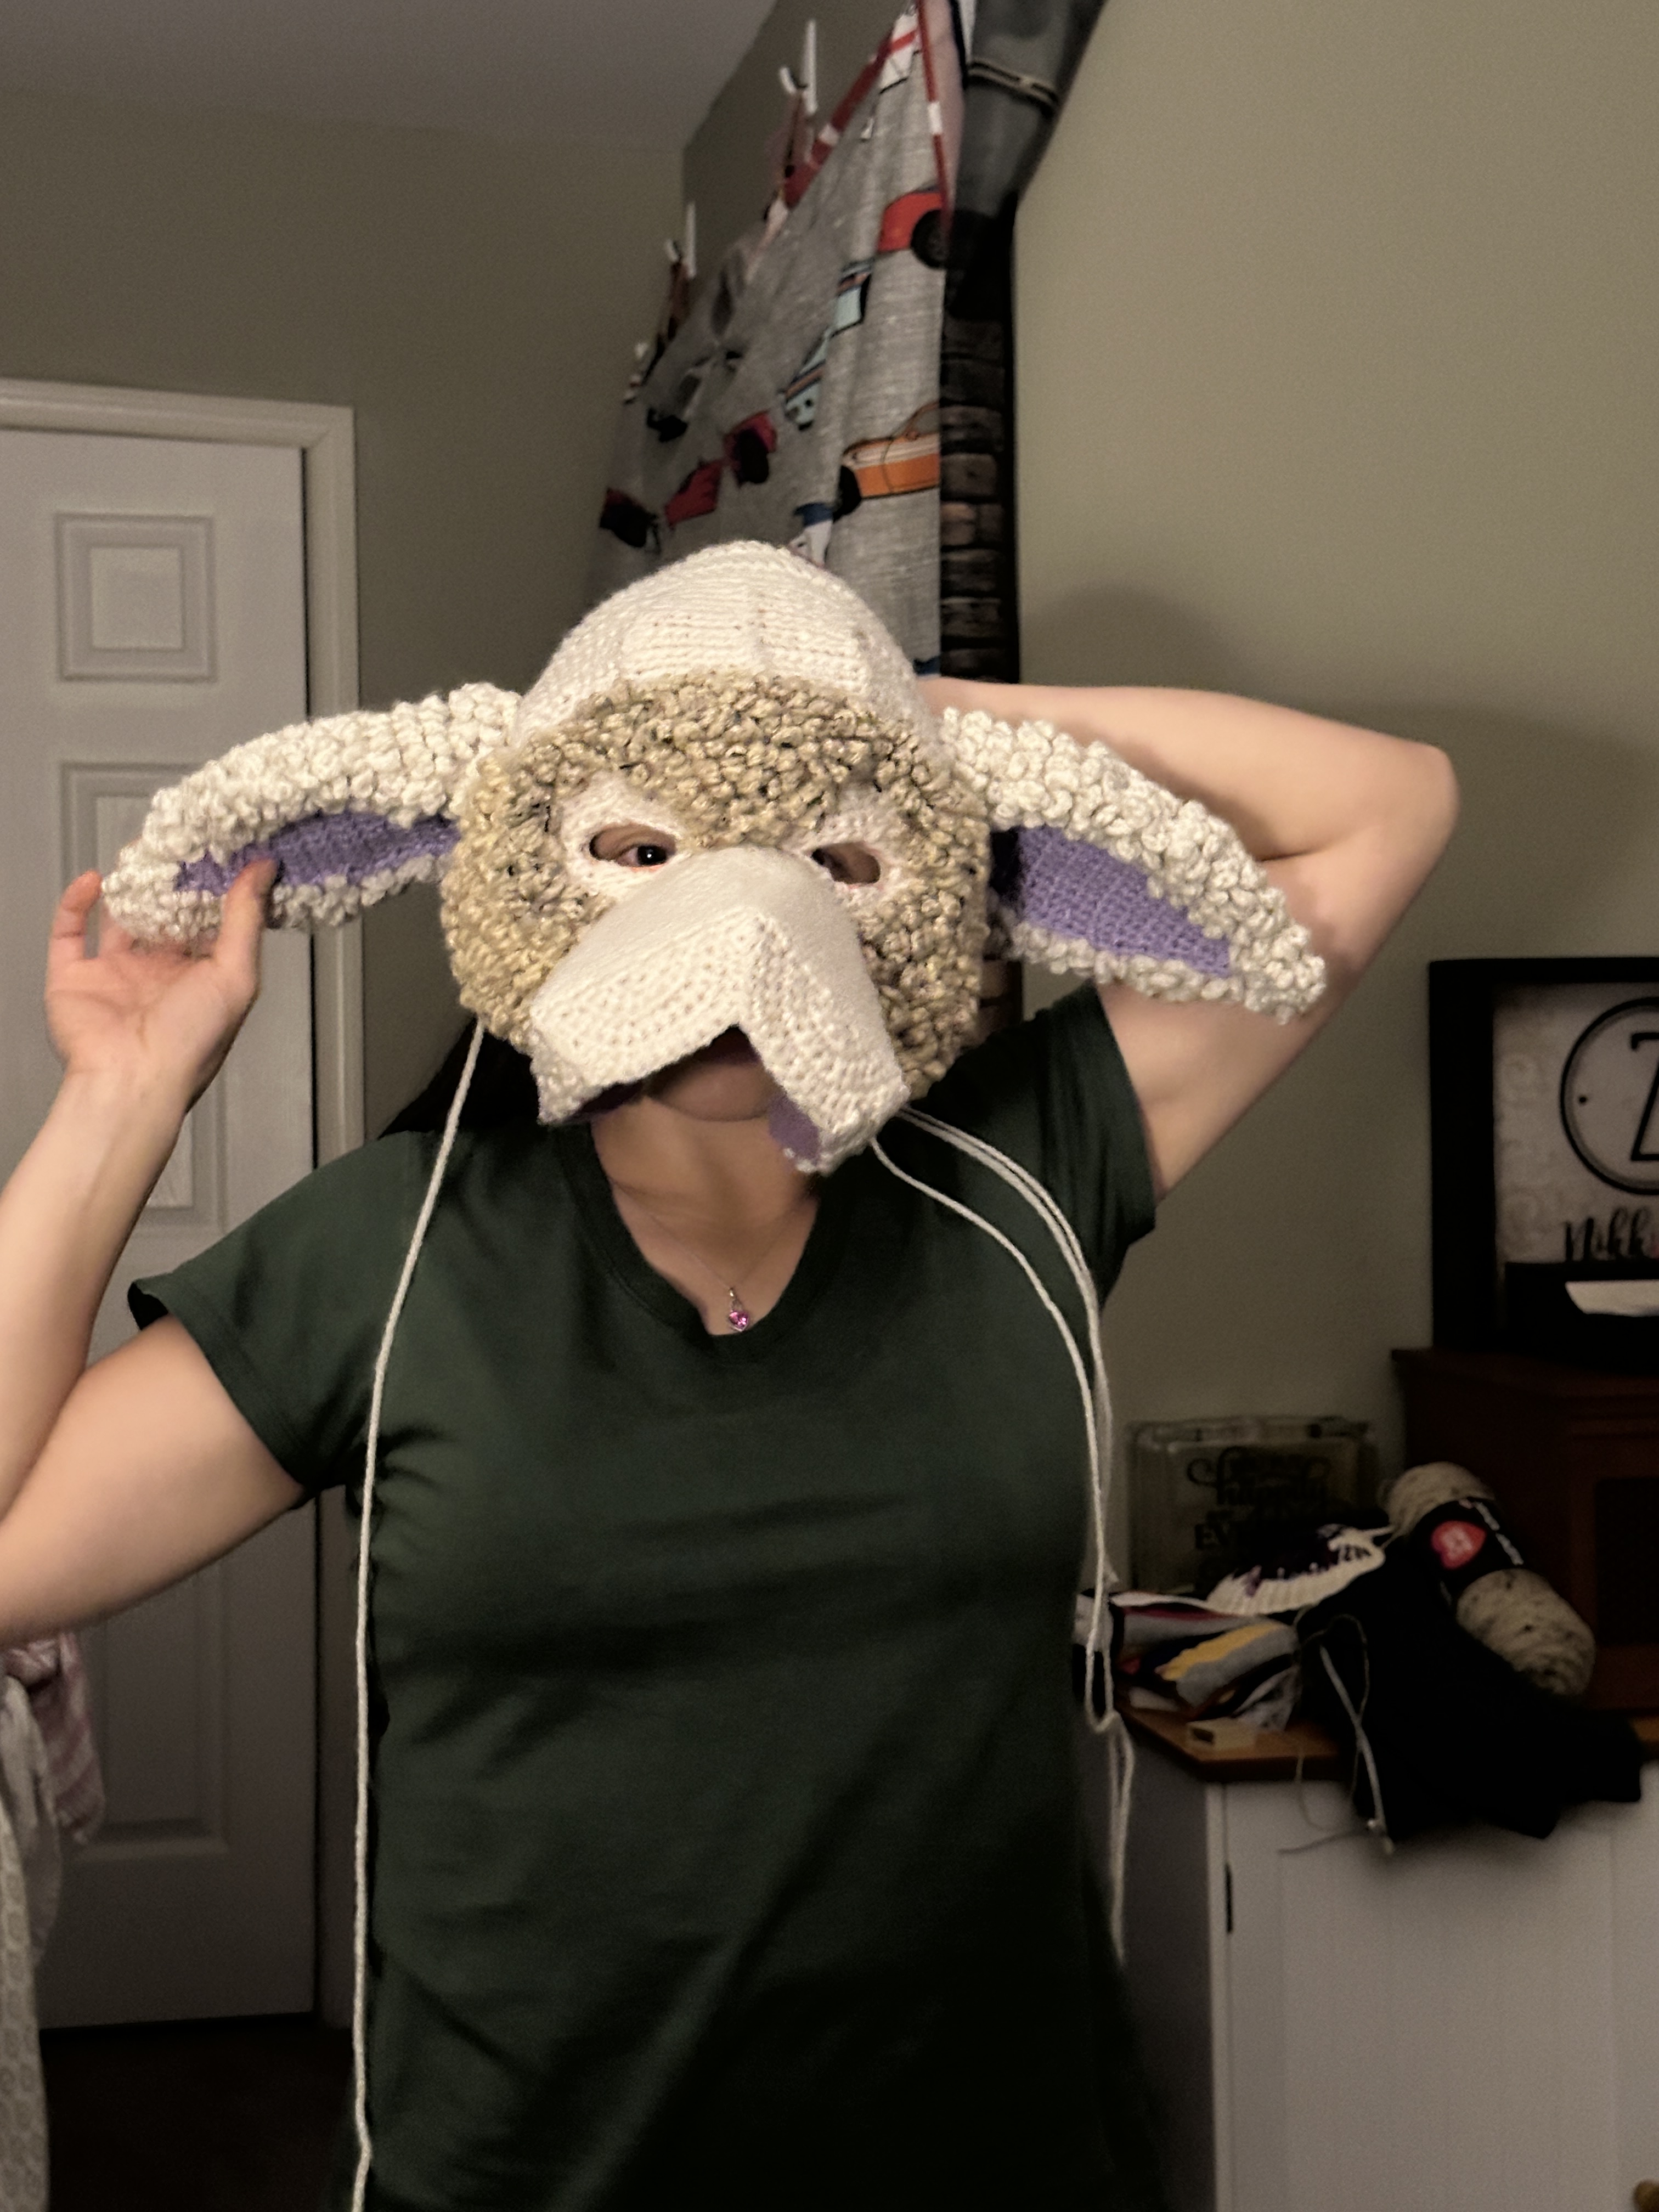
Side circles for the helmet (Make 2):
Rnd 1. Use grey color. 6sc in magic circle. (6)
Rnd 2. Inc x 6. (12)
Rnd 3. (1sc. Inc.) x 3. (15)
FO. Sew onto the side of the helmet as shown in the video.
Embroider the grey lines on the helmet. Also embroider the mouth with black color.
Head into the body:
Rnd 1. With cream color. 6sc in magic circle. (6)
Rnd 2. Inc x 6. (12)
Rnd 3. (1sc. Inc.) x 6. (18)
Rnd 4. (2sc. Inc.) x 6. (24)
Rnd 5. (3sc. Inc.) x 6. (30)
Rnd 6. (4sc. Inc.) x 6. (36)
Rnd 7. (5sc. Inc.) x 6. (42)
Rnd 8. (6sc. Inc.) x 6. (48)
Rnd 9. (7sc. Inc.) x 6. (54)
Rnd 10-24. 54sc. (54)
Rnd 25. (7sc. Dec.) x 6. (48)
Rnd 26. (6sc. Dec.) x 6. (42)
Rnd 27. (5sc. Dec.) x 6. (36)
Rnd 28. (4sc. Dec.) x 6. (30)
Rnd 29. (3sc. Dec.) x 6. (24)
Rnd 30. (2sc. Dec.) x 6. (18)
Rnd 31. (1sc. Dec.) x 6. (12)
Rnd 32. Inc x 12. (24)
Rnd 33. Change to grey. (2sc. Inc.) x 8. (32)
Rnd 34-45. 32sc. (32)
At this point you can either attach the body now or later. I attached it now because it means less ends to weave in.
Rnd 46. BLO. (2sc. Dec.) x 8. (24)
Rnd 47. (2sc. Dec.) x 6. (18)
Stuff the body.
Rnd 48. (1sc. Dec.) x 6. (12)
Rnd 49. Dec x 6. (6)
FO. Sew gap closed.
Fingers (Make 4):
Rnd 1. 6sc in magic circle. (6)
Rnd 2-6. 6sc. (6)
FO for all the fingers except for the 4th one.
Follow the video for how to attach the fingers together.
Thumb (Make 2):
Rnd 1. 6sc in magic circle. (6)
Rnd 2. Inc. (7)
Rnd 3-5. 7sc. (7)
FO. Sew onto the hand. Make sure that you are sewing this on the opposite sides of the hands. You are sewing the thumb slightly towards the palm side.
After you connect all the fingers, you should have 24 stitches.
Hand:
Rnd 1. This is the round where you connect all the fingers. (24)
Rnd 2-8. 24sc. (24)
Rnd 9. (4sc. Dec.) x 4. (20)
Rnd 10. 20sc. (20)
Rnd 11. (3sc. Dec.) x 4. (16)
Rnd 12. (2sc. Dec.) x 2. (14)
Rnd 13-20. 14sc. (14)
FO. Stuff and sew the gap closed. Then sew the arms to the body as shown in the video.
Legs (Make 2):
Rnd 1. Use grey color. 6sc in magic circle. (6)
Rnd 2. Inc x 6. (12)
Rnd 3. (1sc. Inc.) x 6. (18)
Rnd 4. (2sc. Inc.) x 3. (21)
Rnd 5. BLO. 21sc. (21)
Rnd 6-11. 21sc. (21)
Rnd 12. (5sc. Dec.) x 3. (18)
Rnd 16. (4sc. Dec.) x 3. (15)
Rnd 17. 15sc. (15)
FO. Stuff and sew the gap closed just like in the video.
Shoulder pads (Make 2):
Row 1. With light grey color. Chain 2.
Row 2. 3sc in second chain from the hook. (3)
Row 3. Chain 1. Turn. Inc x 3. (6)
Row 4. Chain 1. Turn. (1sc. Inc.) x 3. (9)
Row 5. Chain 1. Turn. (2sc. Inc.) x 3. (12)
Row 6. Chain 1. Turn. (3sc. Inc.) x 3. (15)
Row 7. Chain 1. Turn. (4sc. Inc.) x 3. (18)
Row 8. Chain 1. Turn. (5sc. Inc.) x 3. (21)
Row 9. Chain 1. Turn. (6sc. Inc.) x 3. (24)
FO. Sew onto shoulders as shown in the video.
Shirt:
Row 1. Chain 11.
Row 2. 10sc starting in the second chain from the hook.
Row 3. Chain 1. Turn. (1sc. Inc.) x 5. (15)
Row 4-6. Chain 1. Turn. 15sc. (15)
Row 7. Chain 1. Turn. (2sc. Inc.) x 5. (20)
Row 8-13. Chain 1. Turn. 20sc. (20)
Row 14. (4sc. Inc.) x 4. (24)
Row 15-20. 24sc. (24)
FO.
For the side of the shirt you are going to work on the left and right sides of the shirt. See the video for more instructions. Each side should have 16 stitches. Next:
Row 1. Dec x 2. 8sc. Dec x 2. (12)
Row 2. 12sc. (12)
Row 3. Dec x 2. 4sc. Dec x 2. (8)
Row 4. 8sc.
Shoes (Make 2):
Follow the video for how to make these.
Circles for the shoes (Make 2):
Rnd 1. Use grey color. 6sc in magic circle. (6)
Rnd 2. Inc x 3. (9)
FO. Sew onto the shoes.