The Labubu Craze

It all began in 1972 when the character was created by Kasing Lung. This character, despite what some people believe, is actually a mischievous and happy little girl monster. She was introduced in The Monsters Trilogy and it is a story of her, her boyfriends and other friends. I have yet to see this story and I really want to read it but if you search, it is out of print and very expensive on eBay. If anyone has the story please let me know because I would be very happy to see its contents. There are those who say that Labubu is evil but when you watch a video about it, Kasing Lung tells a story about a harmless little monster.

There’s really nothing evil about her. I think social media just likes to spread things like this to scare people and get views. There are more terrible and sad things on social media nowadays and we should really spread nicer things on the internet. There is no use discouraging people from collecting this little cutie. I have a theory that just because this character is so hard to get, this story just spread like wildfire.

So I got into the game pretty late and I was only able to find them on eBay and sites like that. For some reason it fakes didn’t really come to mind when buying these so I just went on and impulse bought the first one I found. It was a fake and you guys probably saw me post a video about it asking if it was a Labubu or a Lafufu (a name given to fake Labubus). It wasn’t bad and I gave that one to my son. My second and last fake was so demented looking. I filmed that one too. It had hands and feet that turned. The image on her right food was a plastic cutout of a Labubu. Her smile was creepy and her head was crooked. Both the colors of the fakes were a brighter light green. The boxes were all wrong too. There was no QR code on any of the boxes. The tags on the doll didn’t have codes either. Also, the little tag for her keychain was backwards. After I got my first 2 fakes it was easy to spot the fakes. The fake posts are the ones with big capital letters in the descriptions and there are also a lot of asterisks. The wording of the descriptions are off and the company name is something like “blah blah blah auto store” or something similar to that. Why would an auto shop be selling collectibles and there were quite a few of those shady sounding stores too. Also, some of the posts share the same generic pictures. Some even take “real” pictures from other posts where it shows a person holding the Labubu or the box. I’ve seen a couple of different accounts have the same exact picture. Its crazy how many fakes and how crazy this trend has been. It all started when a Korean star, Lisa, from Blackpink used it on her bag. After that, Labubu became sort of a household name. Labubu has a cult following wherever she goes. Labubu even made a guest appearance at the 2024 Thai Festival in Beijing.

I was lucky enough to find a couple trustworthy sellers I buy my Labubus from. They were both selling their extras because they were searching for the secret. The exlusive secret on blind boxes that are rare and hard to find. I haven’t seen it or found it yet. I’ve only been buying confirmed ones to complete my collection. So far I have acquired most of the Have a Seat Labubus (I’m still waiting for Dada in the mail. I placed an order today). I bought one Exciting Macaron. Green Grape because she is in my favorite color. I think that might be it for now because I’ve purchased too many. I haven’t been able to get any of the V3 ones because on launch day, the site crashed and there were too many bots buying up all the Labubus. V3s are also very expensive on eBay and everywhere else. One tip I have is to not purchase them on Amazon. Those are probably fake and you can’t tell if they are authentic because there are no pictures posted except the generic ones from the official Pop Mart. So for now I will be content with the ones I have gotten and will wait for the V3 Labubus to come down in price. Right now they are going for at least $60. It’s not as crazy when you look at other collectibles but they are suppose to be about $25 MSRP. I don’t think a $60 price tag is worth it.

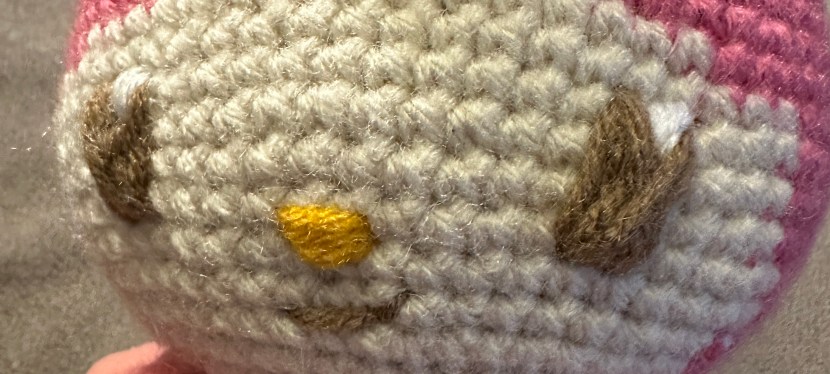
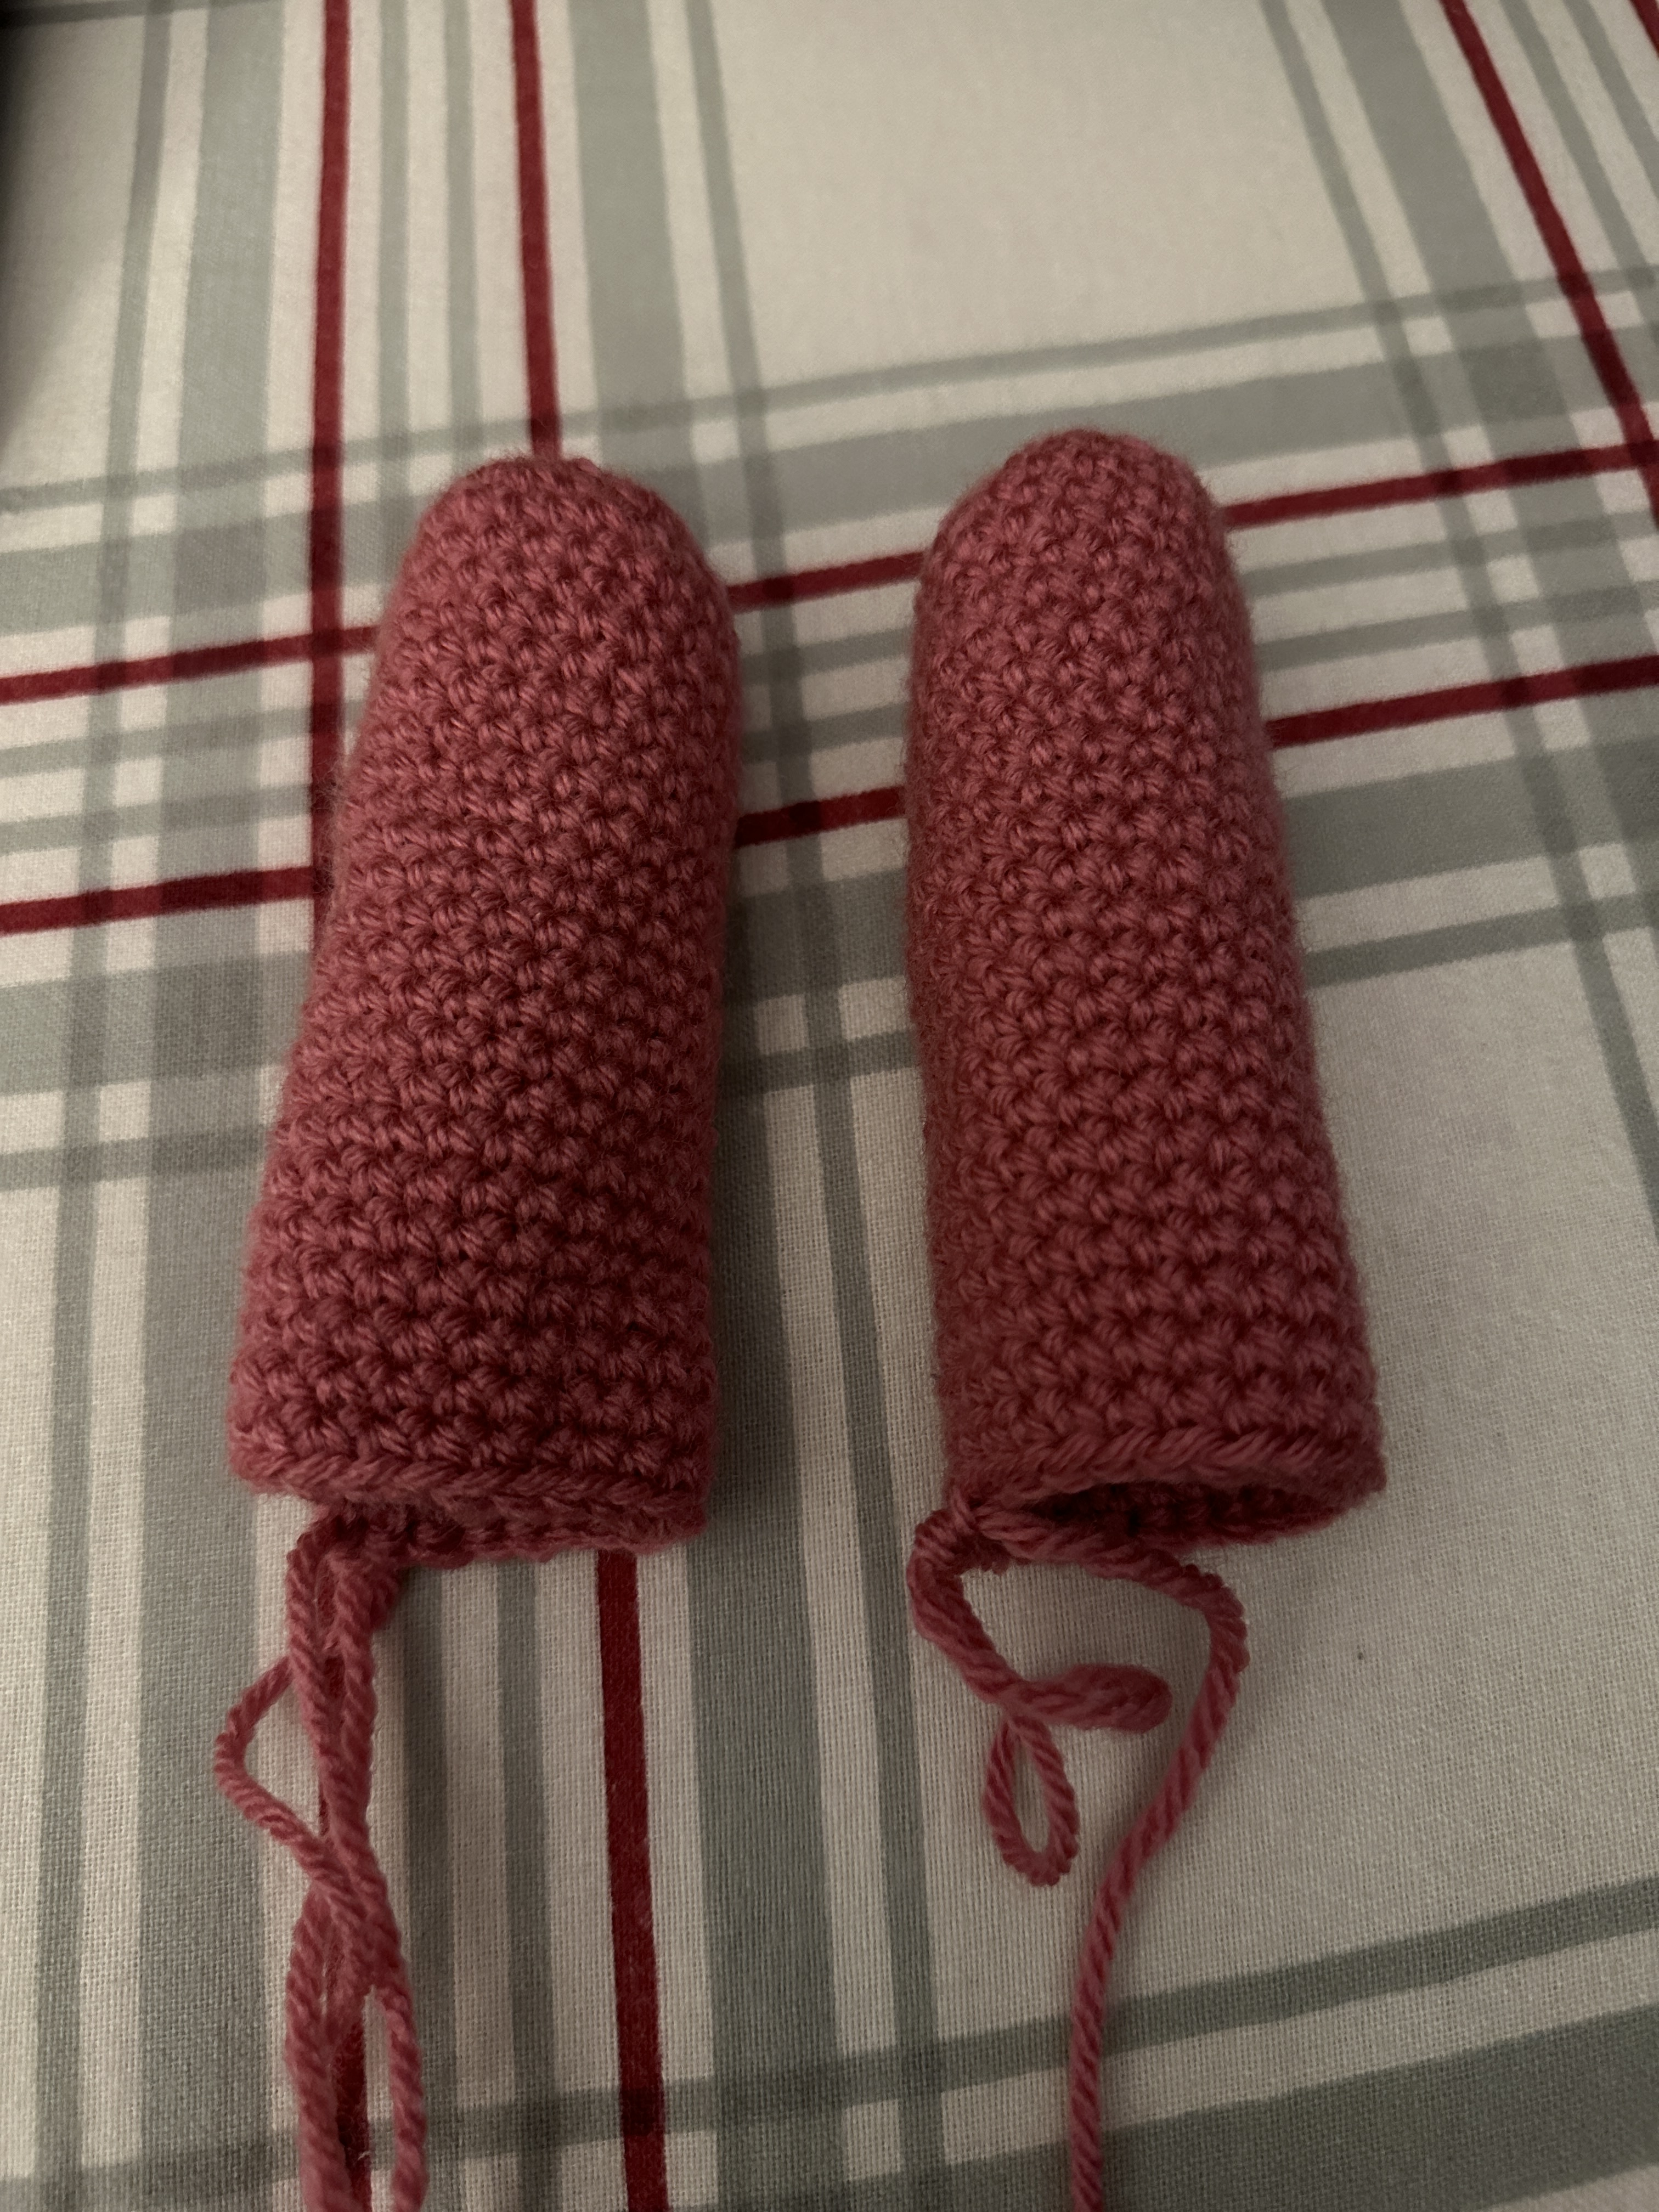
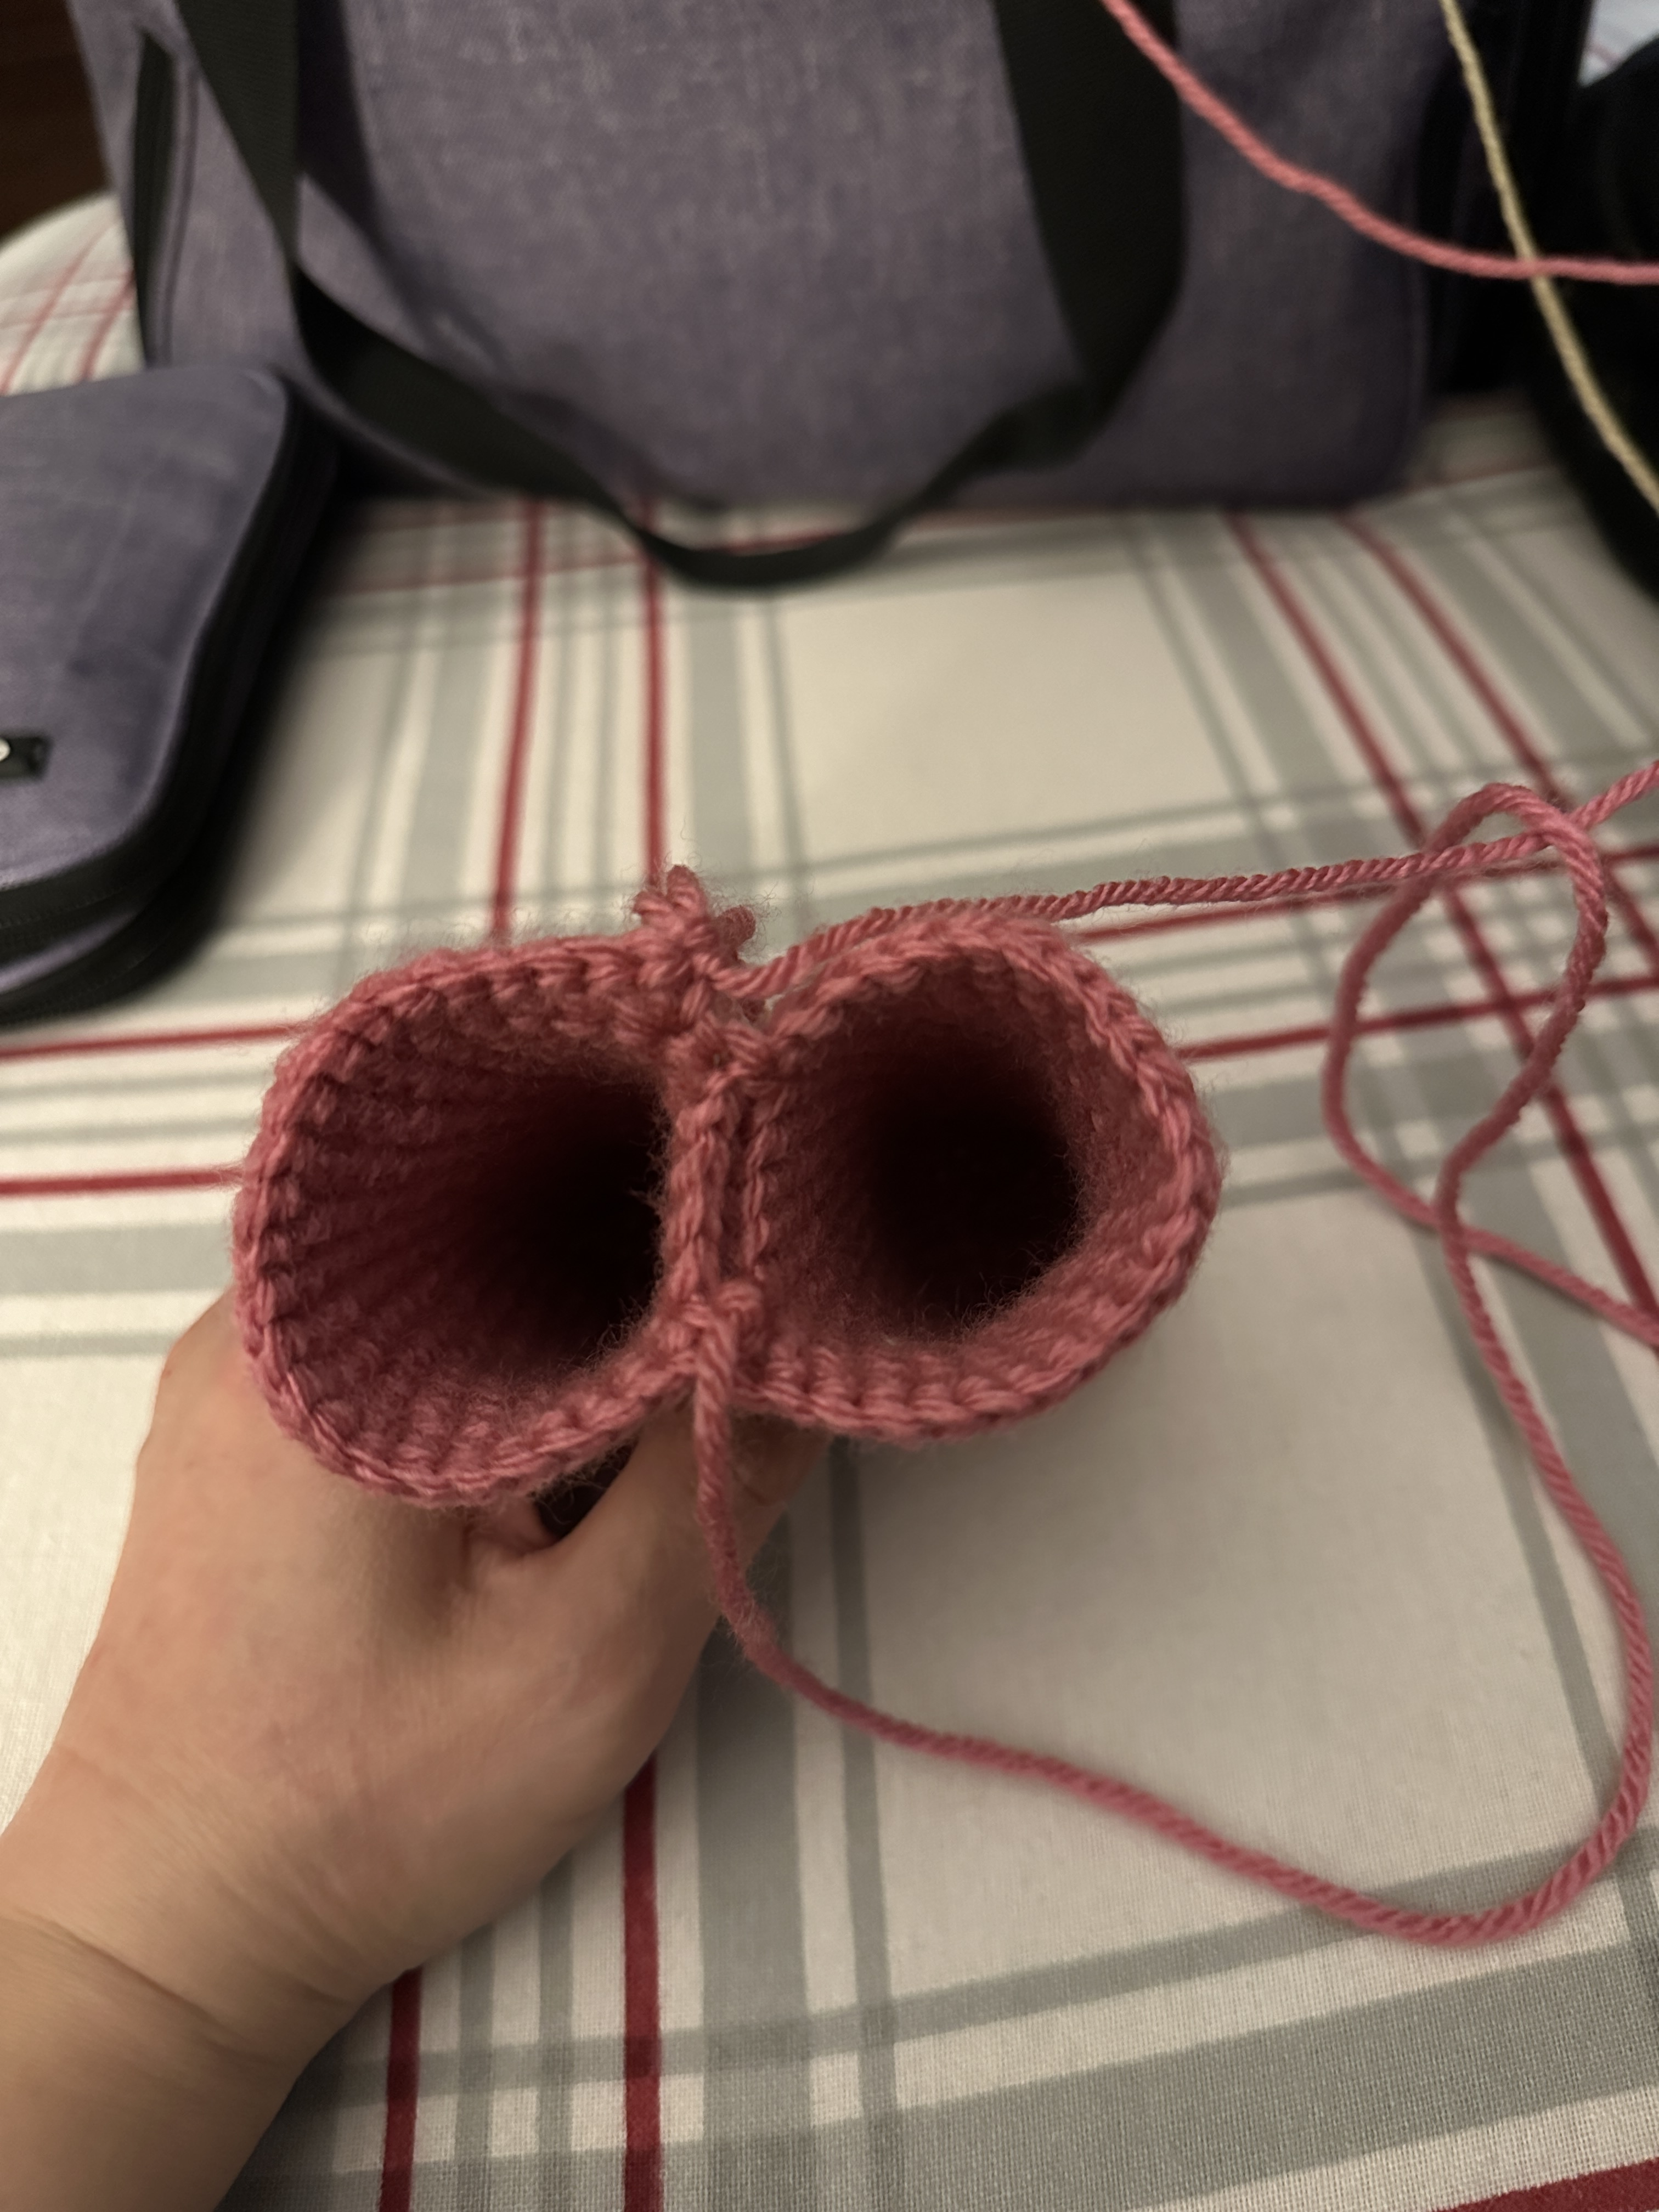
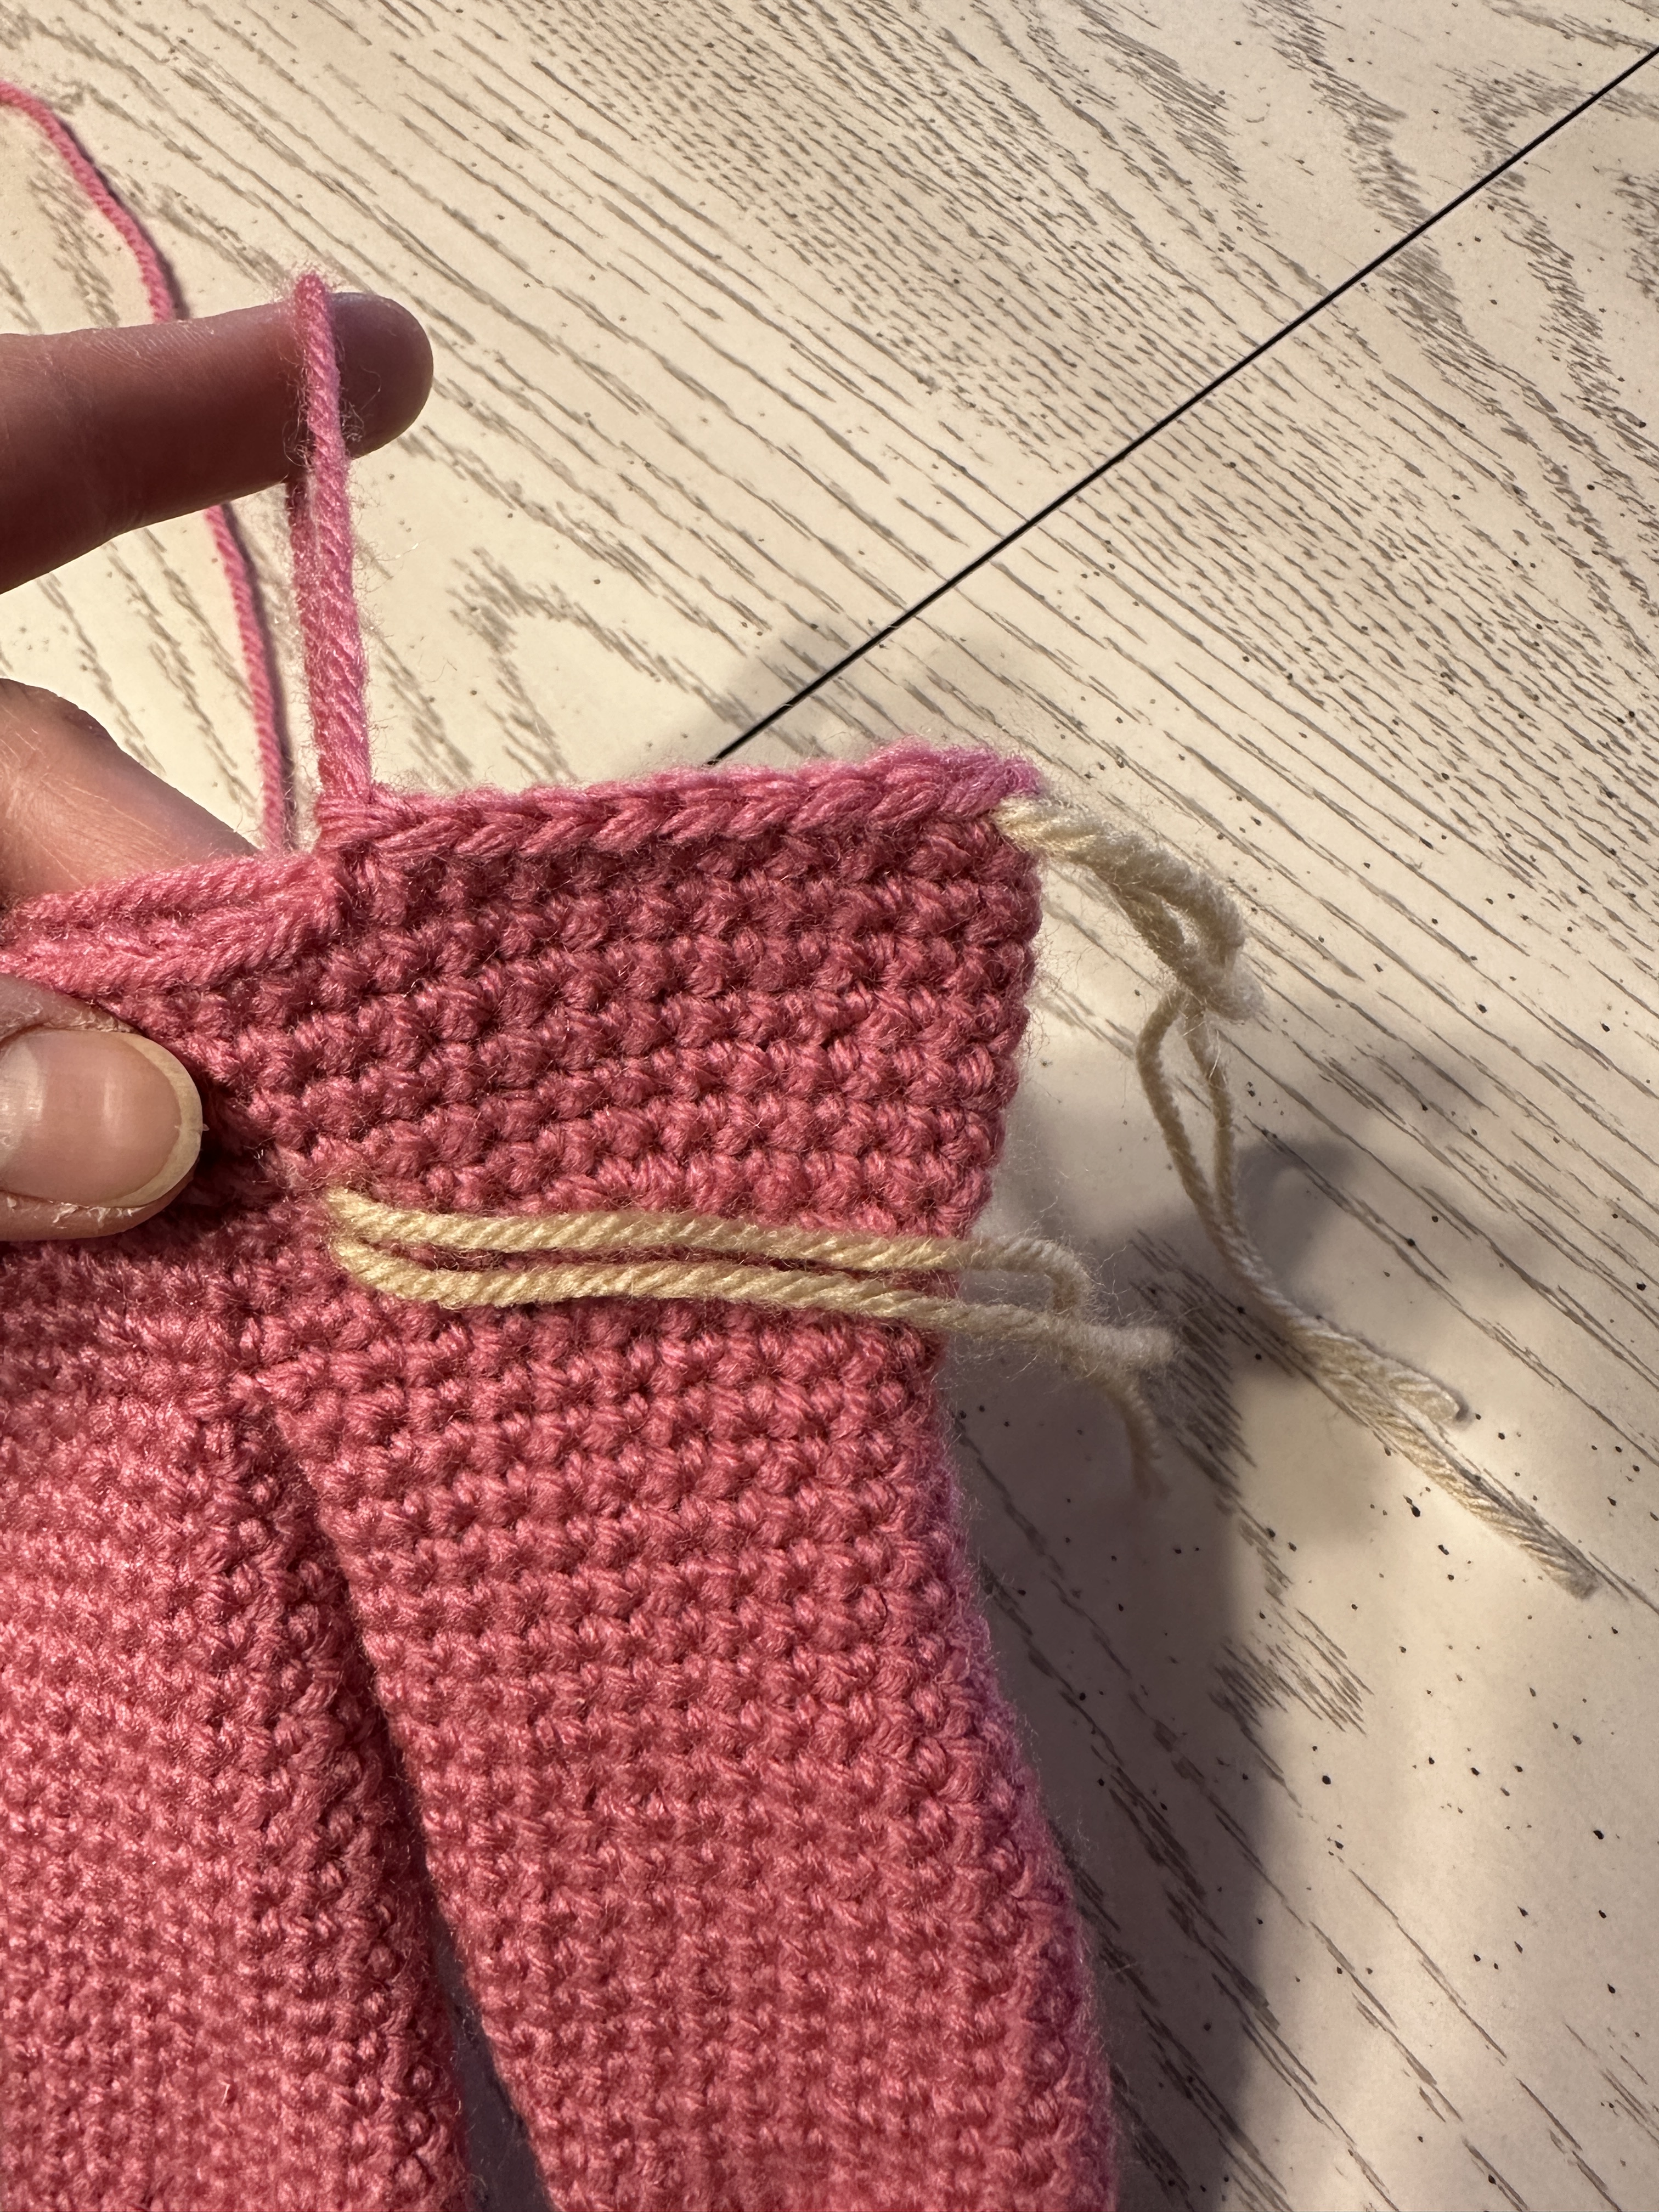
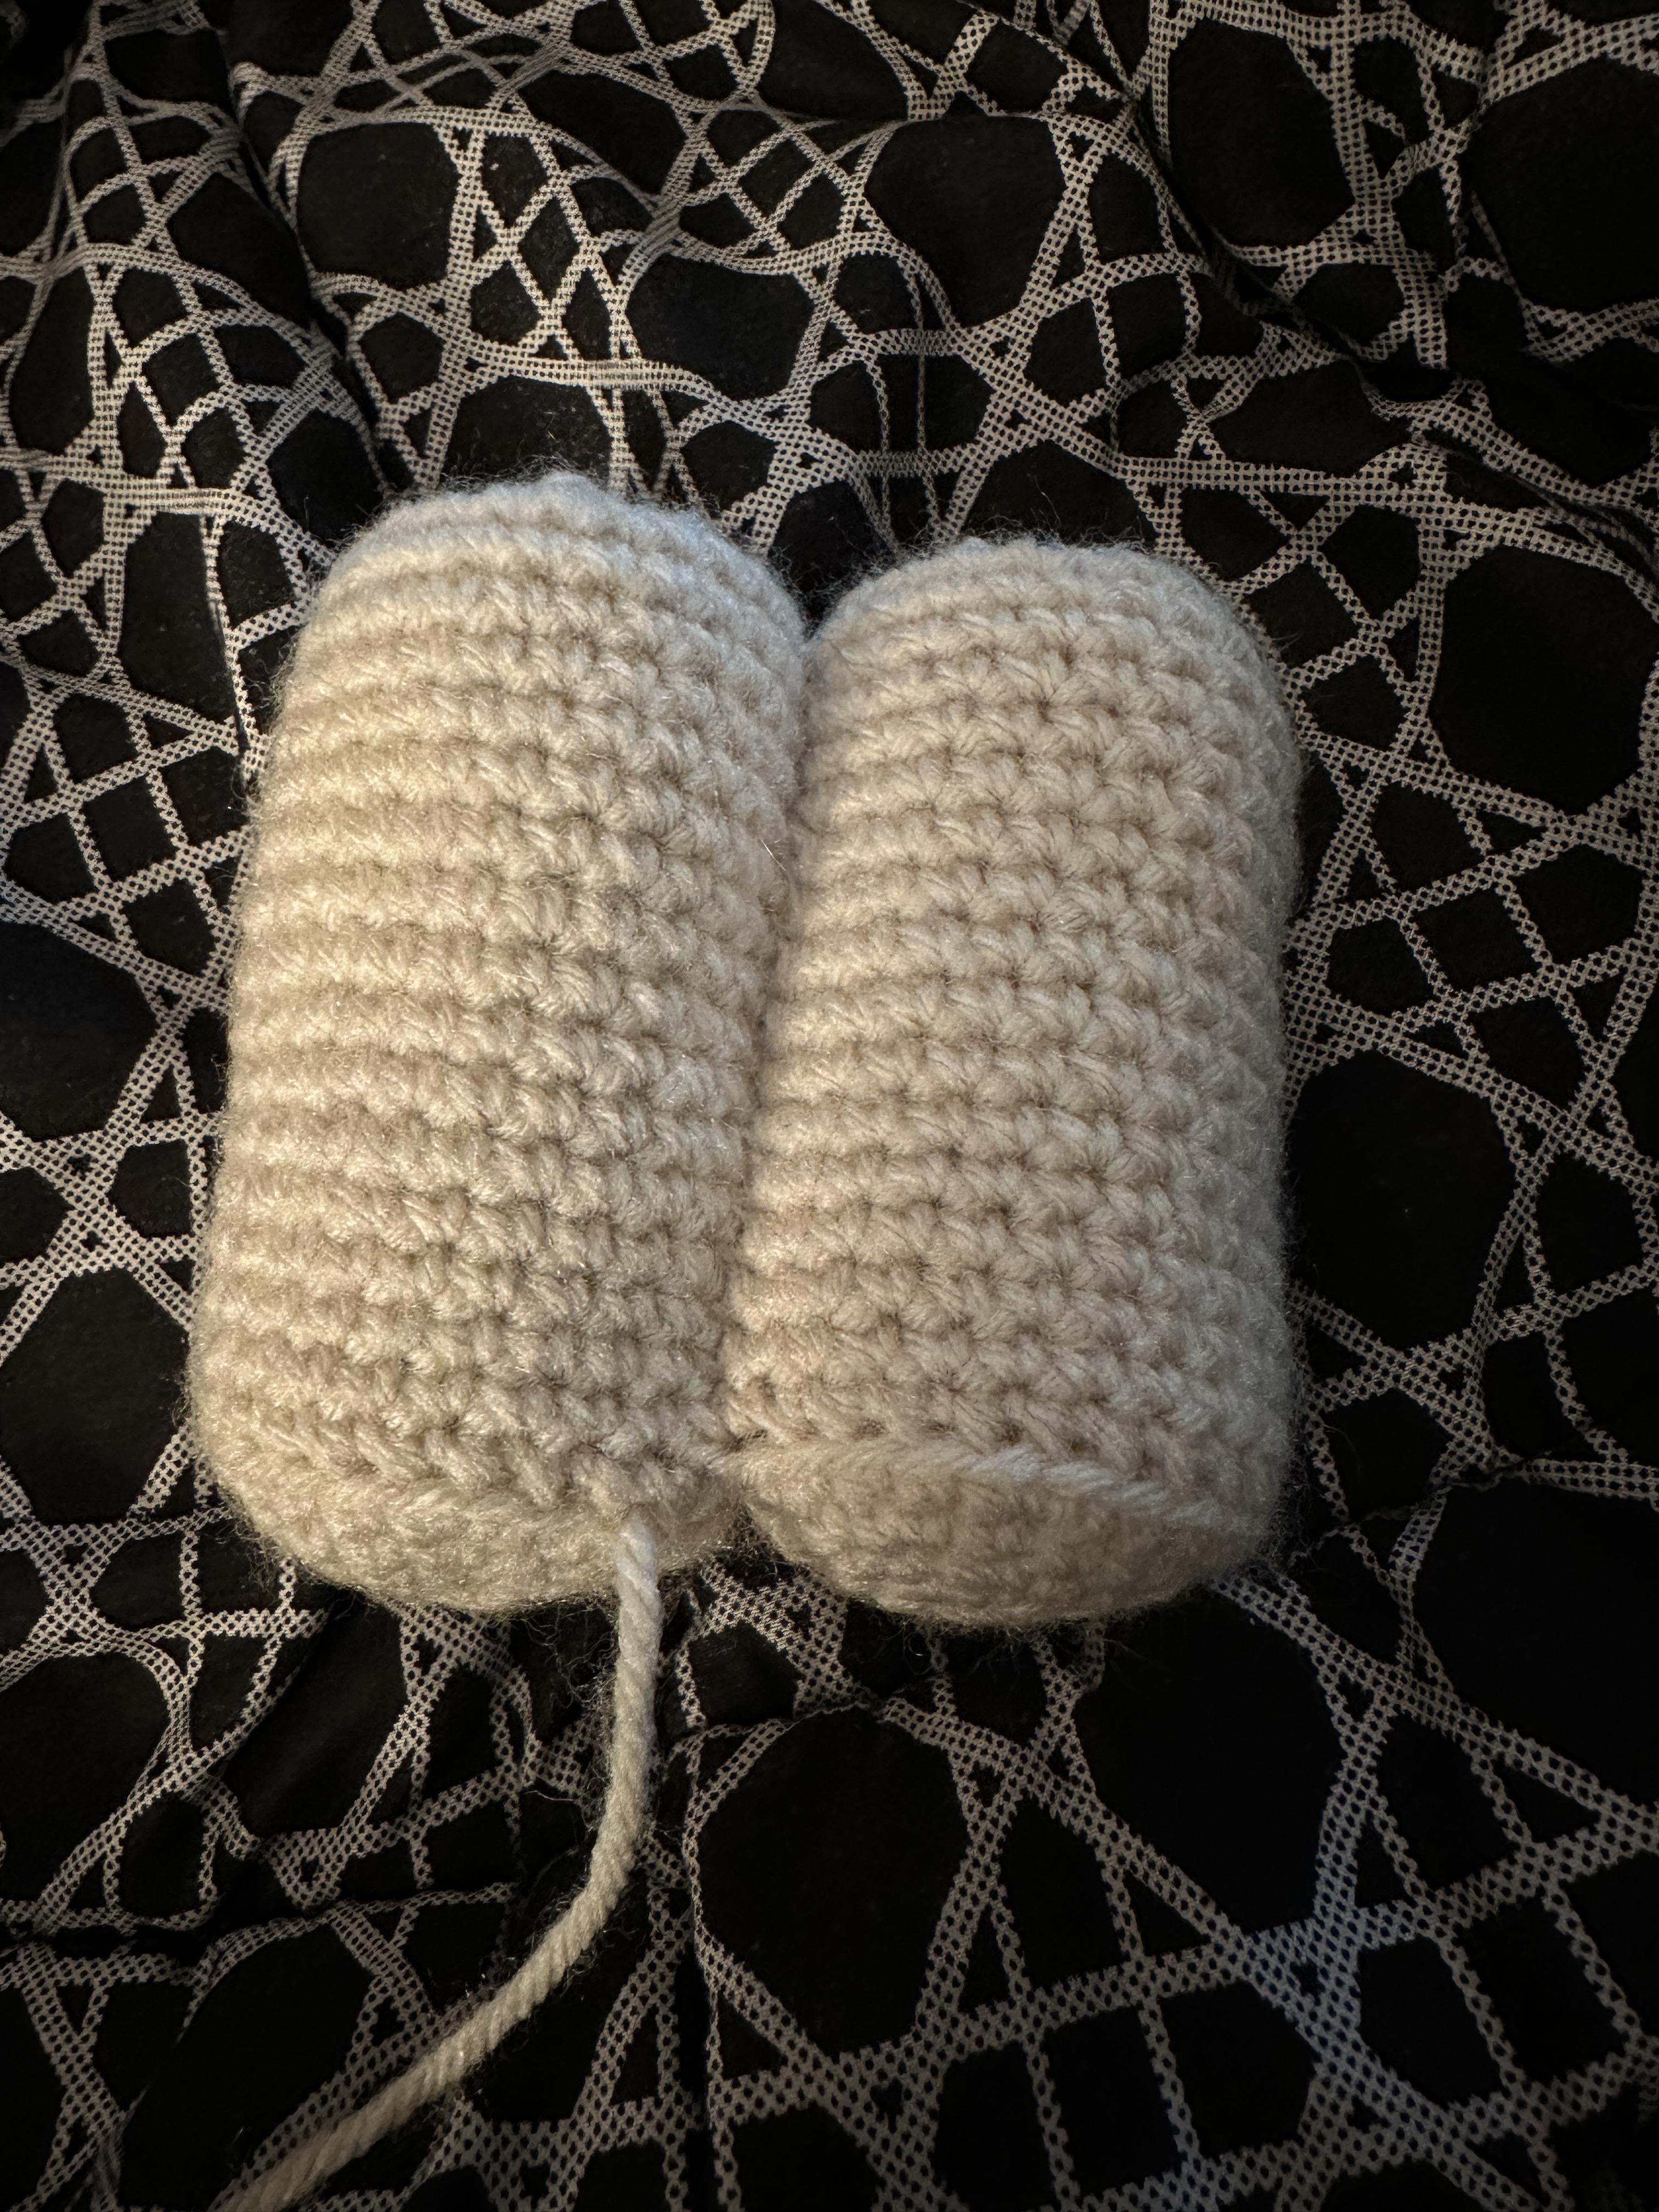
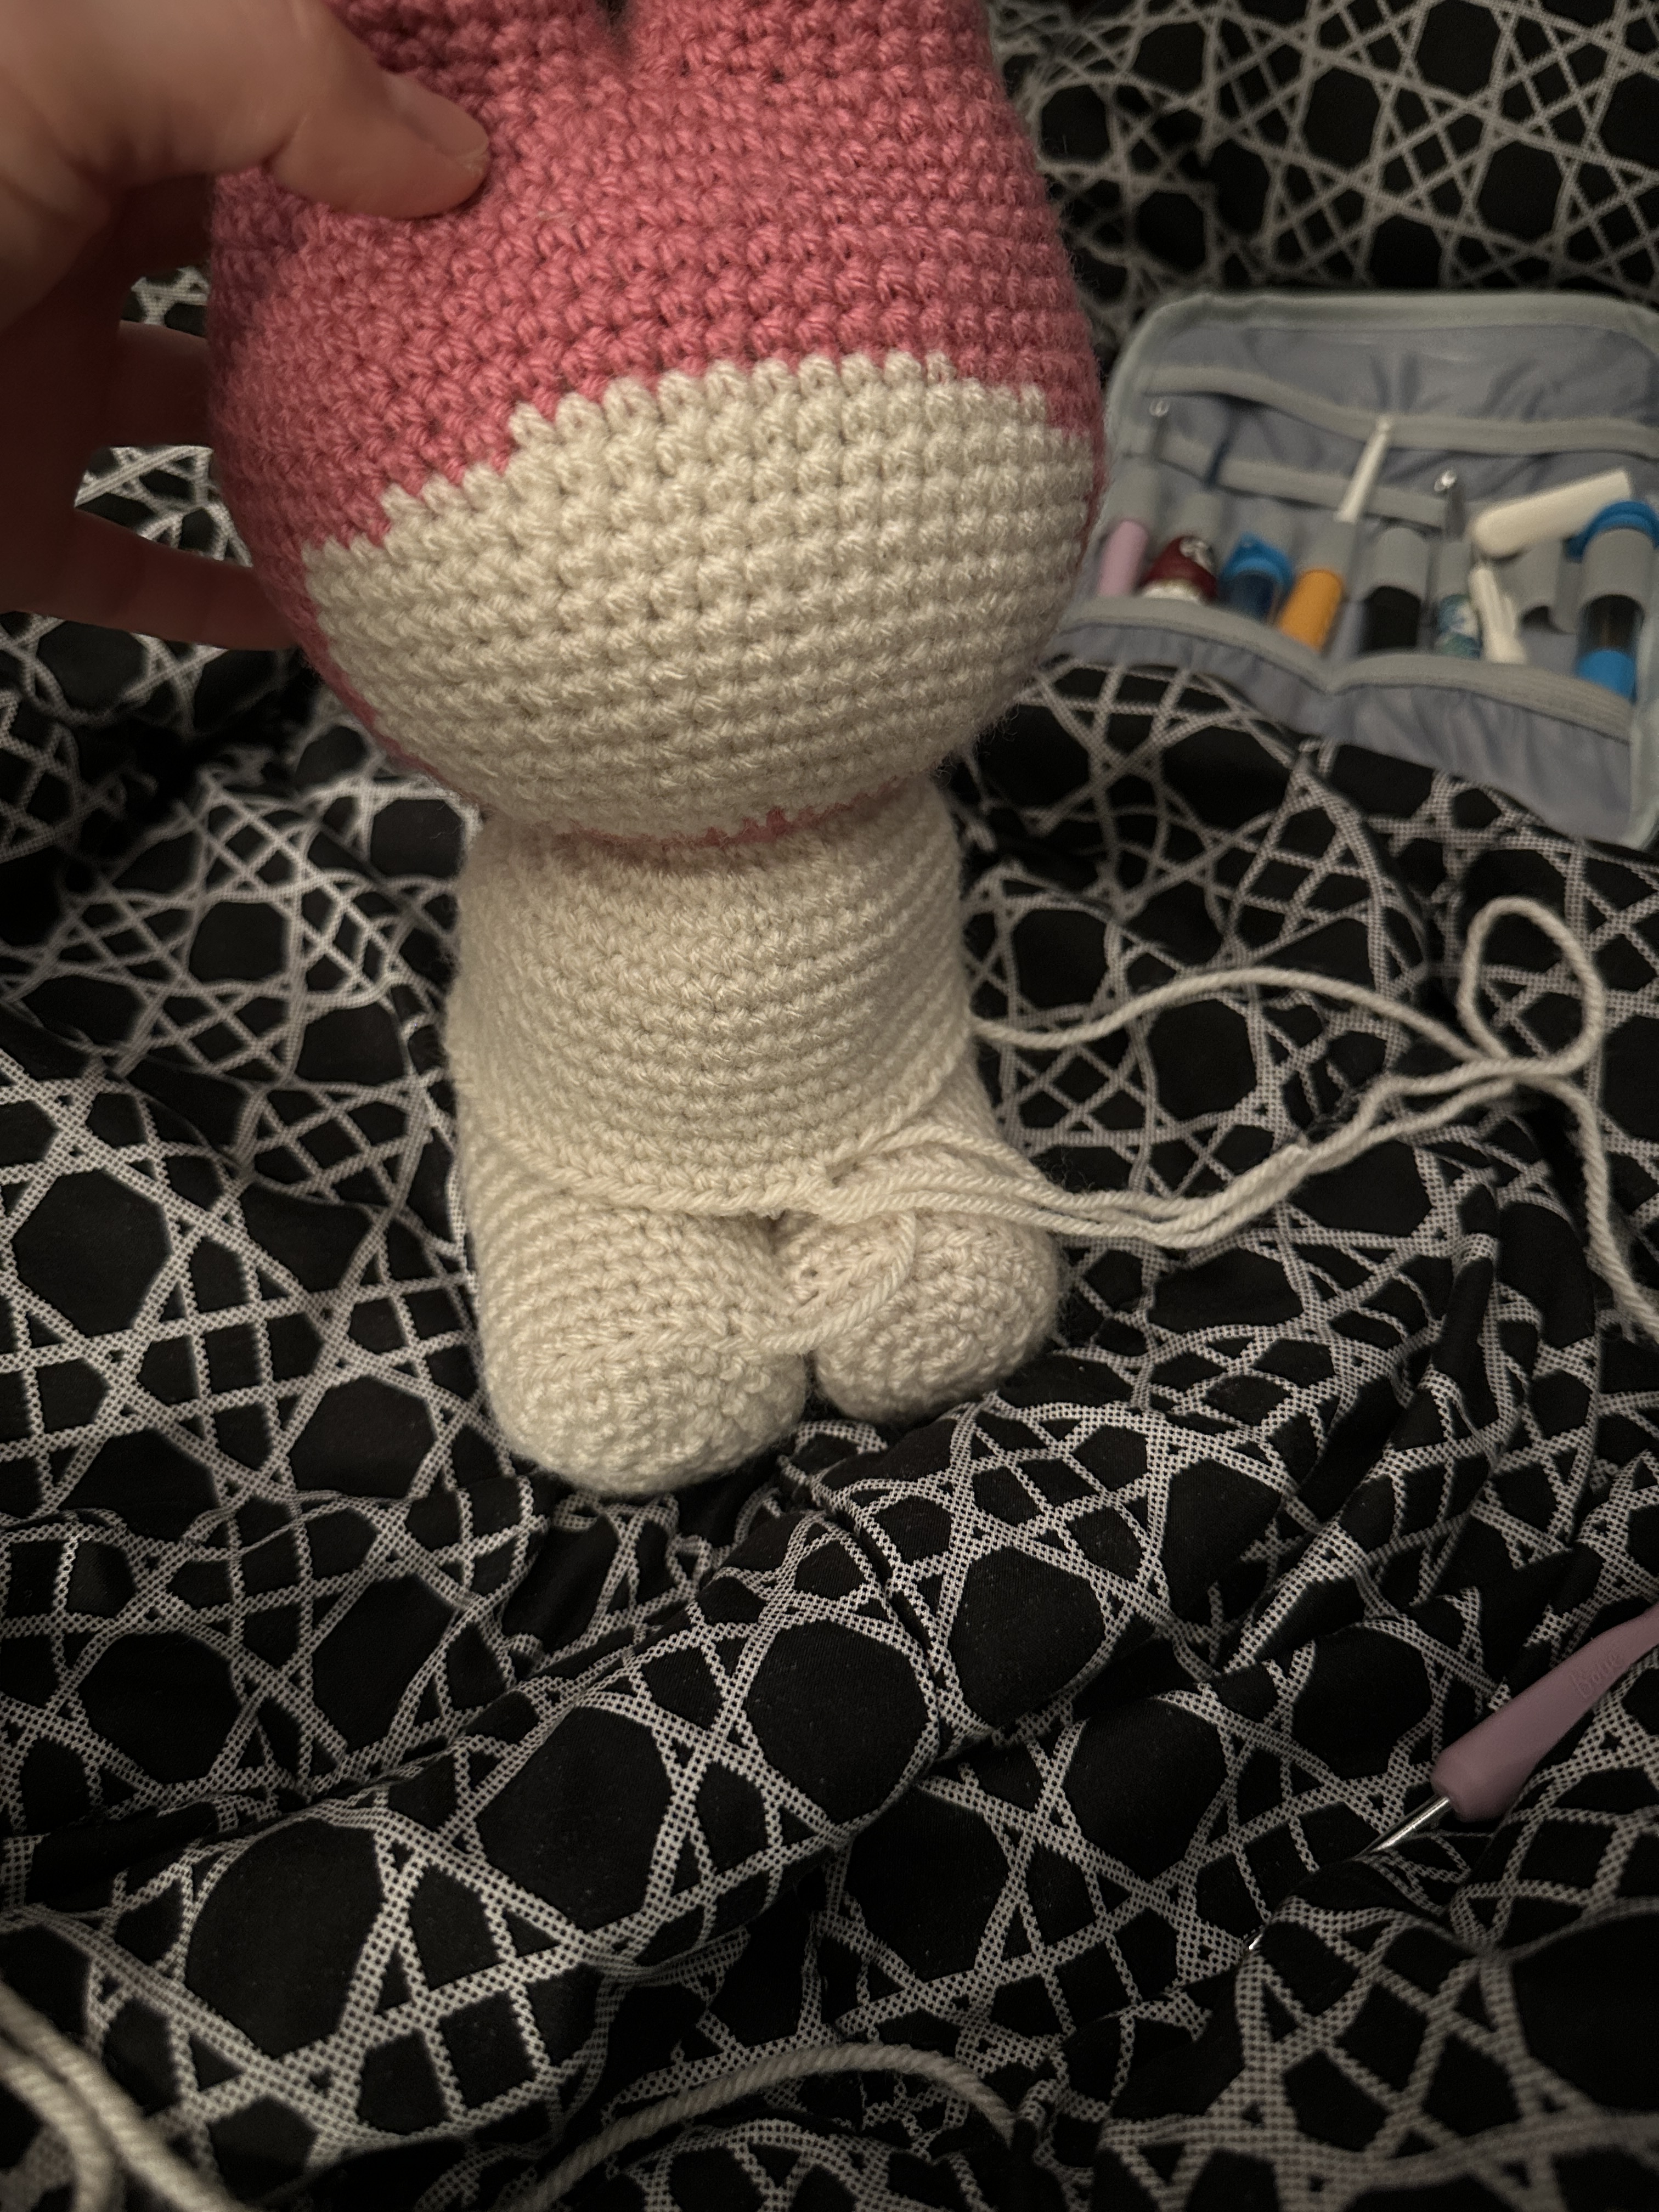
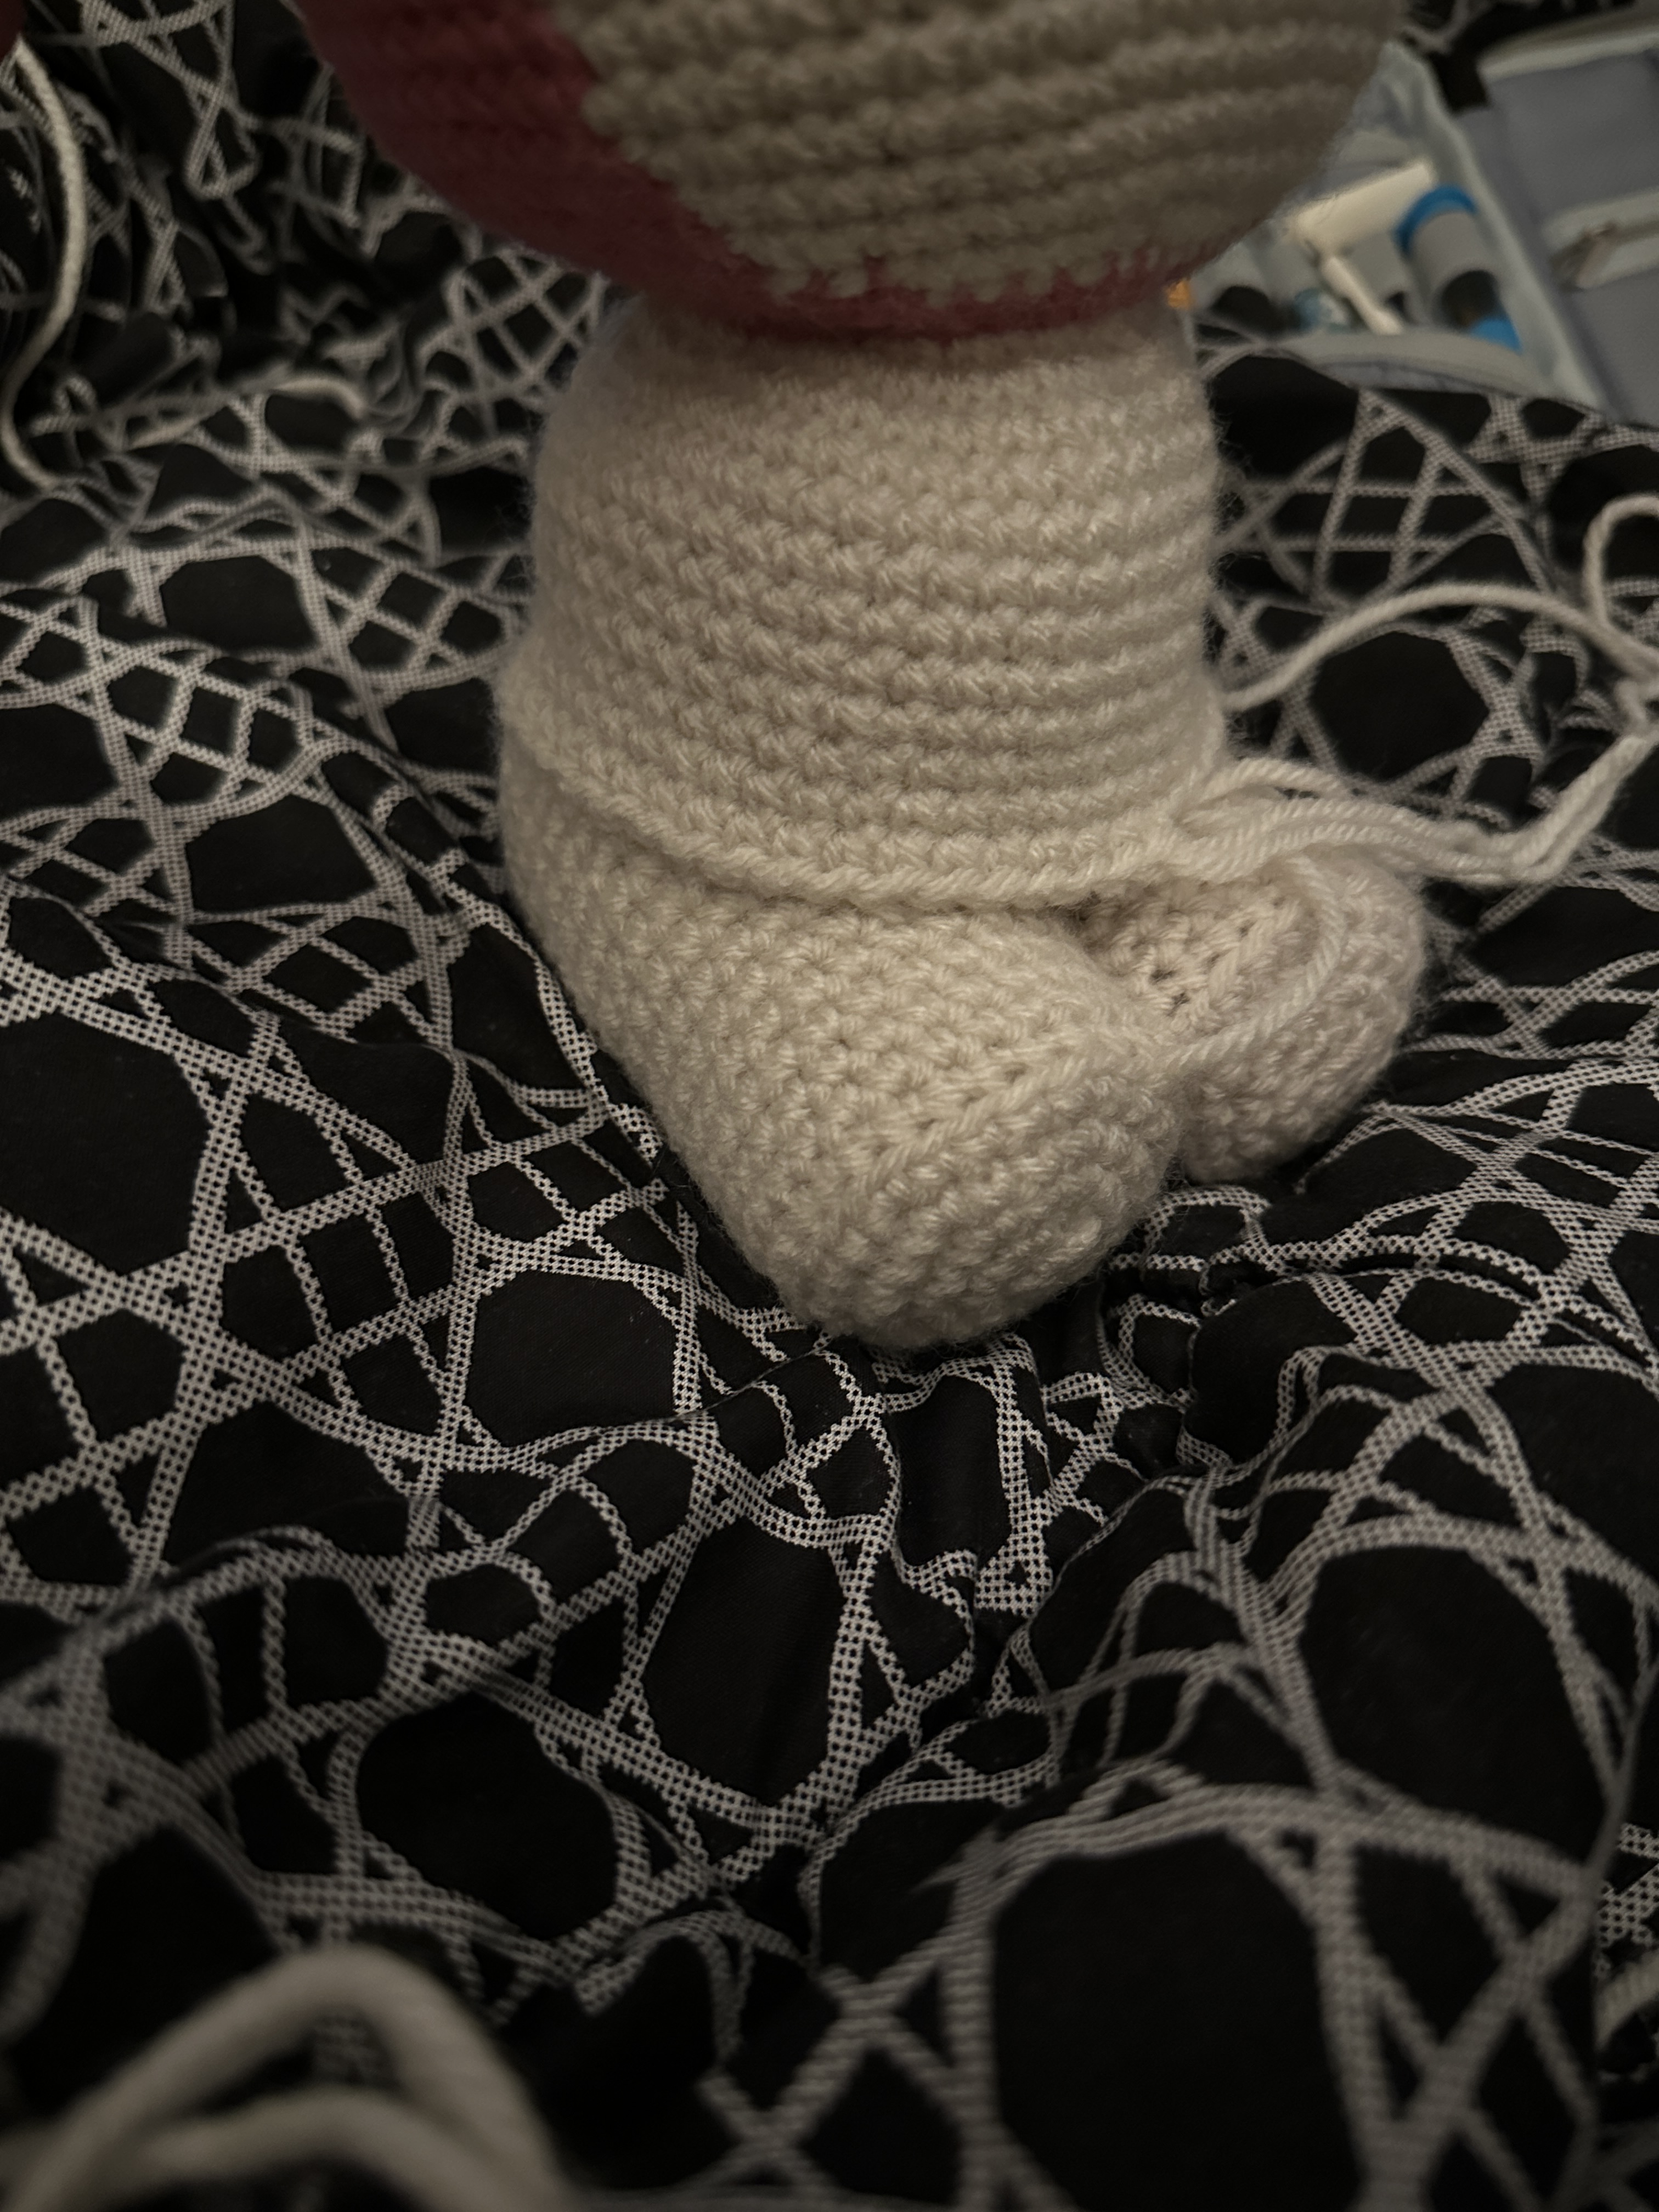
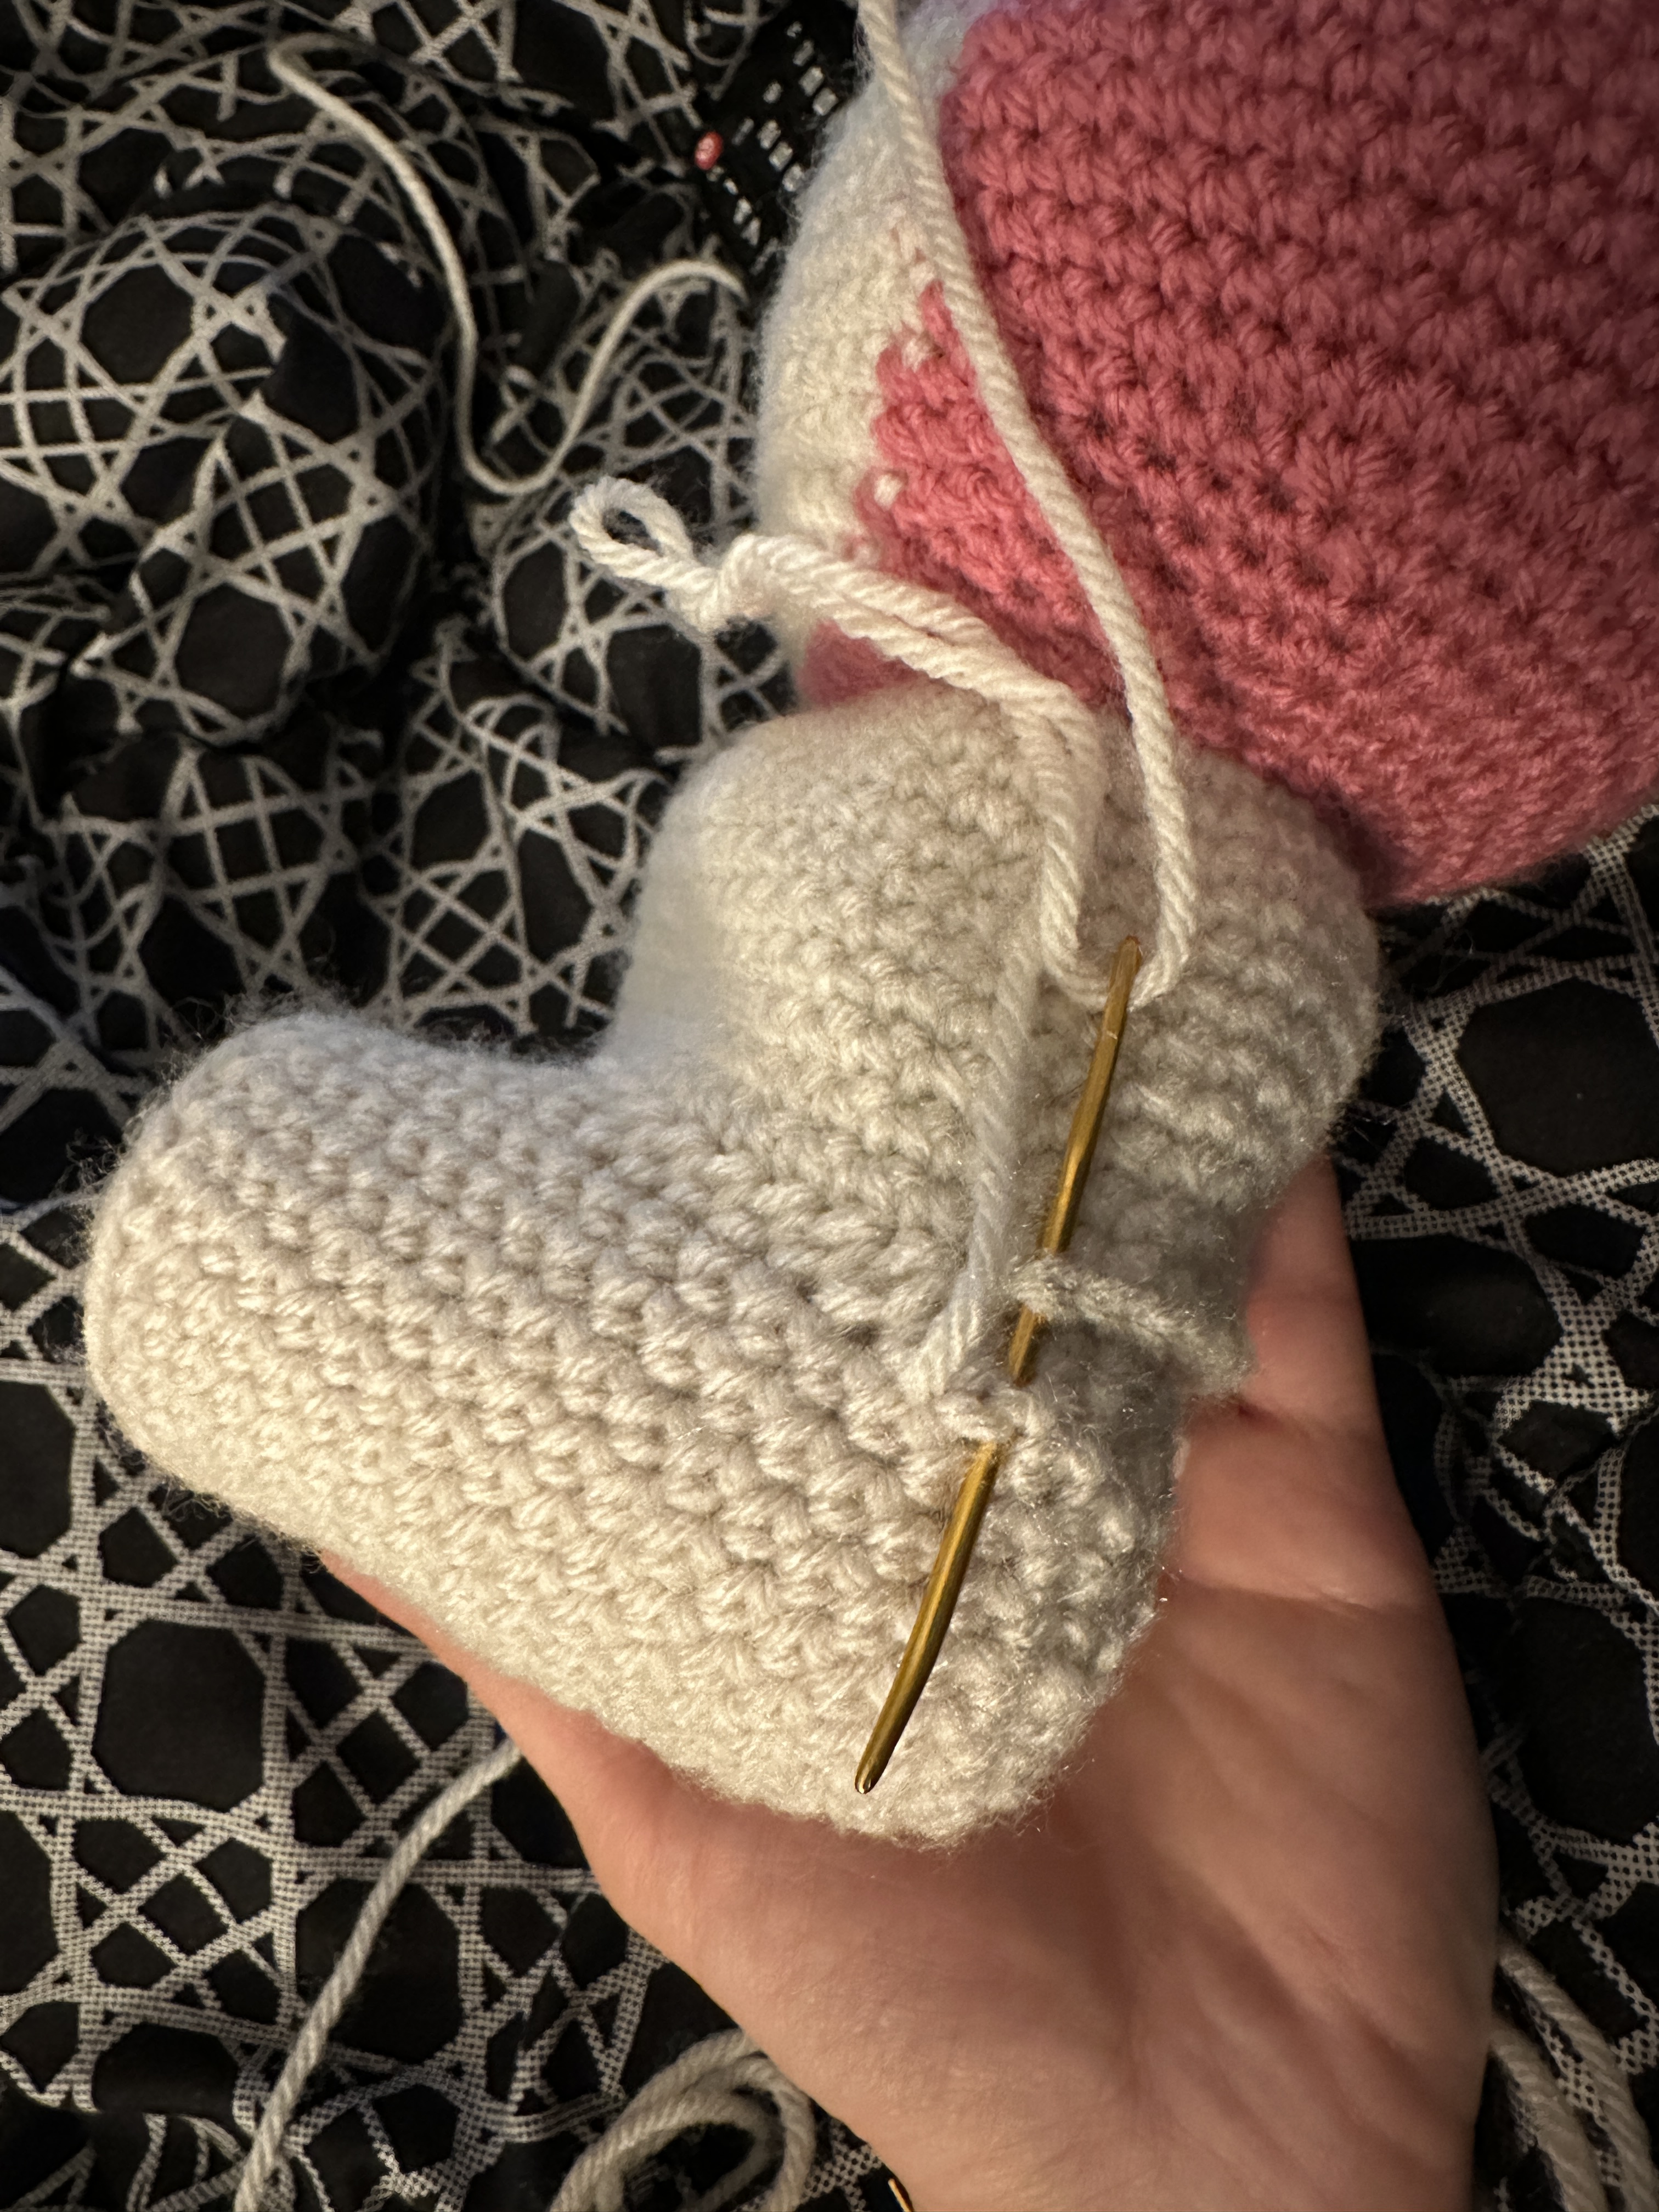
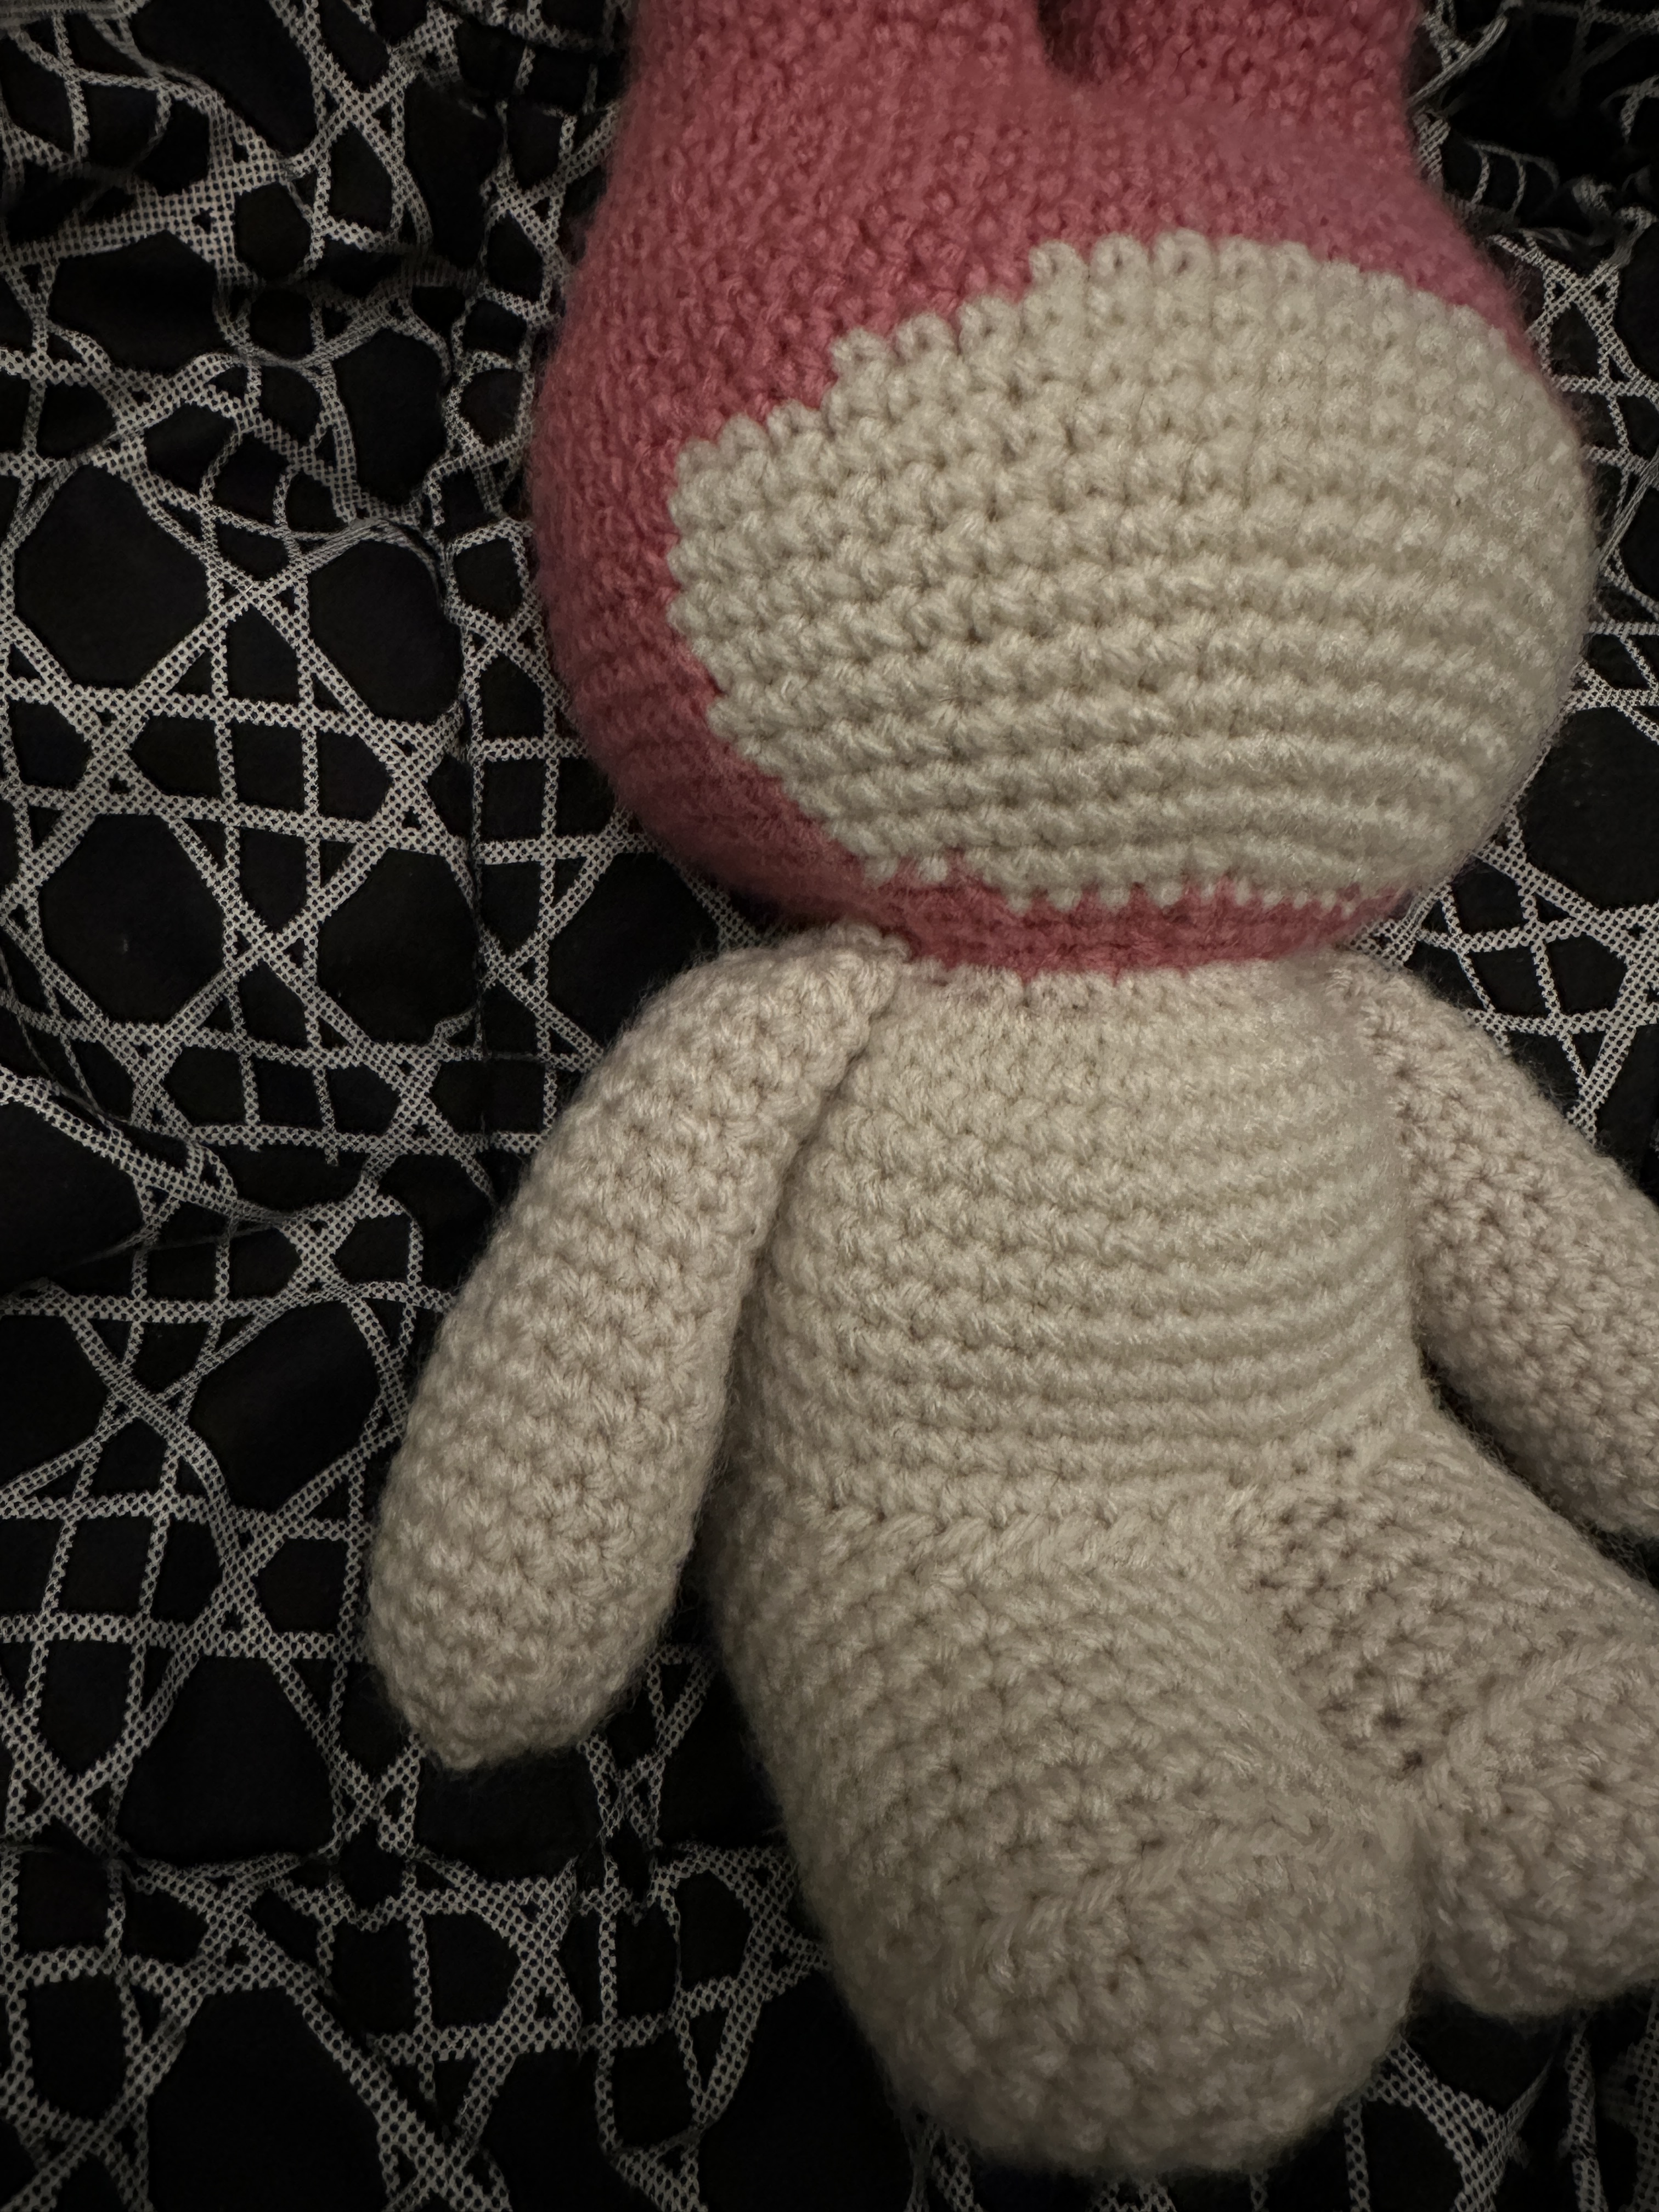
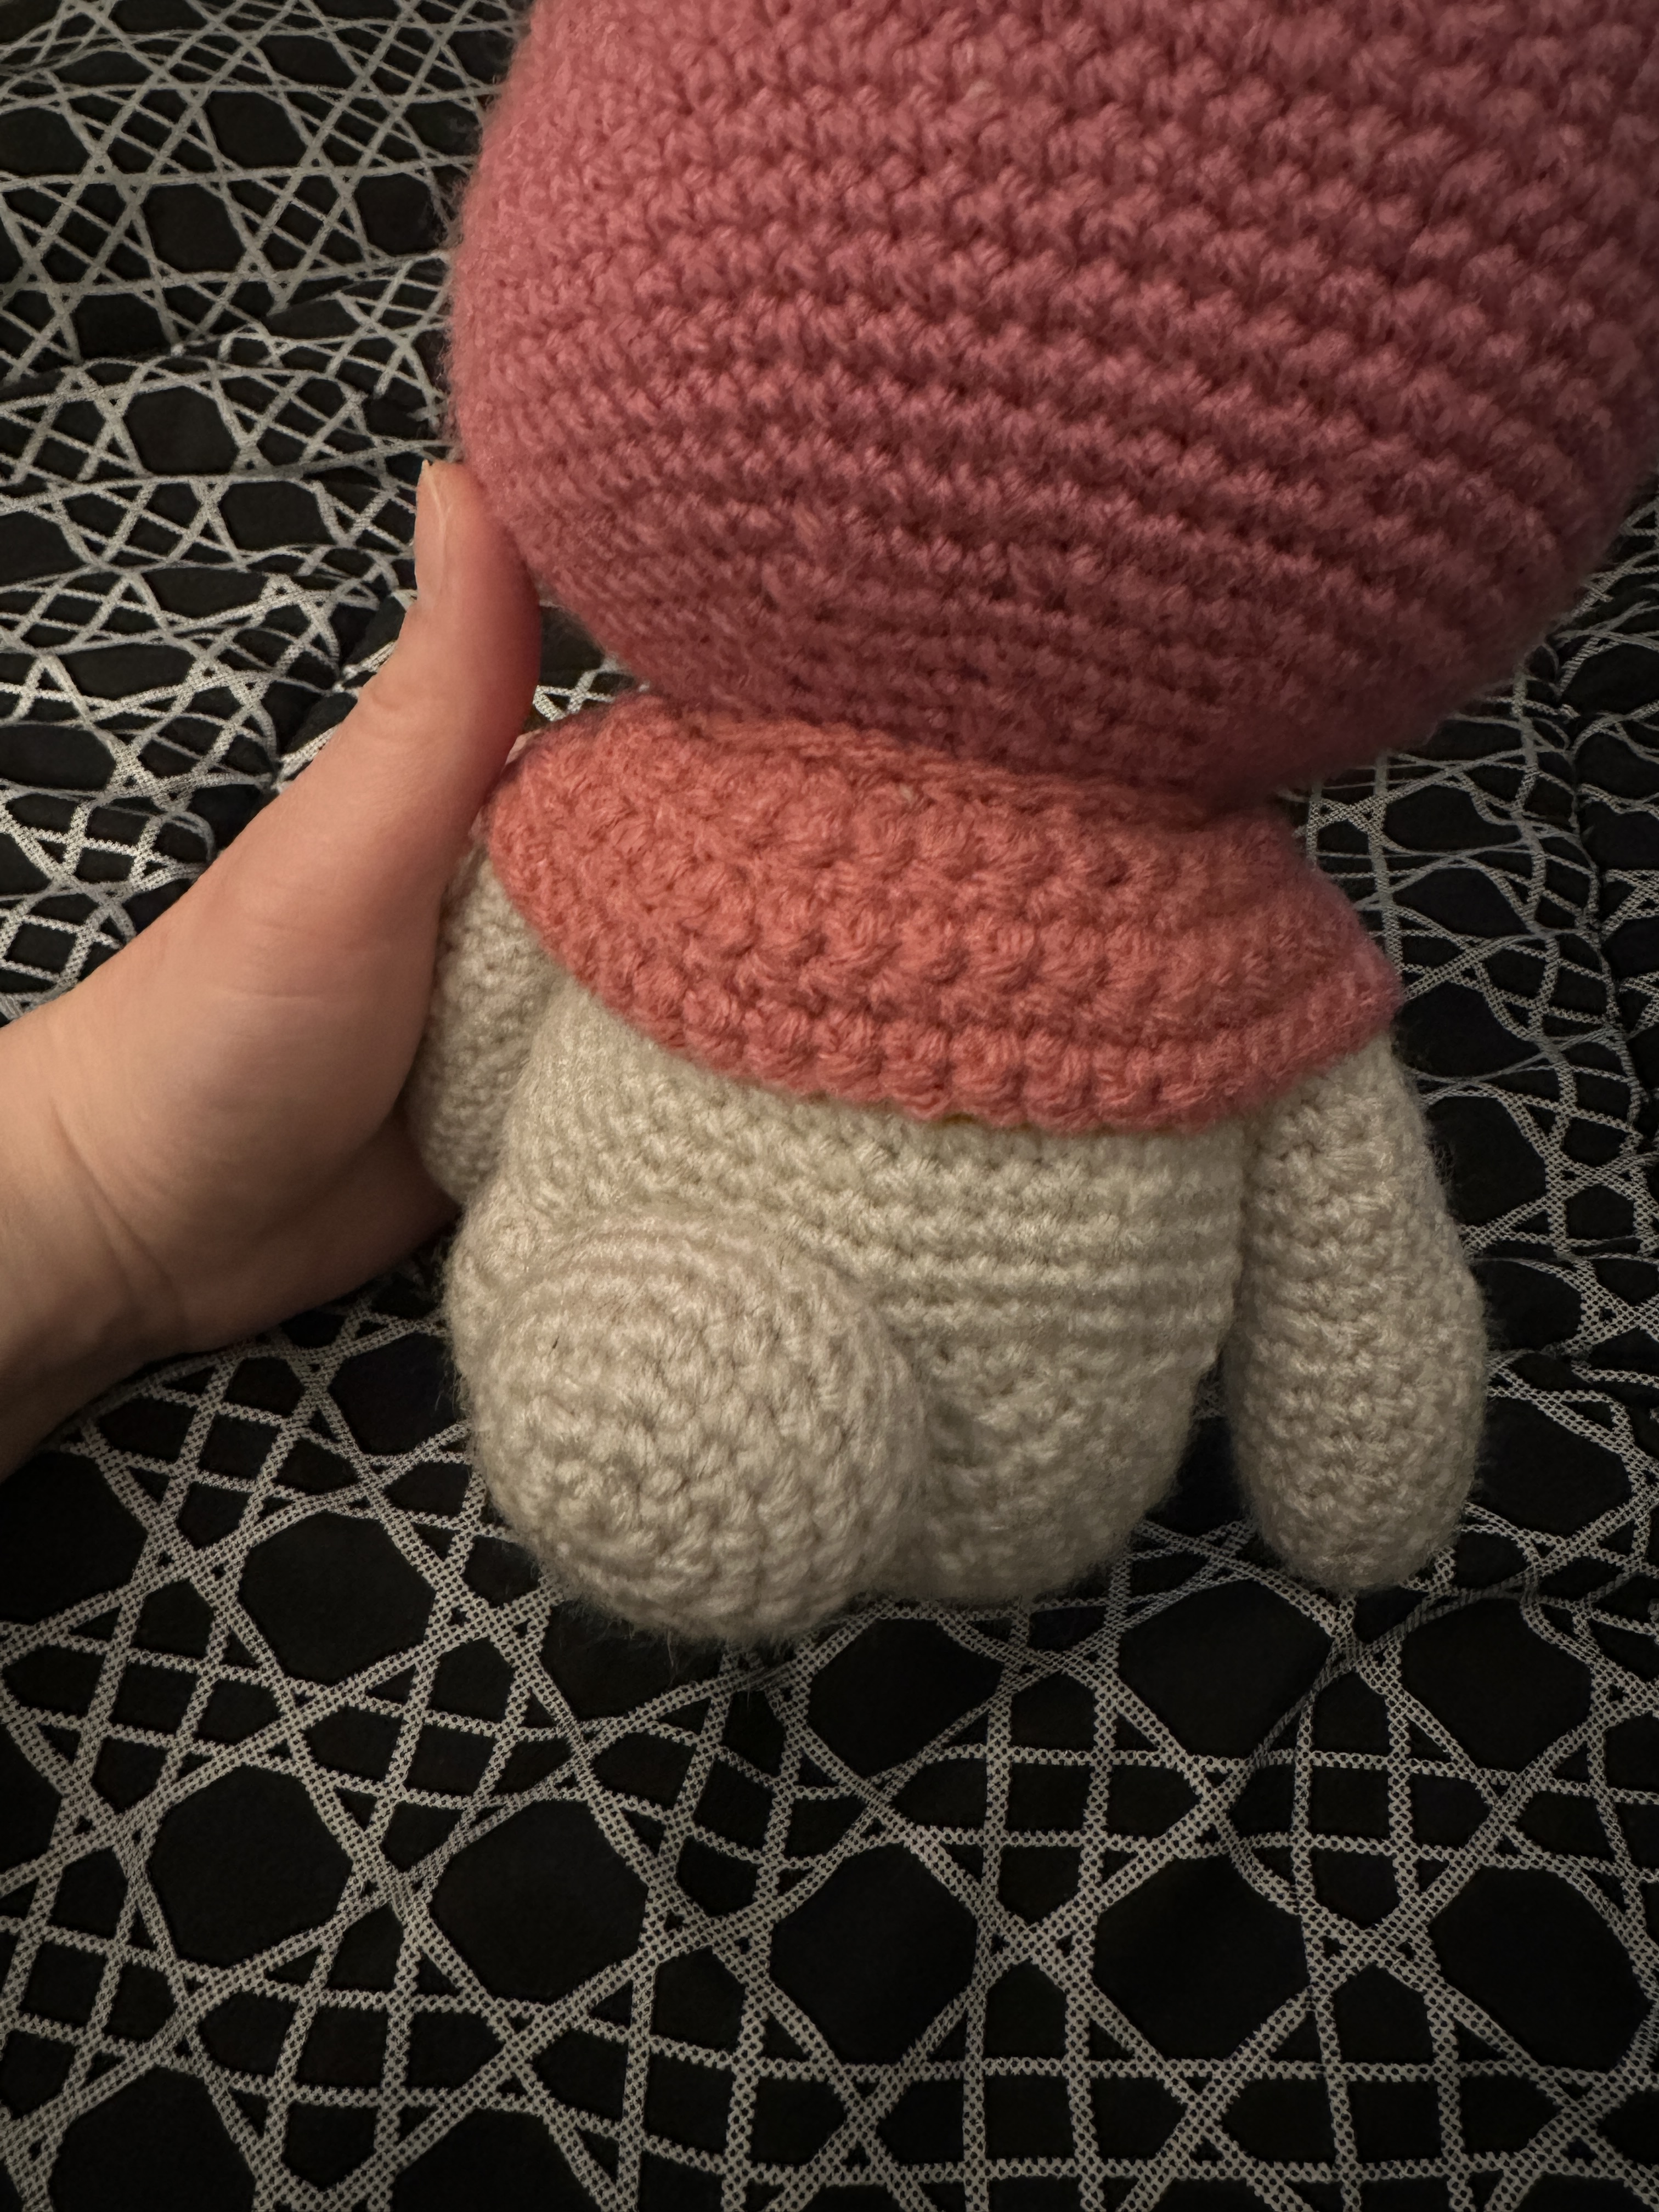
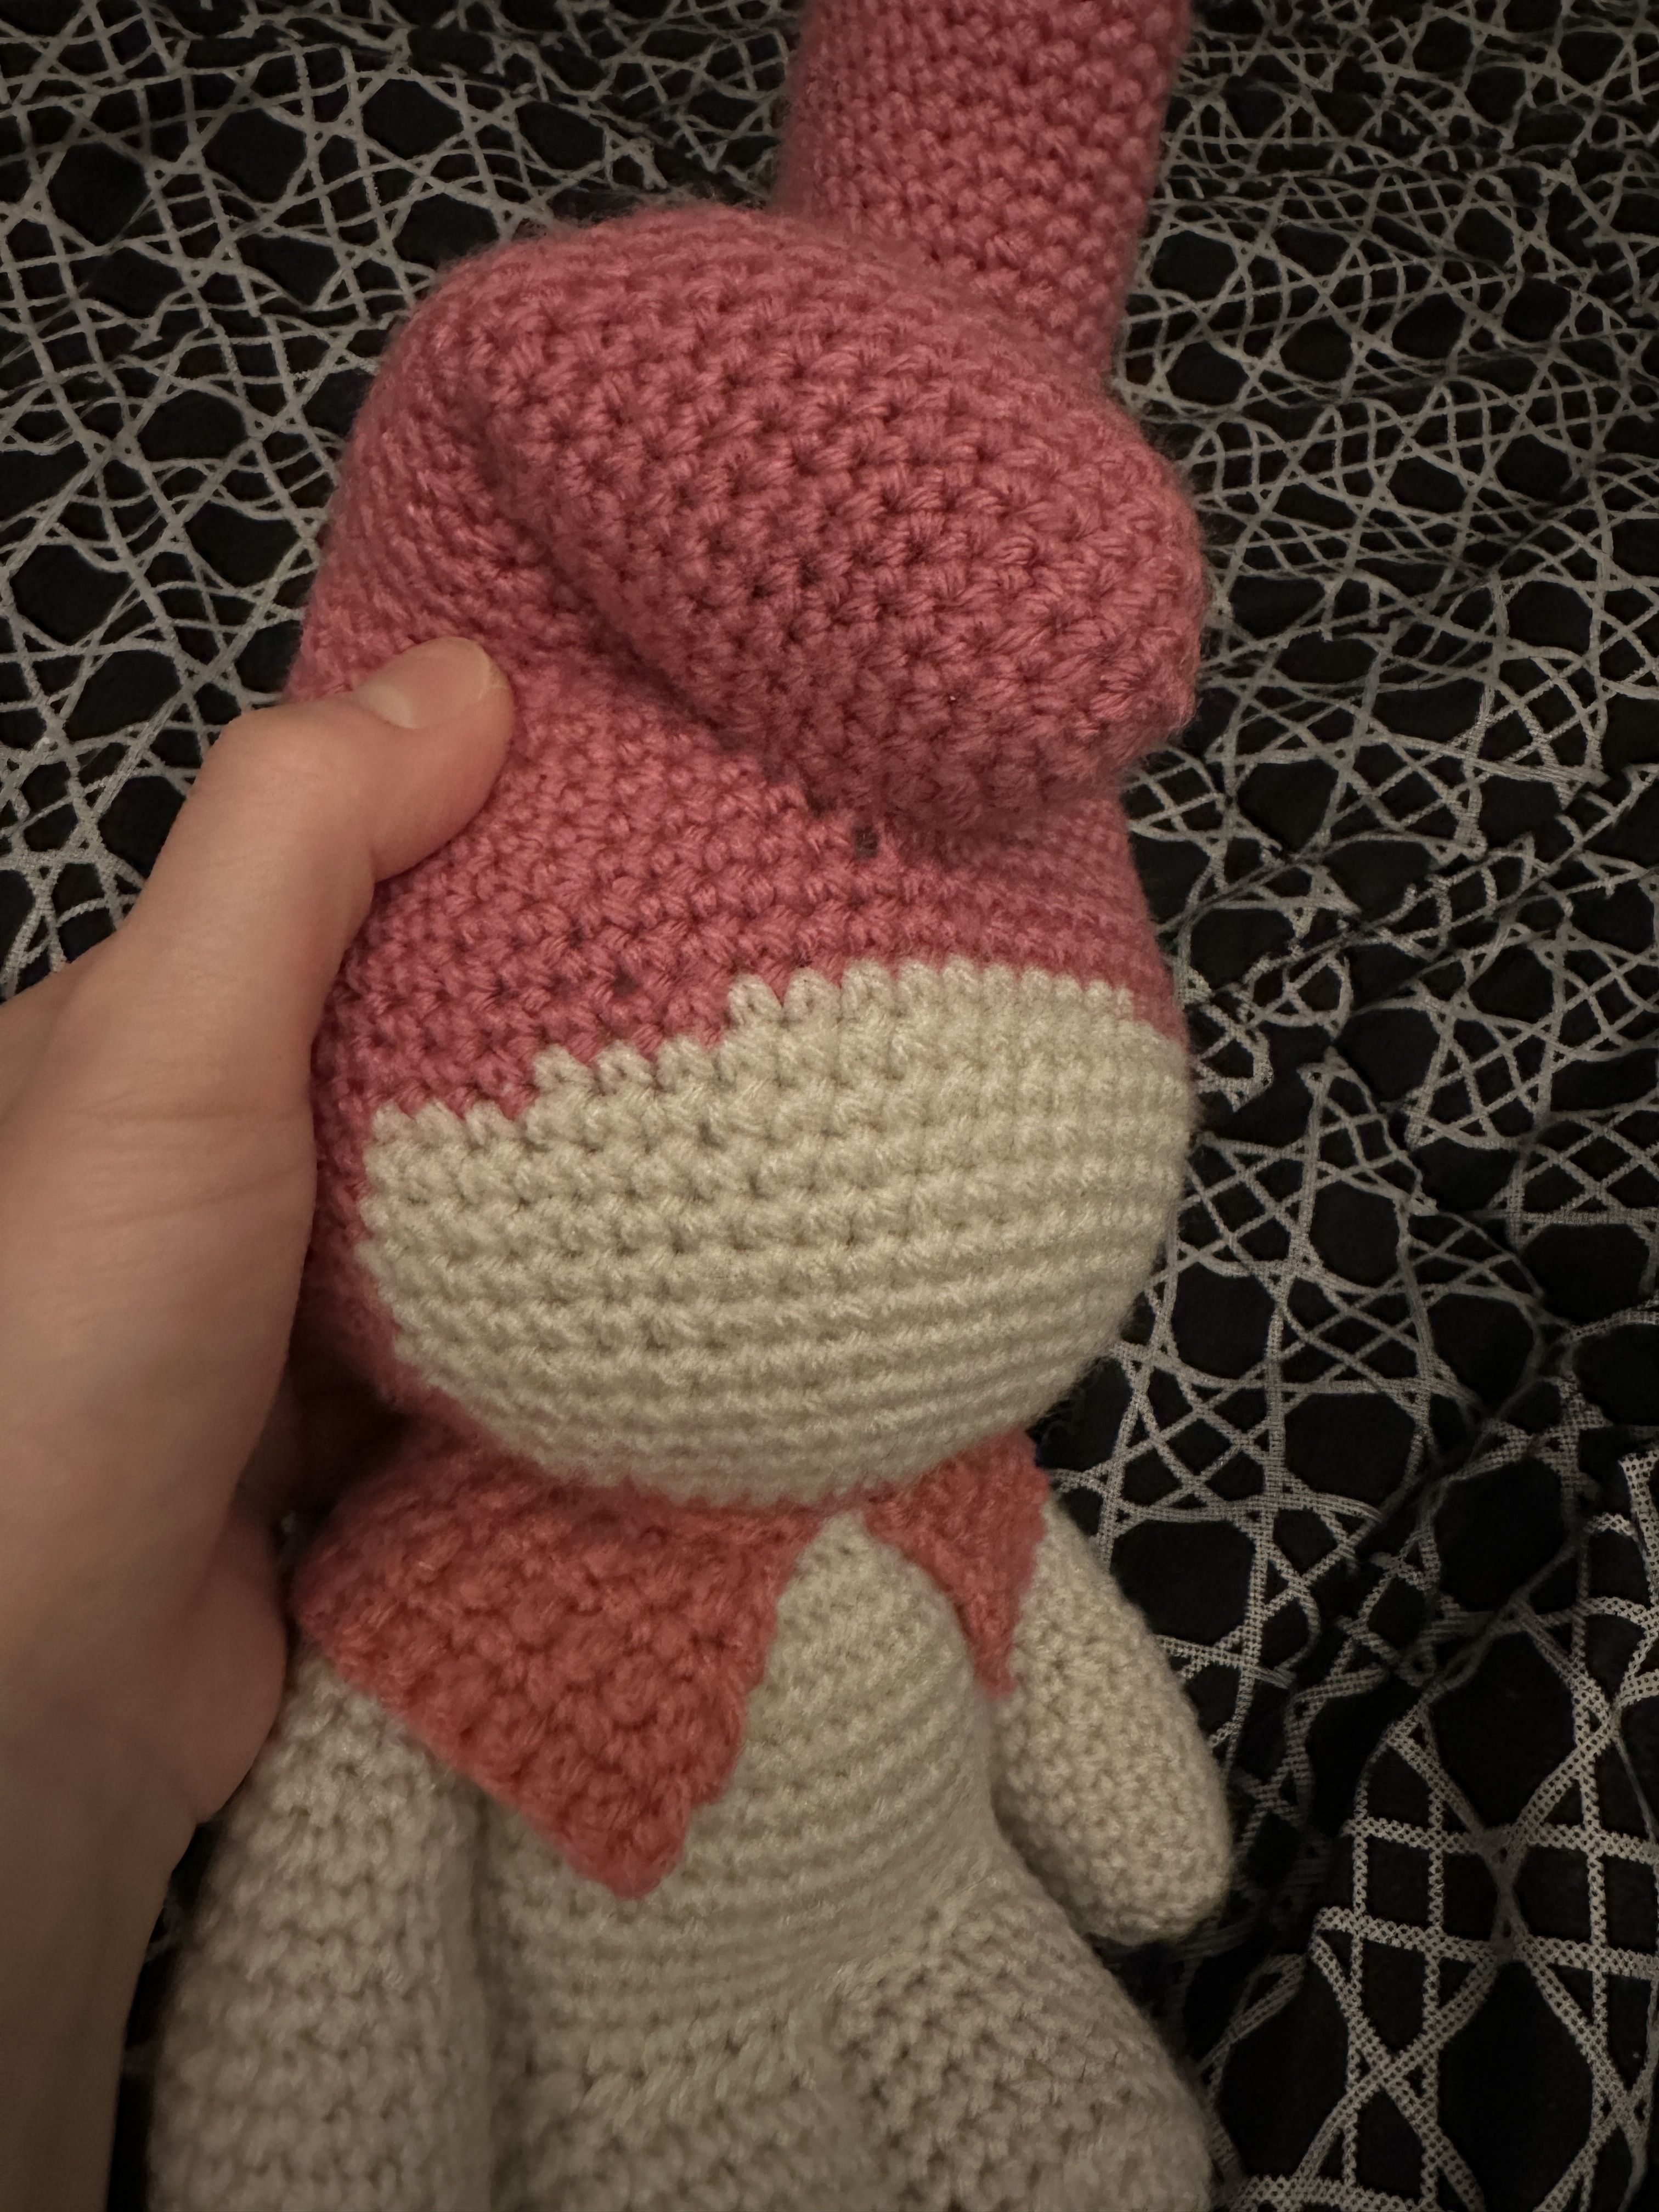
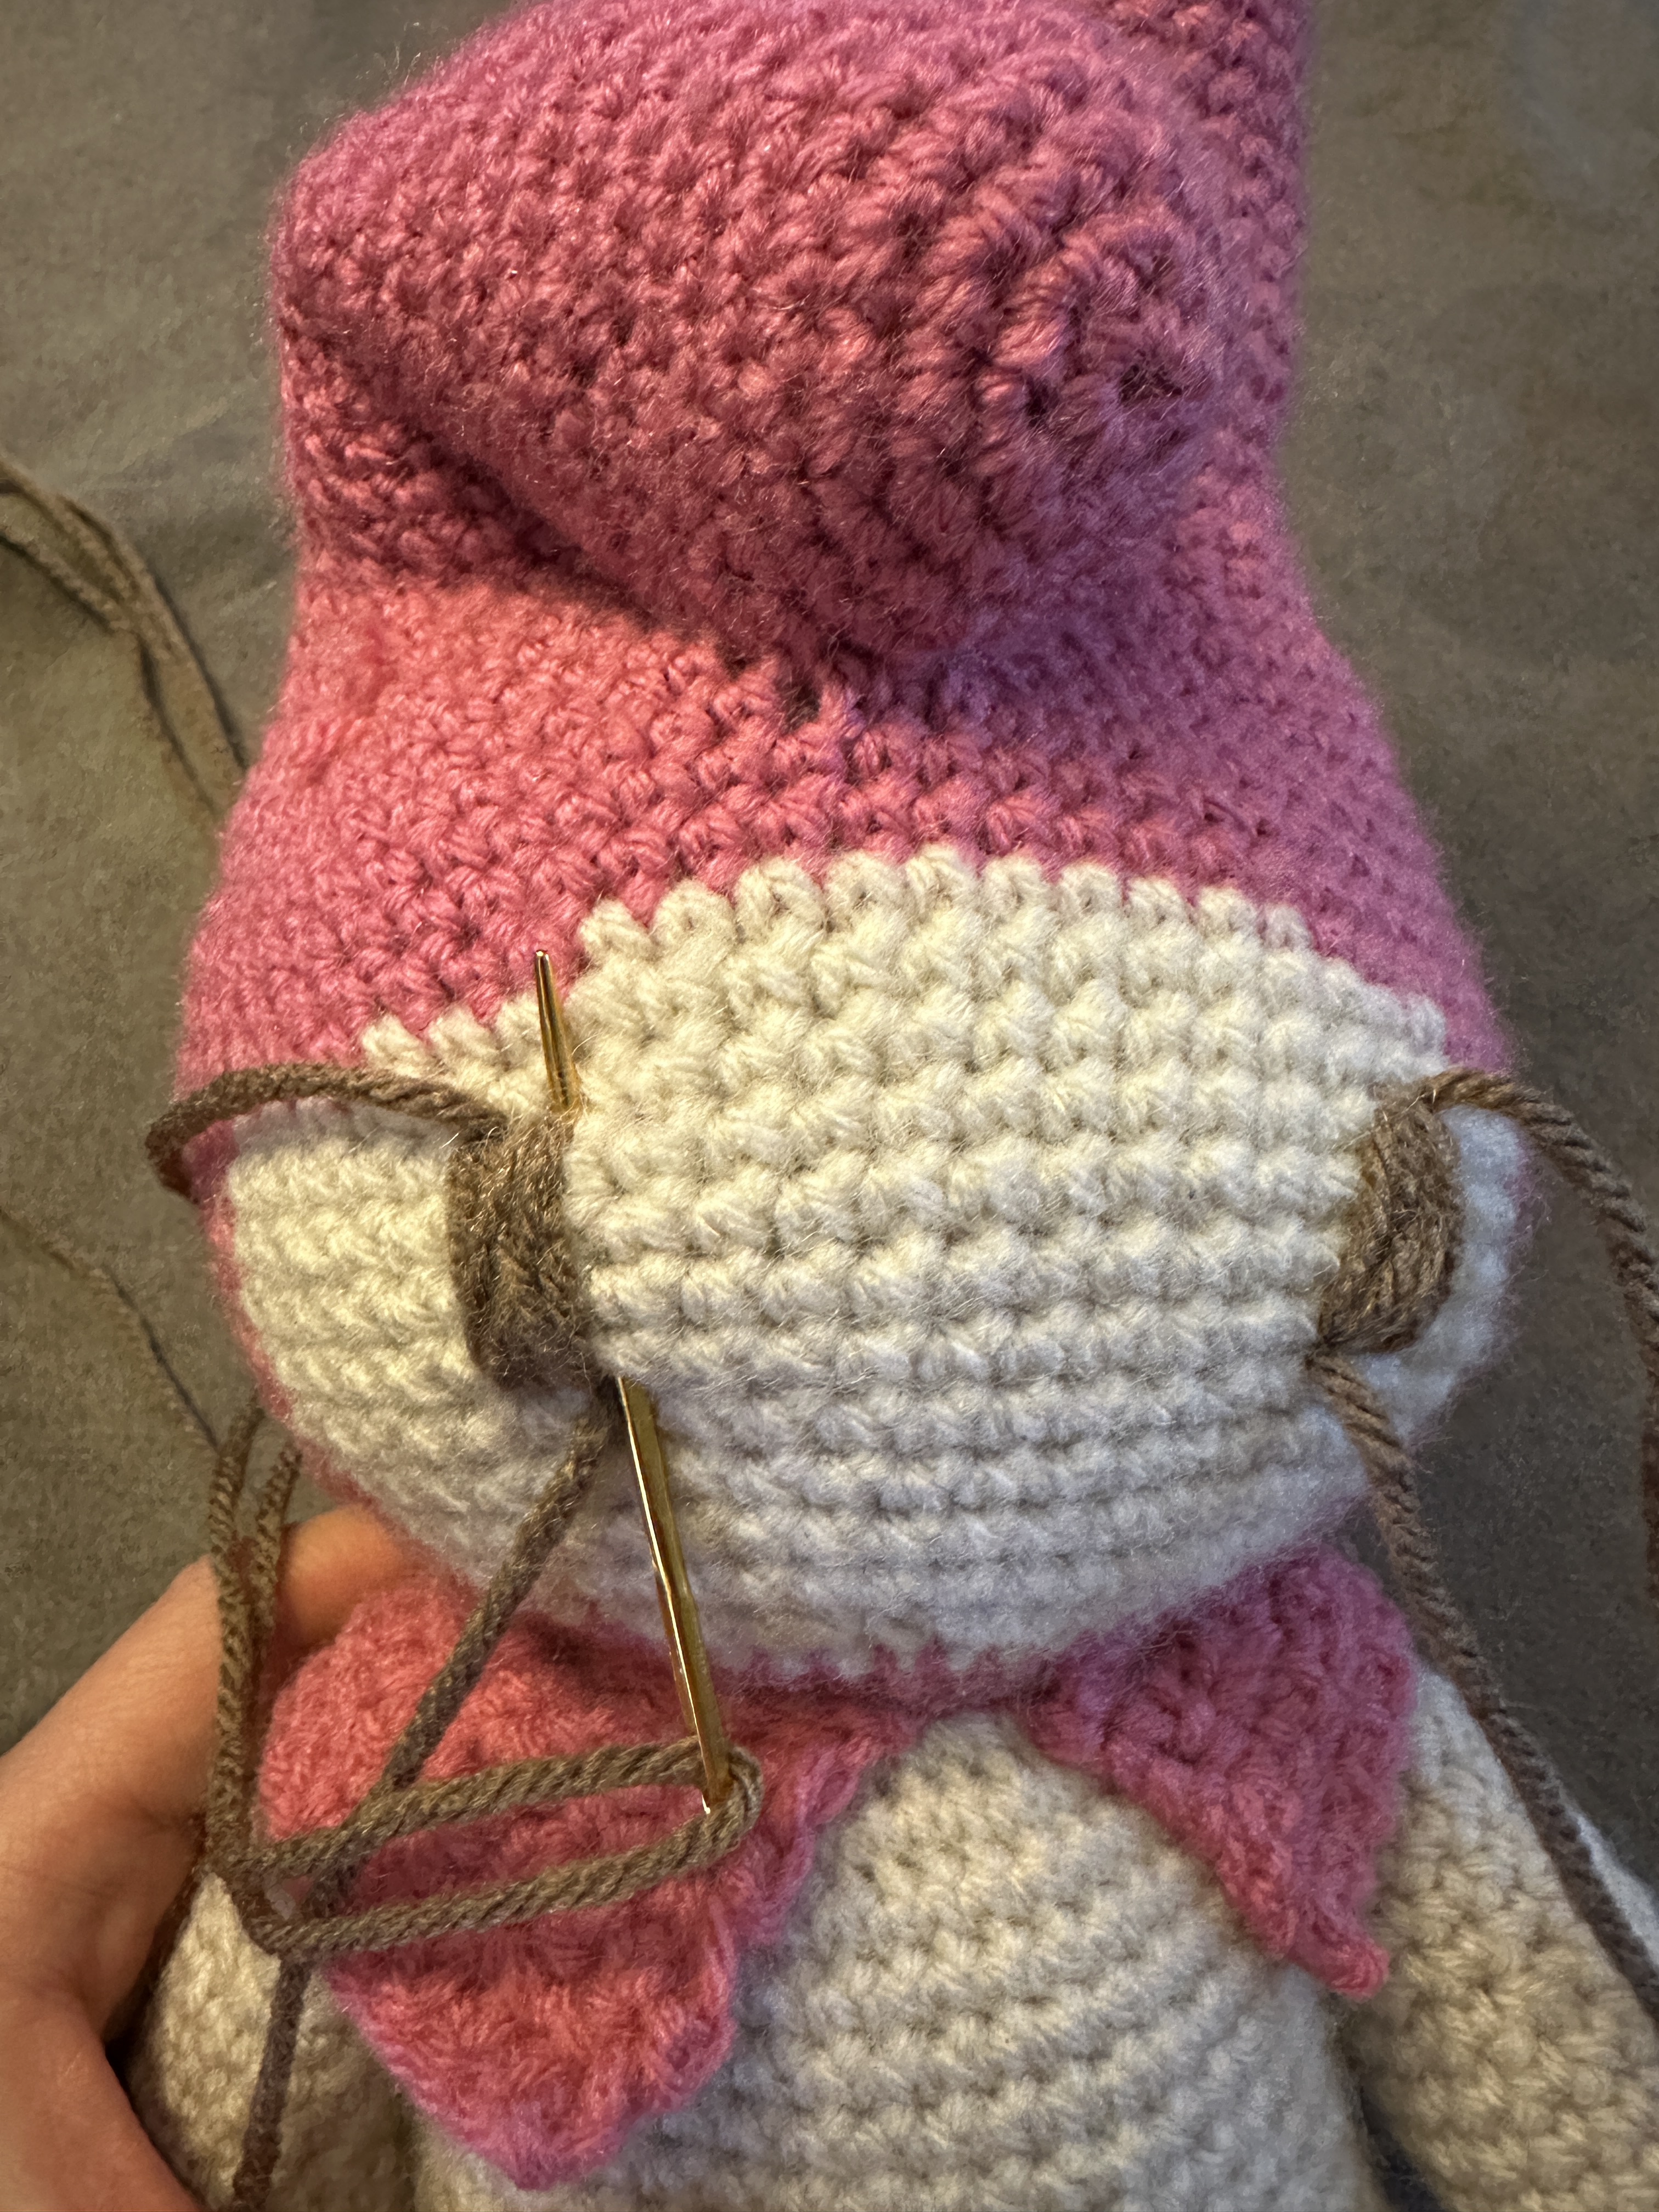
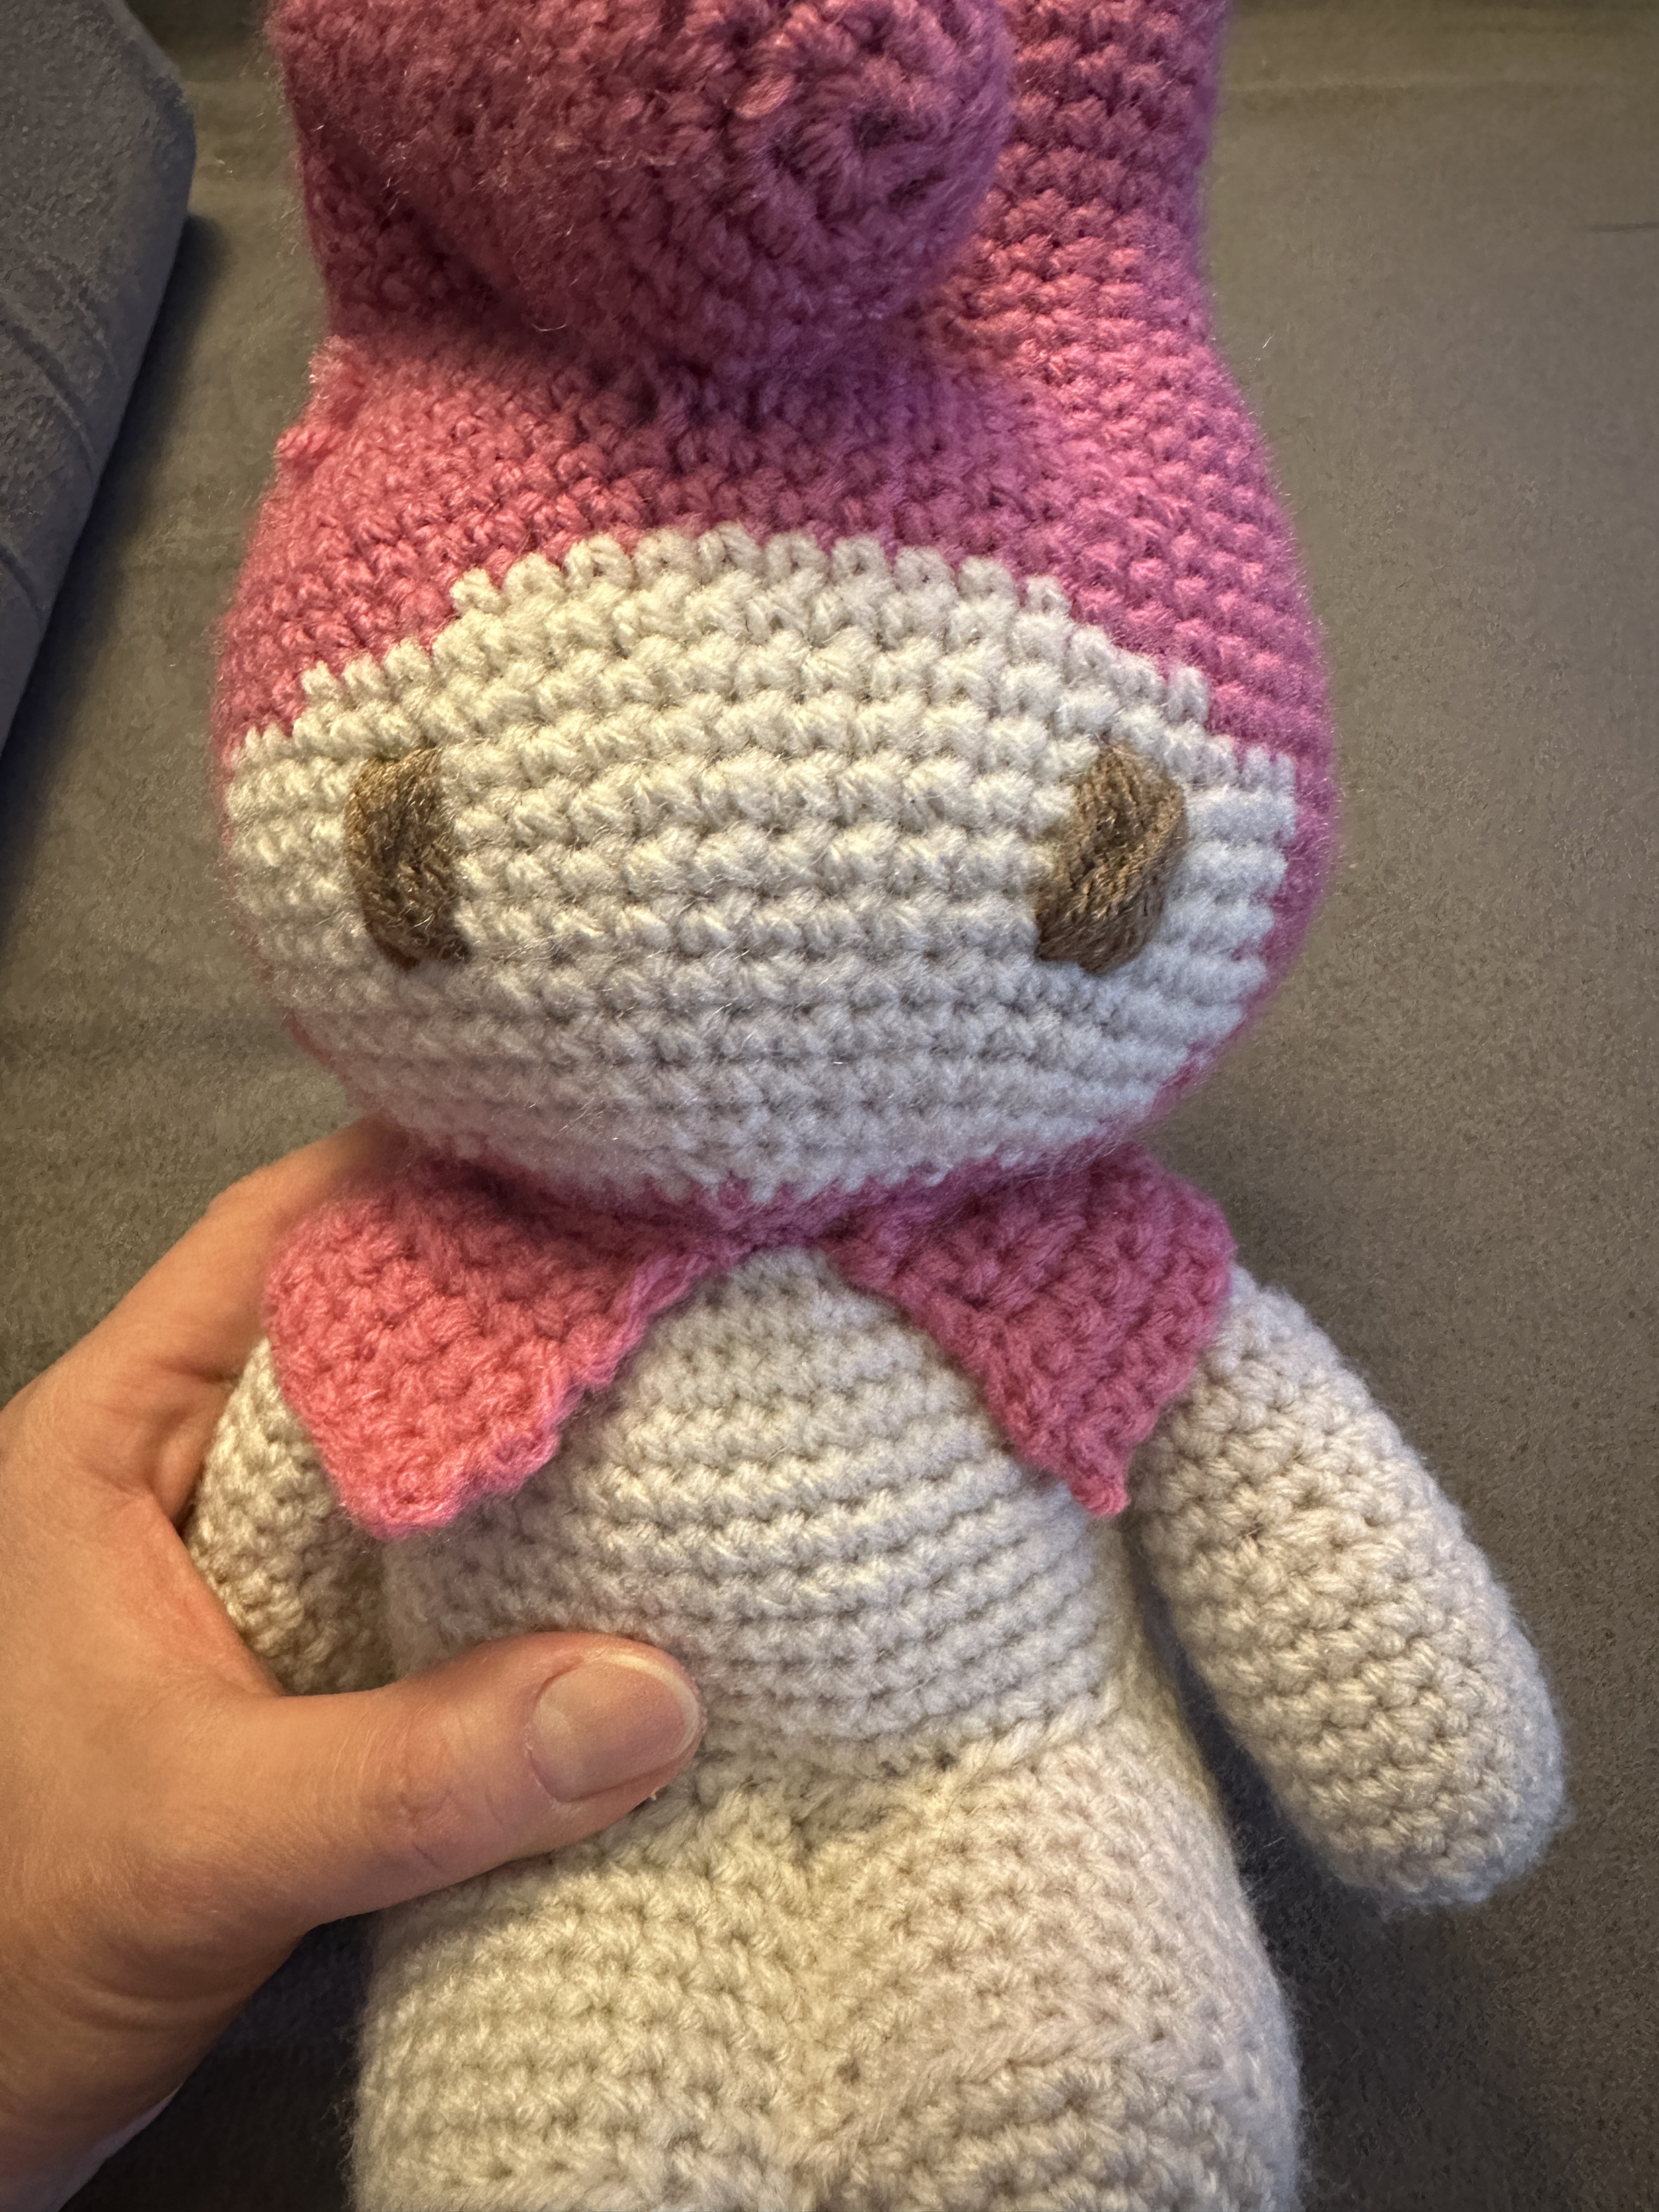
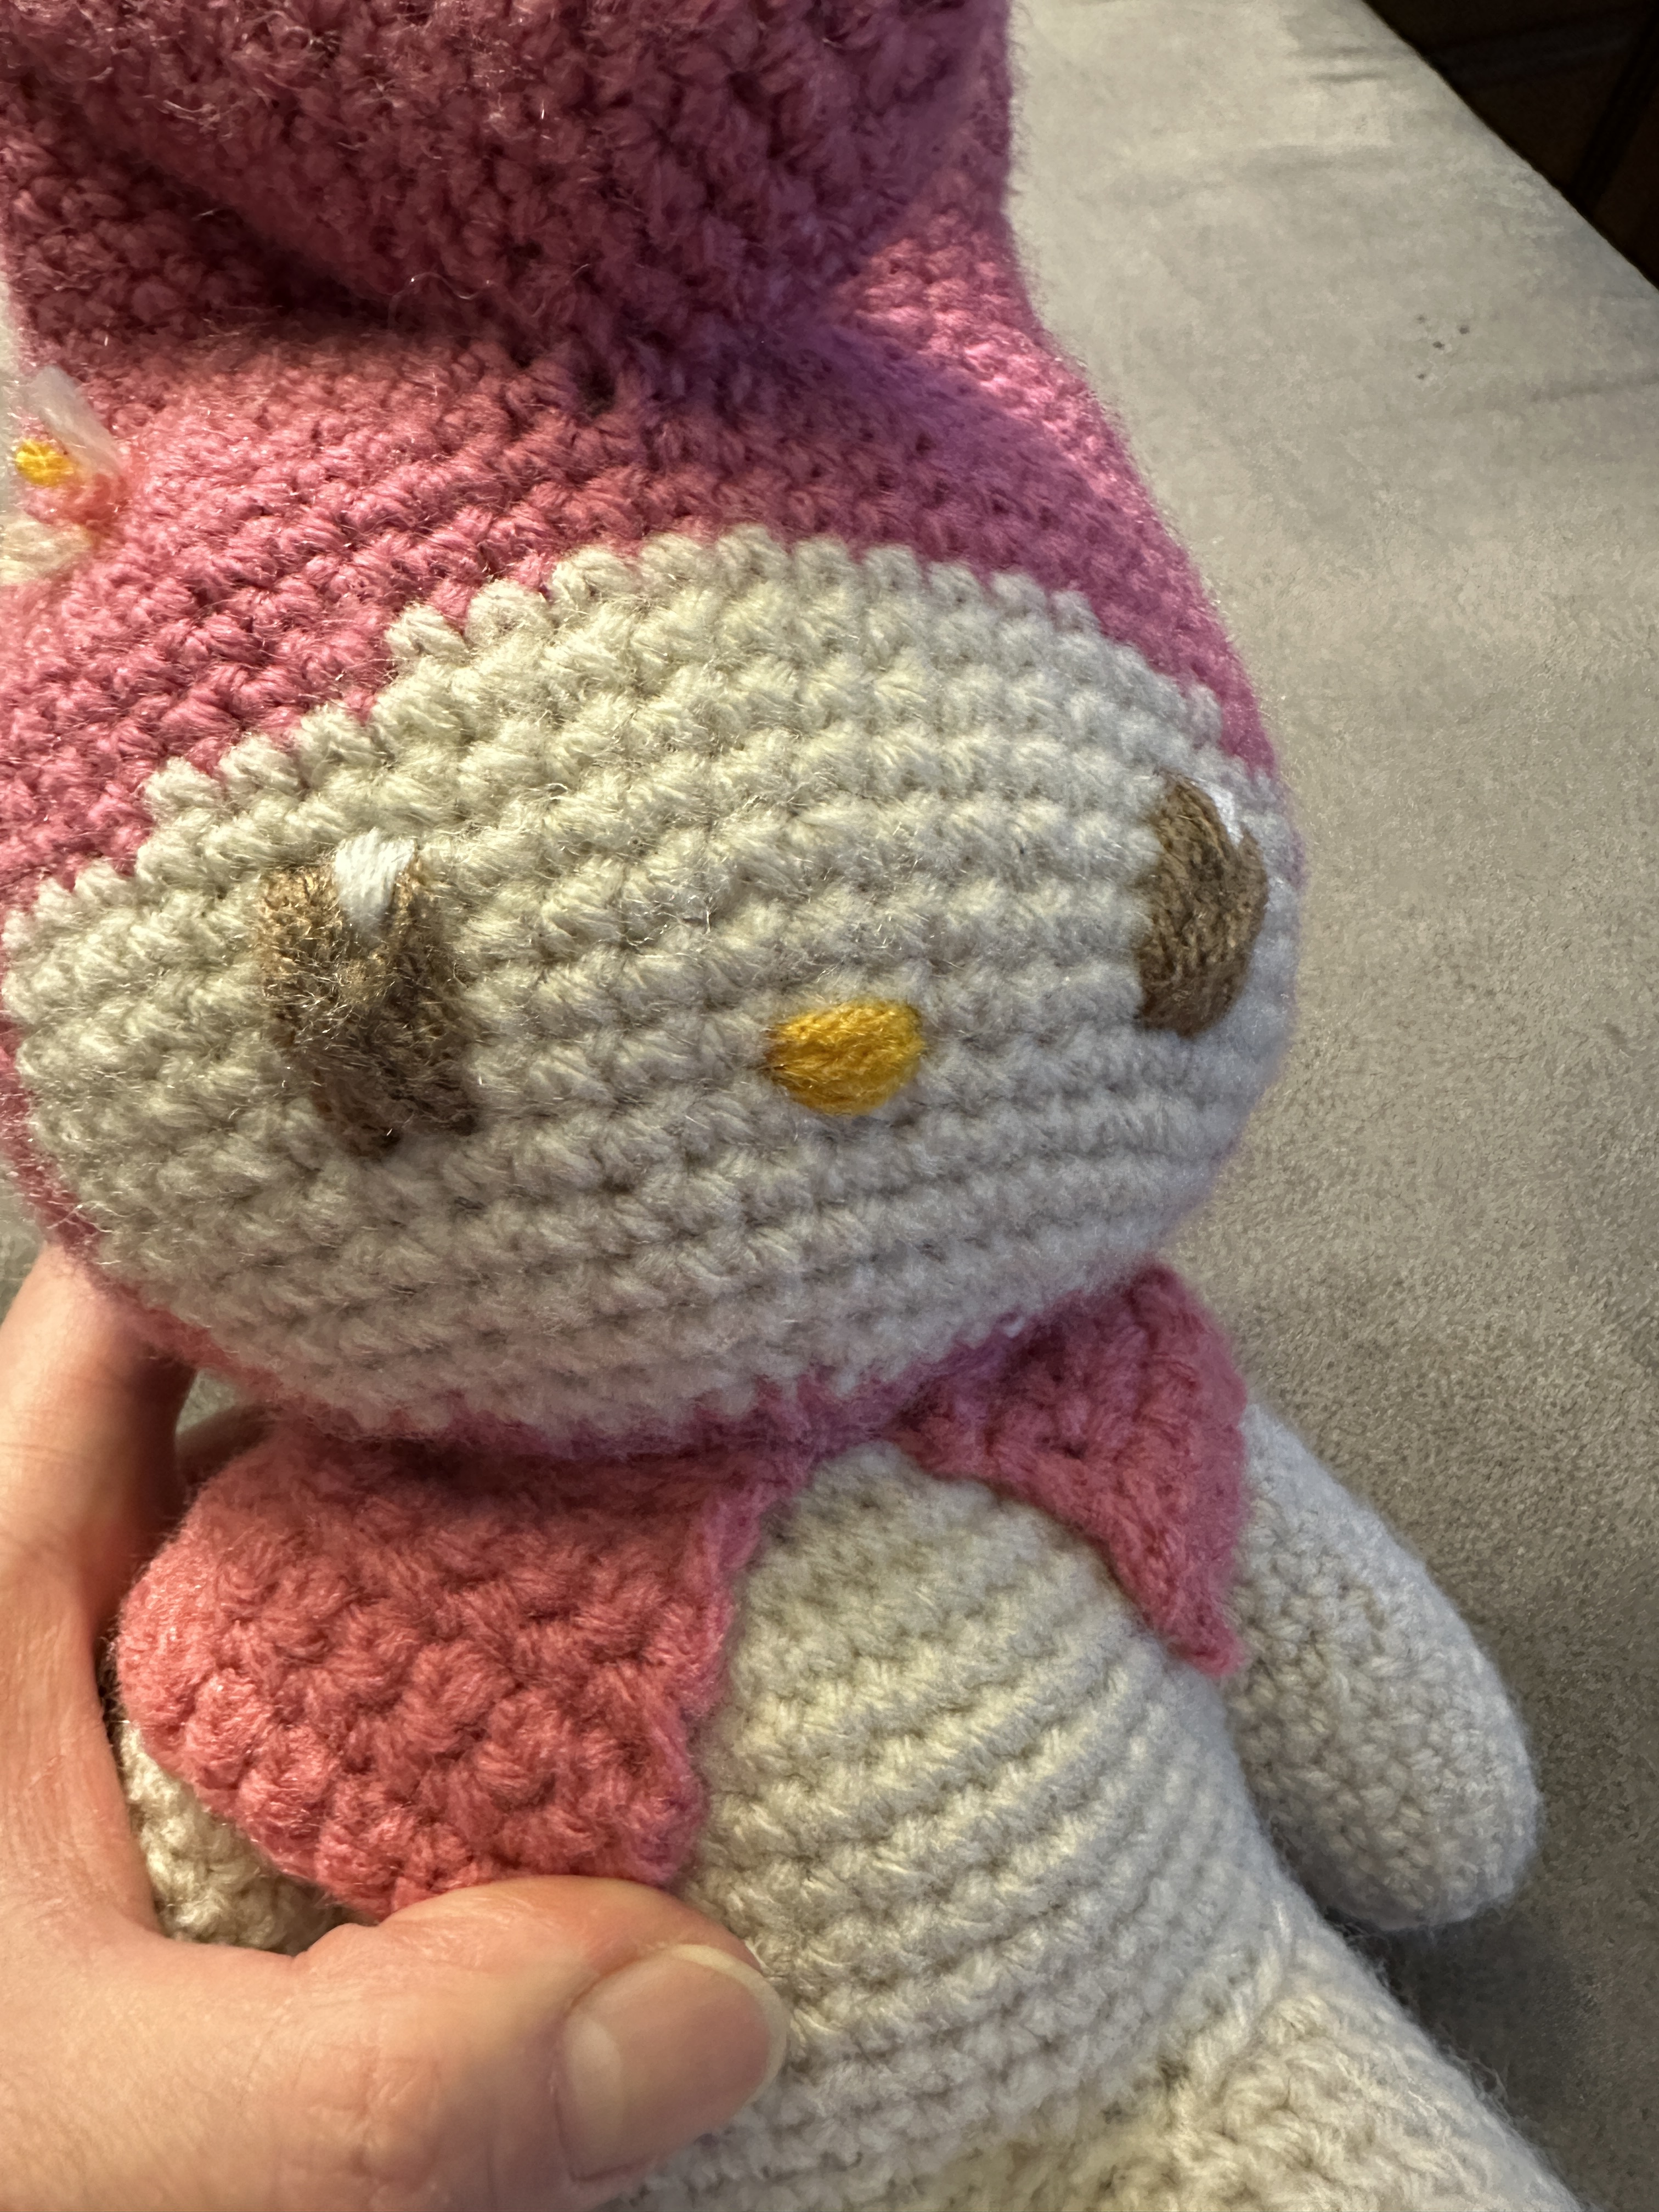
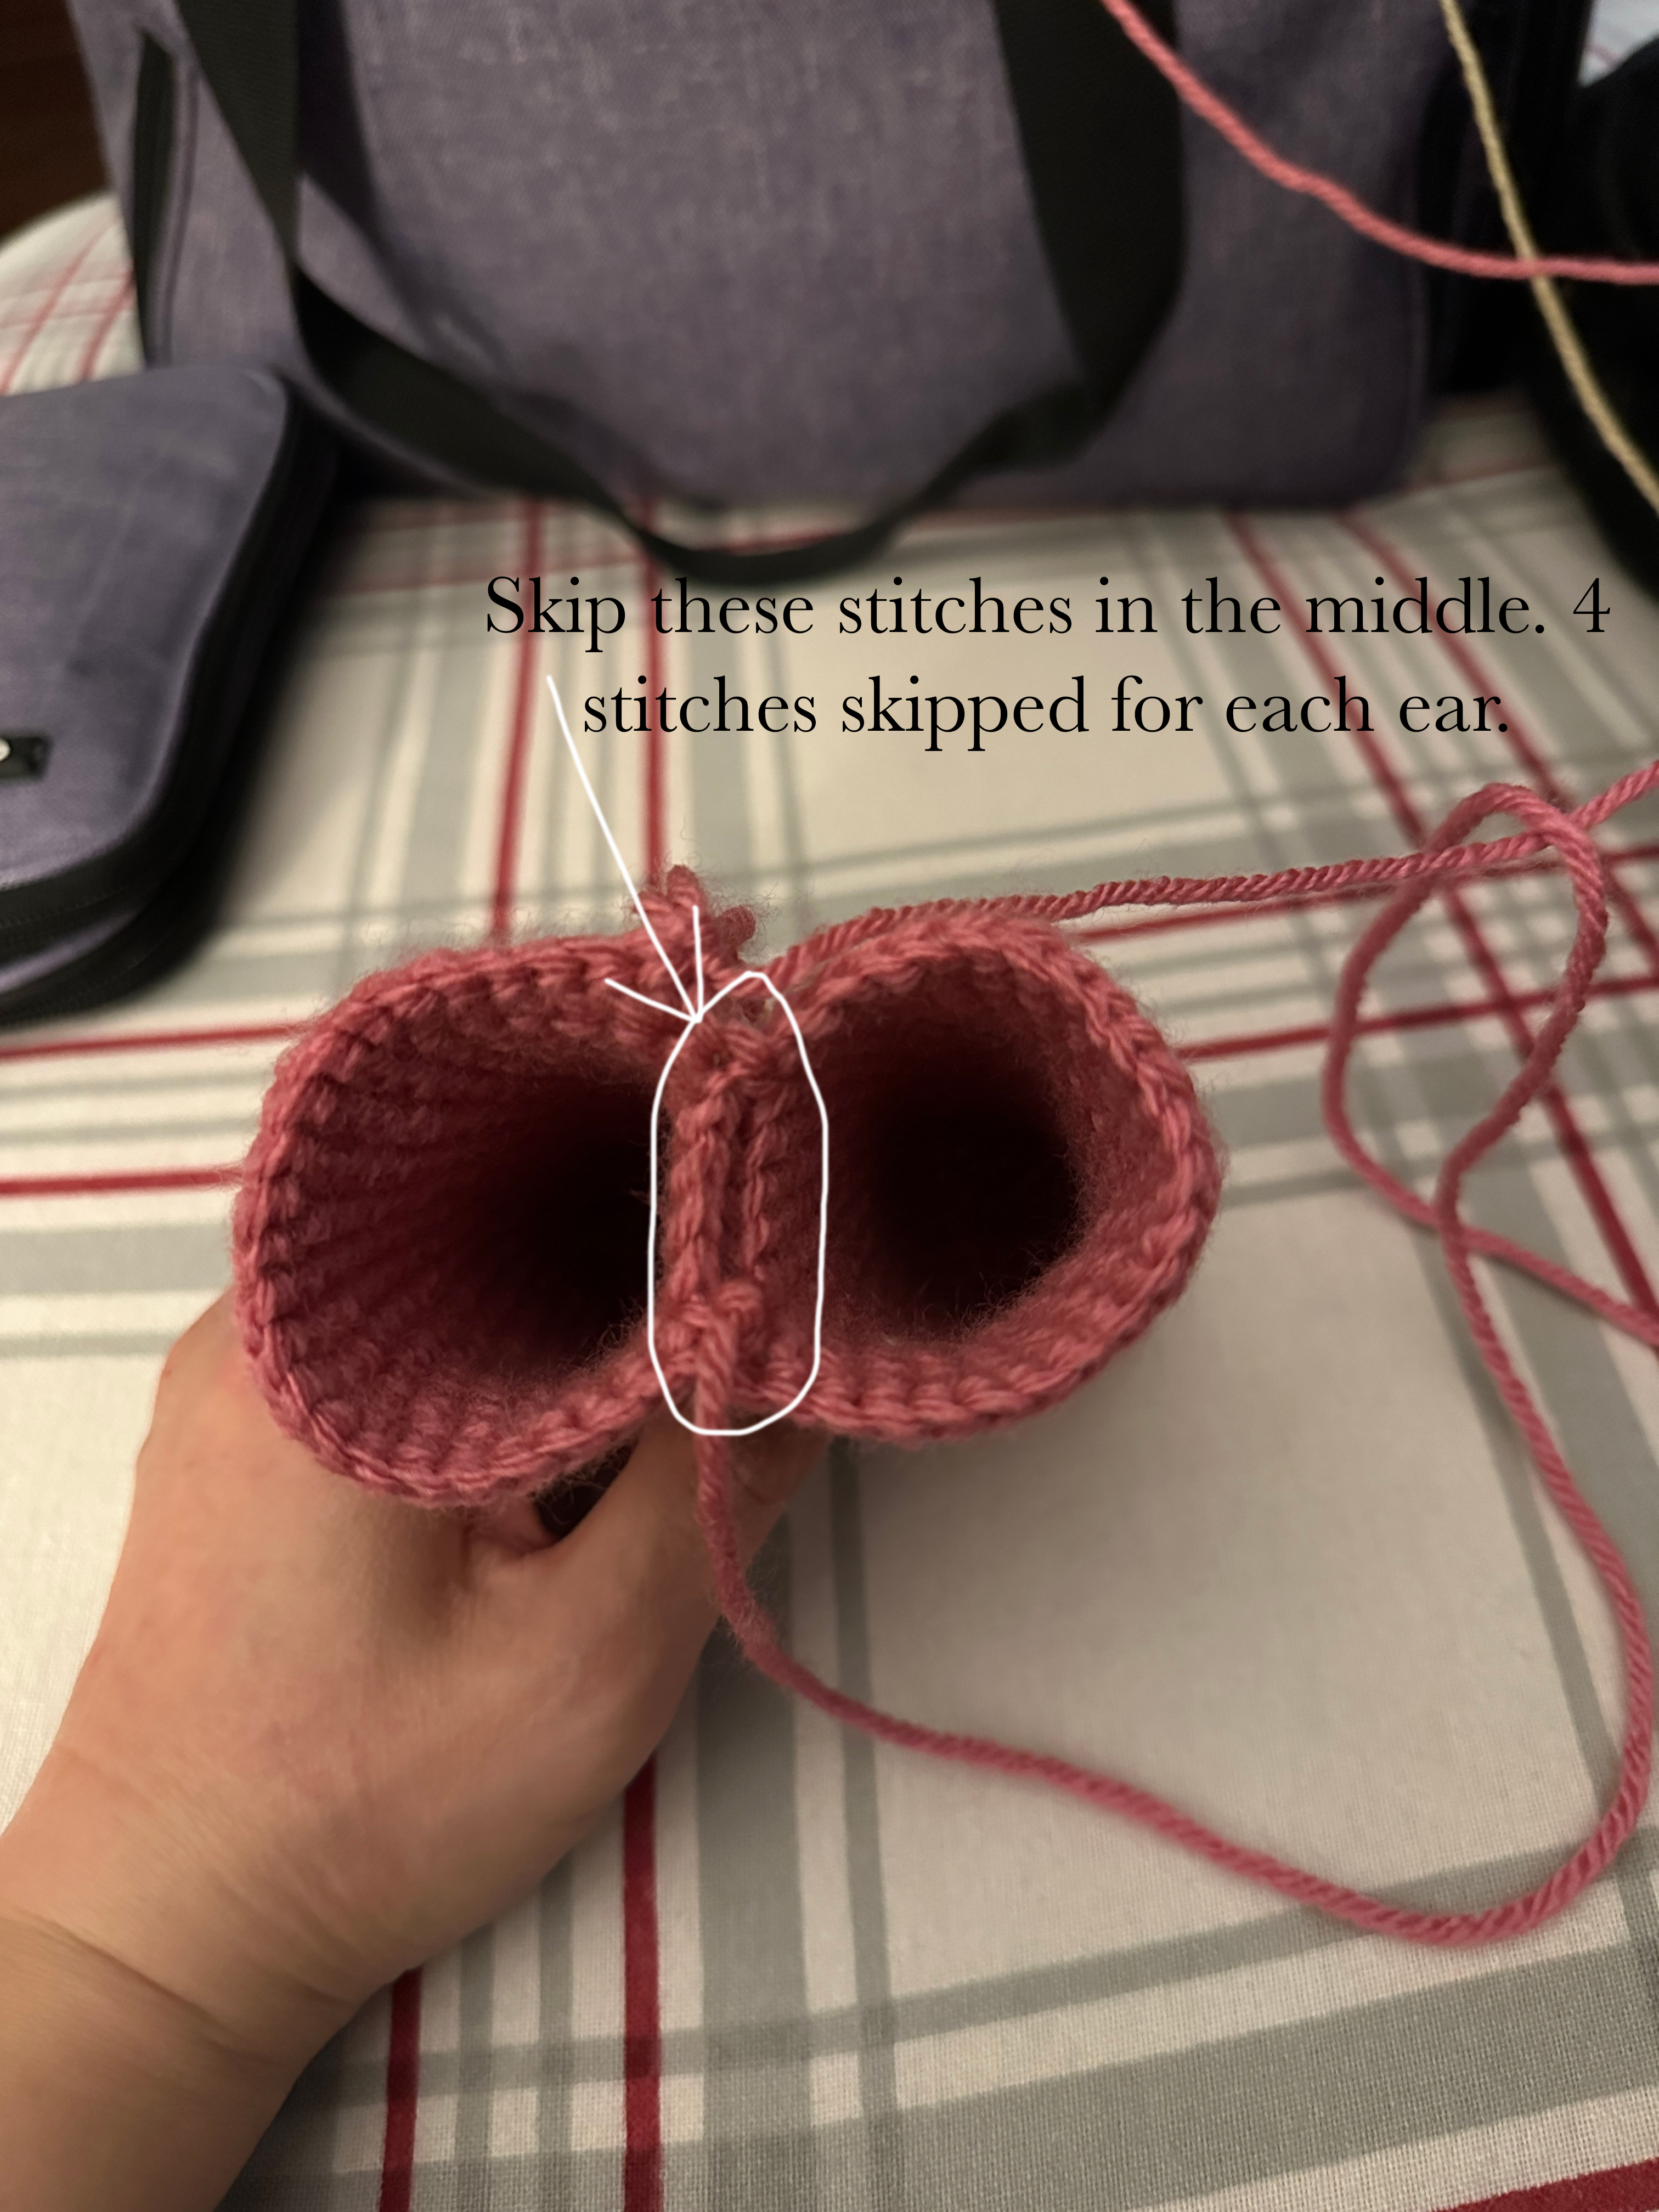
I do want to crochet a Labubu for those who want to get one but can’t find one. I will be filming the tutorial tonight and probably will have the video up for next Fridays weekly tutorial. I also have a few other tutorials I have posted recently if you want to check them out. One for Usahana, Tophat and a Long Bear Bag. Please give them some love…like, comment and subscribe! Thanks for being awesome 🙂 Until next time!

How to Make My Melody

A couple of weeks ago I posted something about my daughter’s 1st birthday. It’s a bunny theme and I decided to make little bunnies for party favors. I also made a My Melody for her. I’ve decided to give this pattern for free here on my website.

Materials:

  1. Medium worsted yarn. I used Red Heart Super Saver. Pink, purple, gold, brown, white and cream colors.
  2. Stuffing
  3. Darning needle
  4. Scissors

Ears (Make 2) and Body:

  1. With pink color. 6sc in magic circle. (6)
  2. 2sc in each st. (12)
  3. (1sc in st. 2sc in st.) x 6. (18)
  4. (1sc in next 2st. 2sc in st.) x 6. (24)
  5. 1sc in each st. For 23 rows. See Figure 1. (24)
  6. Connect the 2 ears together. Make sure that you skip 4 stitches from each ear. So you are skipping a total of 8 stitches. This video will show you what I mean by connecting the ears together: https://www.youtube.com/watch?v=V7t7KPY50tk&ab_channel=GoldenJellyBean. See figure 1, 2 and 37. Sew the gap between the ears closed. (40)
  7. (1sc in next 3st. 2sc in st) x 10. (50)
  8. (1sc in next 4st. 2sc in st) x 10. (60)
  9. 1sc in each st for 5 rows. (60)
  10. Crochet until you have about 5 stitches away from the end of the row. Fold your work in half as shown in Figure 5. Each half (front and back) should have 30 stitches each. You will be changing color to cream. The middle of the front should have 10 stitches of white. If you would like to follow what I did for mine, the last stitch from the last row was cream. Then the rest of the 9 cream stitches started the next row. Then do this: (1sc in next 4st. 2sc in st.) x 9. 1sc in the next st. Change to cream. 1sc in next 4st. See Figures 6-9.
  11. 1sc in next 12st. Change to pink. 1sc in the next 50st. Change to cream. 1sc in next 7st.
  12. 1sc in next 15st. Change to pink. 1sc in next 47st. Change to cream. 1sc in next 7st.
  13. 1sc in next 15st. Change to pink. 1sc in the next 47st. Change to cream. 1sc in next 7st.
  14. 1sc in the next 15st. Change to pink. 1sc in next 47st. Change to cream. 1sc in next 7st.
  15. 1sc in the next 15st. Change to pink. 1sc in next 48st. Change to cream. 1sc in next 6st. 
  16. 1sc in next 16st. Change to pink. 1sc in next 47st. Change to cream. 1sc in next 6st.
  17. 1sc in next 16st. Change to pink. 1sc in next 48st. Change to cream. 1sc in next 5st.
  18. 1sc in next 15st. Change to pink. (1sc in next 3st. Sc2tog.) x 9. 1sc in next 5st. Change to cream. 1sc in next 4st.
  19. 1sc in next 15st. Change to pink. (1sc in next 8st. Sc2tog.) x 4. 1sc in next 2st. Change to cream. 1sc in next 3st.
  20. 1sc in next 14st. Change to pink. (1sc in next 4st. Sc2tog.) x 6. 1sc in next 6st.
  21. Change to cream. (1sc in next 4st. Sc2tog.) x 2. Change to pink. (1sc in next 4st. Sc2tog.) x 6. 1sc in next 2st. (42)
  22. (1sc in next 4st. Sc2tog) X 6. (36)
  23. (1sc in next 3st. Sc2tog.) x 6 (30)
  24. (1sc in next 2st. Sc2tog.) x 6 (24)
  25. Change to cream. 2sc in each st. (48)
  26. 1sc in each st. For 10 rows. 
  27. FO. Make the legs.
  28. After finishing the legs, sew them onto the body as shown in the pictures. See Figures 13-16.

Legs (Make 2):

  1. With cream color. 6sc in magic circle. (6)
  2. 2sc in each st. (12)
  3. (1sc in st. 2sc in st.) x 6 (18)
  4. (1sc in next 2st. 2sc in st.) x 6 (24)
  5. (1sc in next 7st. 2sc in st.) x 3. (27)
  6. 1sc in each st. For 16 rows. (27)
  7. (1sc in st. Sc2tog.) x 9 (18)
  8. Sc2tog x 9. (9)
  9. Sc2tog x 3. Sew gap closed.
  10. Sew the legs together as shown in Figures 11 and 12.
  11. Then sew the legs onto the body as shown in Figures 13-16.

Arms (Make 2):

  1. With cream color. 6sc in magic circle. (6)
  2. 2sc in each st. (12)
  3. (1sc in st. 2sc in st.) x 6 (18)
  4. 1sc in each st. For 7 rows. (18)
  5. (1sc in next 4st. Sc2tog.) x 3 (15)
  6. 1sc in each st. For 3 rows.
  7. (1sc in next 3st. Sc2tog.) x 3 (12)
  8. 1sc in each st. For 3 rows.
  9. (1sc in next 2st. Sc2tog) x 3 (9)
  10. (1sc in st. Sc2tog.) x 3 (6)
  11. FO. Sew gap closed.
  12. Sew arms on, making sure to put the smaller part at the top. See Figures 18 and 19.

Hat Collar (this part goes around her neck):

  1. With pink color. Chain 28.
  2. 1sc in each chain starting in the second chain from the hook. (27)
  3. Chain 1. Turn. 1sc in each st. (27)
  4. Chain 1. Turn. (1sc in next 8st. 2sc in st.) x 3 (30)
  5. Chain 1. Turn. (1sc in next 5st. 2sc in st.) x 6 (36)
  6. Chain 1. Turn. 1sc in each st. Do this for 2 rows. Sew around her neck. See Figures 21-23.

Fold one of the ears down and sew it to secure it. See Figures 24 and 25.

Flower:

  1. We will first make the petals. Use purple color. 6sc in magic circle. (6)
  2. 1sc in each st. (6)
  3. 2sc in each st. (12)
  4. 1sc in each st. (12)
  5. (1sc in st. 2sc in st.) x 6 (18)
  6. 1sc in each st. For 3 rows. (18)
  7. (1sc in st. Sc2tog.) x 6. (12)
  8. Sc2tog x 6. (6)
  9. Sew gap closed. Do not stuff.
  10. Make 5 other petals. Then sew them together. See Figures 26 and 27.
  11. For the middle part of the flower, use gold color. 6sc in magic circle. (6)
  12. 2sc in each st. (12)
  13. FO. Then sew this onto the middle of the flower (Figure 28). Sew the flower onto her head. I placed my flower on the side of the folded ear (Figures 35 and 36).

Face:

  1. Use brown yarn to embroider her eyes. I used white at the corners of her eyes to make them more alive.
  2. Use gold yarn to embroider her nose.
  3. Finally, use brown yarn to embroider her mouth.
  4. Use the images as a guide for what shapes to make the eyes, nose and mouth. See Figures 29-34.

How to Crochet the Blue Totoro

I came out with a video a while back showing my Blue Totoro. I just had to make these adorable forest spirits because I love the movie. It’s whimsical and my kids love it too. I have a link below on my old video. This is back when I first started and didn’t show my face. I also sound super awkward because I am reading from a script I wrote.

Here is my pattern for the Blue Totoro: Blue Totoro. Below is the video reference to guide you along the way.

Cory and Chrissy Carson Patterns

This show is adorable. I love it. My kids love it. It’s just a nice, clean show for kids and I don’t have to worry about what they are watching when I put this one. Cory Carson is a show on Netflix and it revolves around Cory and his family. Chrissy also has her own show and it’s so cute. If you guys haven’t seen this show, it’s a must see if your kids love cars. There are tons of shows out there with bad writing and they have generic lines and you have a few chuckles but this show is on another level.

So, being me, I had to make these dolls. My son’s birthday is in July and he got so excited when I started making them. How could I resist? He was excited that I was making them for him. If you want to make Cory and Chrissy Carson please click on this link here: Cory Carson Patterns.

Please feel free to share this post 🙂

How to Crocheted a Pig!

Materials:
1. Pink, black and white colored yarn.
2. White felt
3. Scissors
4. Stuffing
5. Darning needle

Remember to stuff the doll along the way.

Head:
1. With pink color. 6sc in magic circle. (6)
2. 2sc in each st. (12)
3. (1sc in st. 2sc in st.) x 6. (18)
4. (1sc in next 2st. 2sc in st.) x 6 (24)
5. (1sc in next 3st. 2sc in st.) x 6 (30)
6. (1sc in next 4st. 2sc in st.) x 6 (36)
7. (1sc in next 5st. 2sc in st.) x 6 (42)
8. (1sc in next 6st. 2sc in st.) x 6 (48)
9. (1sc in next 7st. 2sc in st.) x 6 (54)
10. (1sc in next 8st. 2sc in st.) x 6 (60)
11. (1sc in next 9st. 2sc in st.) x 6 (66)
12. 1sc in each st. For 24 rows. (66)
13. (1sc in next 9st. Sc2tog.) x 6 (60)
14. (1sc in next 8st. Sc2tog.) x 6 (54)
15. (1sc in next 7st. Sc2tog.) x 6 (48)
16. (1sc in next 6st. Sc2tog.) x 6 (42)
17. (1sc in next 5st. Sc2tog.) x 6 (36)
18. (1sc in next 4st. Sc2tog.) x 6 (30)
19. (1sc in next 3st. Sc2tog.) x 6 (24)
20. 2sc in each st. (48)
21. 1sc in each st For 5 rows. (48)
22. (1sc in 7st. 2sc in st.) x 6 (54)
23. 1sc in each st. For 5 rows. (54)
24. (1sc in next 8st. 2sc in st.) x 6 (60)
25. 1sc in each st. For 3 rows. (60)
26. (1sc in next 9st. 2sc in st.) x 6 (66)
27. 1sc in each st. For 6 rows. (66)
28. Now we are going to separate the body into the 2 legs.

Legs (Make 2):
1. Each leg should have 30 stitches each. Skip 6 stitches in the middle to leave a gap between the legs.
2. Each leg should have 12 rows. (30)
3. 2sc in each st until gap in small enough to sew closed.
4. Now you have to create a rectangular piece to close the gap created when you made the legs.
5. With pink color. Chain 5. 1sc in each chain starting in the second chain from the hook. (4)
6. Chain 1. Turn. 1sc in each st. For 4 rows. (4)
7. FO. Sew onto doll to close gap.

Arms (Make 2):
1. With pink color. 6sc in magic circle. (6)
2. 2sc in each st. (12)
3. (1sc in st. 2sc in st.) x 6. (18)
4. (1sc in next 2st. 2sc in st.) x 6. (24)
5. 1sc in each st. For 10 rows. (24)
6. (1sc in next 2st. Sc2tog.) x 6. (18)
7. 1sc in each st. For 15 rows. (18)
8. Sew onto the body.

Ears (Make 2):
1. With pink color. 6sc in magic circle. (6)
2. 1sc in each st. For 2 rows. (6)
3. 2sc in each st. (12)
4. 1sc in each st. For 2 rows. (12)
5. (1sc in each st. 2sc in st.) x 6. (18)
6. 1sc in each st. (18)
7. (1sc in next 2st. 2sc in st.) x 6. (24)
8. 1sc in each st. (24)
9. (1sc in next 3st. 2sc in st.) x 6. (30)
10. 1sc in each st. (30)
11. (1sc in next 4st. 2sc in st.) x 6. (36)
12. 1sc in each st. (36)
13. FO. Sew onto head.

Nose:
1. With pink color. Chain 5.
2. 1sc in the next 3st starting in the second one from the hook. 3sc in last chain.
3. Turn your work and start crocheting in the back of the chain. Do this for one row.
4. 1sc in each st. For 2 rows.
5. FO. Then sew onto doll.

Shirt Front and Back (Make 2):
1. With black color. Chain 41.
2. 1sc in each chain starting in the second one from the hook. (40)
3. Chain 1. Turn. 1sc in each st. For 5 rows (40)
4. Chain 1. Turn. (1sc in next 8st. Sc2tog.) x 4 (36)
5. Chain 1. Turn. (1sc in next 7st. Sc2tog.) x 4 (32)
6. Chain 1. Turn. (1sc in next 6st. Sc2tog.) x 4 (28)
7. Chain 1. Turn. (1sc in next 12st. Sc2tog.) x 2 (26)
8. Chain 1. Turn. (1sc in next 11st. Sc2tog.) x 2 (24)
9. Chain 1. Turn. (1sc in next 10st. Sc2tog.) x 2 (22)
10. Chain 1. Turn. (1sc in next 9st. Sc2tog.) x 2 (20)
11. Chain 1. Turn. 1sc in each st. For 2 rows. (20)
12. Chain 1. Turn. (1sc in next 8st. Sc2tog.) x 2 (18)
13. Chain 1. Turn. 1sc in each st. For 6 rows. (18)
14. FO.

Shirt Collar:
1. With black color. Chain 41.
2. 1sc in each chain starting in the second chain from the hook. (40)
3. Chain 1. Turn. 1sc in each st. (40)
4. FO.

Shirt Sleeves (Make 2):
1. With black color. Chain 21.
2. 1sc in each chain starting in the second one from the hook. (20)
3. Chain 1. Turn. 1sc in each st. (20)
4. Chain 1. Turn. (1sc in next 9st. 2sc in st.) x 2 (22)
5. Chain 1. Turn. 1sc in each st. (22)
6. Chain 1. Turn. (1sc in next 10st. 2sc in st.) x 2 (24)
7. Chain 1. Turn. 1sc in each st. (24)
8. Chain 1. Turn. (1sc in next 11st. 2sc in st.) x 2 (26)
9. Chain 1. Turn. 1sc in each st. (26)
10. FO.

Sew the pieces together as shown in the video tutorial.

Eyes, Belly Button and Name on Shirt:
1. Embroider the eyes and eyebrows with black color and then add white to give the eyes more life.
2. Embroider the belly button below the shirt.
3. Cut out letters out of white felt. You can add any words you like. For this doll I added the words “Anh Oi”