I posted a video tutorial for the Giant Labubu on my YouTube here: Giant Labubu (Part 1); Giant Labubu (Part 2).
Materials:
- Bernat Blanket yarn, your choice of color.
- Medium worsted yarn, cream, white, black and your choice of accent color.
- Darning needle
- 3.5mm, 4mm, 5mm size hooks.
- Scissors
- Stuffing
- Hot glue (optional)
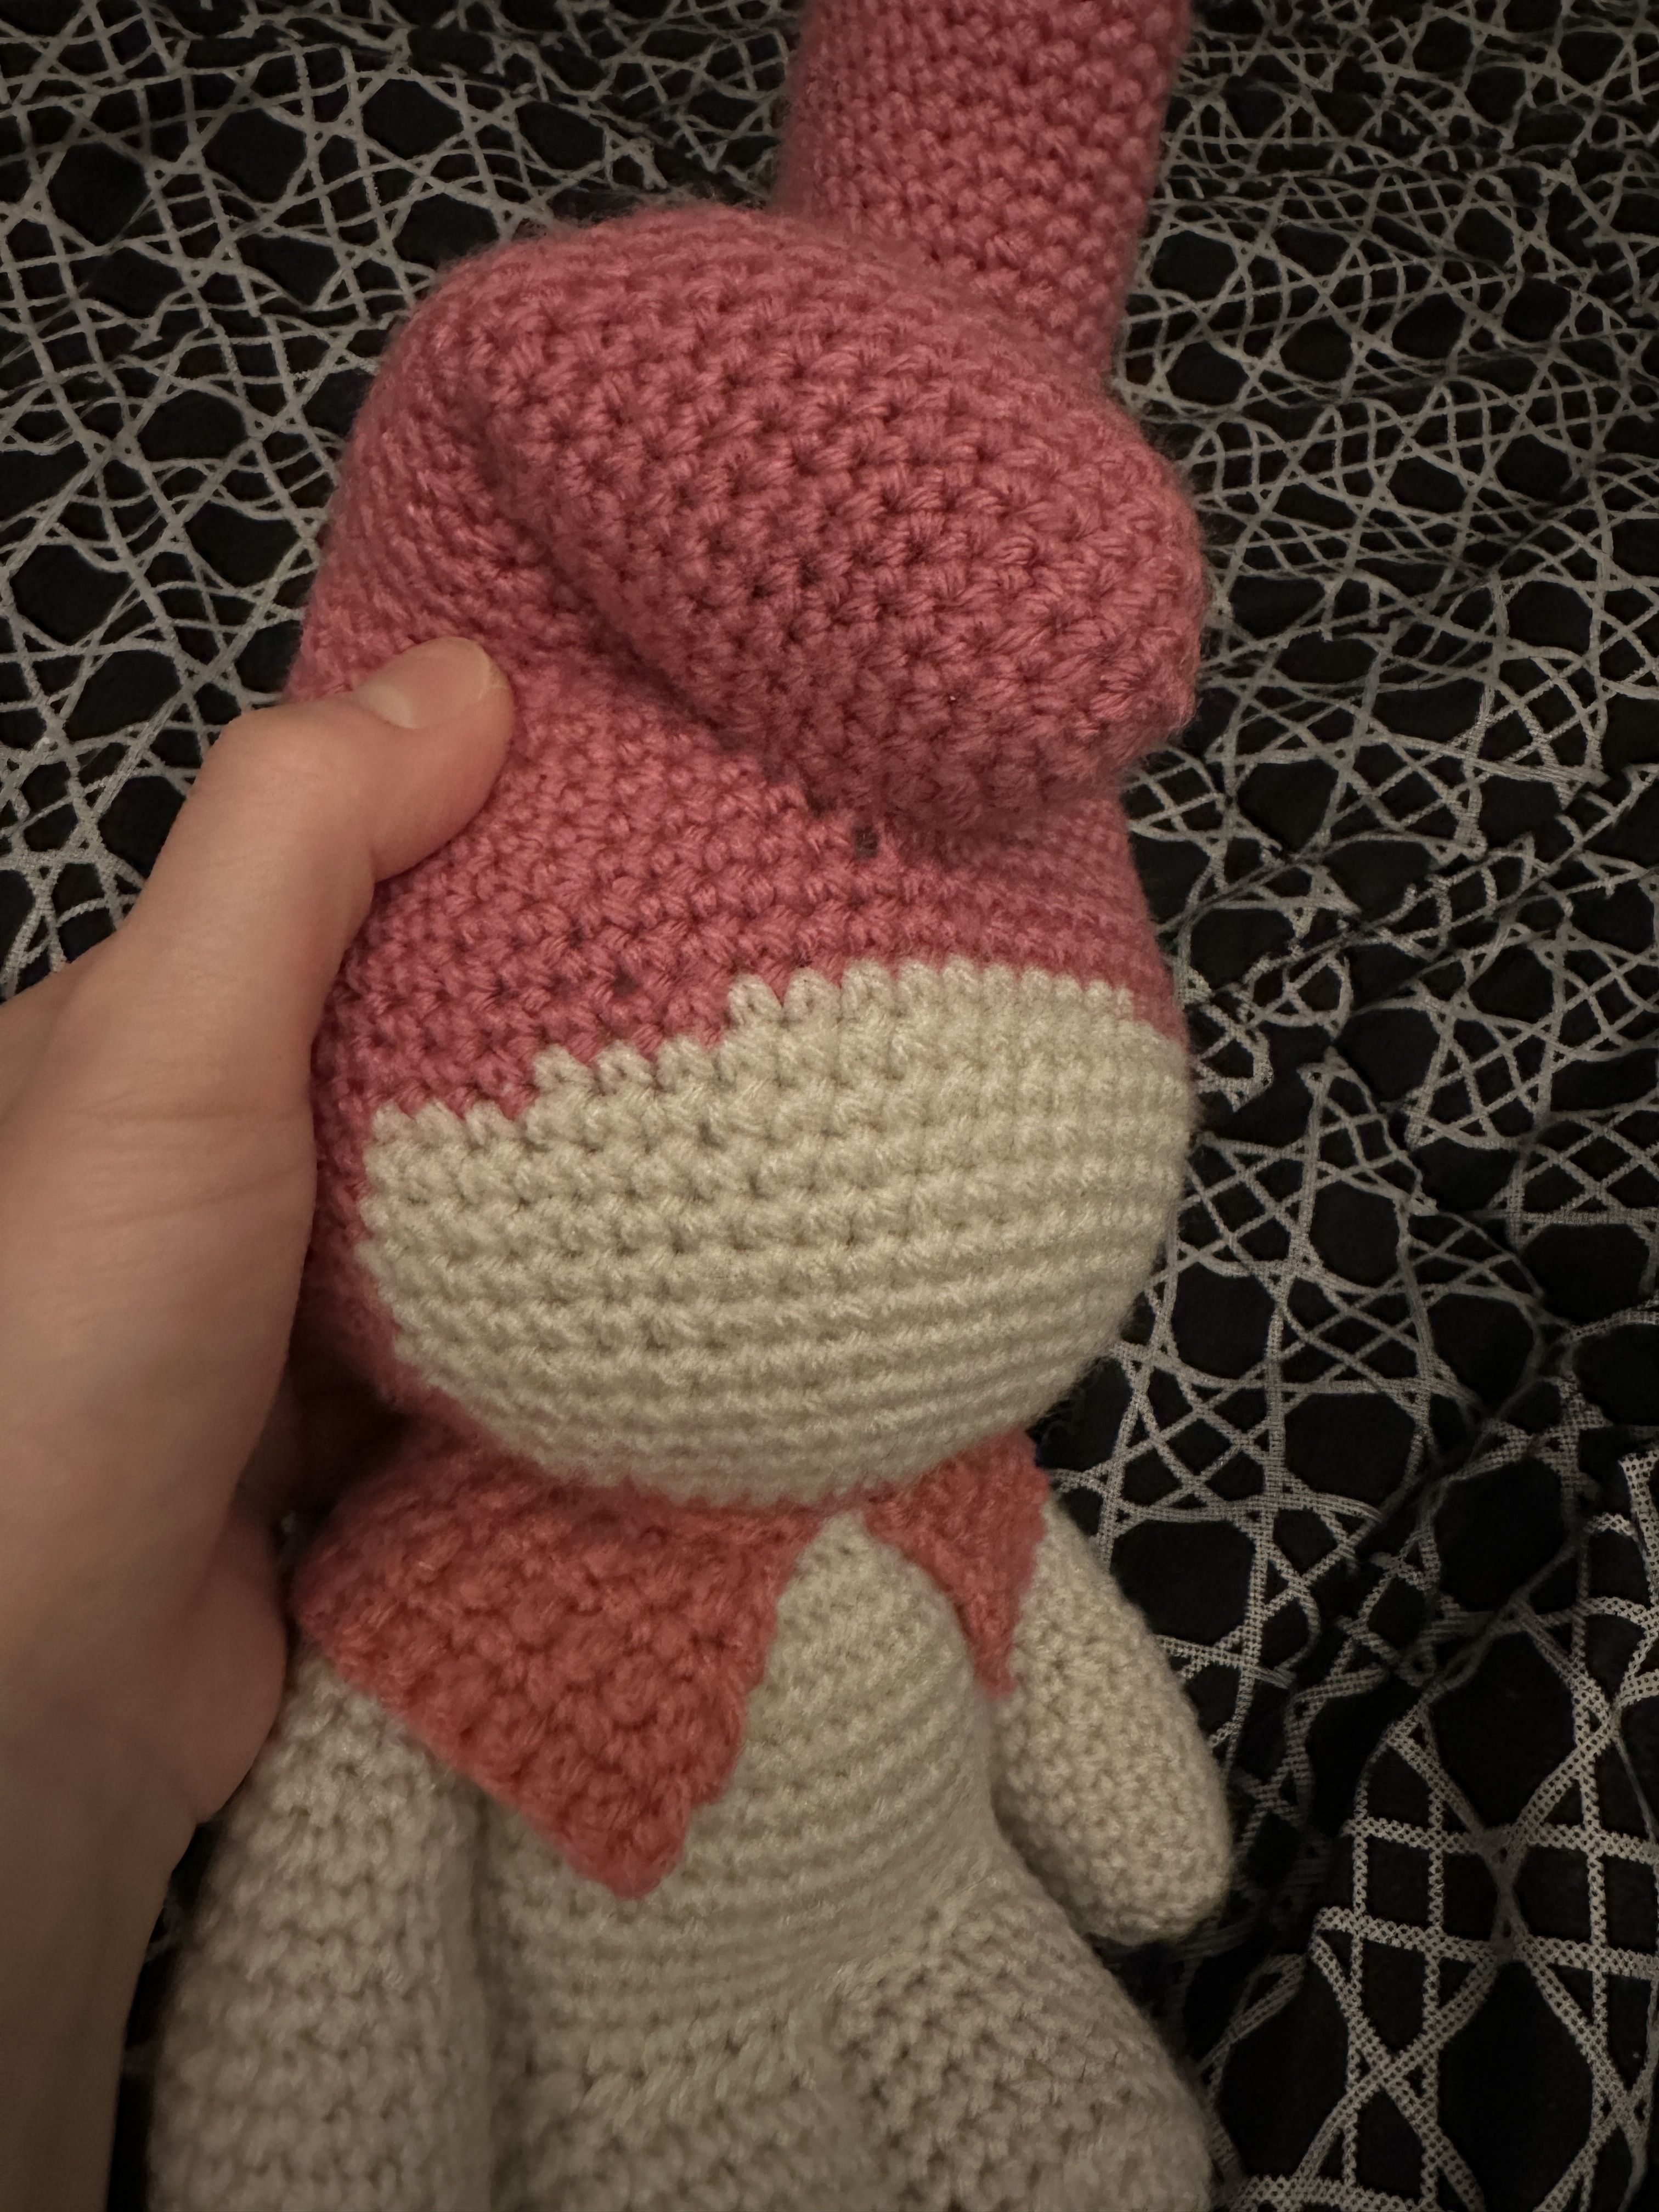
Head:
Rnd 1. Start with the cream color for the face. 6sc in magic circle. (6)
Rnd 2. Inc x 6. (12)
Rnd 3. (1sc. Inc.) x 6. (18)
Rnd 4. (2sc. Inc.) x 6. (24)
Rnd 5. (3sc. Inc.) x 6. (30)
Rnd 6. (4sc. Inc.) x 6. (36)
Rnd 7. (5sc. Inc.) x 6. (42)
Rnd 8. (6sc. Inc.) x 6. (48)
Rnd 9. (7sc. Inc.) x 6. (54)
Rnd 10. (8sc. Inc.) x 6. (60)
Rnd 11. (9sc. Inc.) x 6. (66)
Rnd 12. (10sc. Inc.) x 6. (72)
Rnd 13. (11sc. Inc.) x 6. (78)
Rnd 14. (12sc. Inc.) x 6. (84)
Rnd 15-17. 84sc. (84)
Rnd 18-28. Change to the Bernat Blanket yarn you chose. I chose lime green. 84sc. (84)
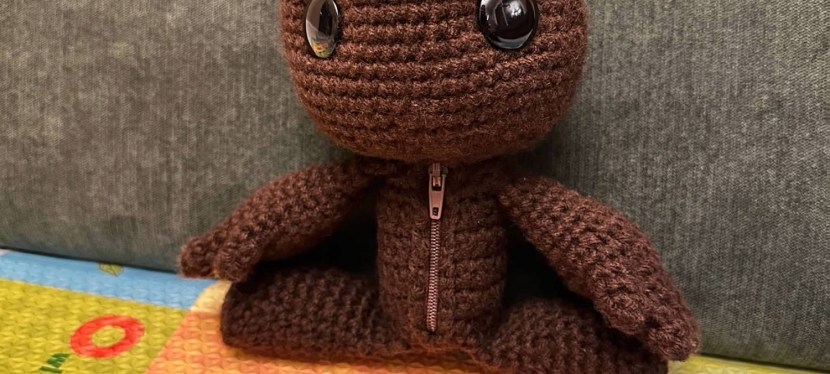
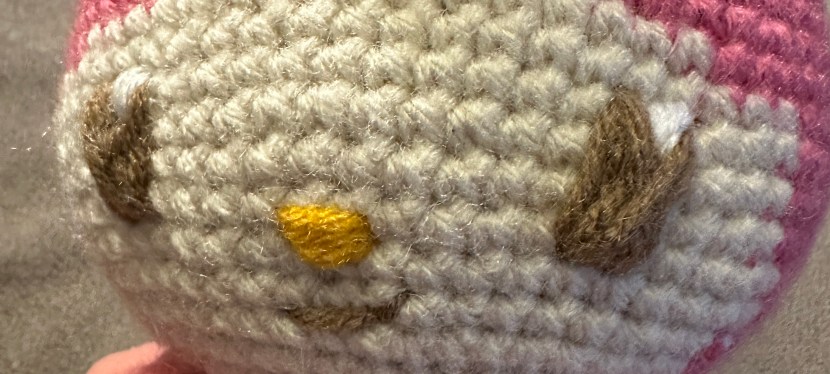
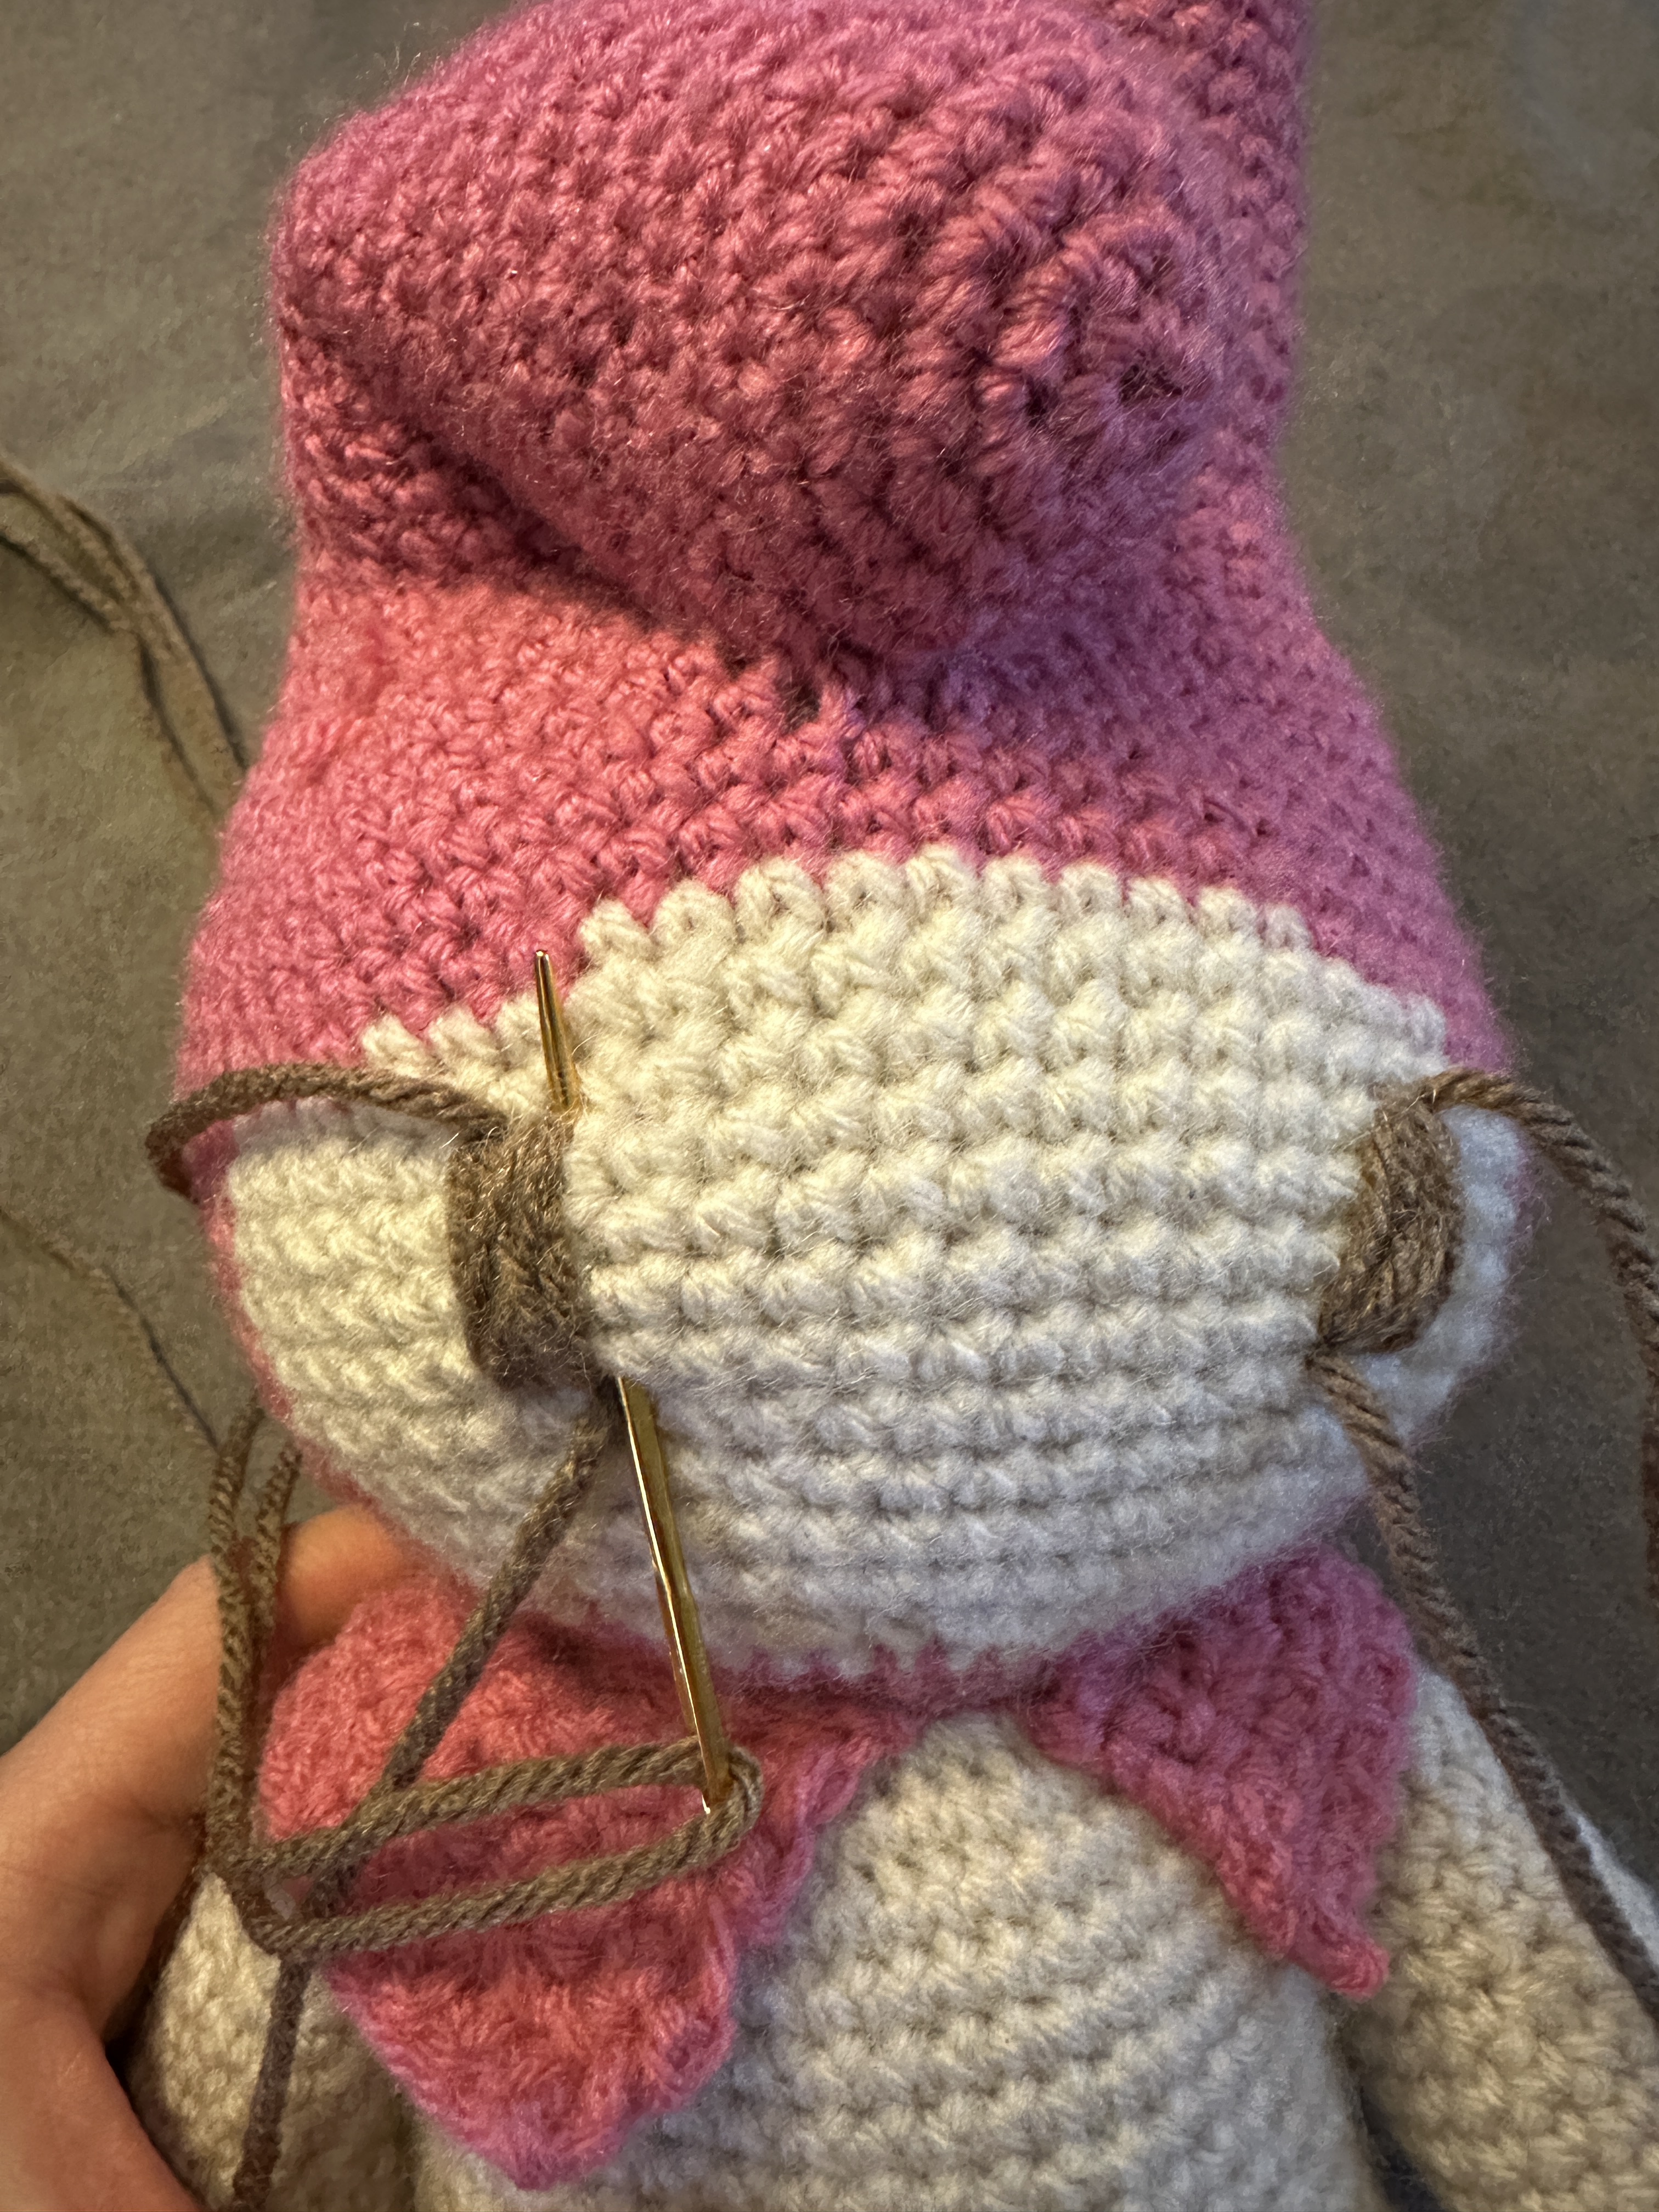
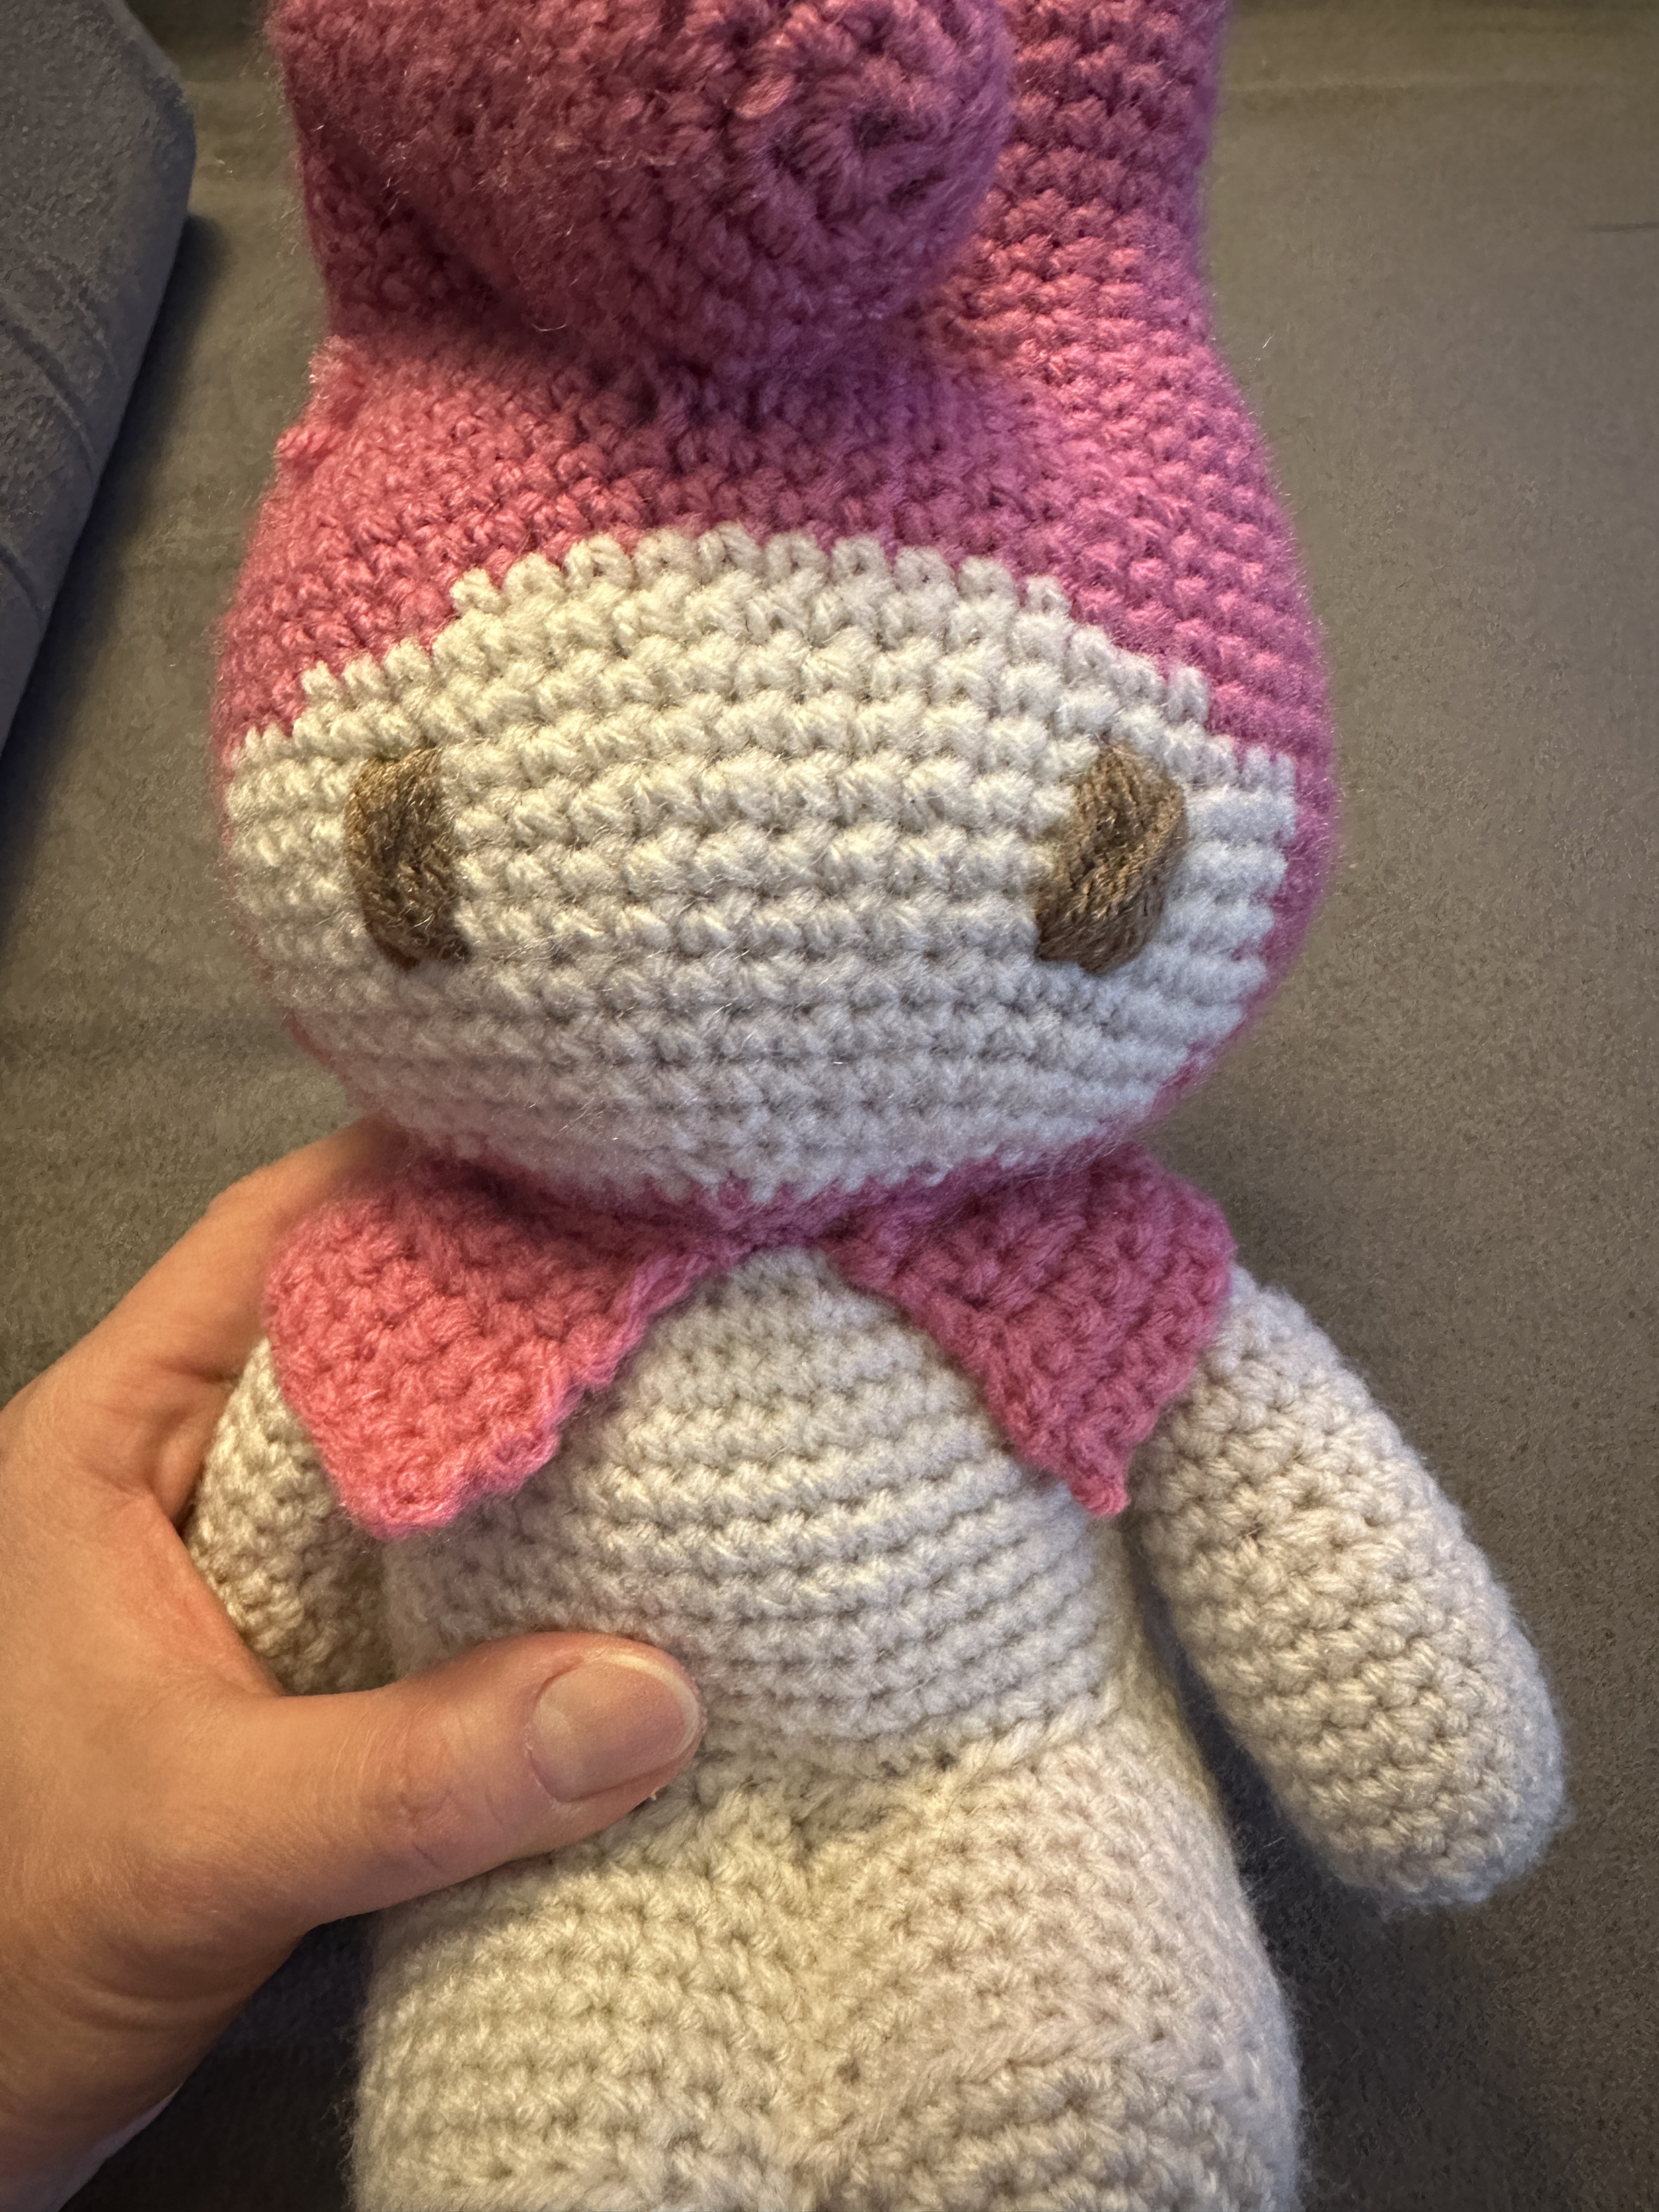
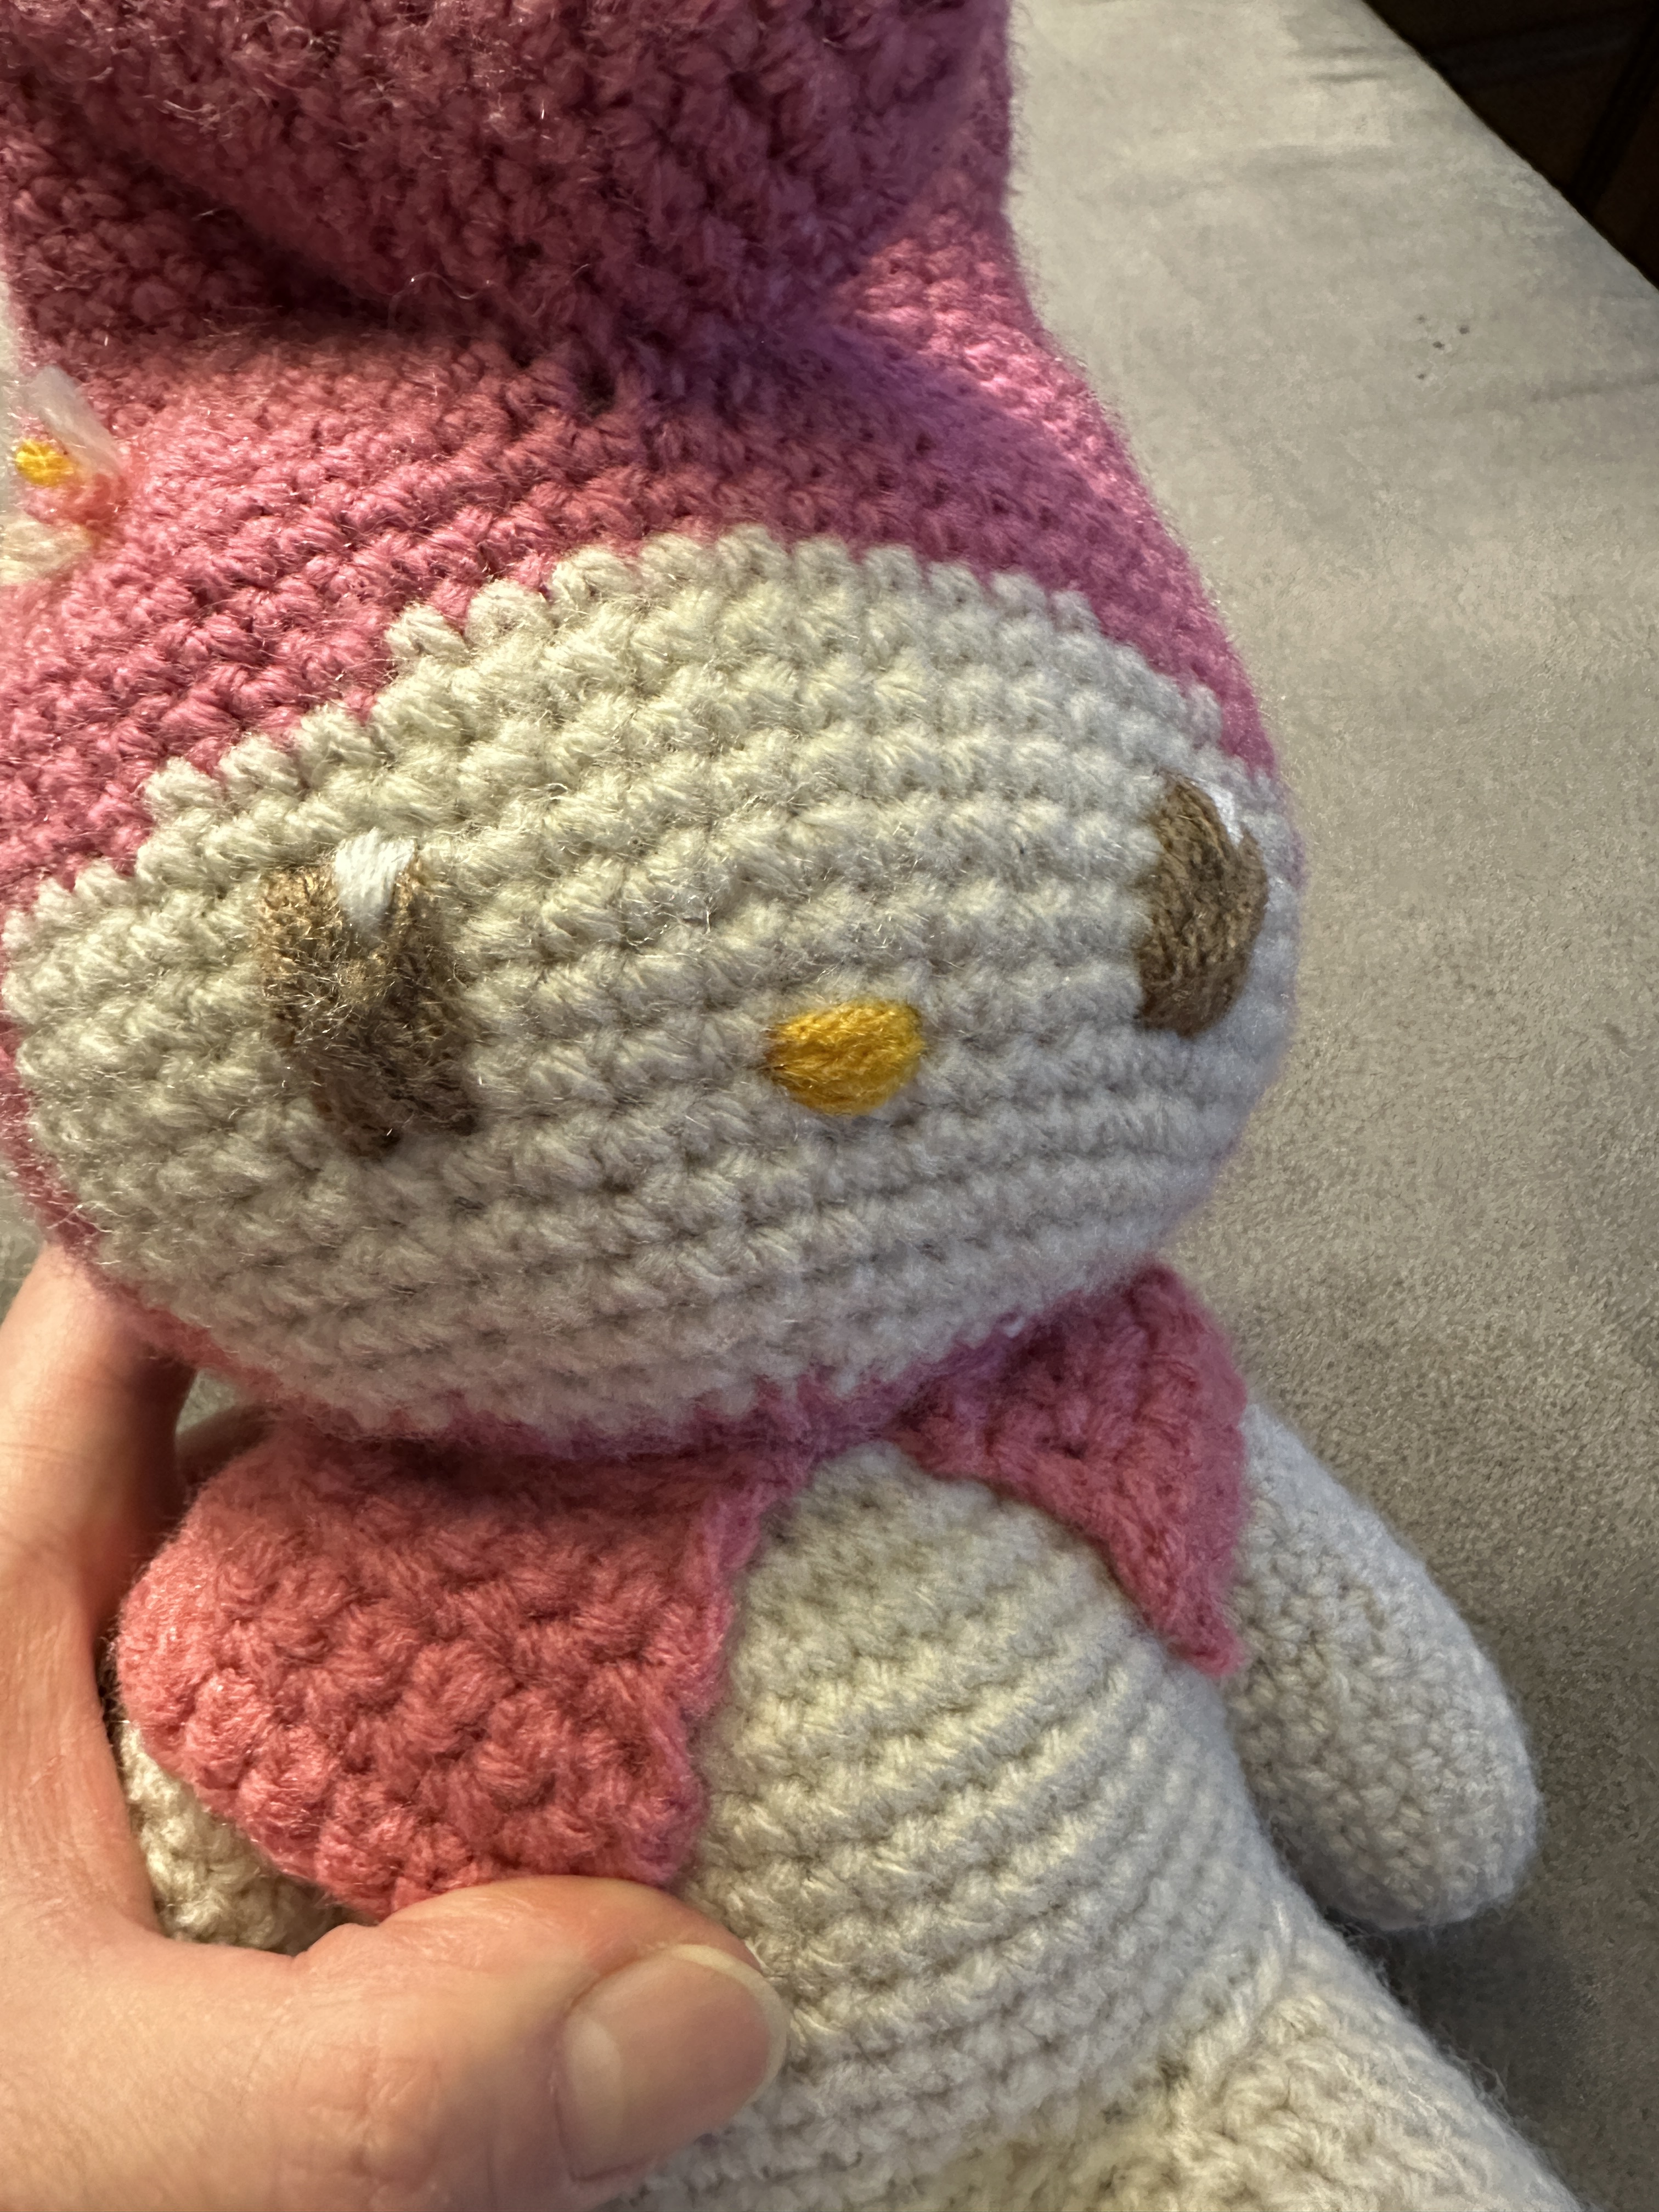
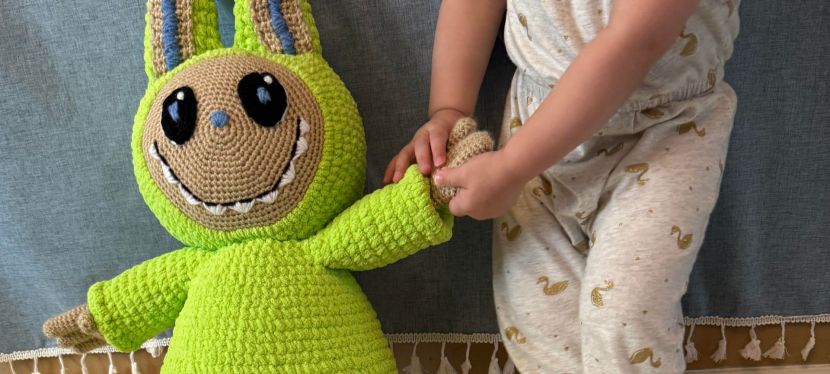
At this time I sewed the eyes on an embroidered on the rest. you can see how I did this in the video. Position is mentioned in the video tutorial. For the eyes, follow the video for instruction. I also show me embroidering the nose on with the accent color.
Rnd 29. (12sc. Inc.) x 6. (78)
Rnd 30. (11sc. Inc.) x 6. (72)
Rnd 31. (10sc. Inc.) x 6. (66)
Rnd 32. (9sc. Inc.) x 6. (60)
Rnd 33. (8sc. Inc.) x 6. (54)
Rnd 34. (7sc. Inc.) x 6. (48)
Rnd 35. (6sc. Inc.) x 6. (42)
Start stuffing the head now and remember to stuff along the way.
Rnd 36. (5sc. Inc.) x 6. (36)
Rnd 37. (4sc. Inc.) x 6. (30)
Rnd 38. (3sc. Inc.) x 6. (24)
Rnd 39. (2sc. Inc.) x 6. (18)
Rnd 40. (1sc. Inc.) x 6. (12)
Rnd 41. Inc x 6. (6)
FO. Sew the gap closed.
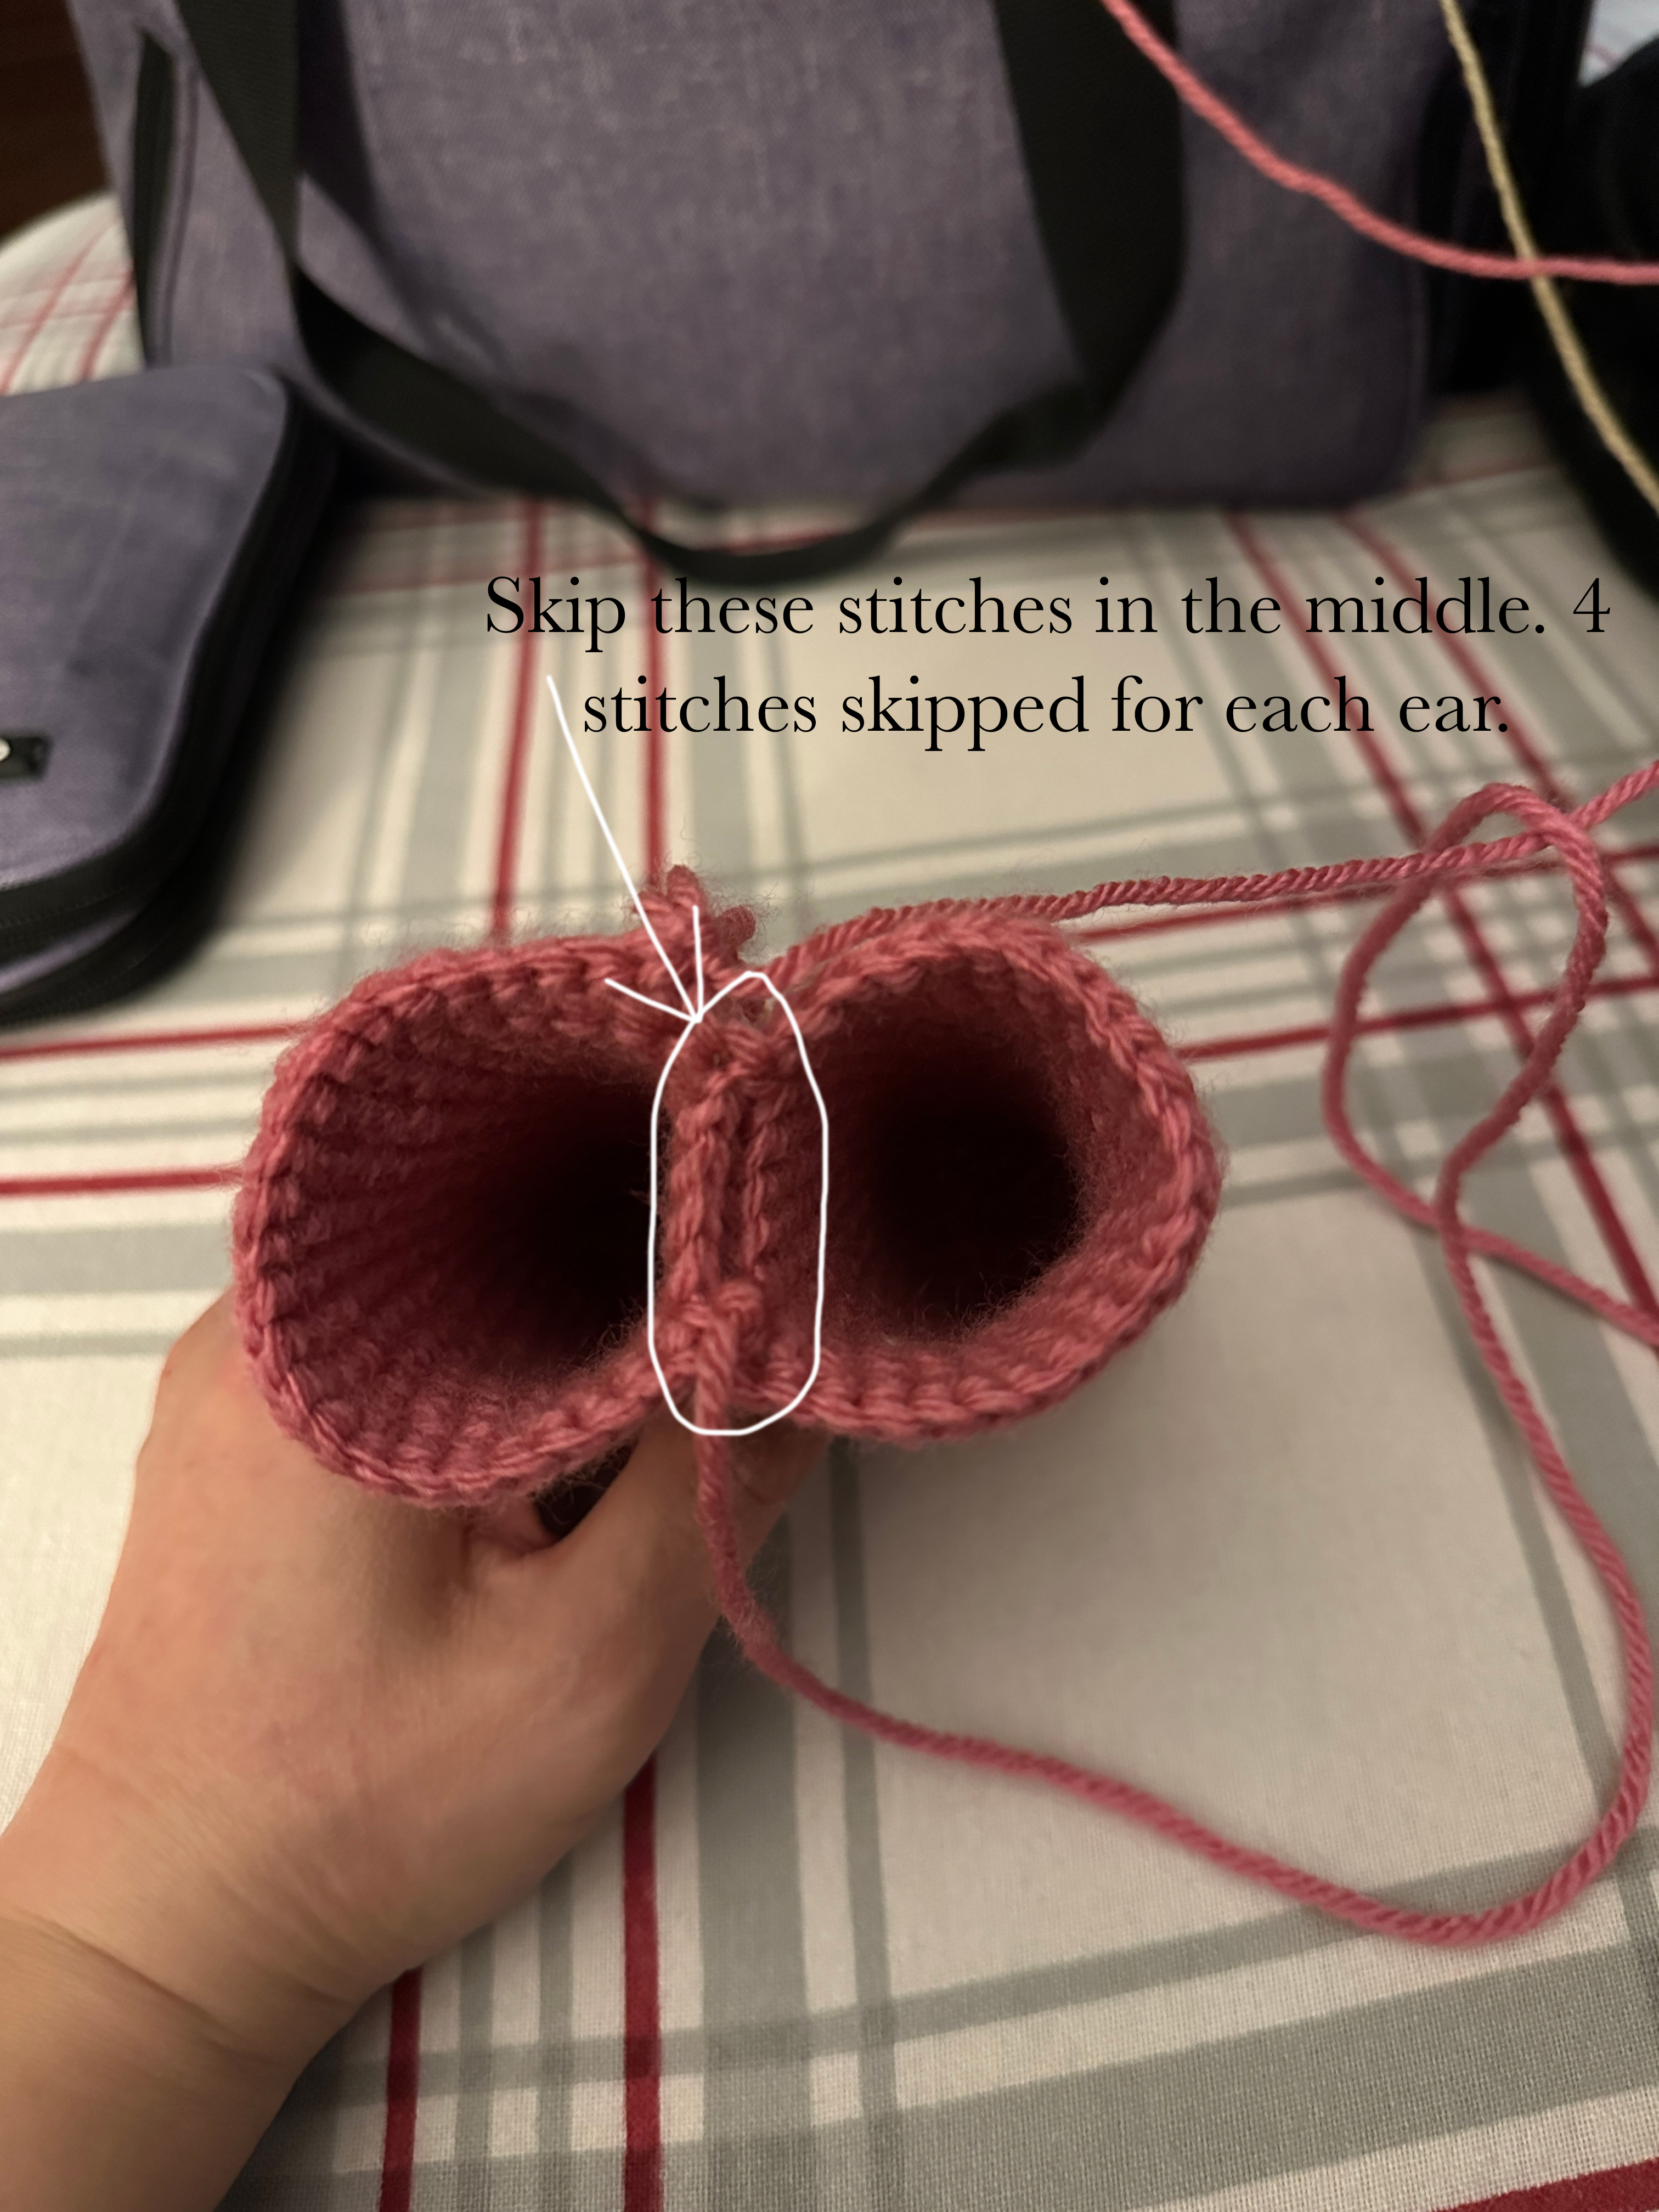
Ears (Make 2):
Rnd 1. Use a size 4mm hook for the ears. Use the Bernat Blanket yarn you chose. 8sc in magic circle. (8)
Rnd 2. Inc x 8. (16)
Rnd 3-11. 16sc. (16)
FO. Now make the inner part of the ear.
Inner Part of Ear (Make 2):
Use a 3.5mm hook.
Use the cream color medium worsted.
Row 1. Chain 8.
Row 2. 7sc starting in the second chain from the hook. (7)
Row 3-16. Chain 1. Turn. 7sc. (7)
Row 17. Chain 1. Turn. Dec. 3sc. Dec. (5)
Row 18. Chain 1. Turn. Dec. 1sc. Dec. (3)
Row 19. Chain 1. Turn. Crochet 3 stitches together (1)
FO. Sew onto the front of the ears. Line the bottoms together. Center it as well.
See video for how I did the middle blue part of the ears. This is the accent color I used. You can use a different color.
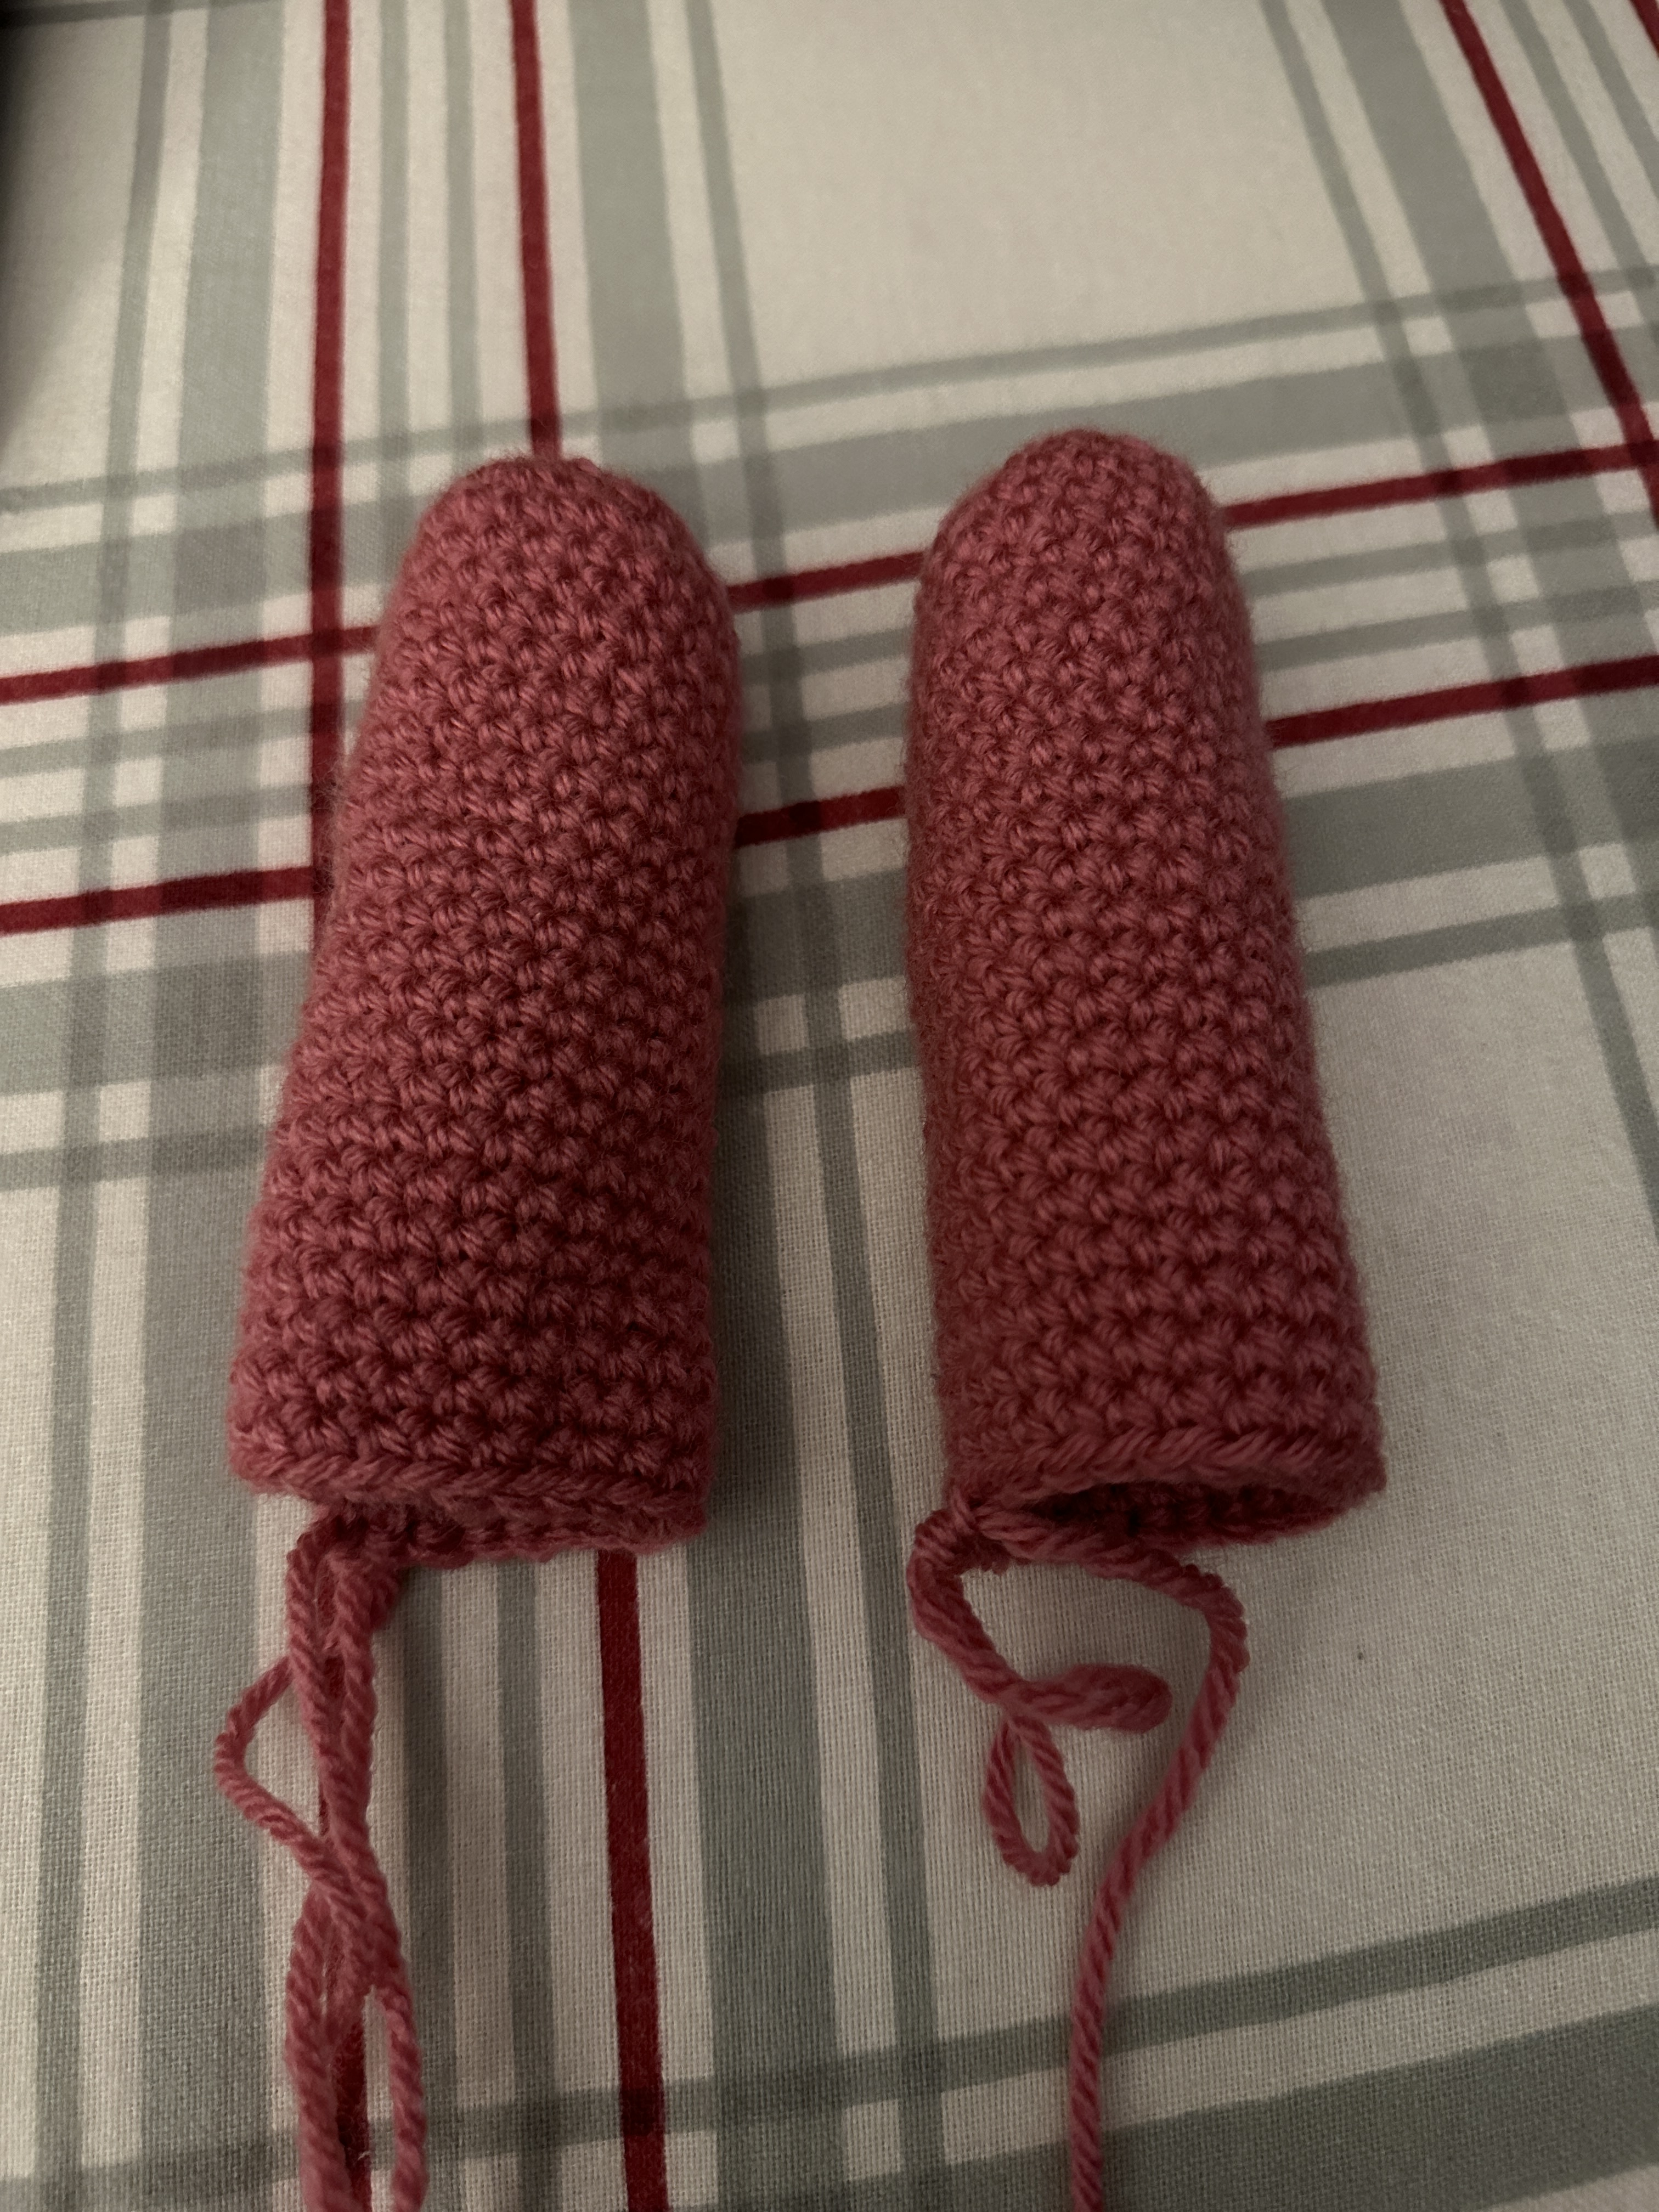
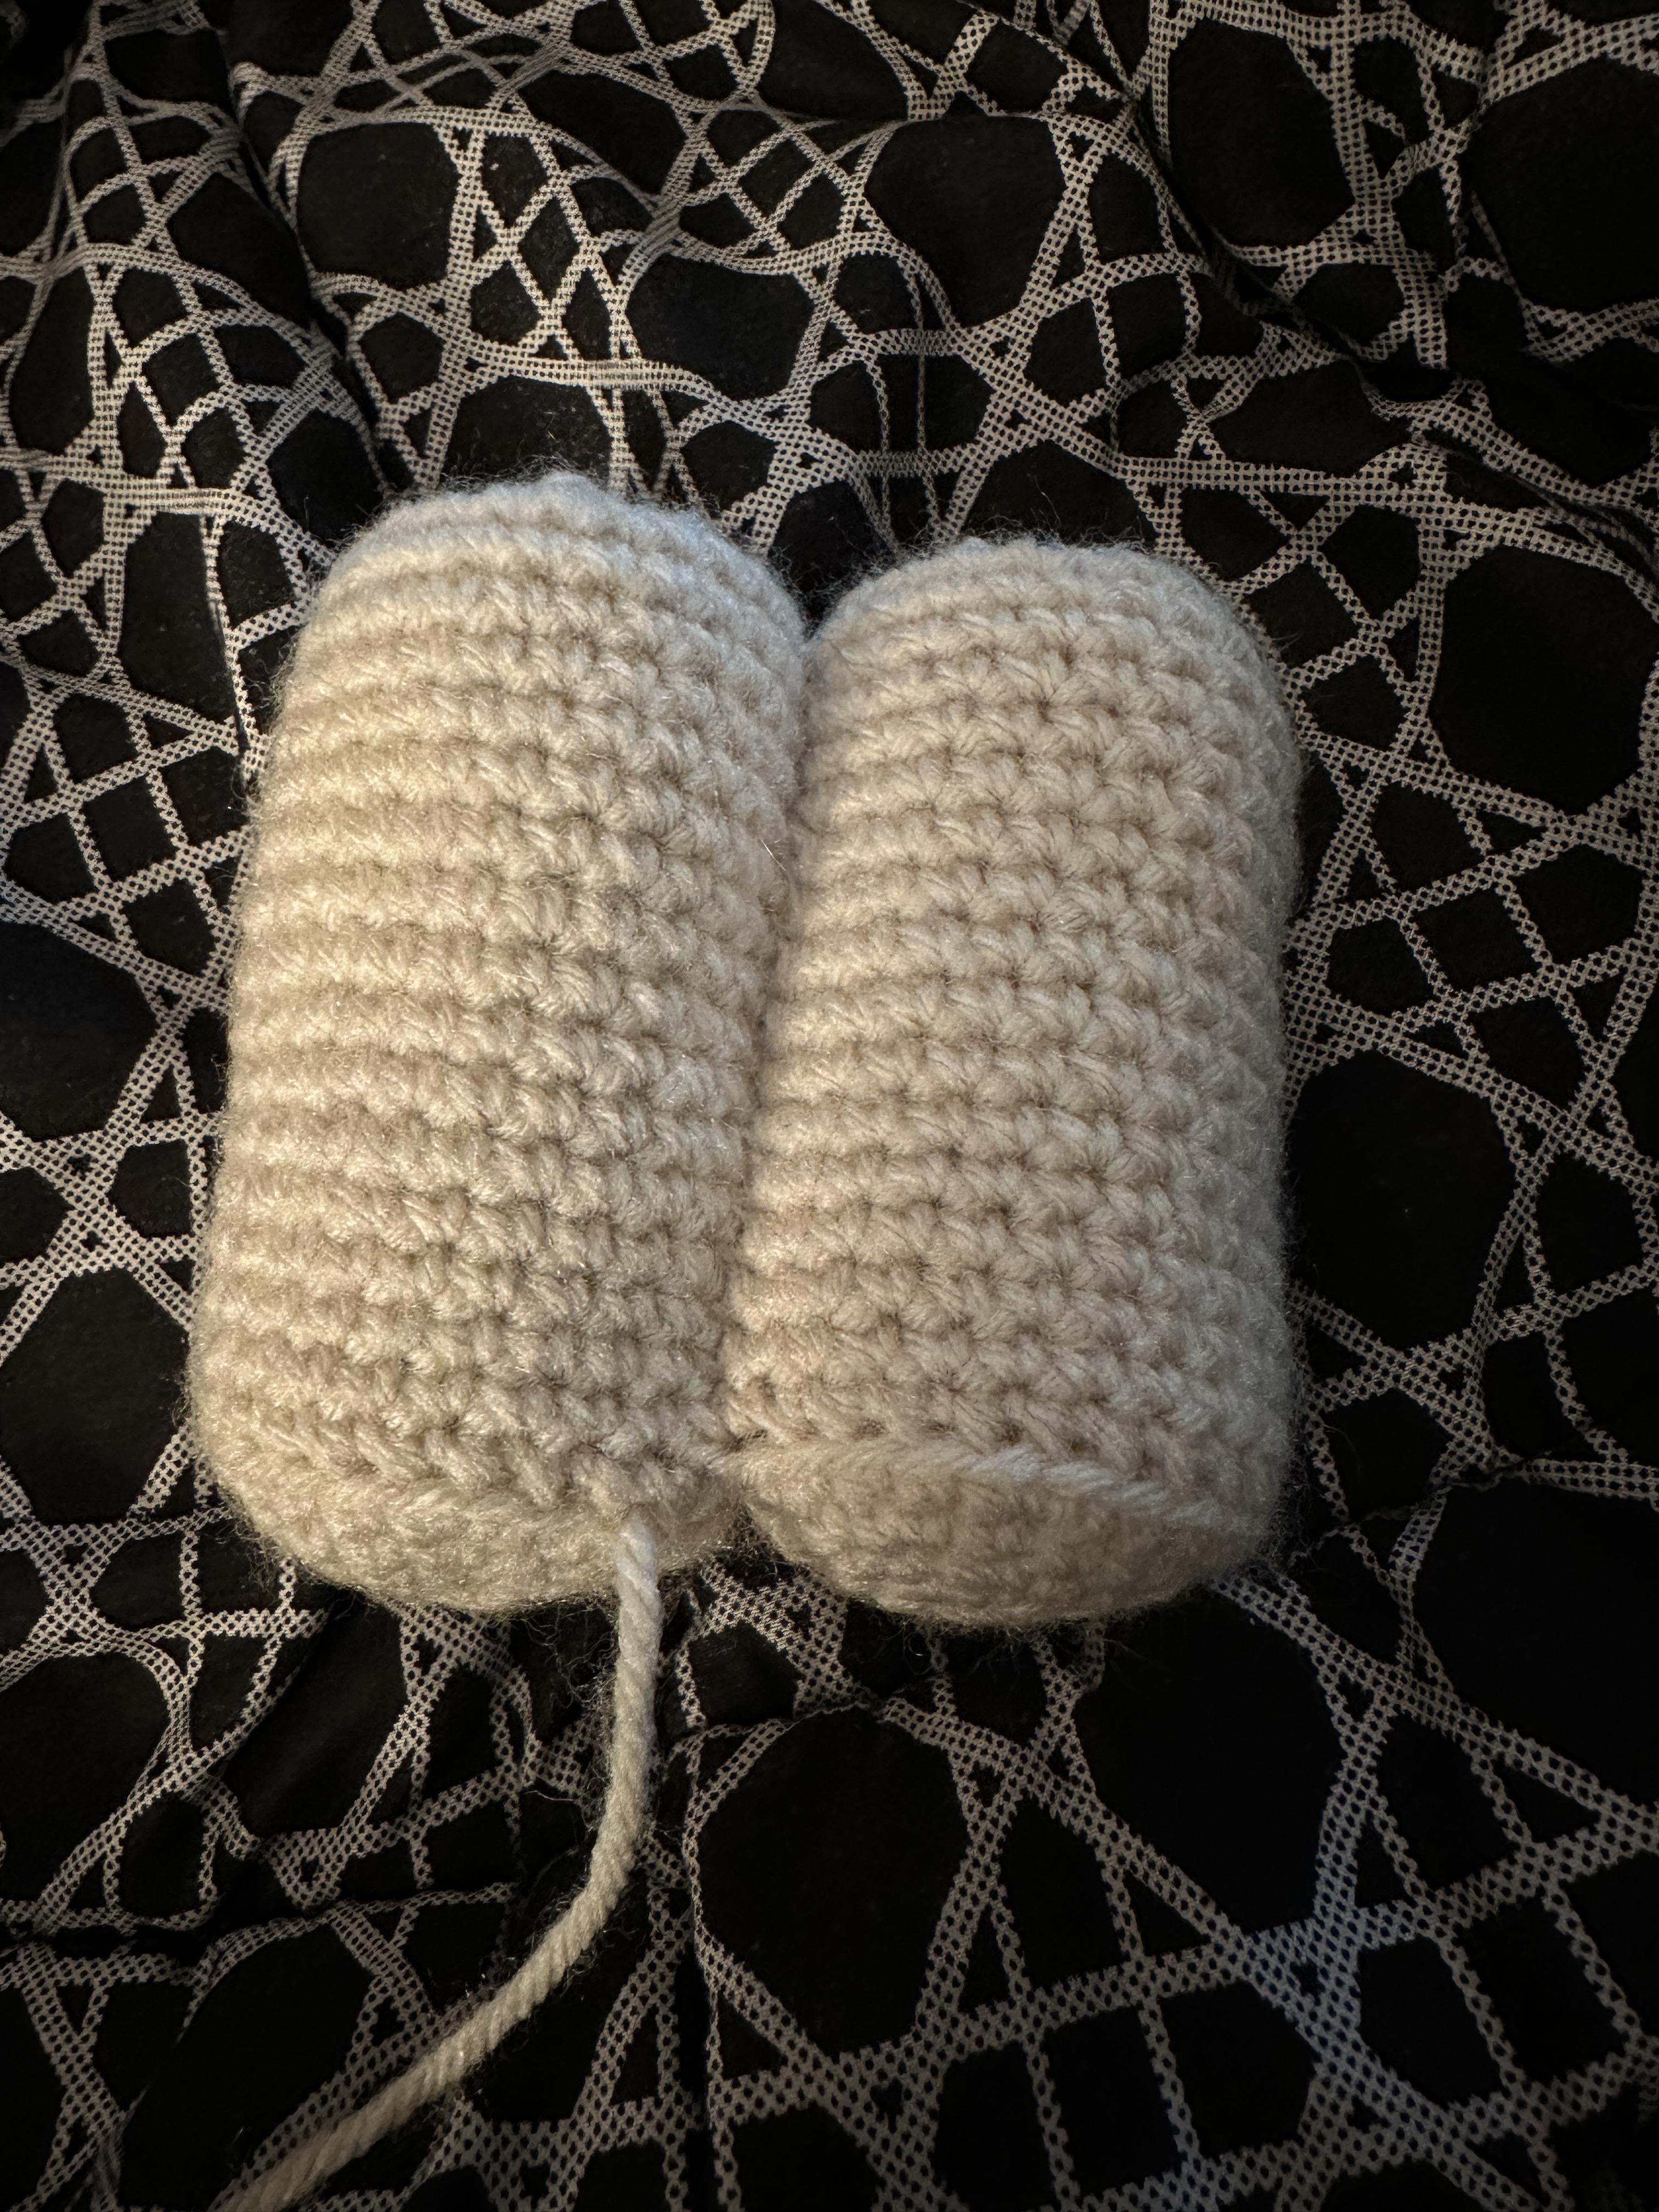
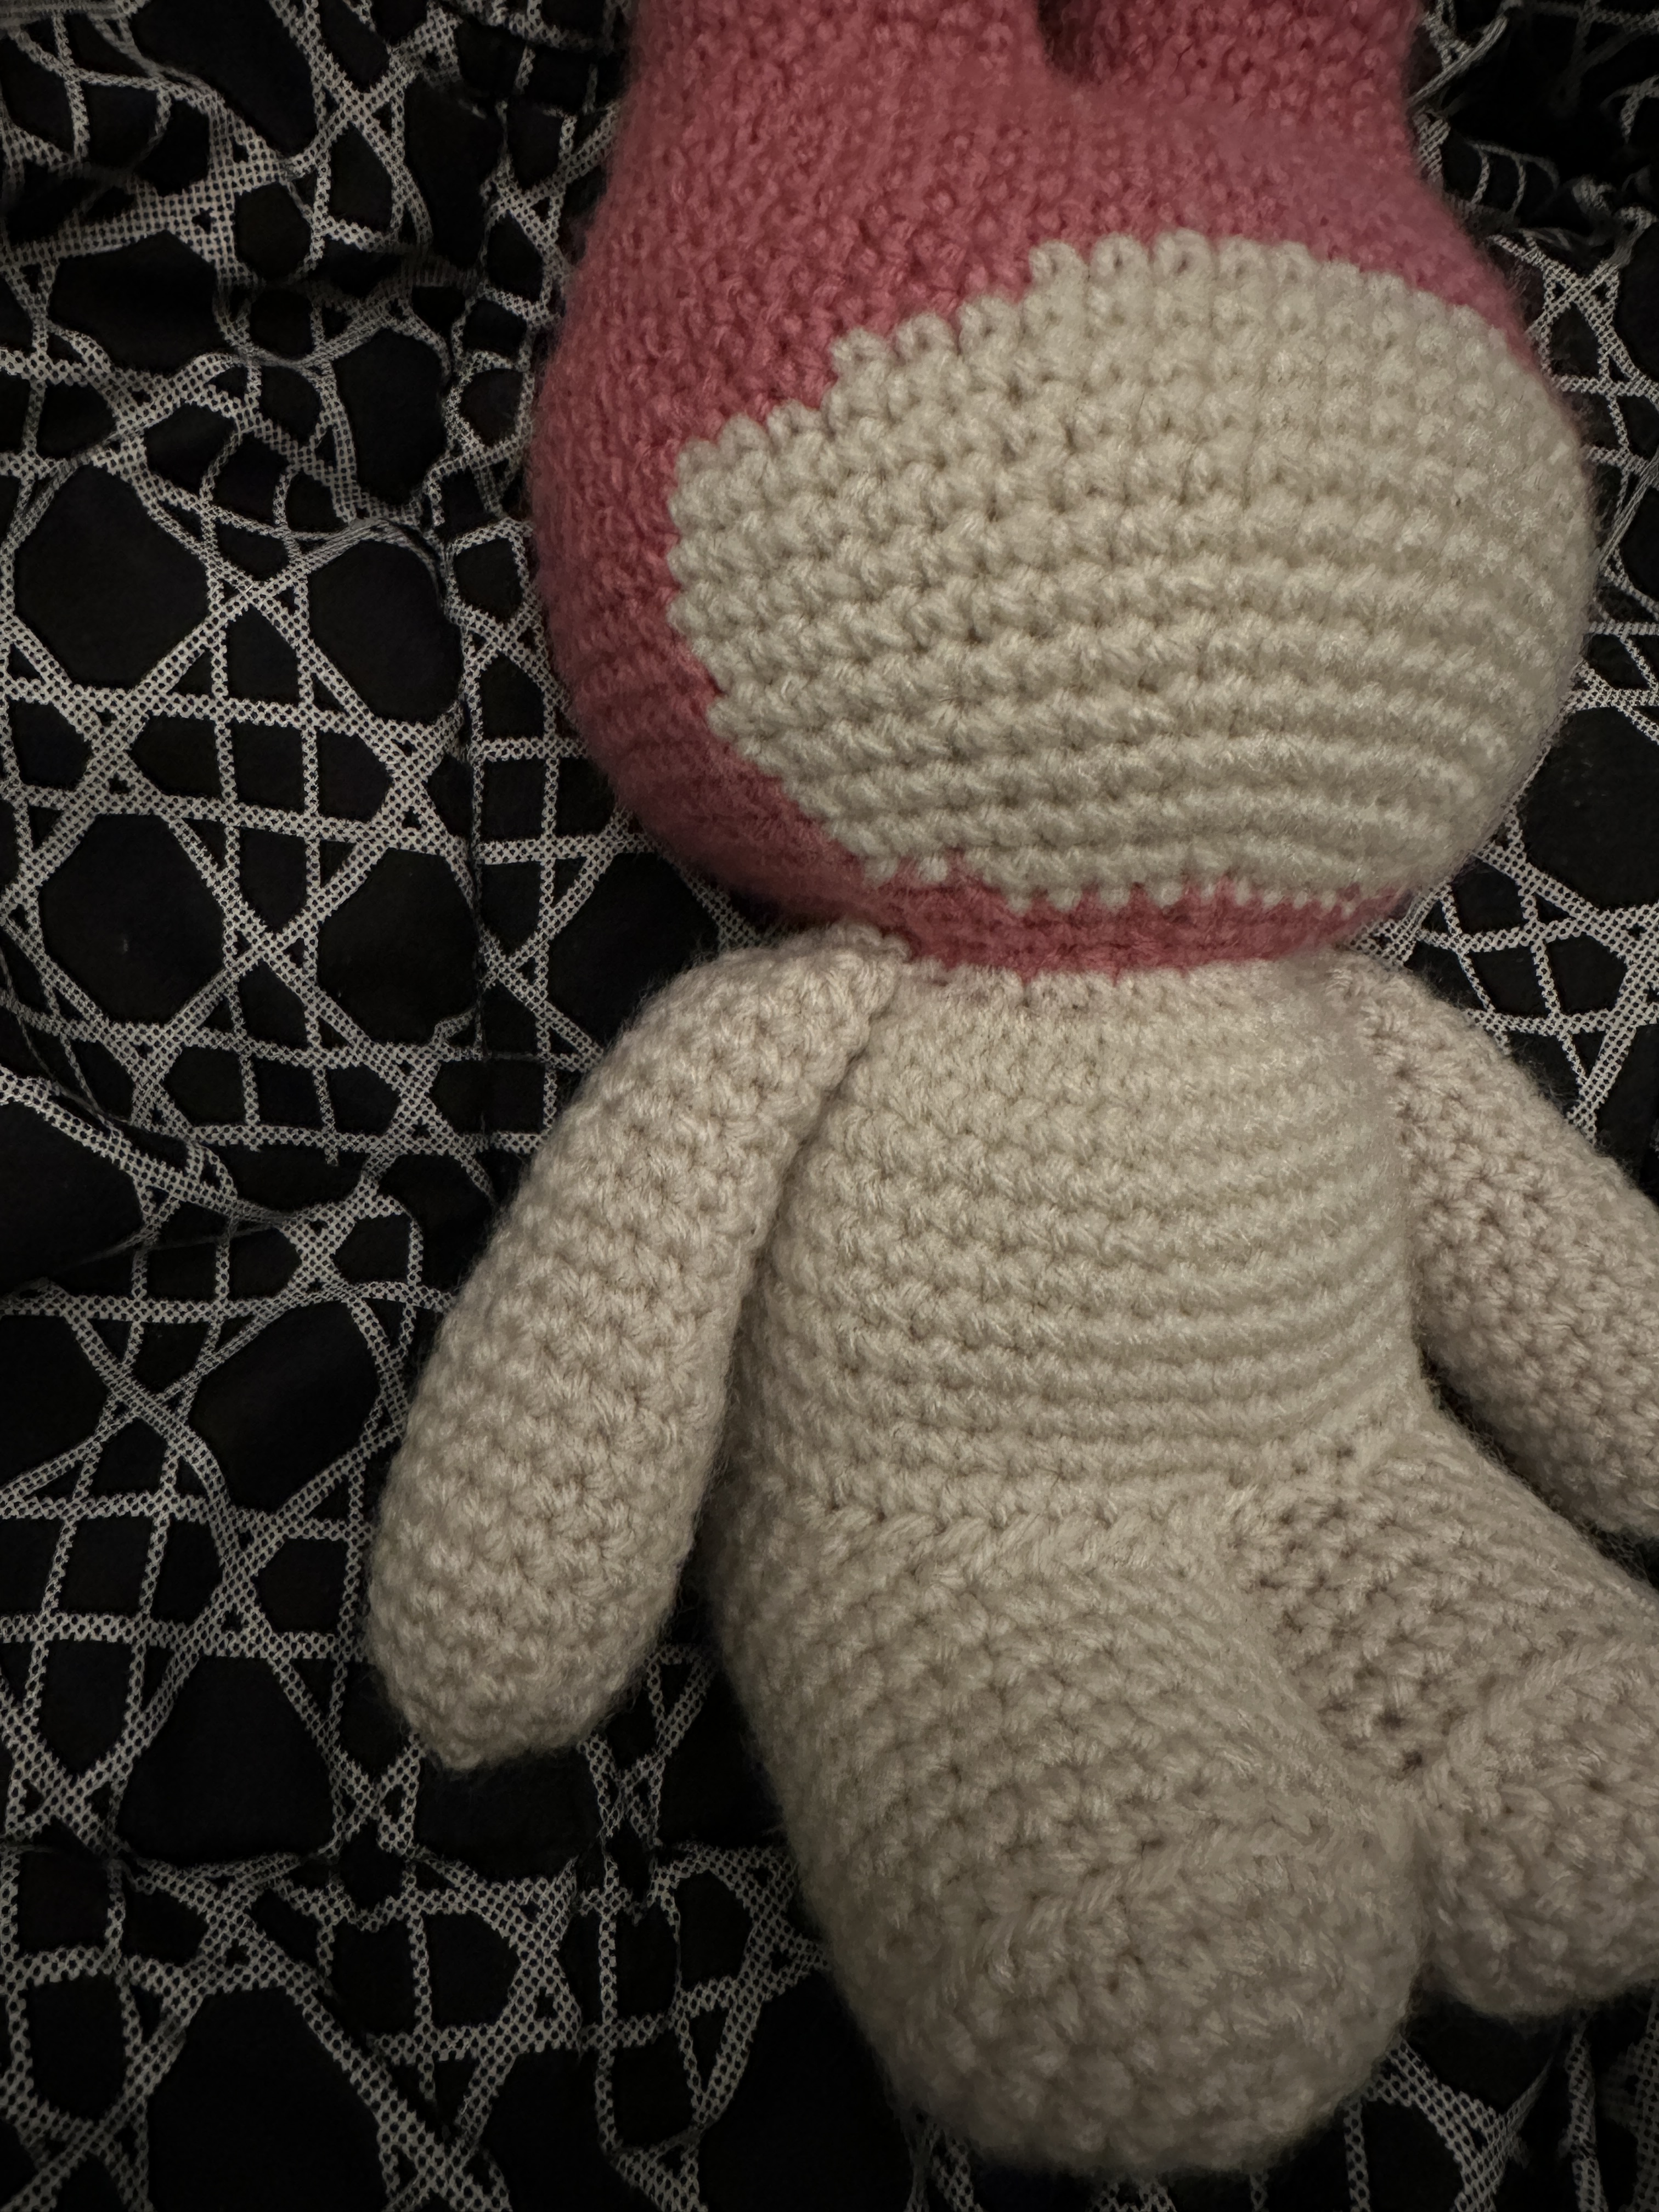
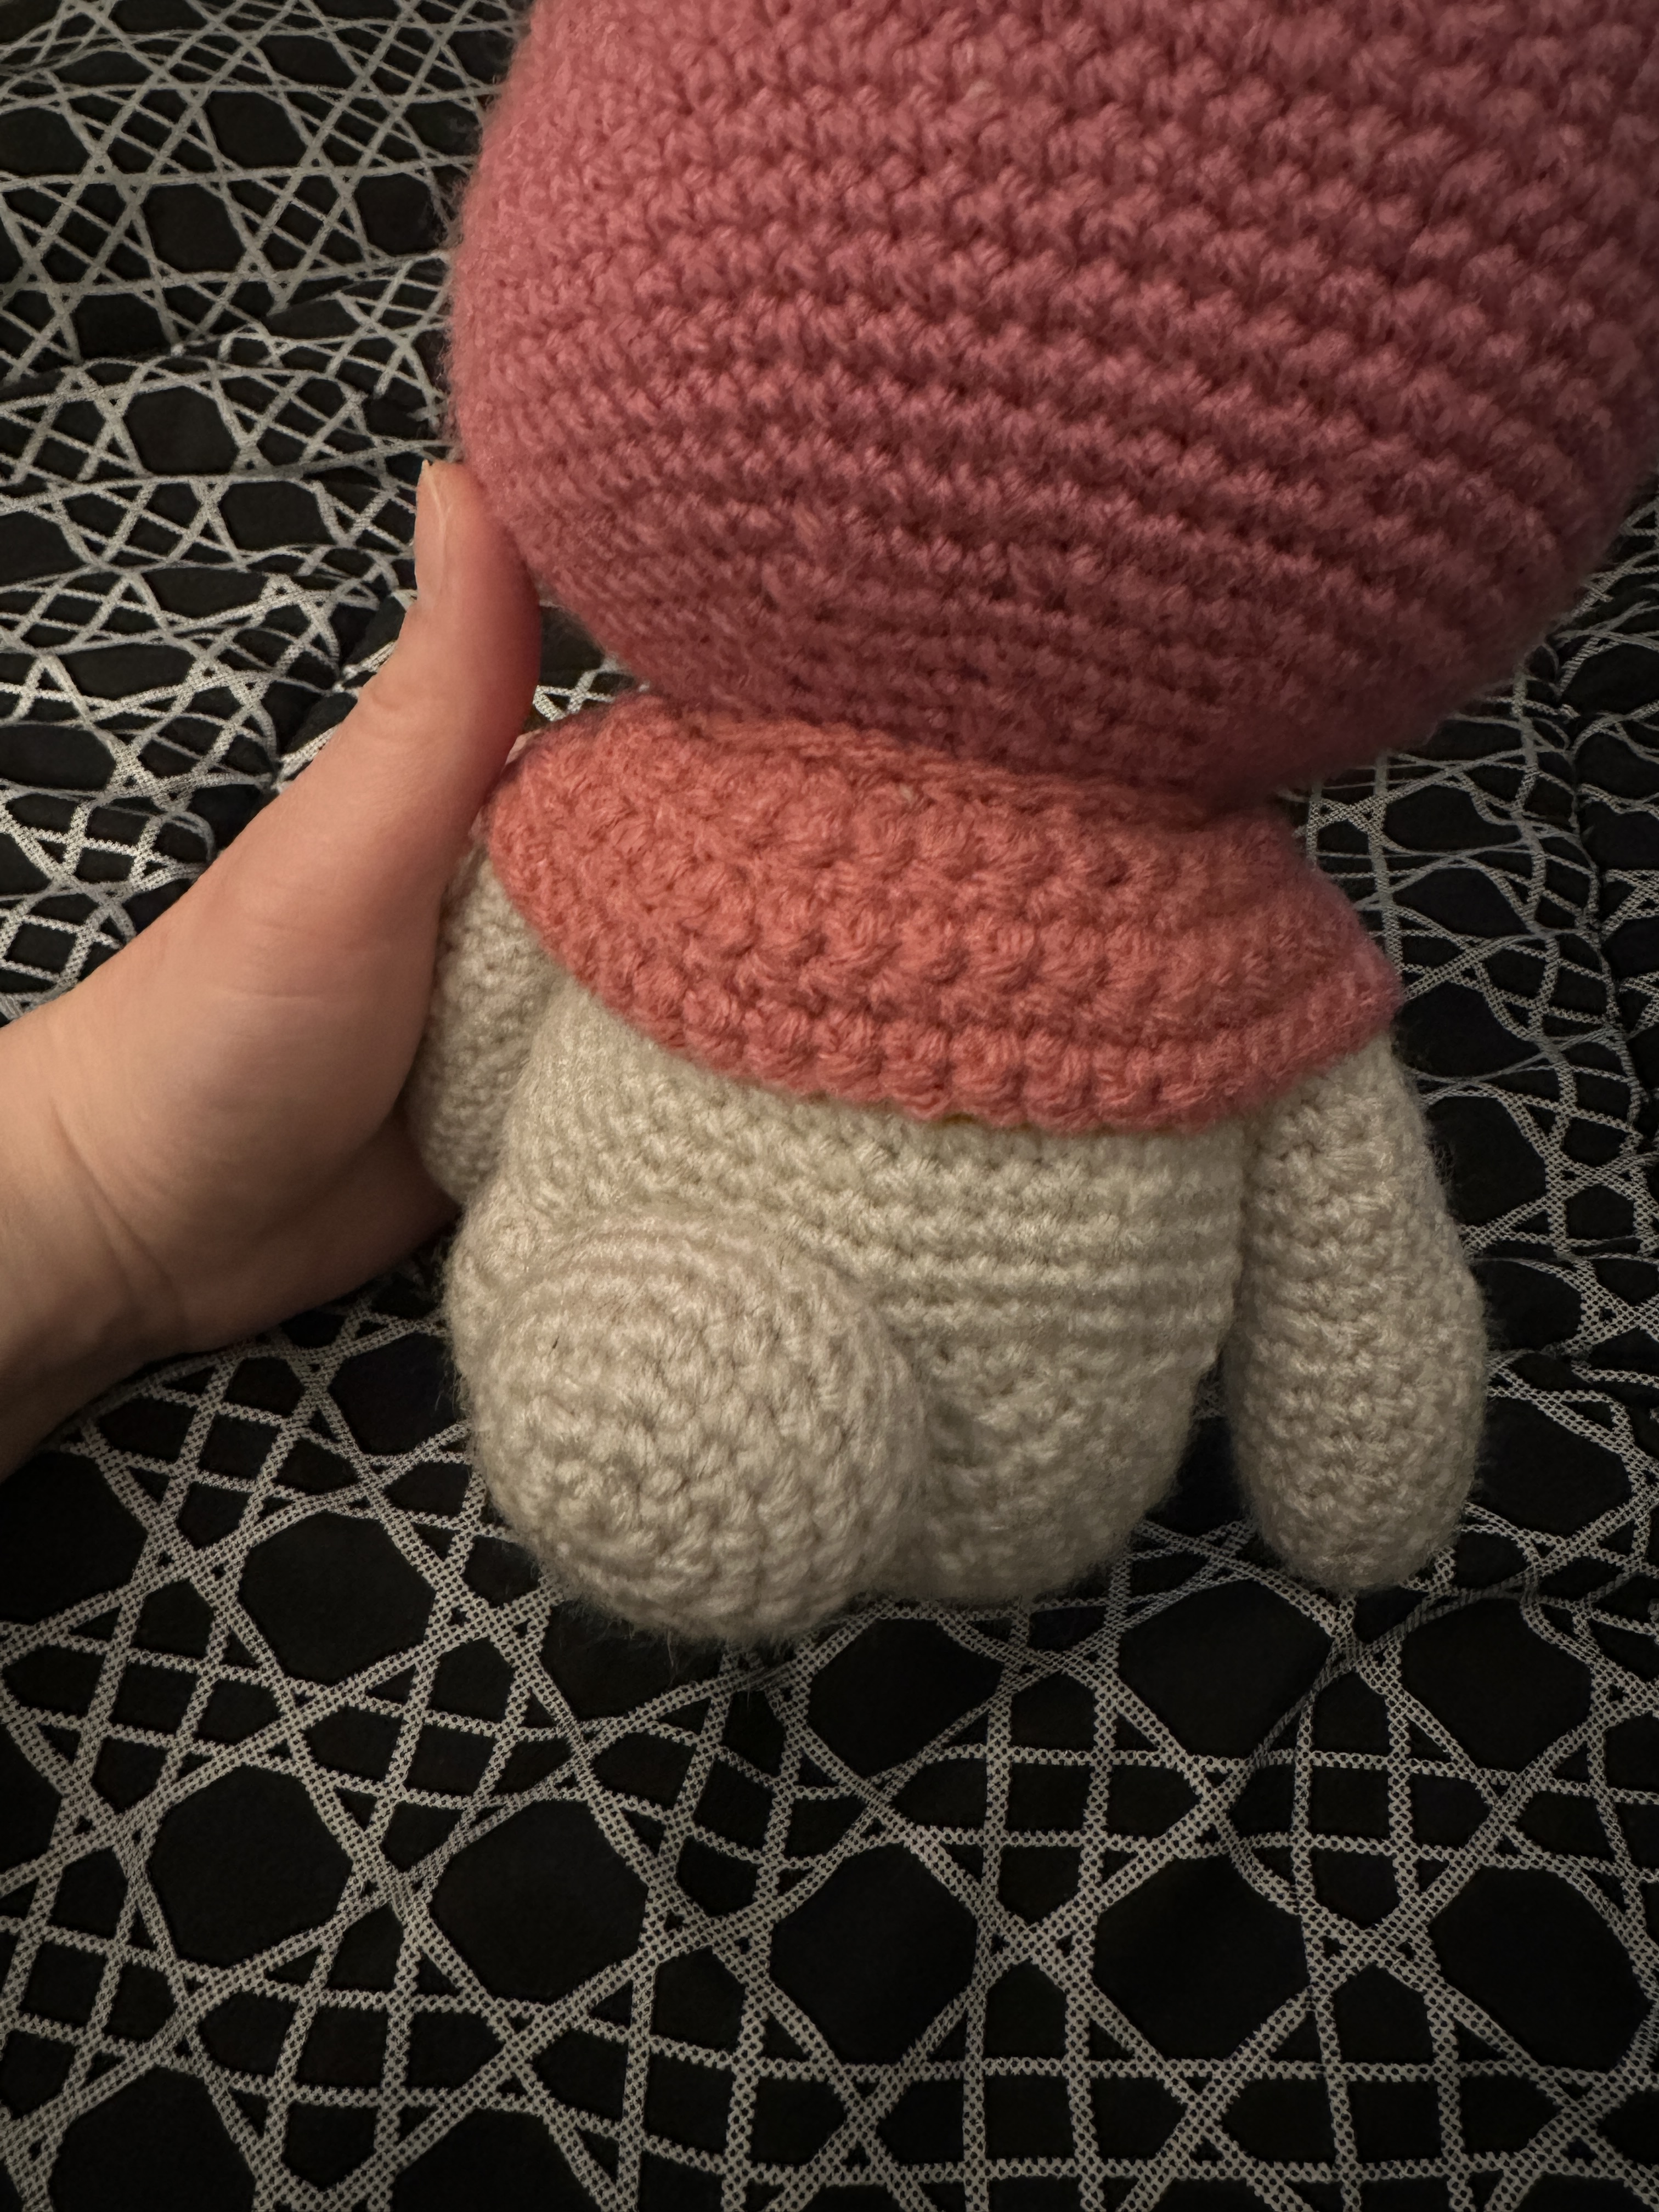
Legs (Make 2):
Rnd 1. Use a 5mm hook. Use the Bernat Blanket yarn for this. 8sc in magic circle. (8)
Rnd 2. Inc x 2. (16)
Rnd 3. (1sc. Inc.) x 8. (24)
Rnd 4. (2sc. Inc.) x 6. (30)
Rnd 5-13. 30sc. (30)
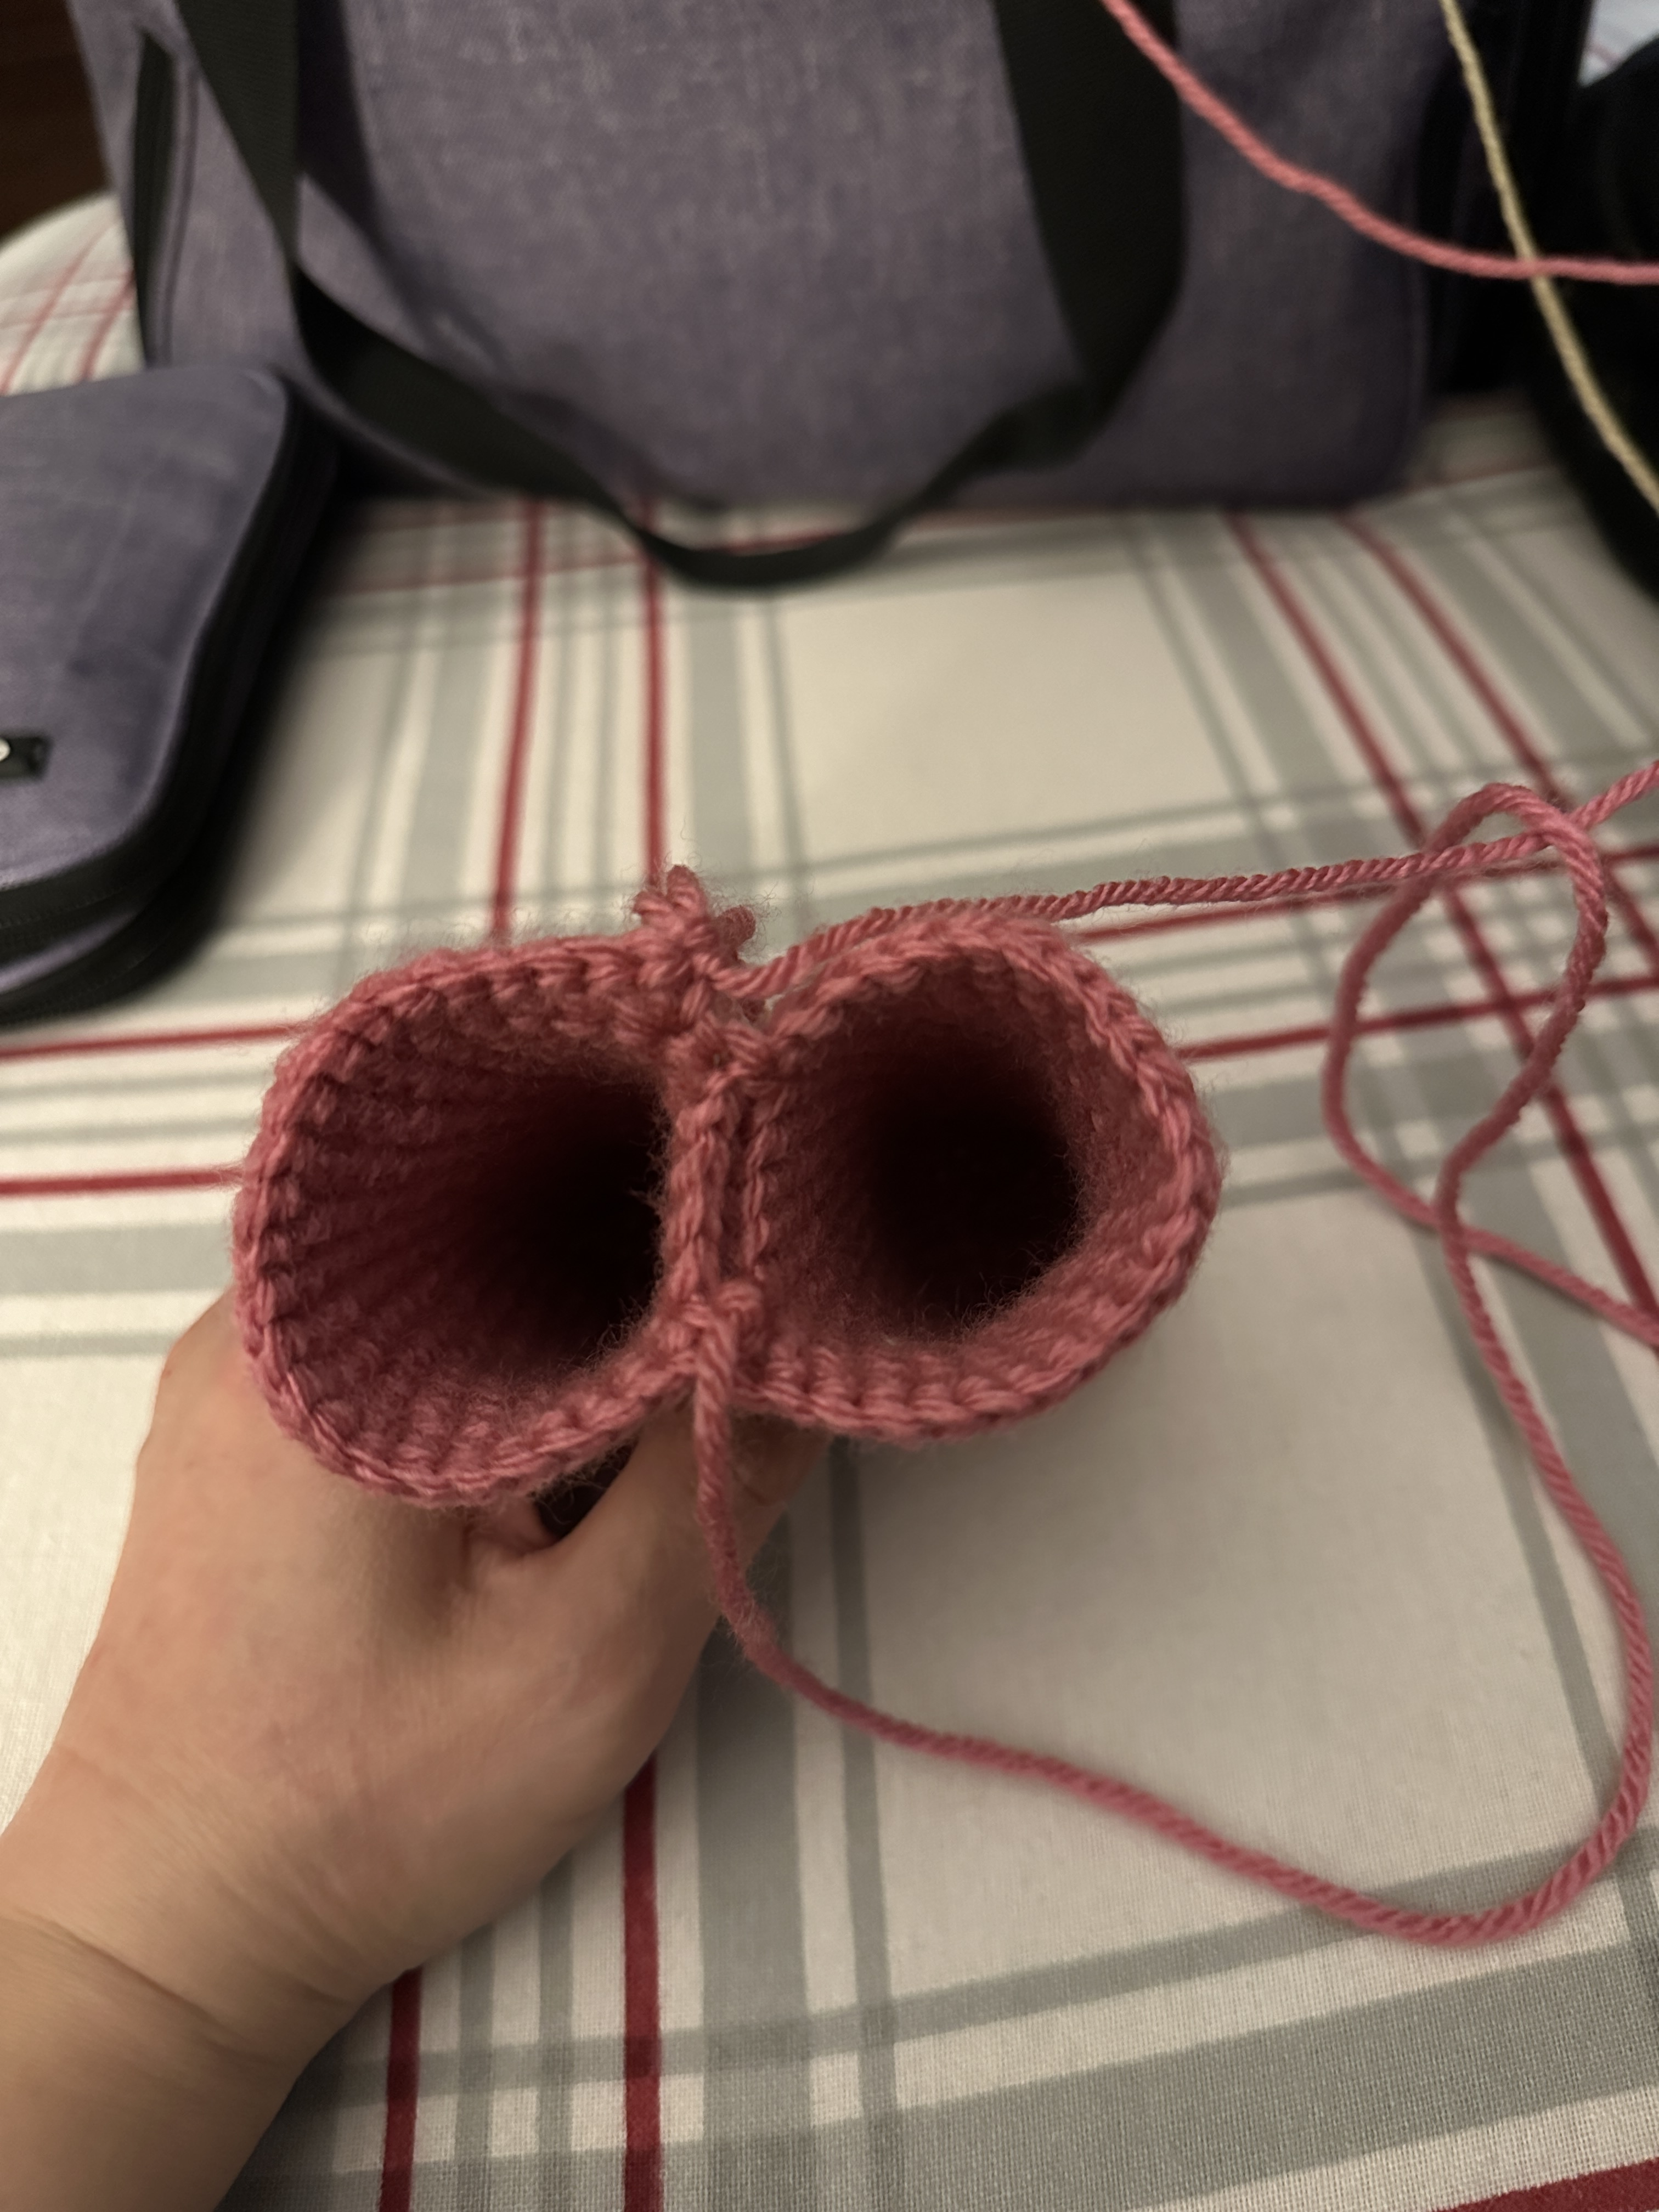
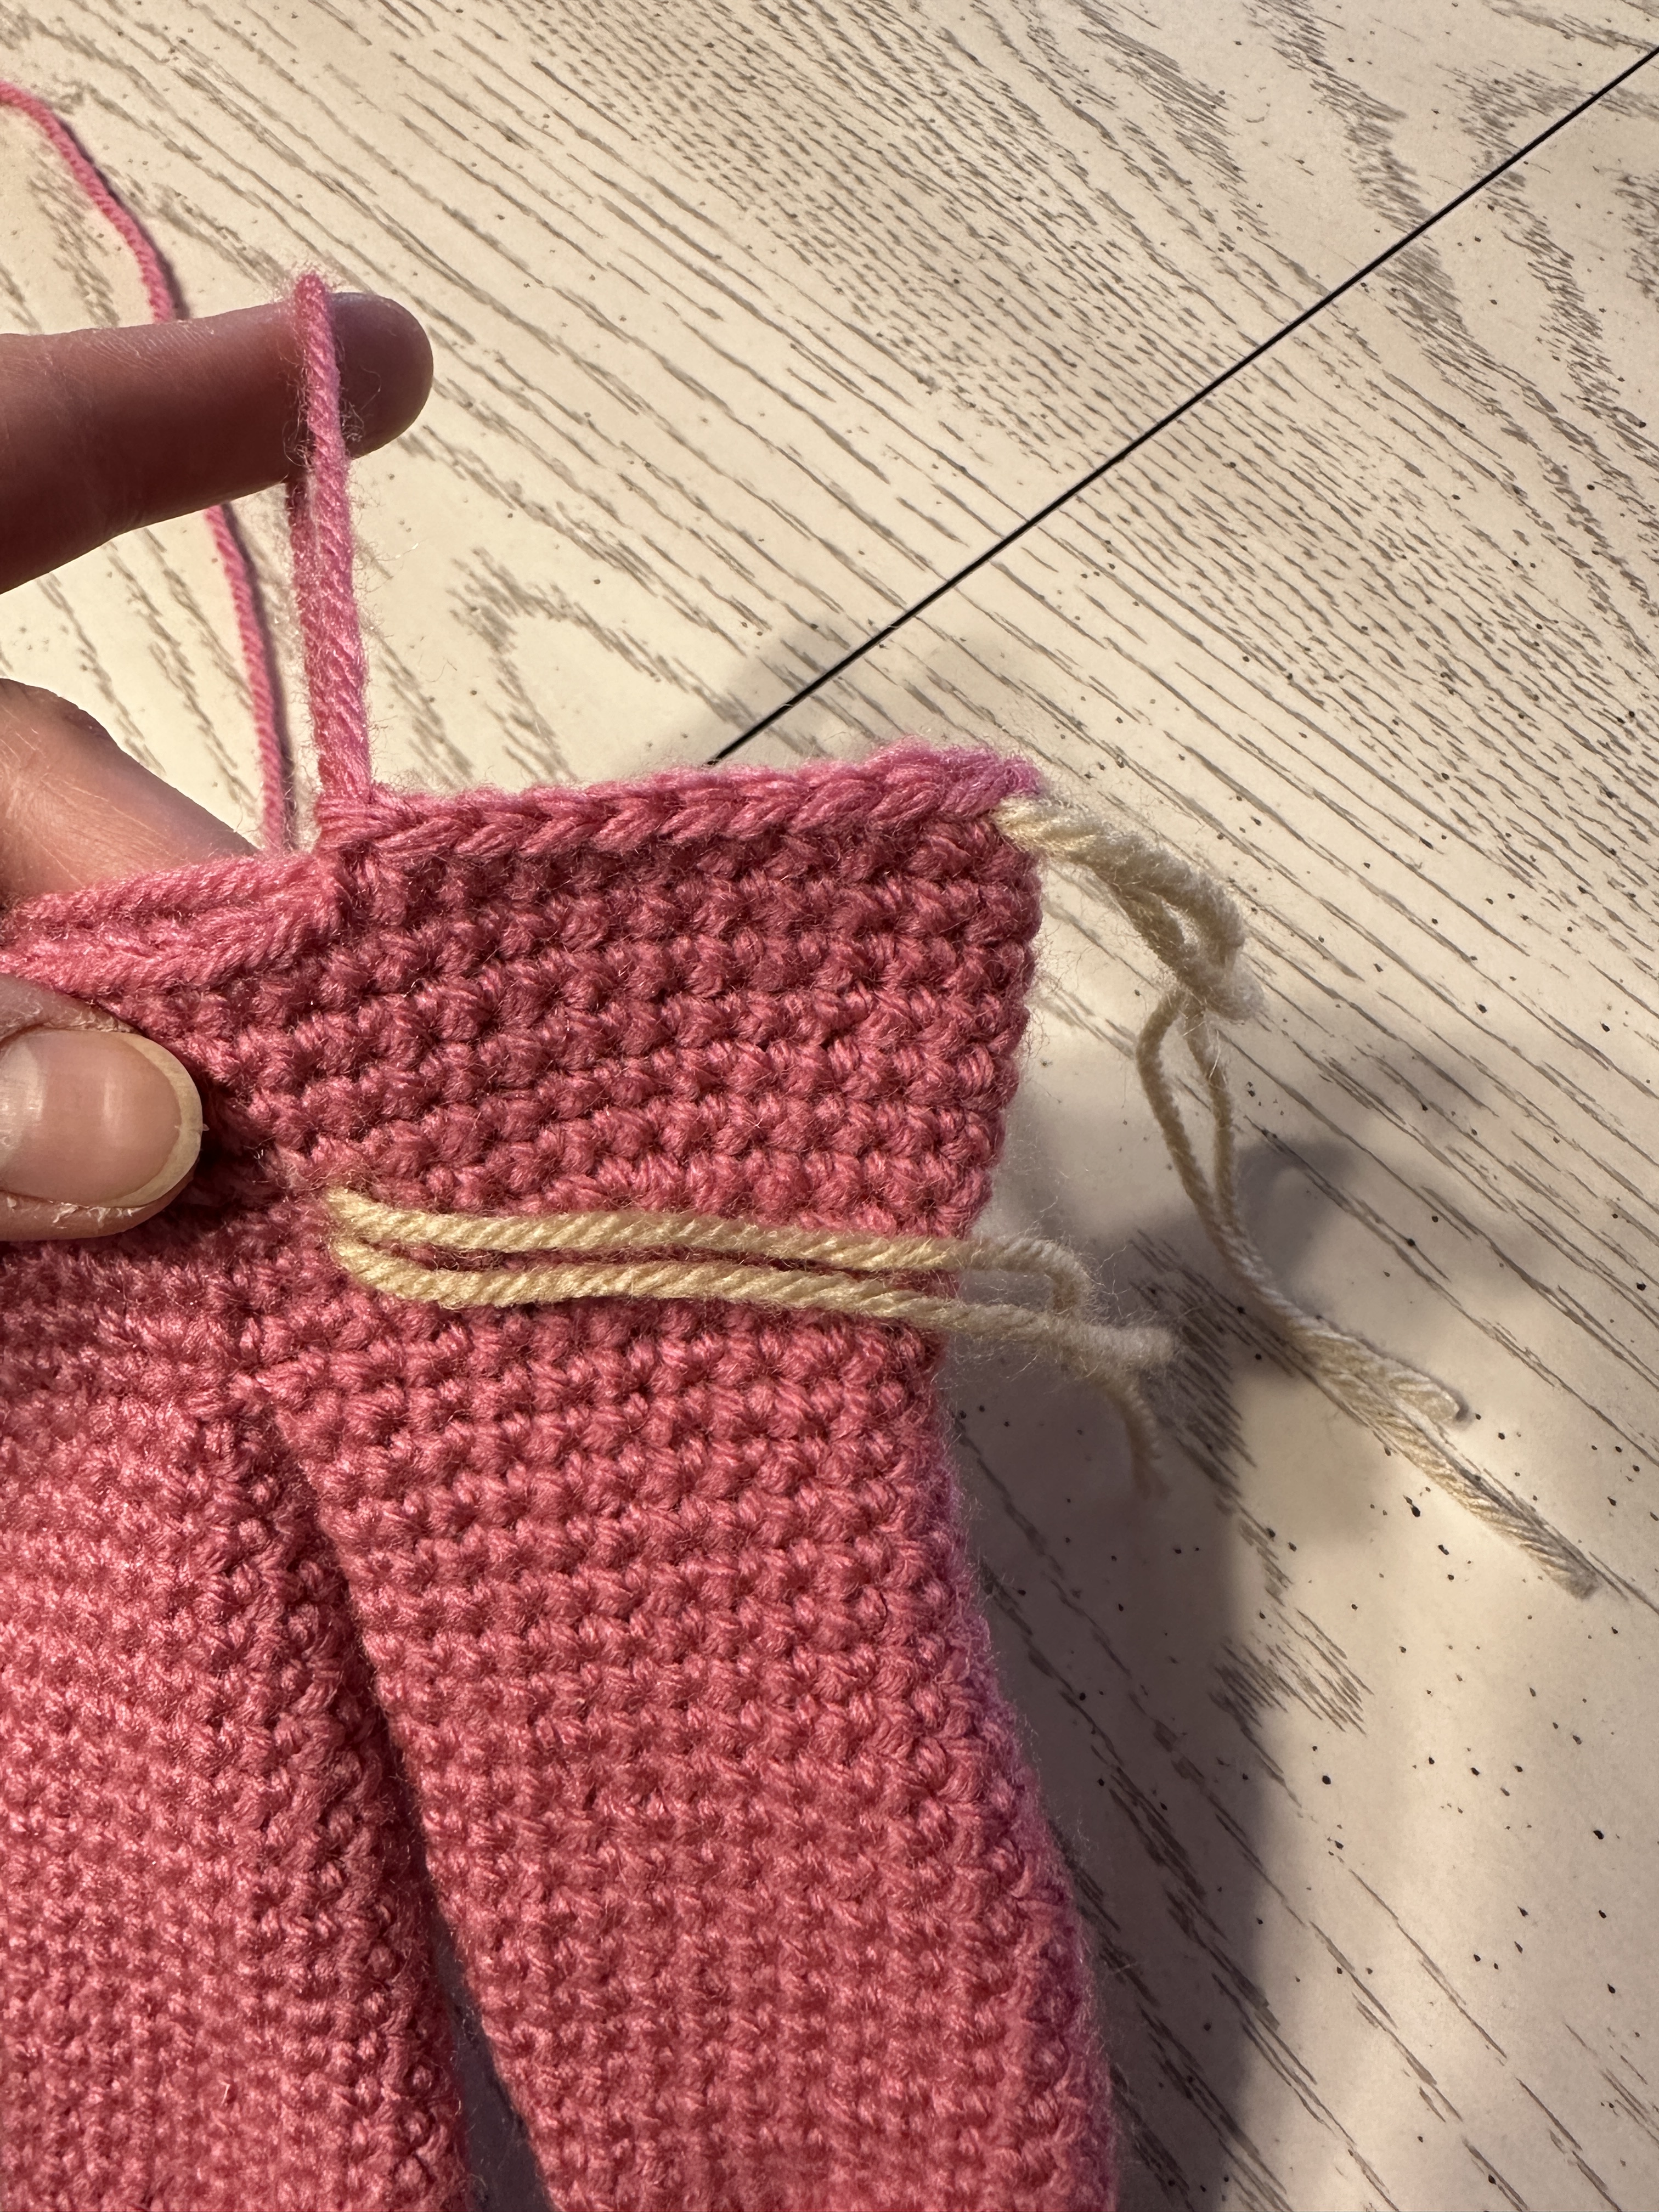
Follow the video to put the legs together.
This is the pattern for when the legs are already together and the rectangular part you made is already sewn and attached as well. We will continue from where we left of from the legs with the number of rounds.
Rnd 14-15. 54sc (54)
Rnd 16. (5sc. Inc.) x 9. (63)
Rnd 17-18. 63sc. (63)
Rnd 19. (2sc. Inc.) x 21. (84)
Rnd 20-26. 84sc. (84)
Rnd 27. (5sc. Dec.) x 14. (70)
Rnd 28-30. 70sc. (70)
Rnd 31. (5sc. Dec.) x 10. (60)
Rnd 32-34. 60sc. (60)
Don’t forget to stuff along the way. Make sure to put a good amount of stuffing so she can stand.
Rnd 35. (4sc. Dec.) x 10. (50)
Rnd 36. (3sc. Dec.) x 10. (40)
Rnd 37. (2sc. Dec.) x 10. (30)
Rnd 38. (4sc. Dec.) x 6. (24)
Rnd 39. (3sc. Dec.) x 6. (18)
Rnd 40. (2sc. Dec.) x 6. (12)
Rnd 41. (1sc. Dec.) x 6. (6)
FO. Sew gap closed.
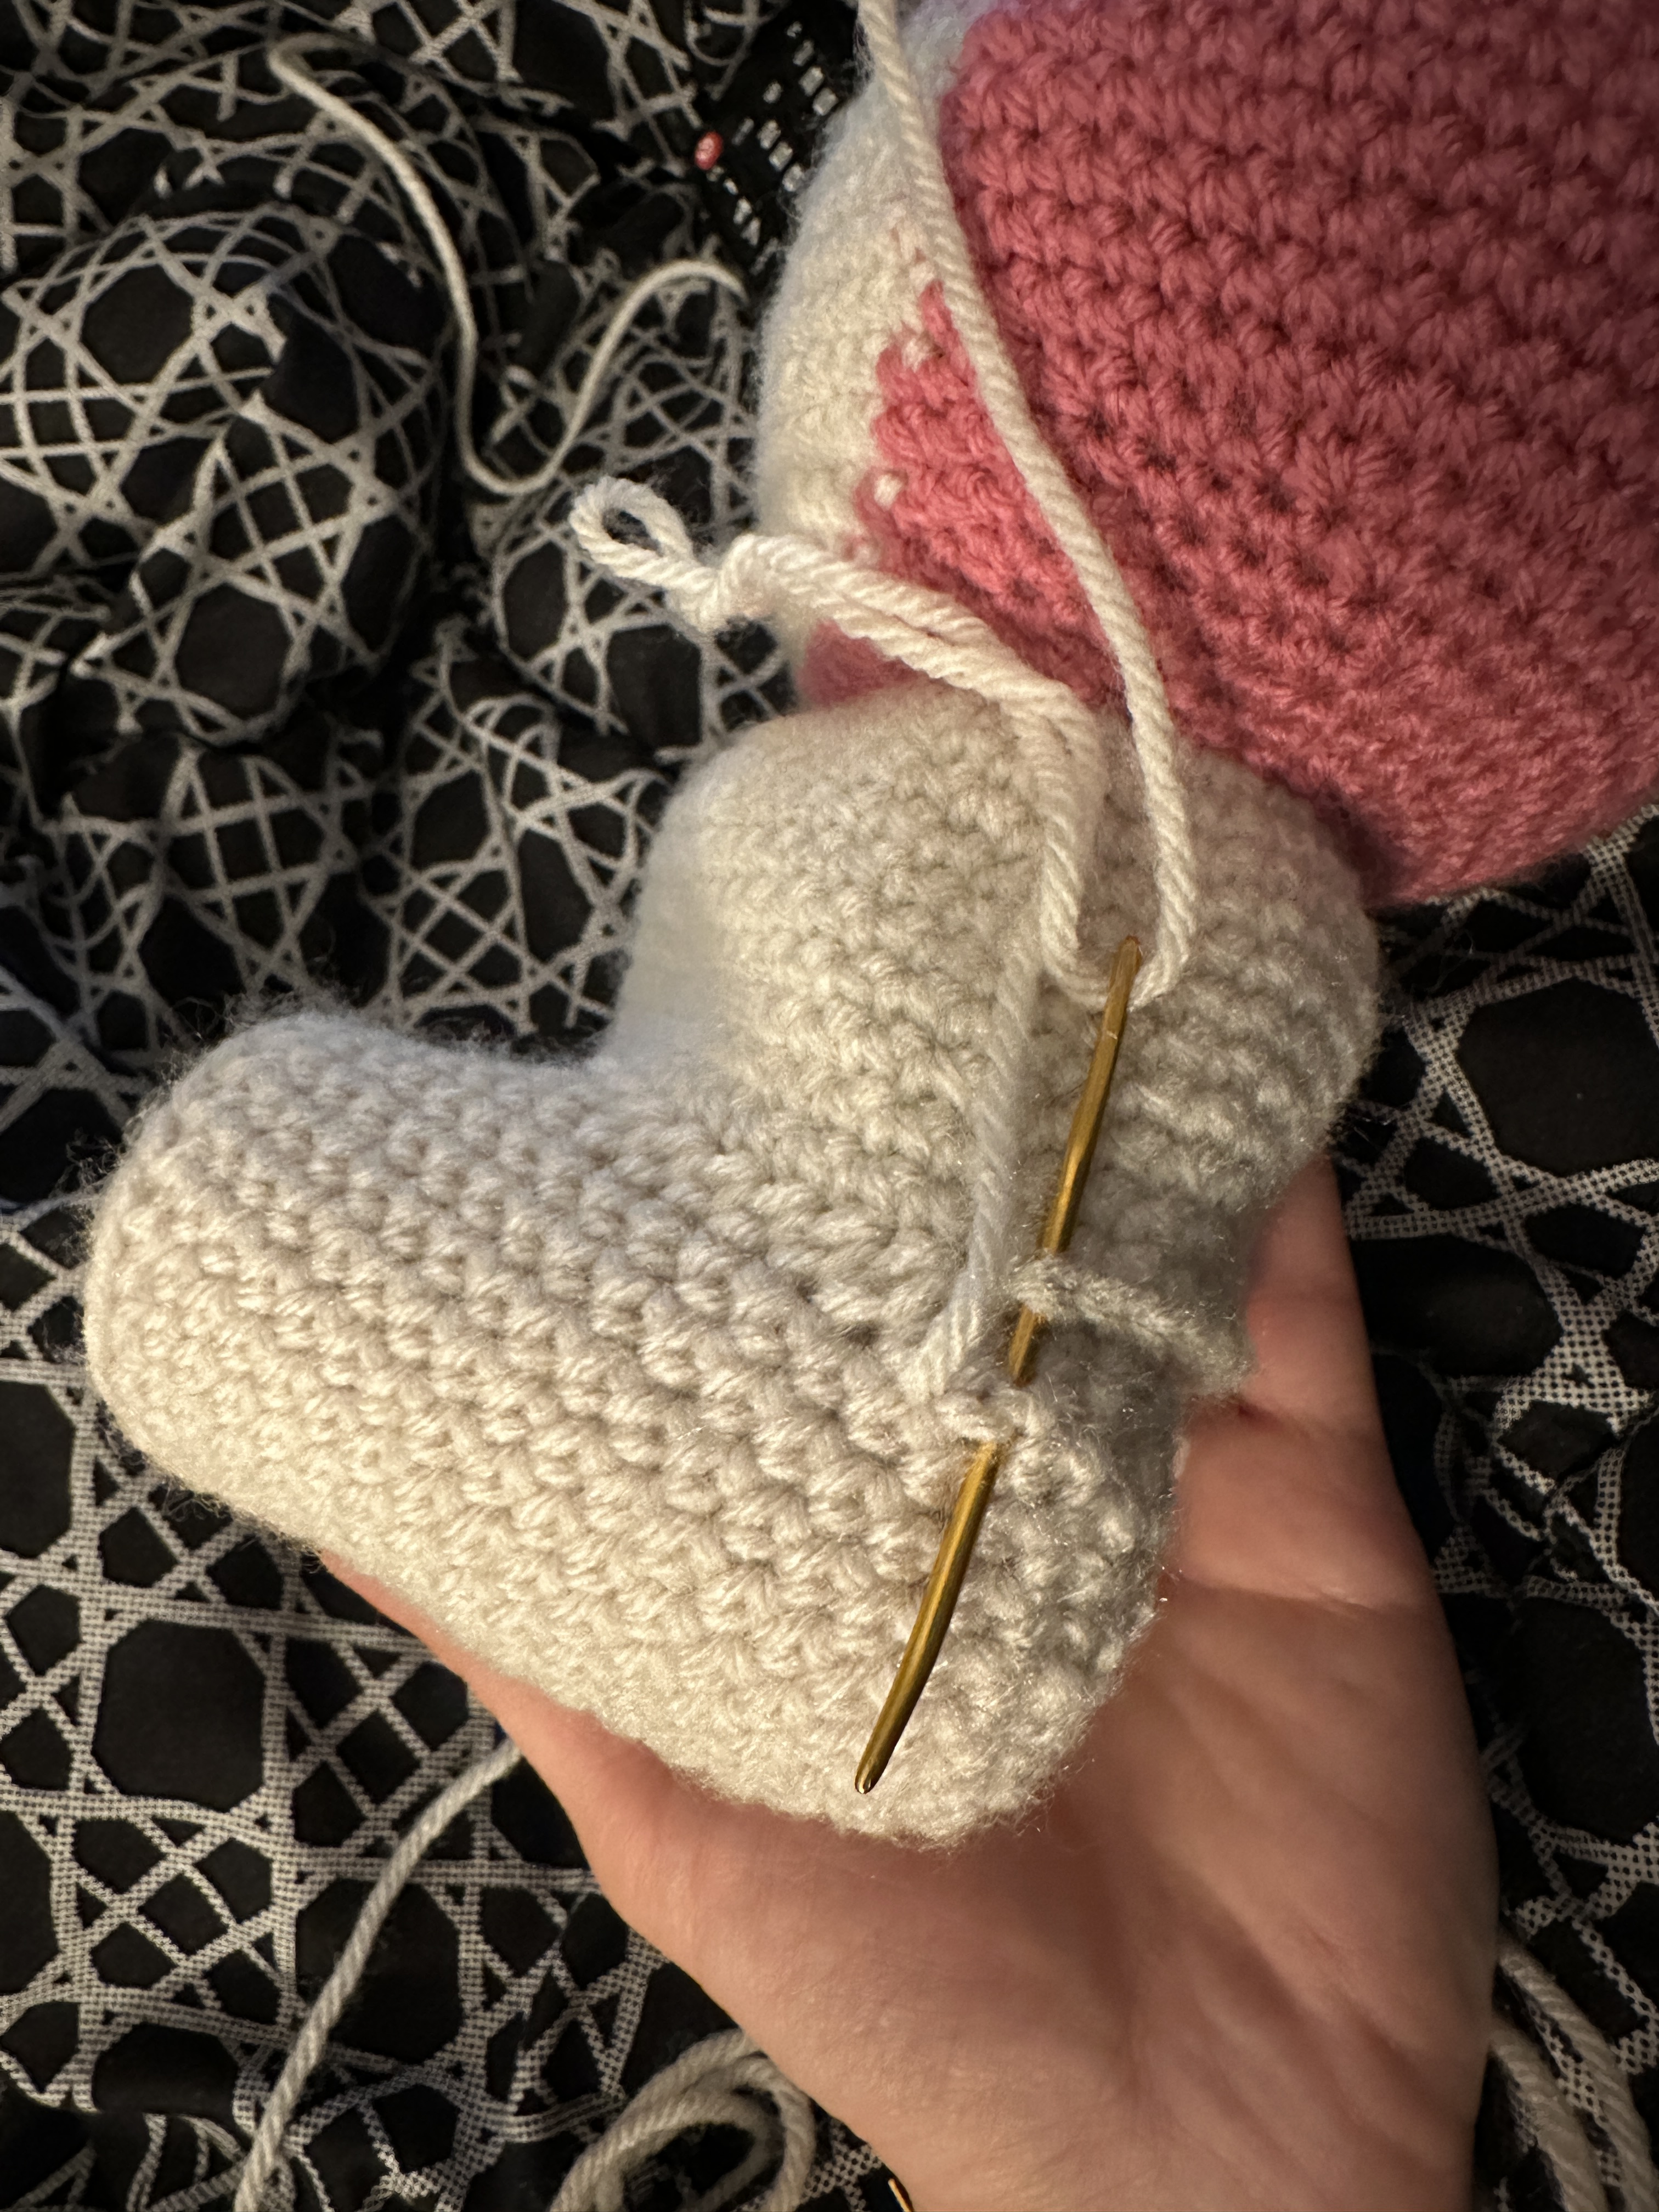
Hands: Follow the pattern for the hands in the video. You can either sew the hands into the arm holes or glue them. Gluing them didn’t work as well. I sewed them on instead. Since you are using medium worsted yarn to sew the hands into the arms, you won’t see the seams as much because the Bernat Blanket yarn is so thick, it hides the yarn in its fluffiness.
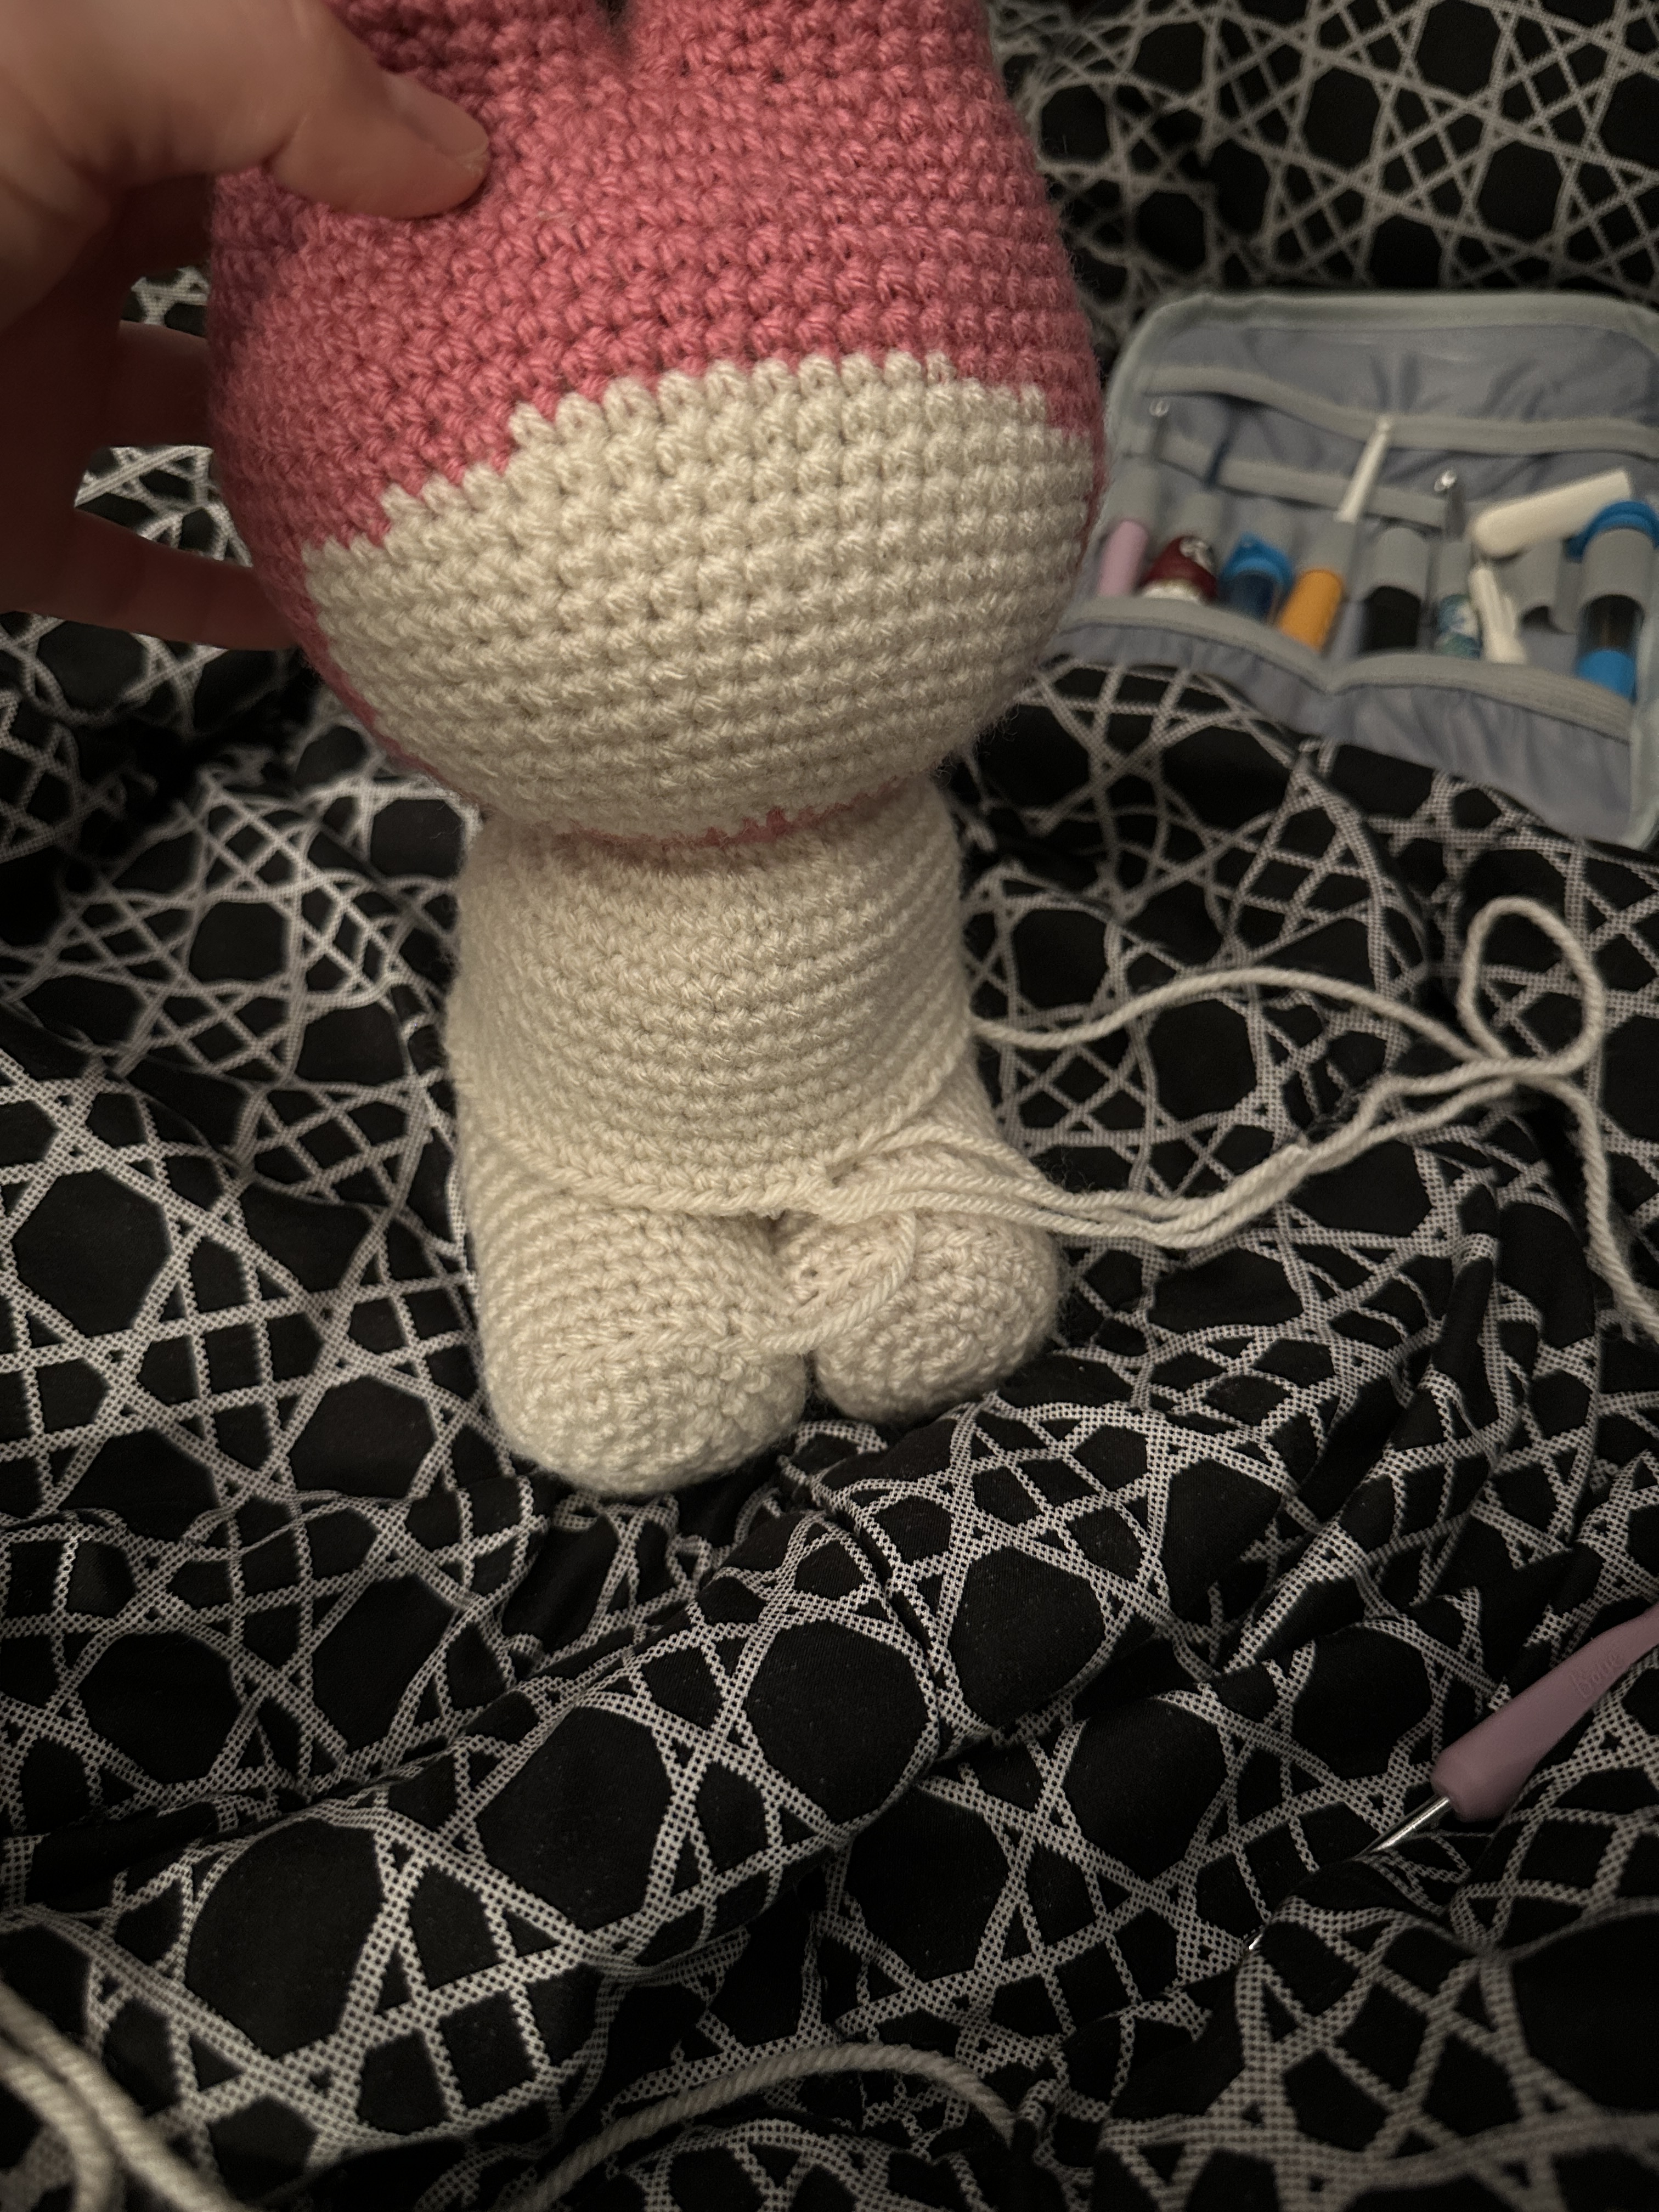
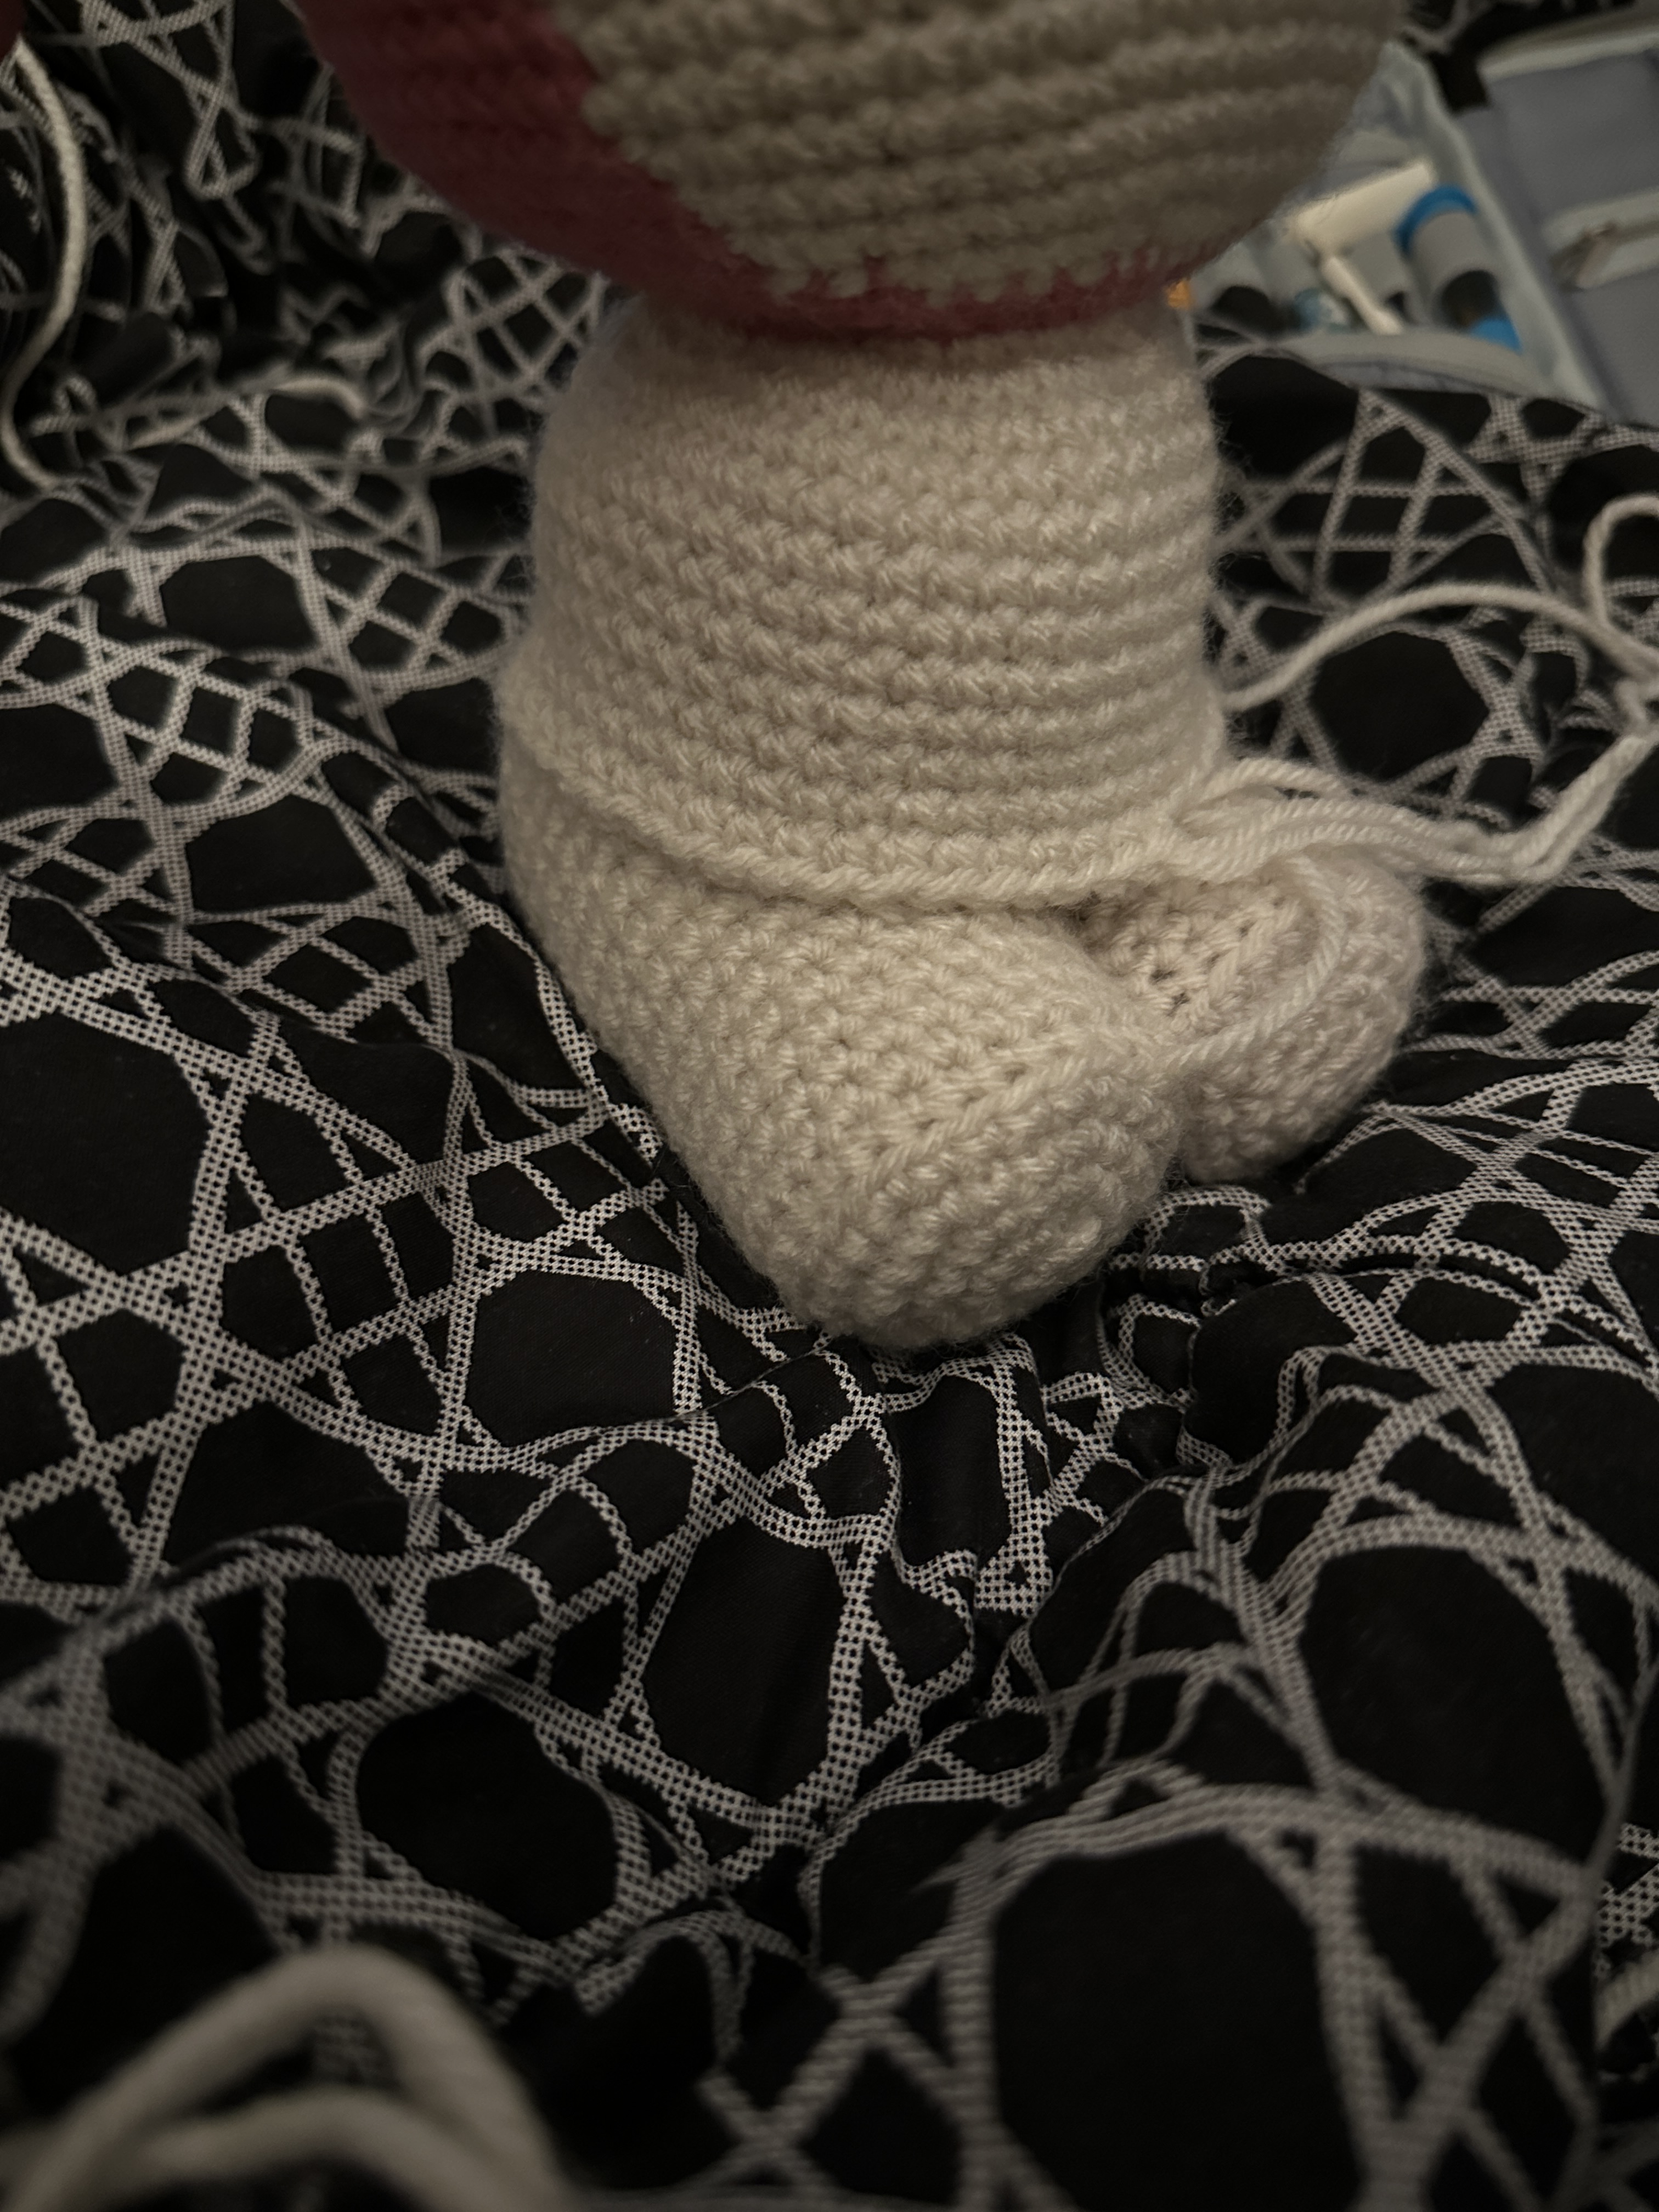
Feet (Make 2):
Rnd 1. Use cream color medium worsted for this. 6sc in magic circle. (6)
Rnd 2. Inc x 6. (12)
Rnd 3. (1sc. Inc.) x 6. (18)
Rnd 4. (2sc. Inc.) x 6. (24)
Rnd 5. (3sc. Inc.) x 6. (30)
Rnd 6. (4sc. Inc.) x 6. (36)
Rnd 7. (5sc. Inc.) x 6. (42)
Rnd 8. (6sc. Inc.) x 6. (48)
Rnd 9. Crochet in the back loops only here. 48sc. (48)
Rnd 10. (6sc. Inc.) x 6. (42)
Rnd 11. (5sc. Inc.) x 6. (36)
Rnd 12. (4sc. Inc.) x 6. (30)
Rnd 13. (3sc. Inc.) x 6. (24)
Rnd 14. (2sc. Inc.) x 6. (18)
Rnd 13. (1sc. Inc.) x 6. (12)
Rnd 12. Inc x 6. (6)
FO. Sew gap closed.
Please watch the video on how to make the toes. There are three on each foot. Then, same with the hands, you can either sew or glue them on. I sewed them on.