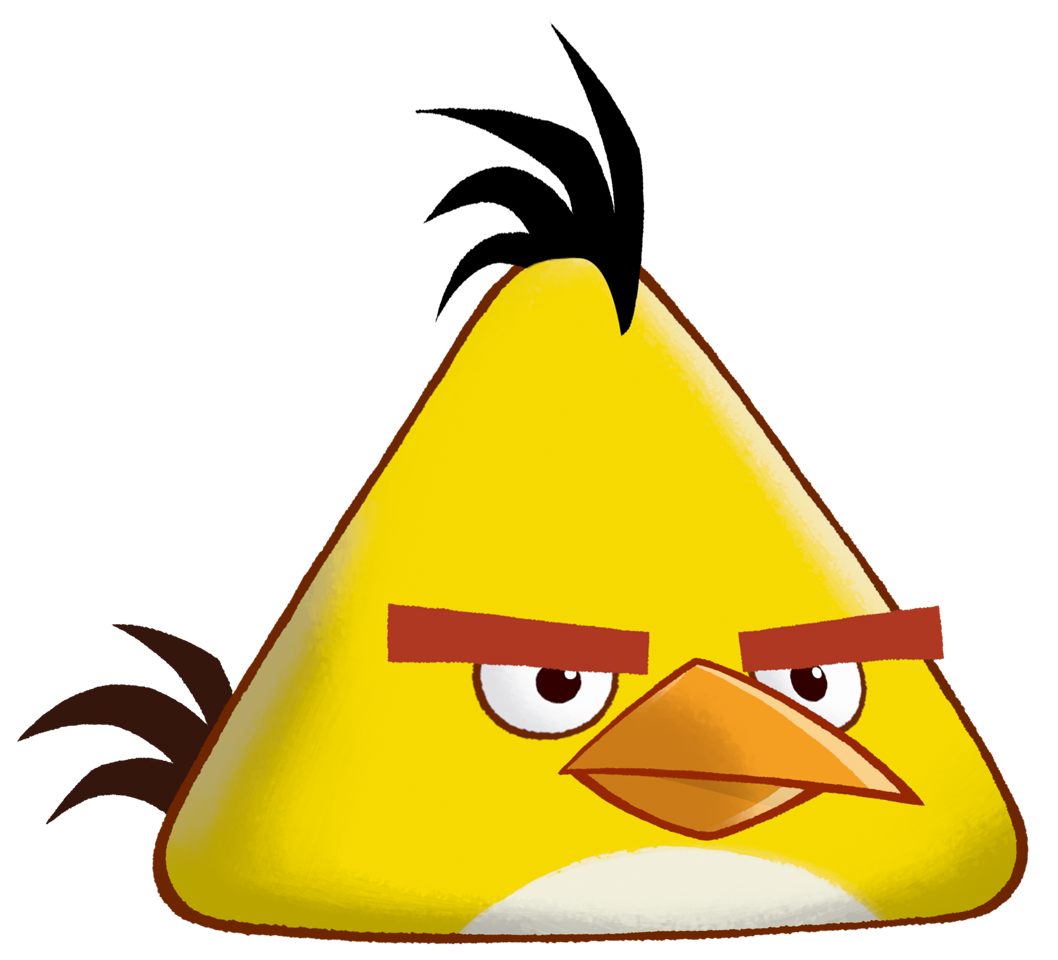
Reference image:
Materials:
- Black, yellow, gold, red, white yarn.
- Stuffing
- Scissors
- Darning needle
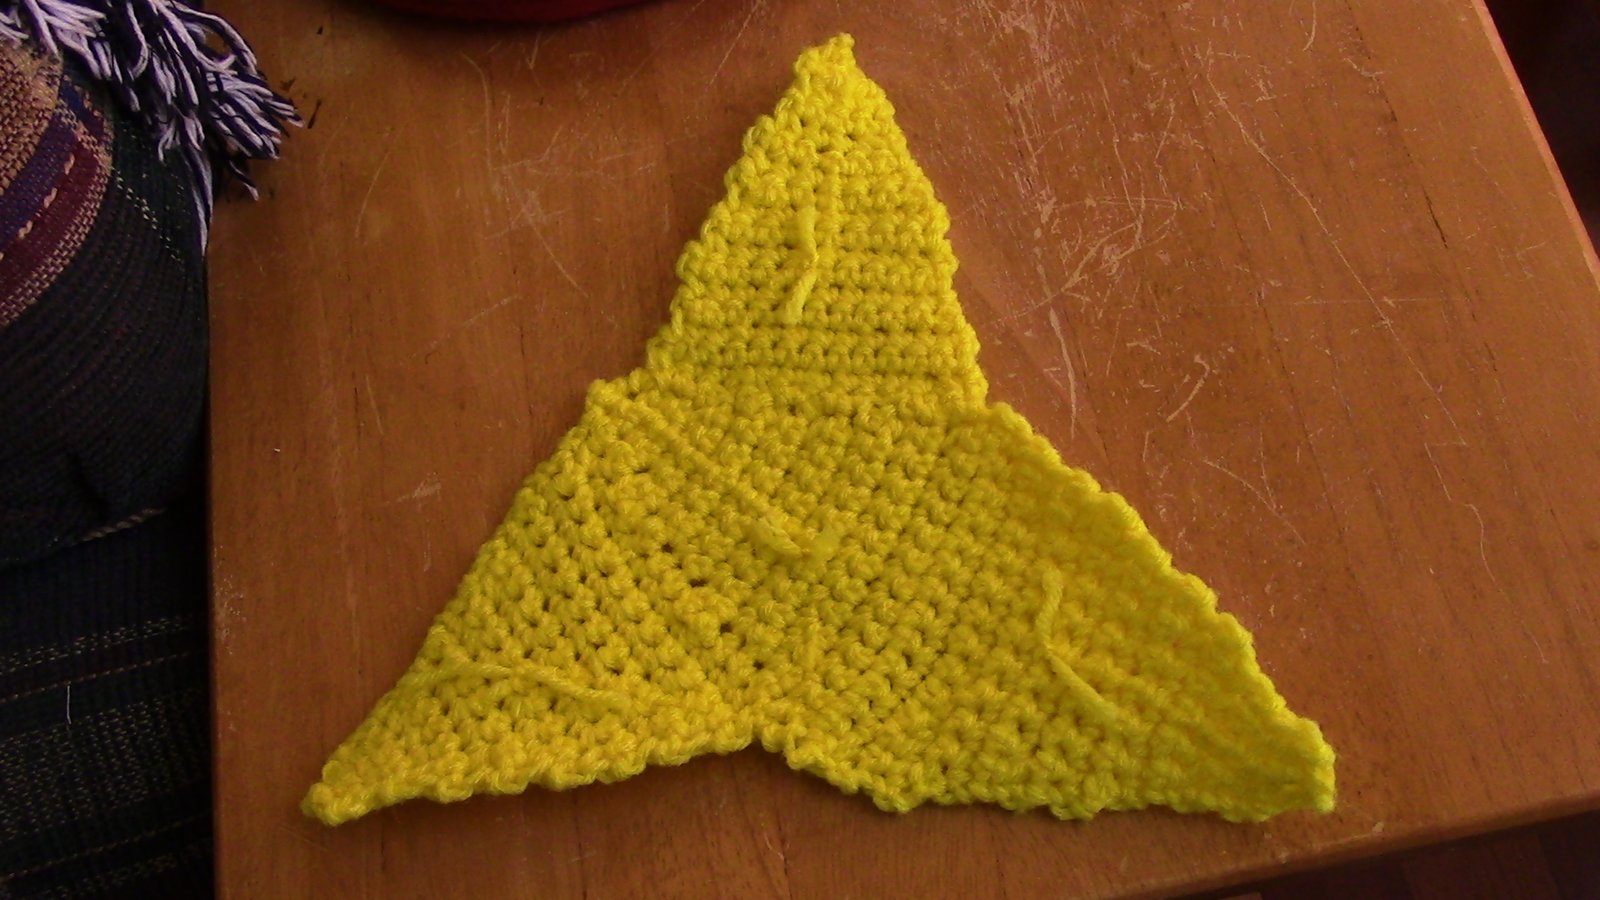
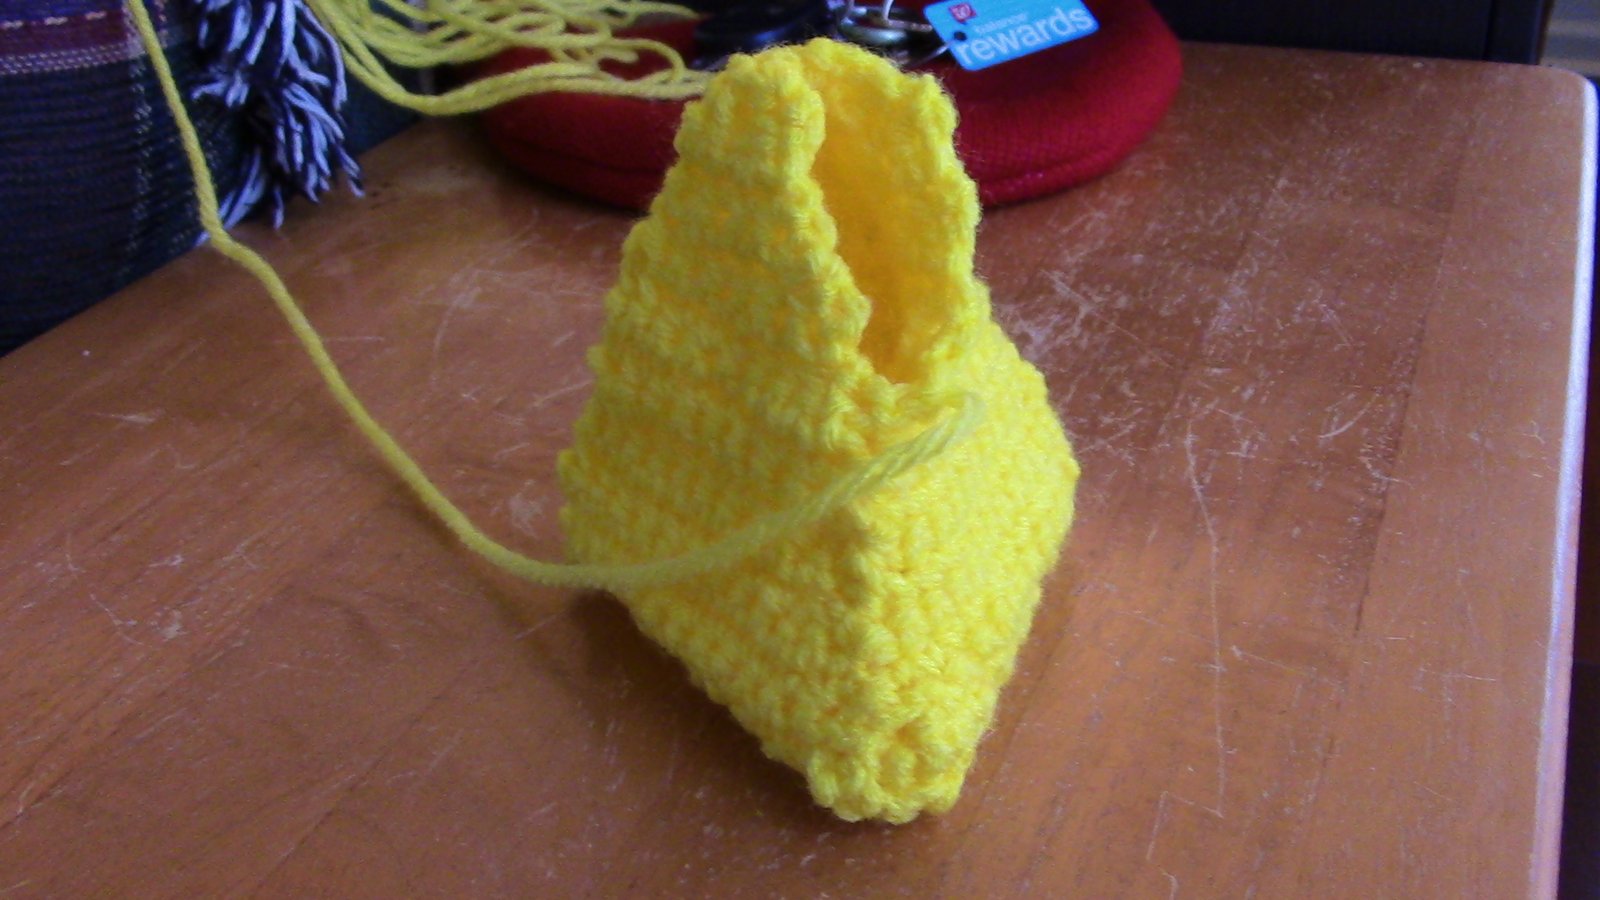
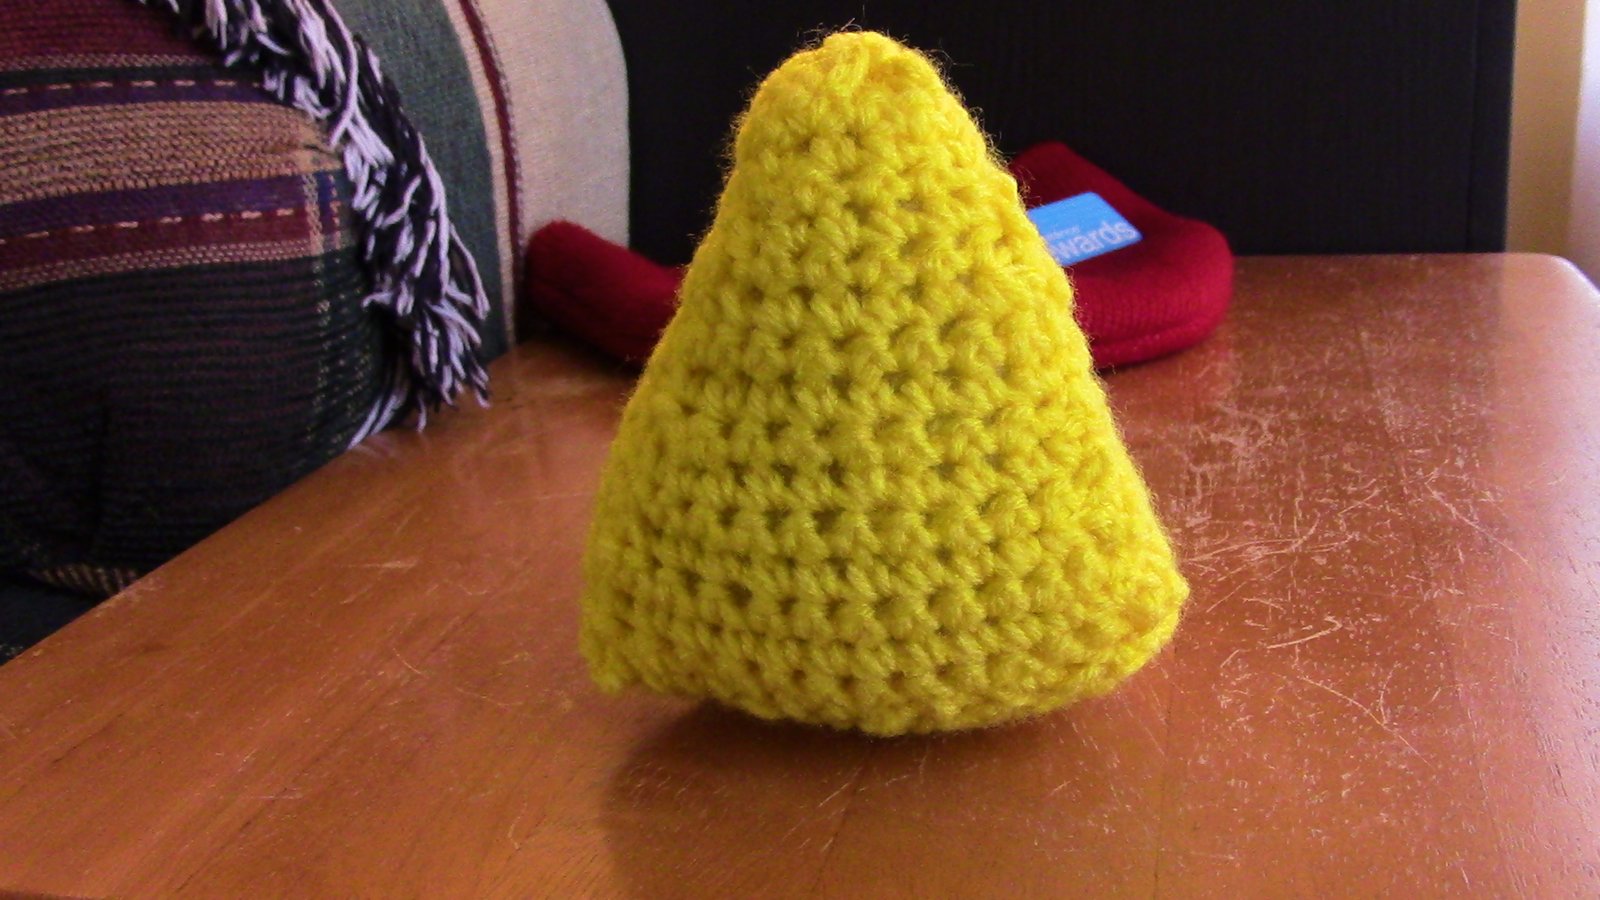
Head/Body (Make 4):
- For this we are going to make a base and three sides. So pretty much we will be making a pyramid. With yellow. Chain 15.
- 1sc in each chain starting in second chain from hook. [14]
- Chain 1. Turn. Sc2tog. 1sc in next 10st. Sc2tog. [12]
- Chain 1. Turn. 1sc in each st. For 2 rows. [12]
- Chain 1. Turn. Sc2tog. 1sc in next 8st. Sc2tog. [10]
- Chain 1. Turn. 1sc in each st. For 2 rows. [10]
- Chain 1. Turn. Sc2tog. 1sc in next 6st. Sc2tog. [8]
- Chain 1. Turn. 1sc in each st. For 2 rows. [8]
- Chain 1. Turn. Sc2tog. 1sc in next 4st. Sc2tog. [6]
- Chain 1. Turn. 1sc in each st. For 2 rows. [6]
- Chain 1. Turn. Sc2tog. 1sc in next 2st. Sc2tog. [4]
- Chain 1. Turn. 1sc in each st. For 2 rows. [4]
- Chain 1. Turn. Sc2tog x 2.
- F.O.
- Repeat for all sides and sew. Stuff before you close the gap.
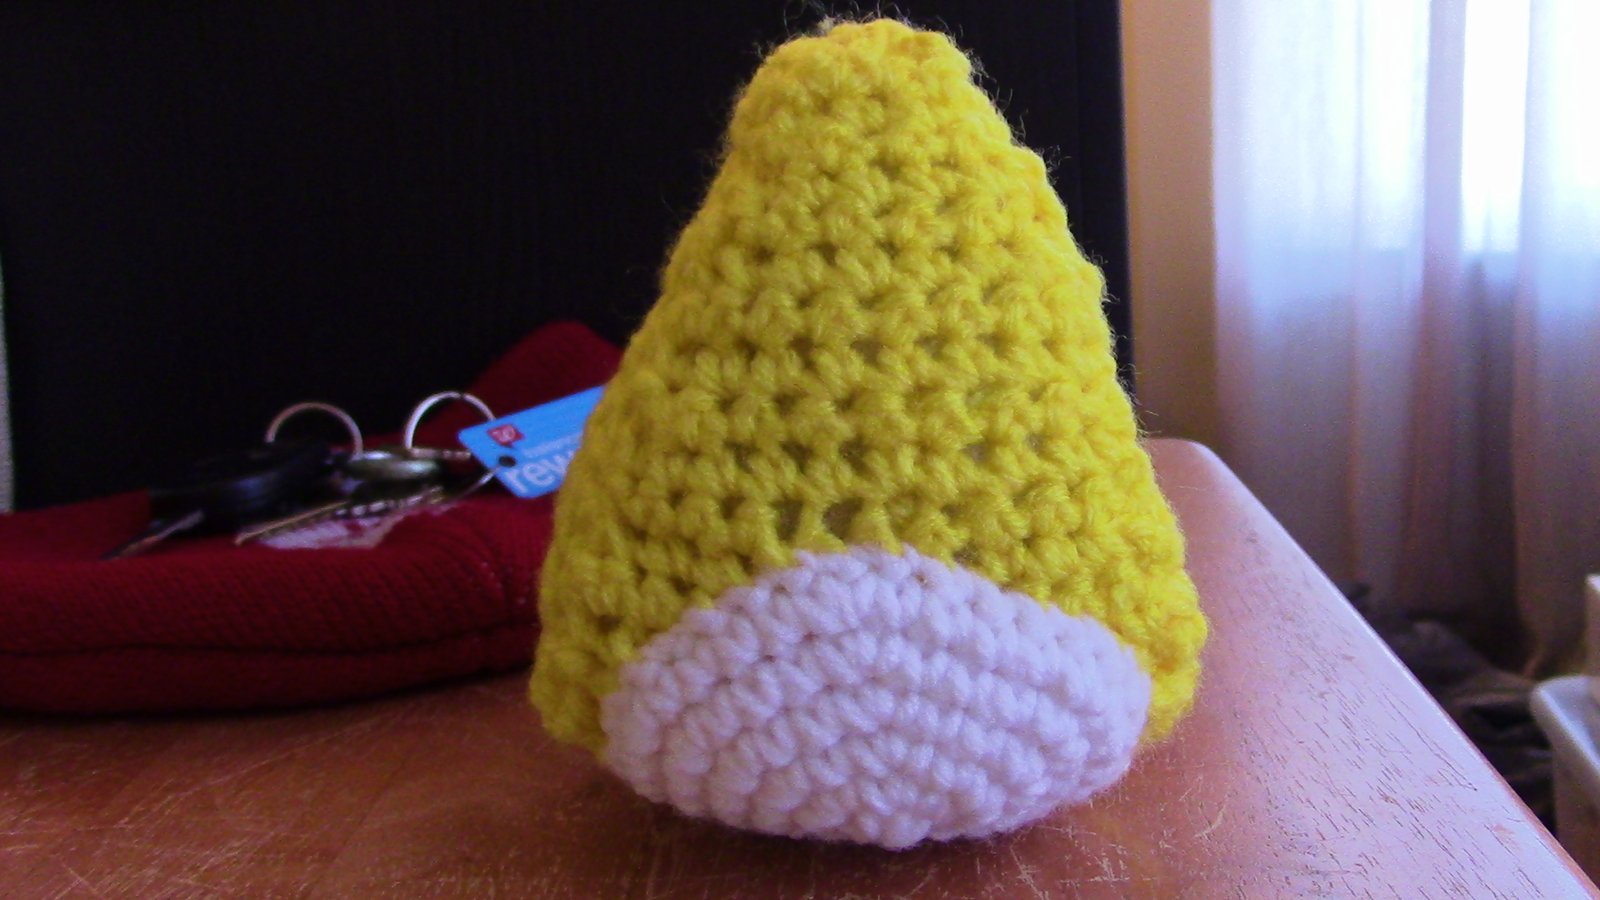
Belly:
- With white. 6sc in magic circle. [6]
- 2sc in each st around. [12]
- (1sc in first st. 2sc in next st.) Repeat around. [18]
- (1sc in first 2st. 2sc in next st.) Repeat around. [24]
- (1sc in first 3st. 2sc in next st.) Repeat around. [30]
- (1sc in first 4st. 2sc in next st.) Repeat around. [36]
- F.O.
- Sew onto the bottom of the body. This will be his belly.
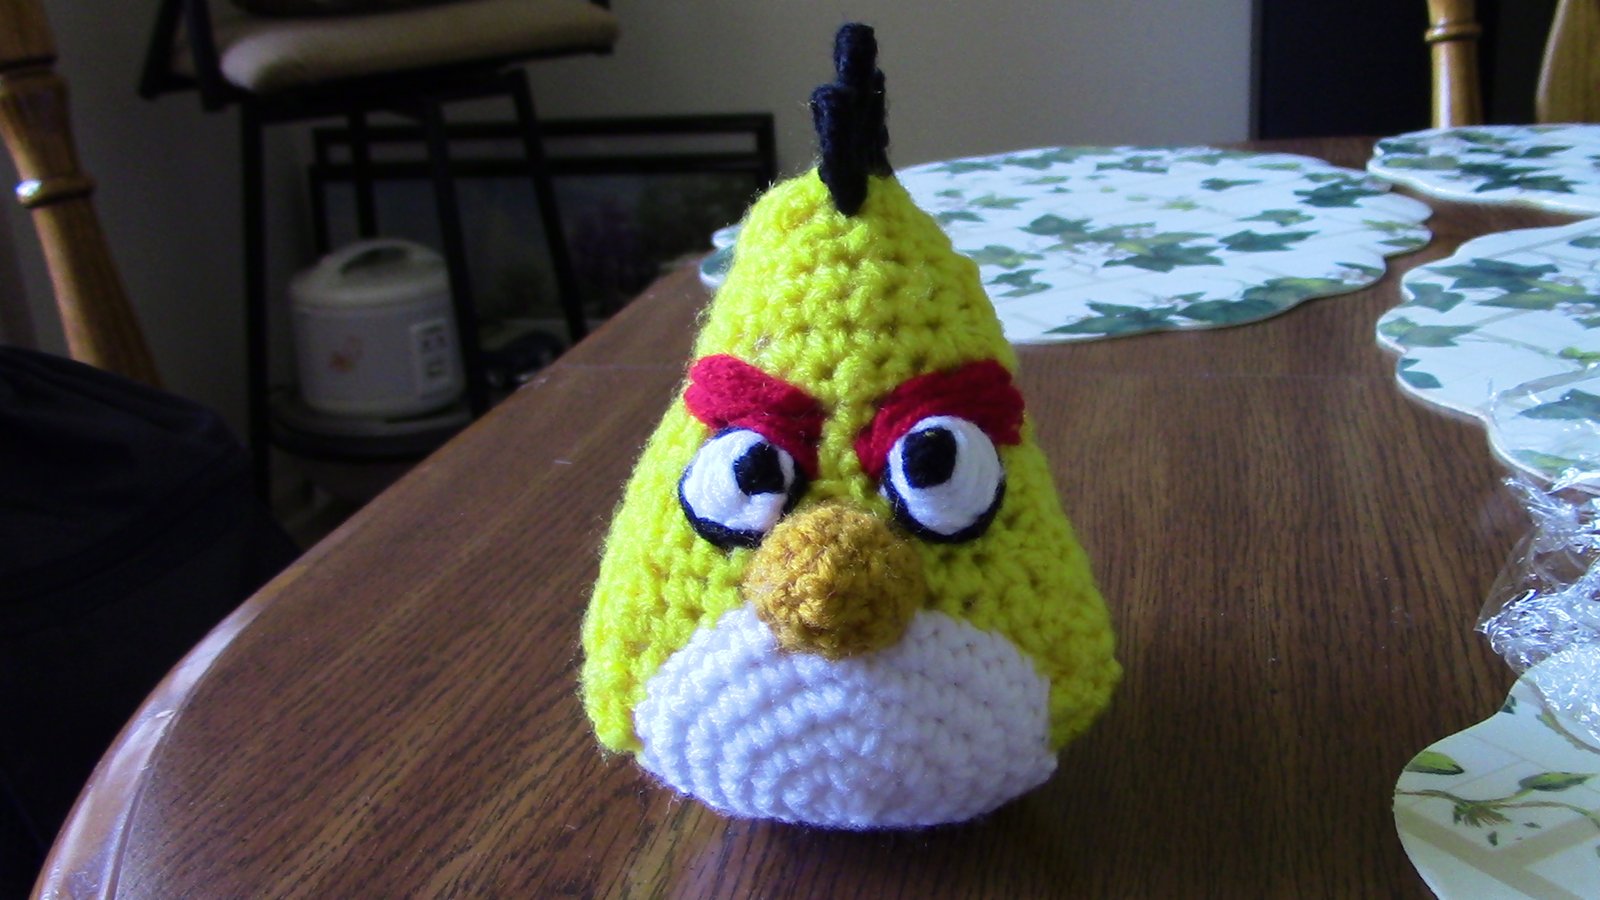
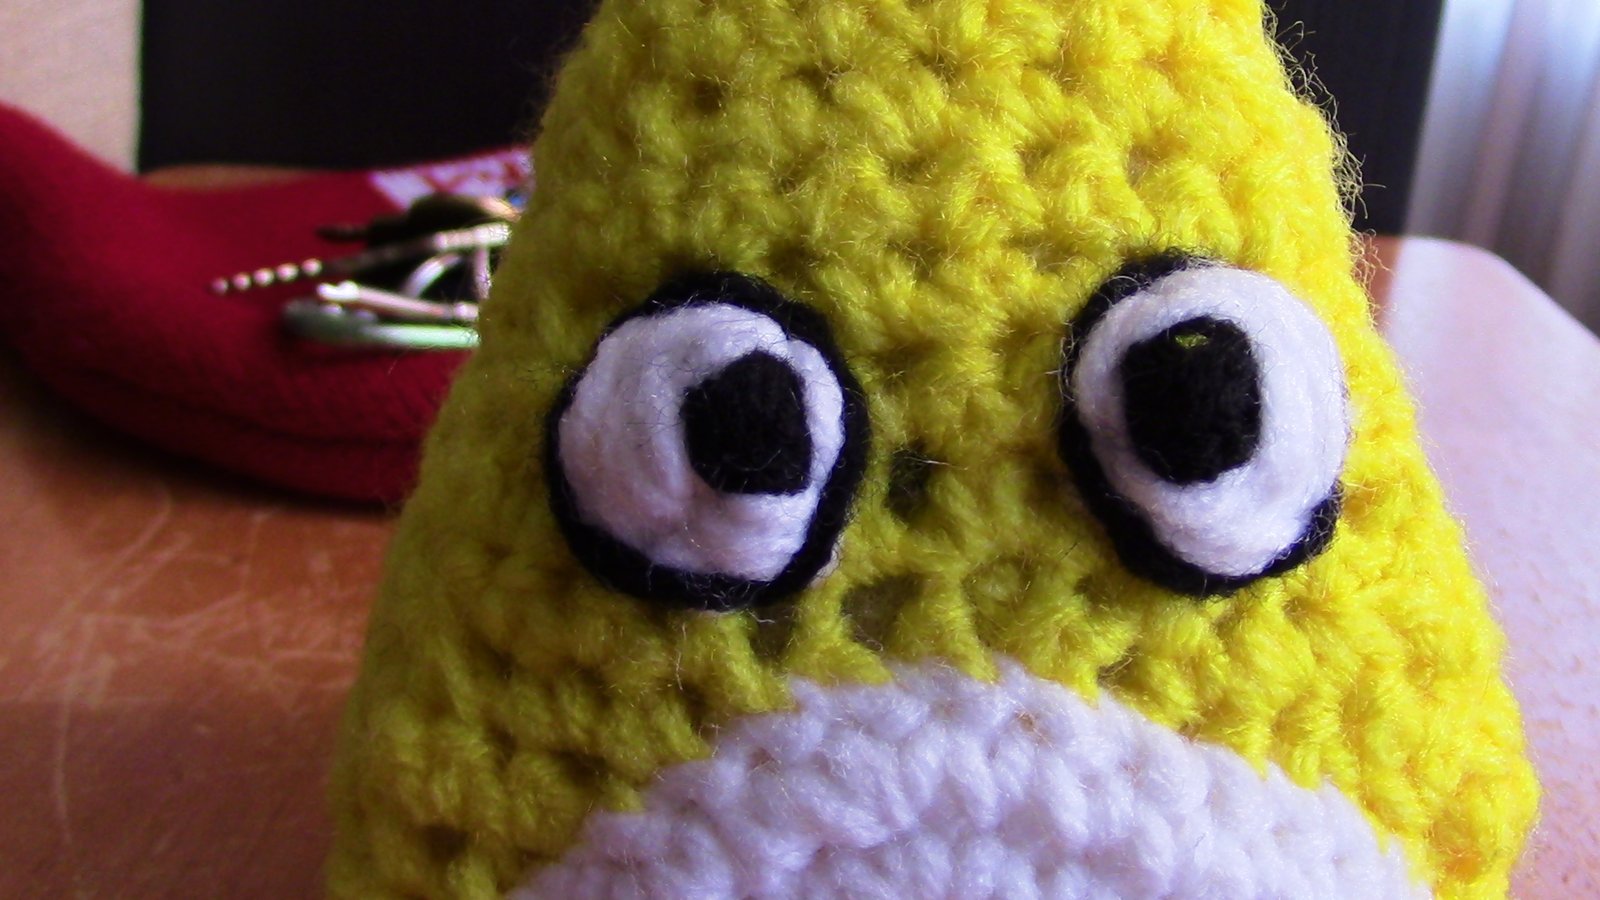
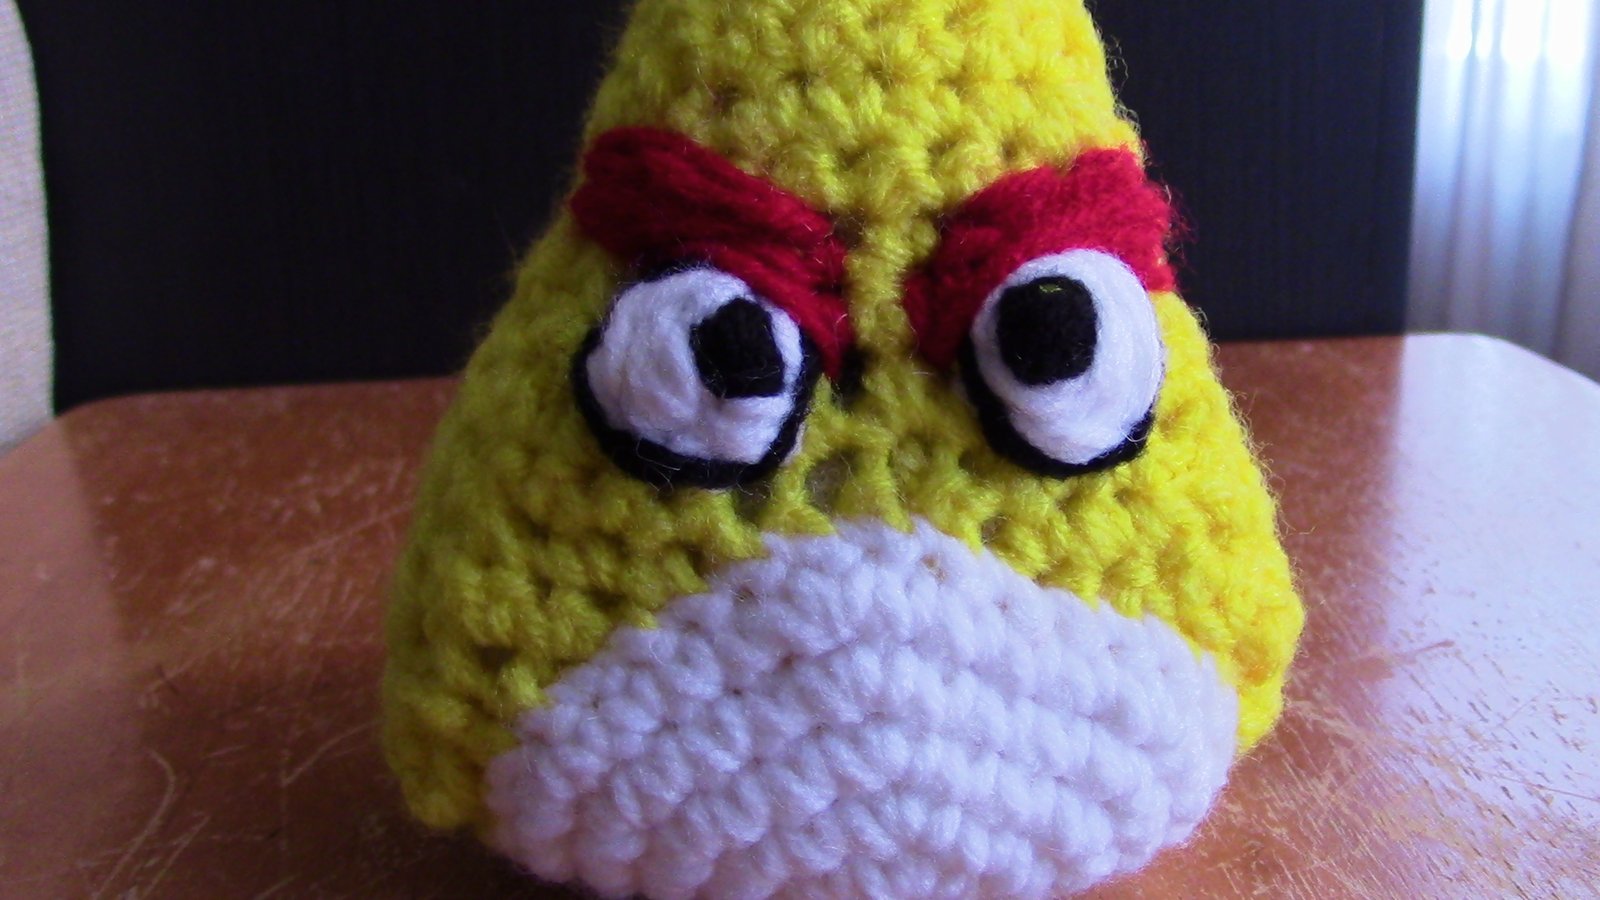
Eyes:
- Embroider the eyes with white and black.
- Do the black circle in the middle first then surround it with white. Make sure that the black is more towards the center of the face. Then surround the entire eye with black.
- The eyebrows are red so I used red yarn. It would have been nice to have a slightly darker red. The one I used is a little too bright for my liking. Make sure that they are slanted so he looks angry.
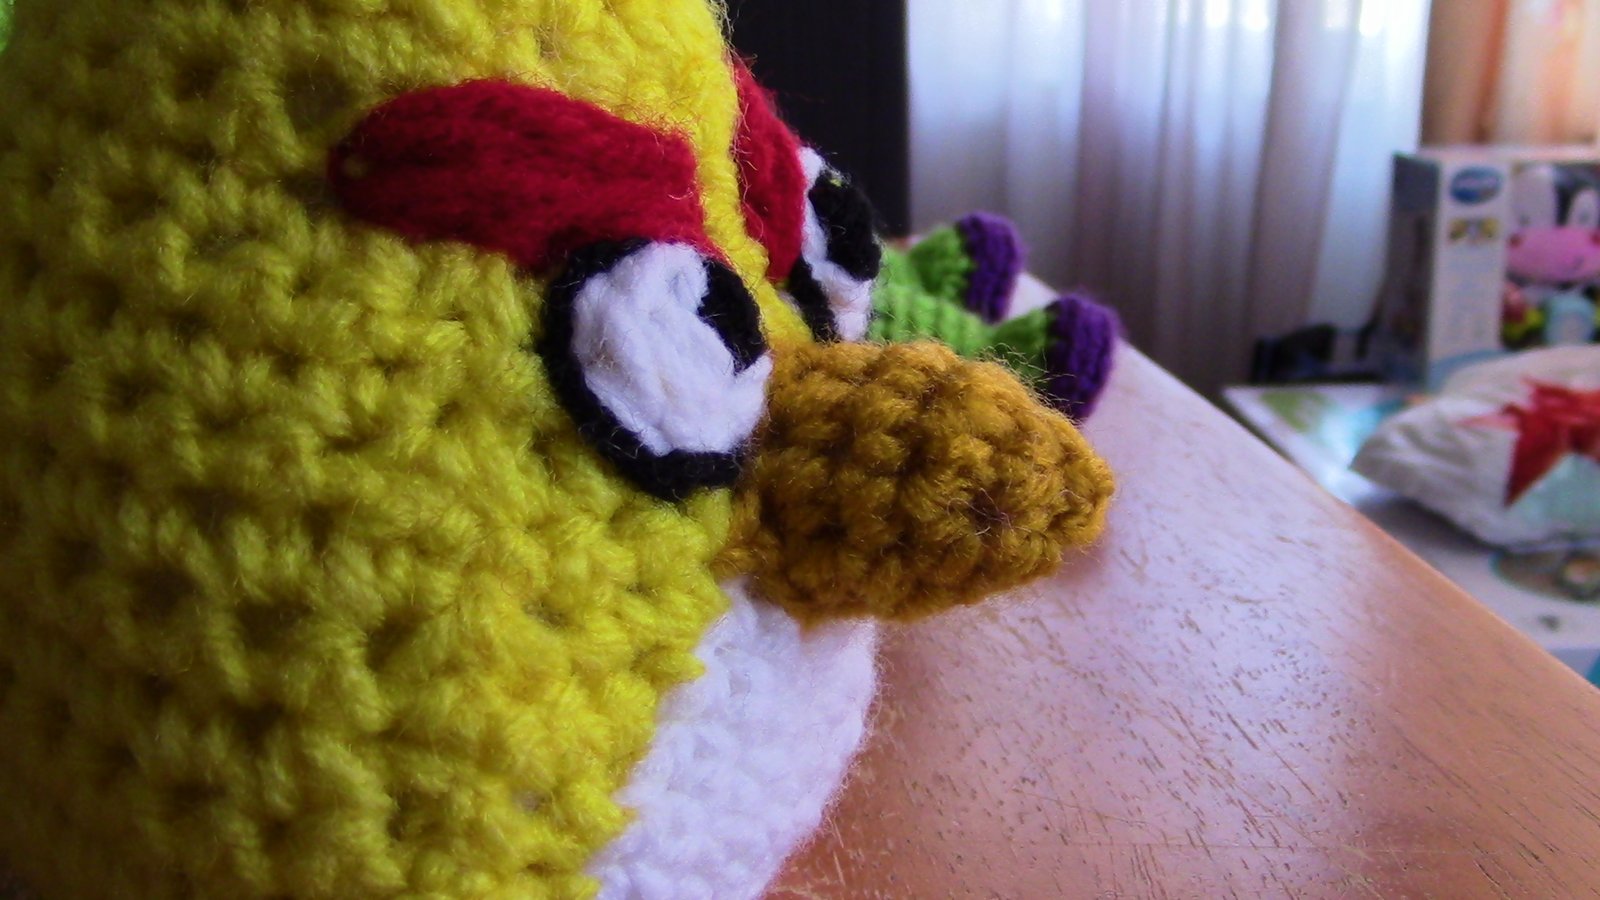
Beak:
- Pick up 10 stitches where the beak should be. I did the beak differently than I did for the Red Bird. I was just trying this method out to see if it would be easier/better. It turned out to be ok. This time I used gold for the beak because he is already yellow.
- 1sc in each st. For 2 rows. [10]
- (1sc in first 3st. Sc2tog.) Repeat around. [8]
- Sc2tog until gap is small enough to sew closed. Remember to stuff before you sew the gap.
- F.O.
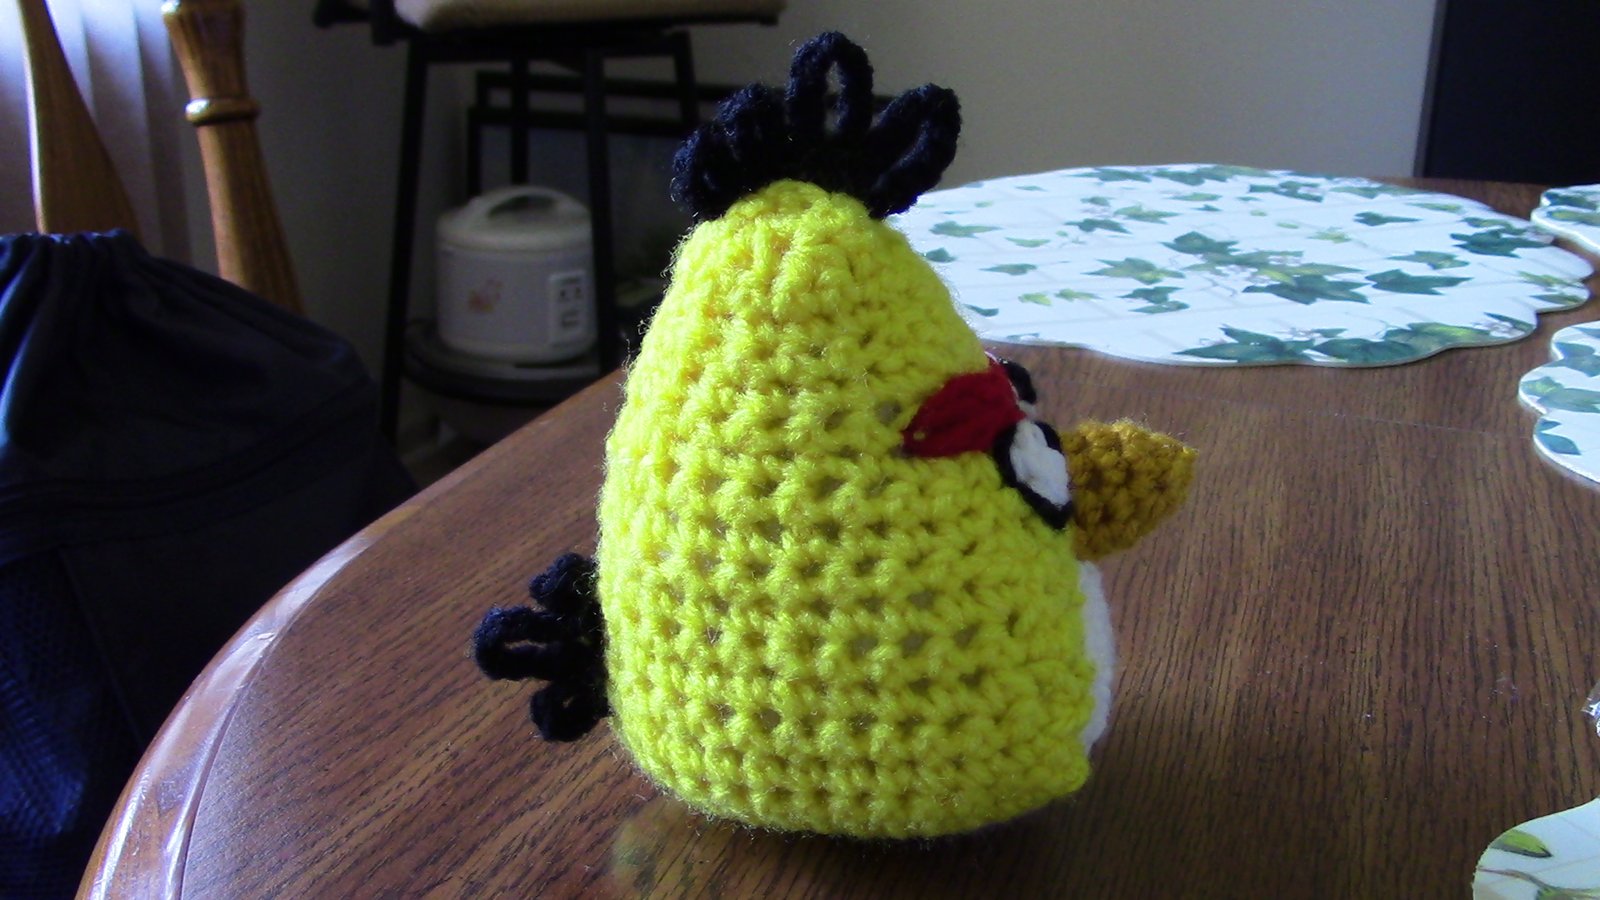
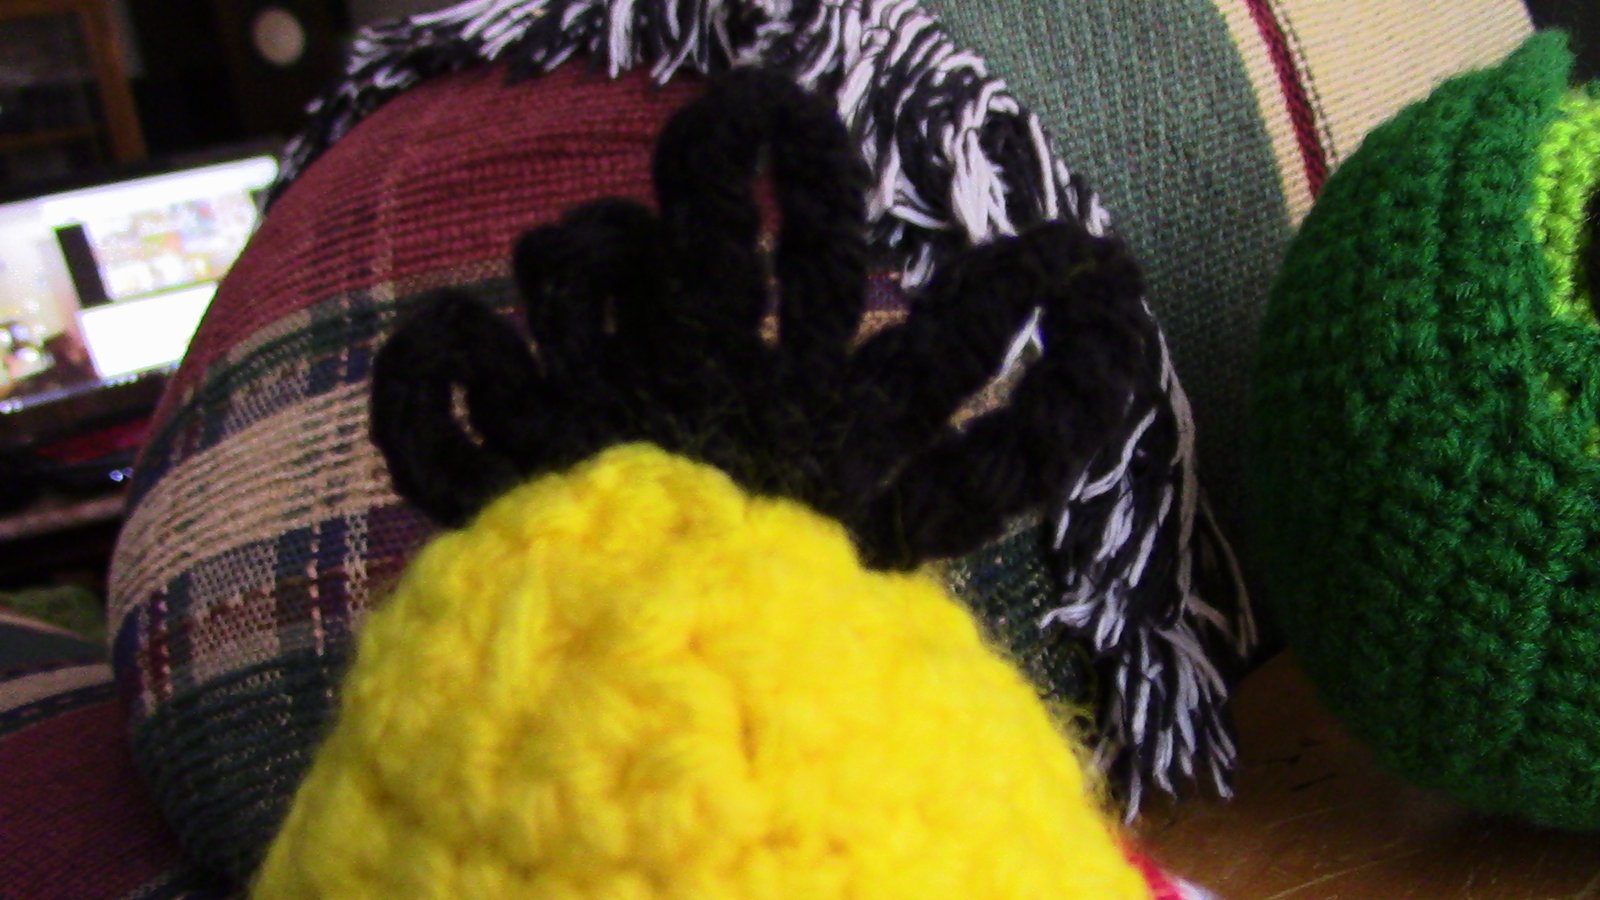
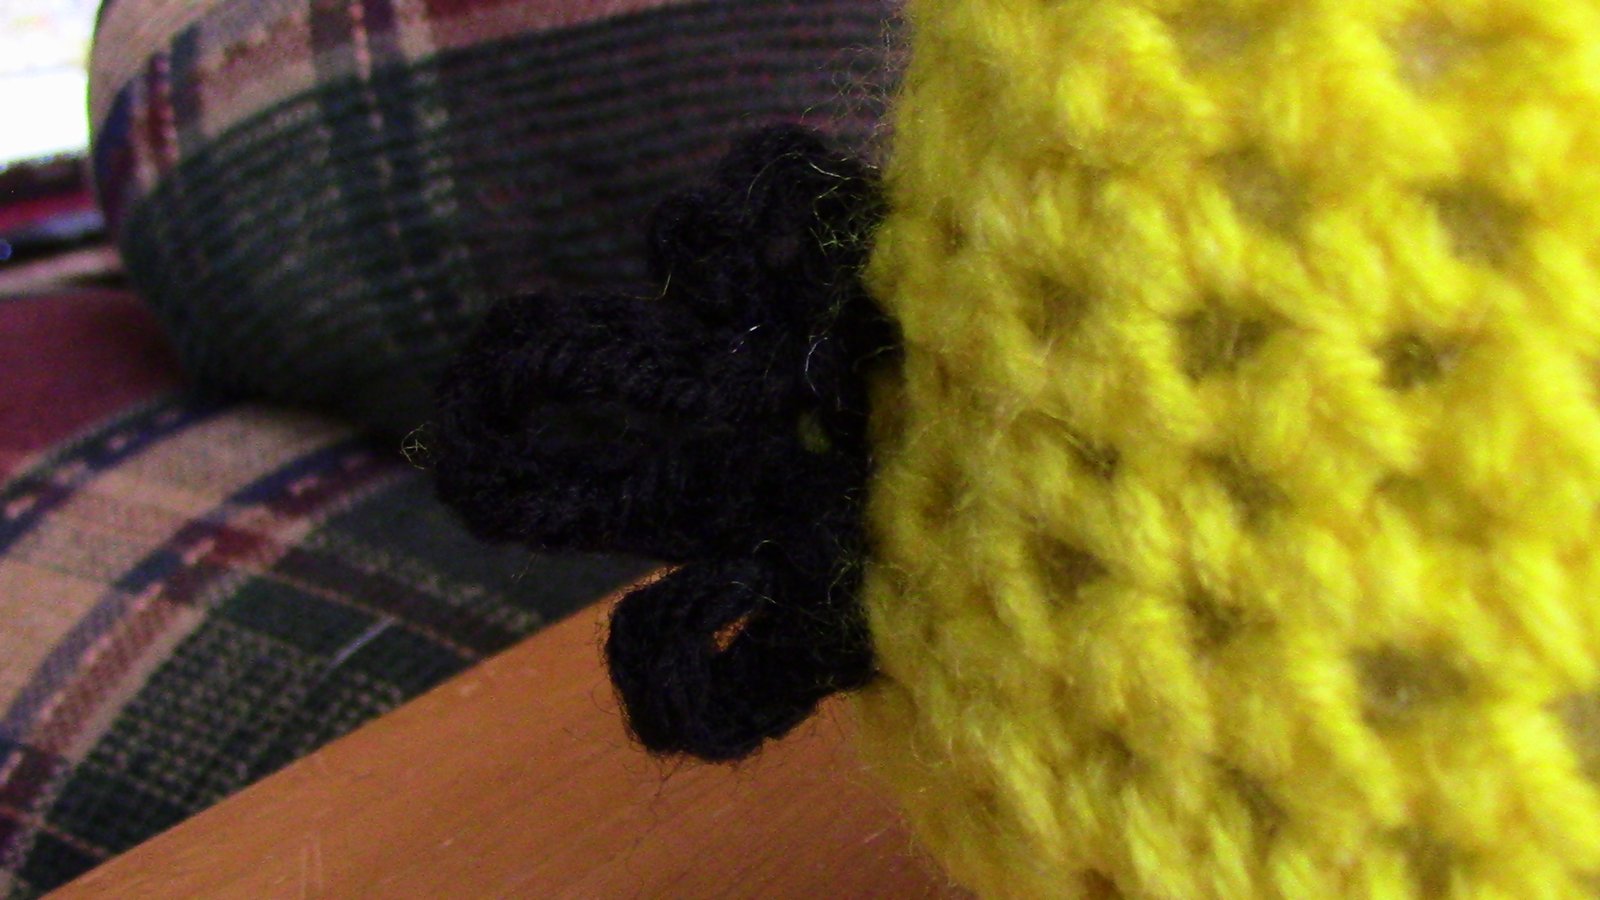
Feathers on head:
- Attach black yarn to the top center of the head. Chain 10. Then make a slip stitch into the same spot you had attached the yarn.
- Make a slip stitch with an area right behind the first feather. Chain 8. Then make a slip stitch with where you started the second feather.
- Make a slip stitch with another area right behind the second feather. Chain 8. Then make a slip stitch with where you started the third feather.
- For the last feather do the same as with the others but do a chain 6 instead.
- F.O.
Tail feathers:
- With black. Do the same as with the feathers on the head.
- There are two short feathers and one long one in the middle.
- The short feathers have 6 chains and the long on has 8.
- F.O.
Here is the finished doll!