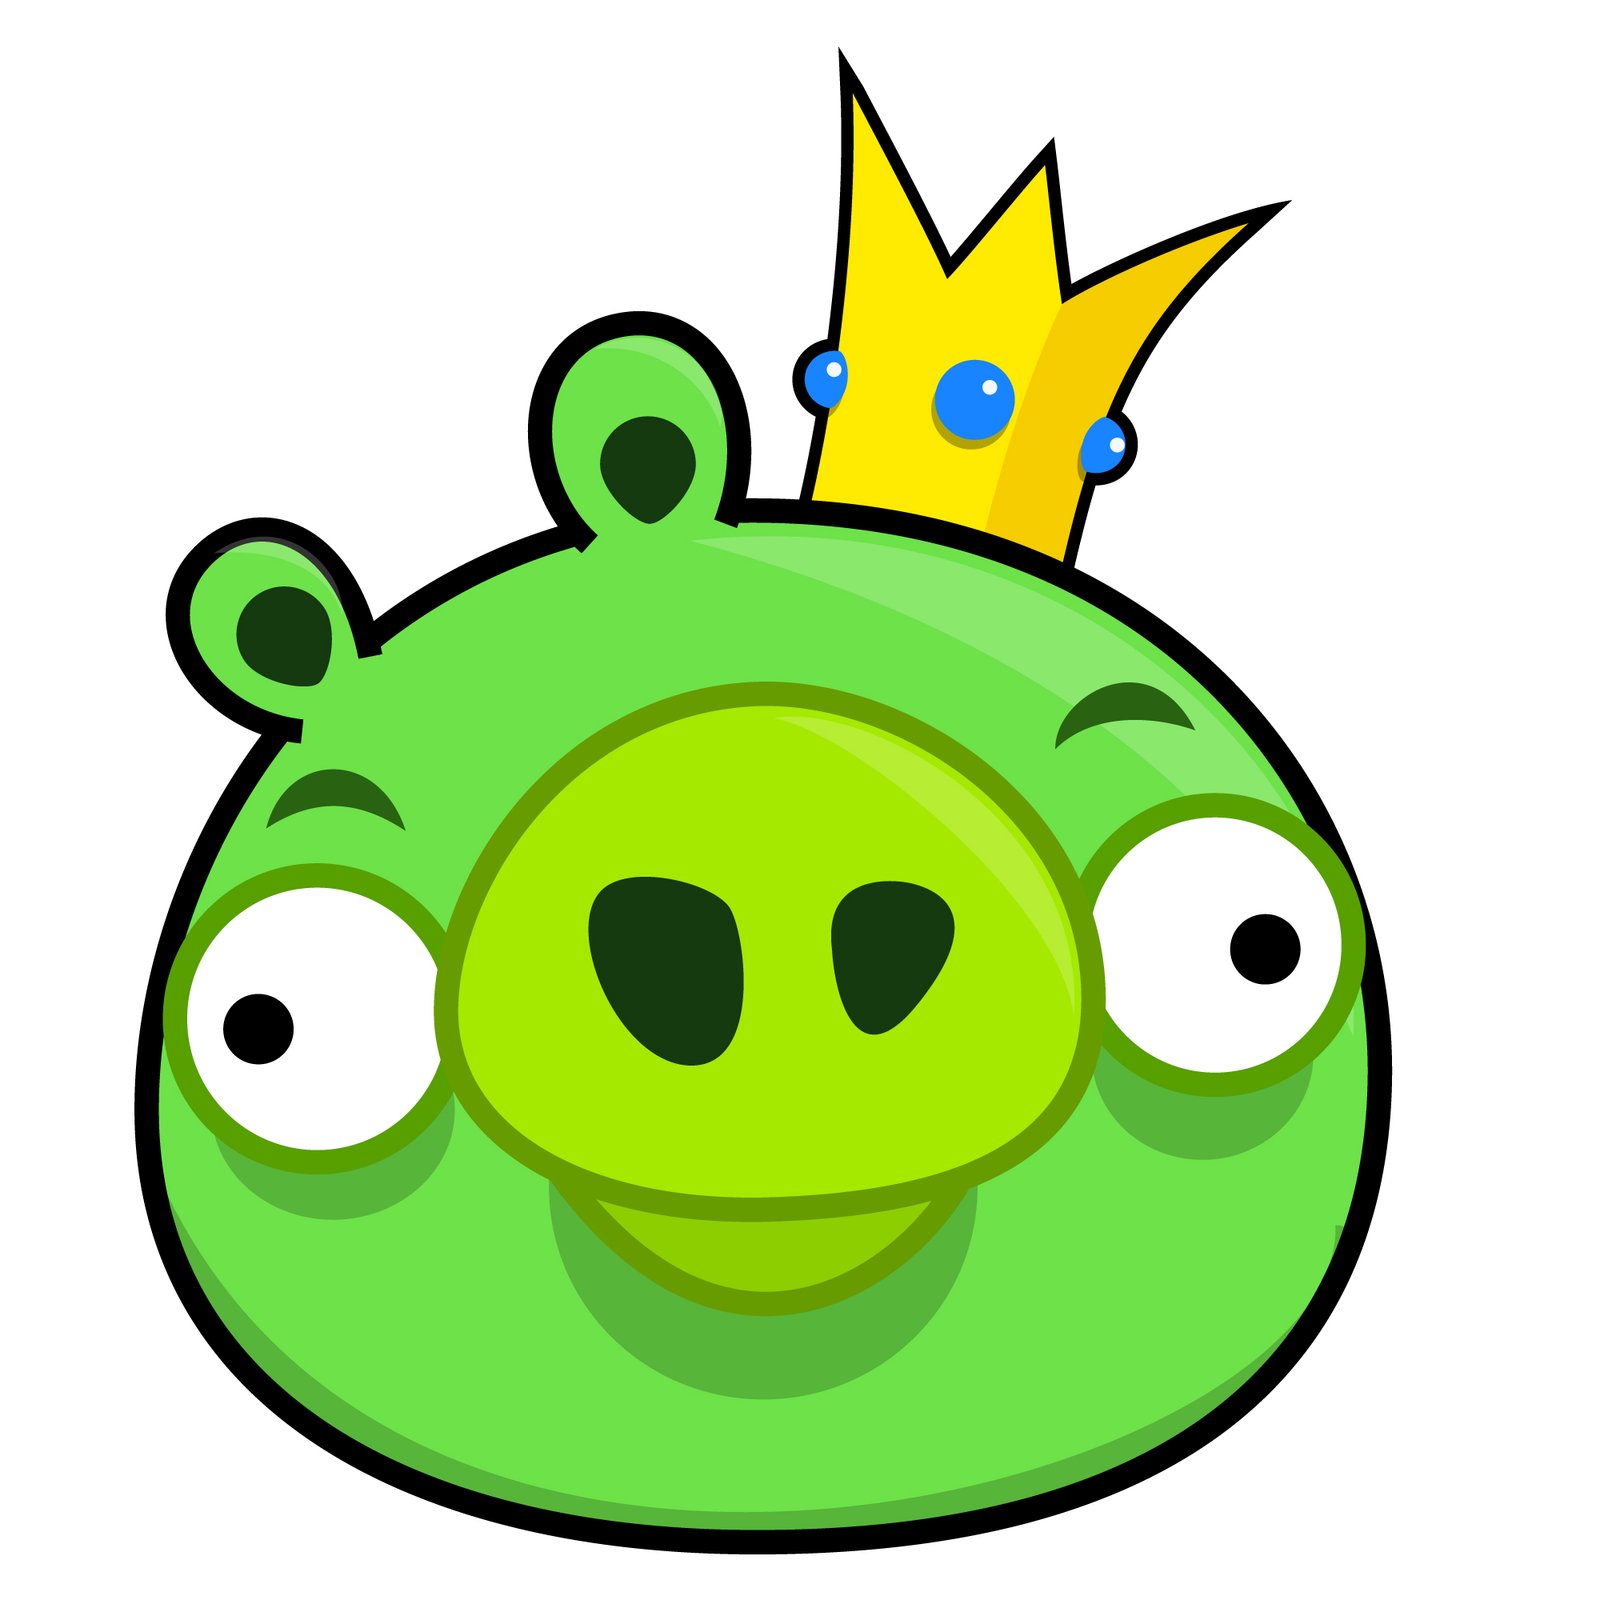
This is my reference picture for him:
Materials:
- Green, dark green, yellow, blue, black, white yarn.
- Darning needle
- Scissors
- Stuffing
- Size F crochet hook
Body:
- With green. 6sc in magic circle. [6]
- 2sc in each st around. [12]
- (1sc in first st. 2sc in next st.) [18]
- (1sc in first 2st. 2sc in next st.) [24]
- (1sc in first 3st. 2sc in next st.) [30]
- (1sc in first 4st. 2sc in next st.) [36]
- (1sc in first 5st. 2sc in next st.) [42]
- (1sc in first 6st. 2sc in next st.) [48]
- 1sc in each st around. For 10 rows. [48]
- (1sc in first 6st. Sc2tog.) [42]
- (1sc in first 5st. Sc2tog.) [36]
- (1sc in first 4st. Sc2tog.) [30]
- (1sc in first 3st. Sc2tog.) [24]
- (1sc in first 2st. Sc2tog.) [18]
- (1sc in first st. Sc2tog.) [12]
- Sc2tog until gap is small enough to sew closed.
- F.O.
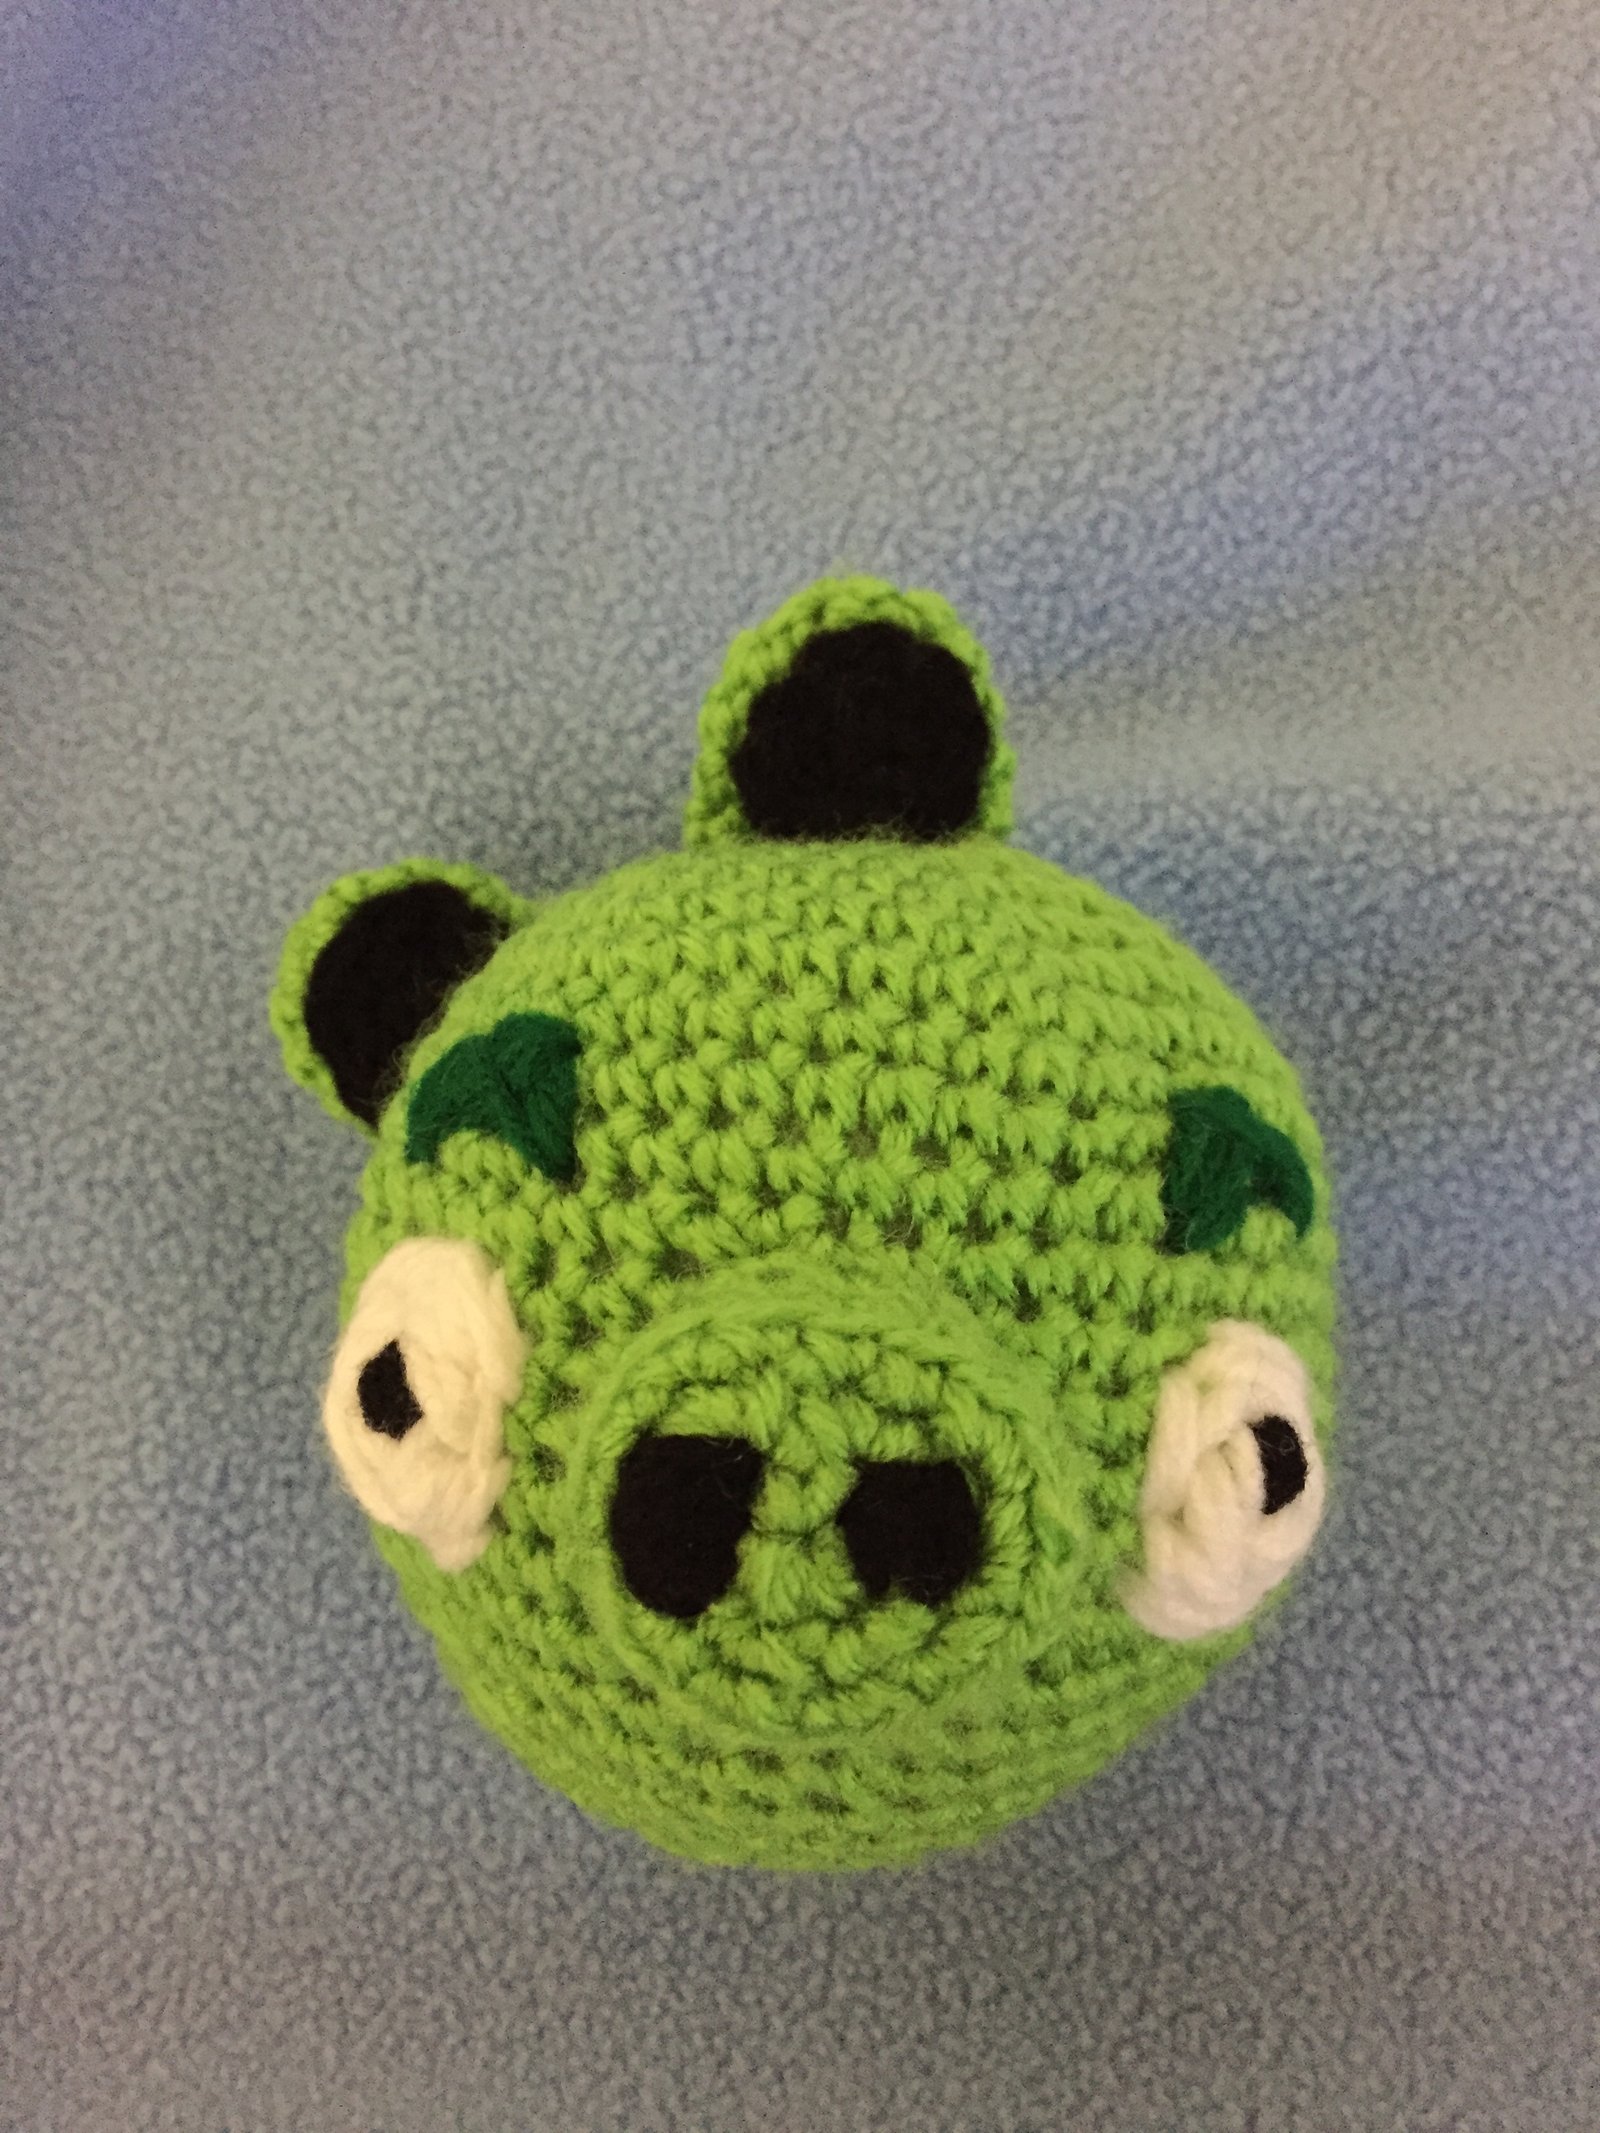
Nose:
- With green. 6sc in magic circle. [6]
- 2sc in each st around. [12]
- 2sc in each of the first 6st. 1sc in last 6st. [18]
- 1sc in each st around only in the back loops. [18]
- 1sc in each st around. [18]
- Before sewing this onto the face, use black yarn to embroider the nostrils.
- Stuff the nose and sew the nose onto the face.
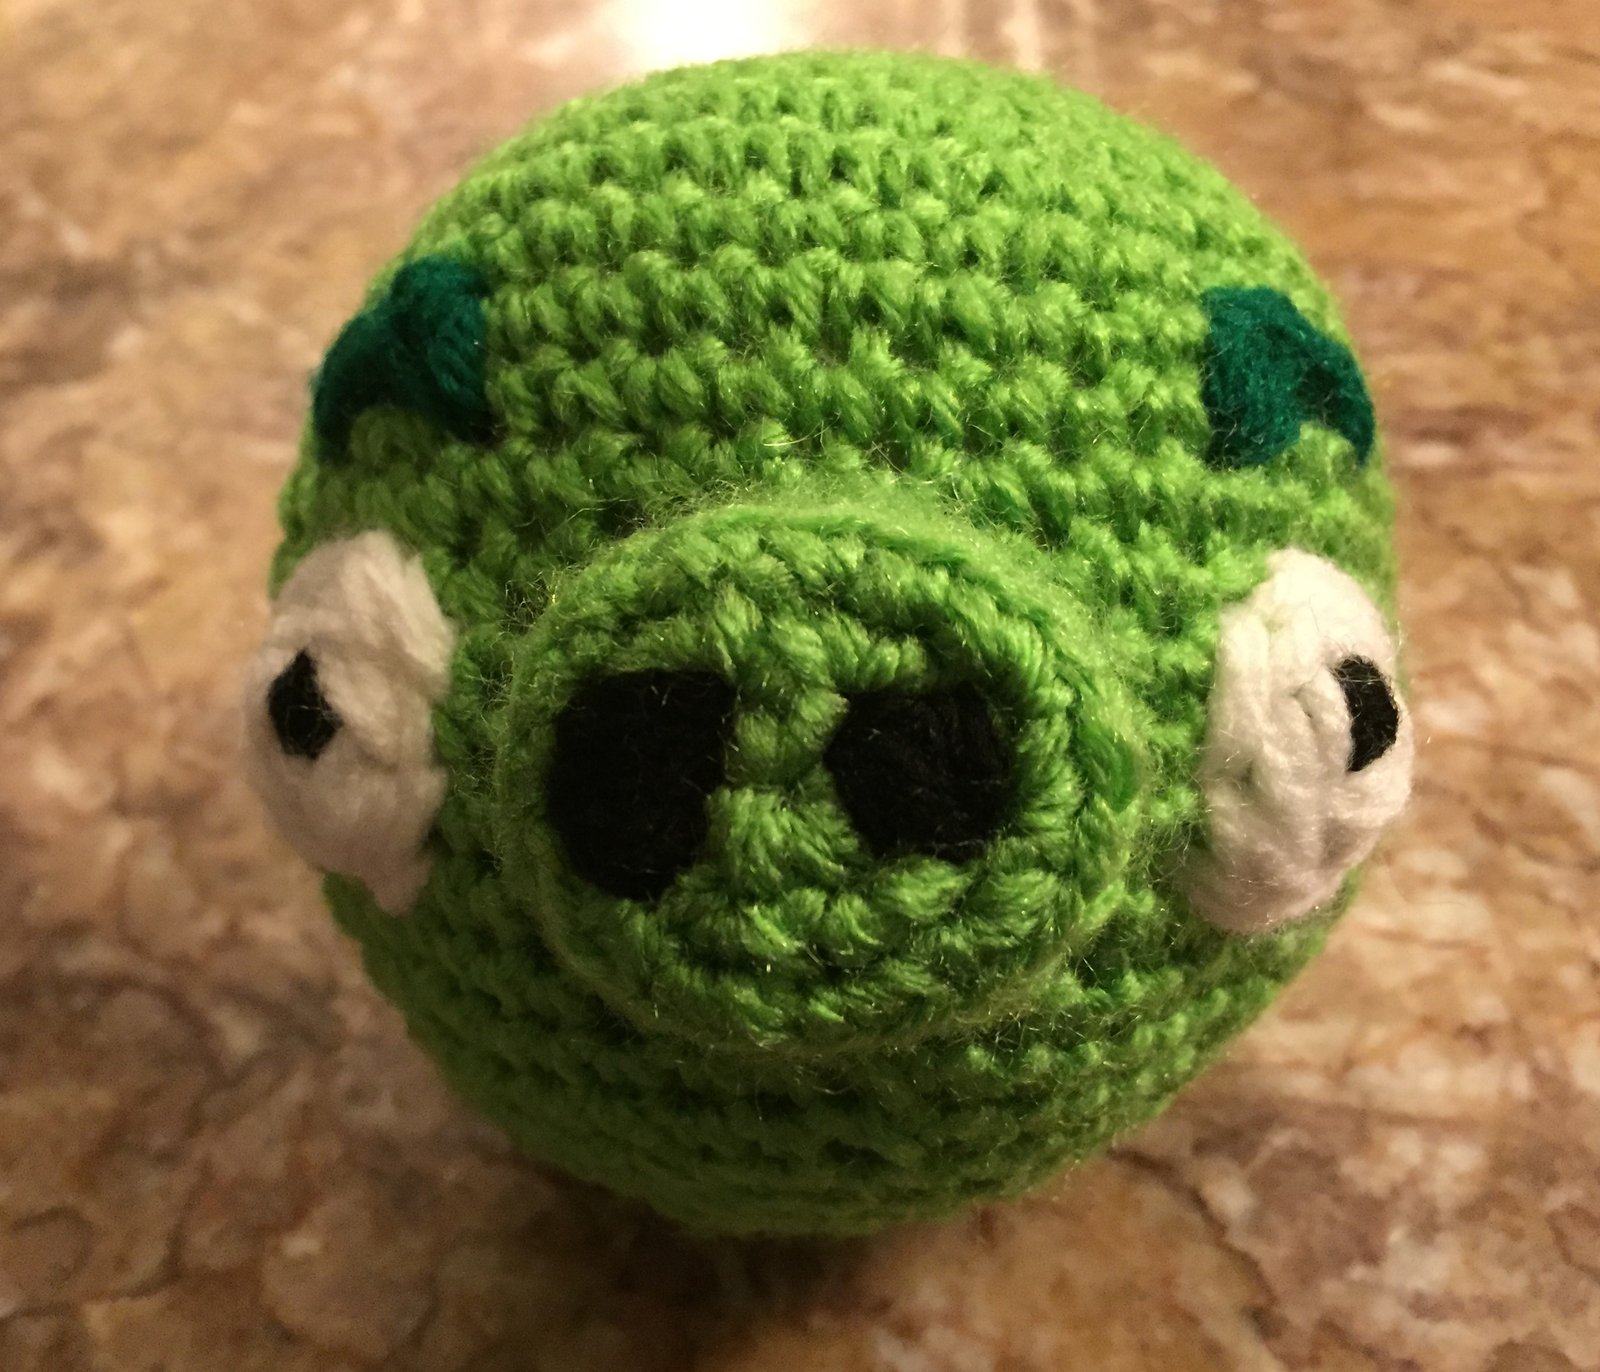
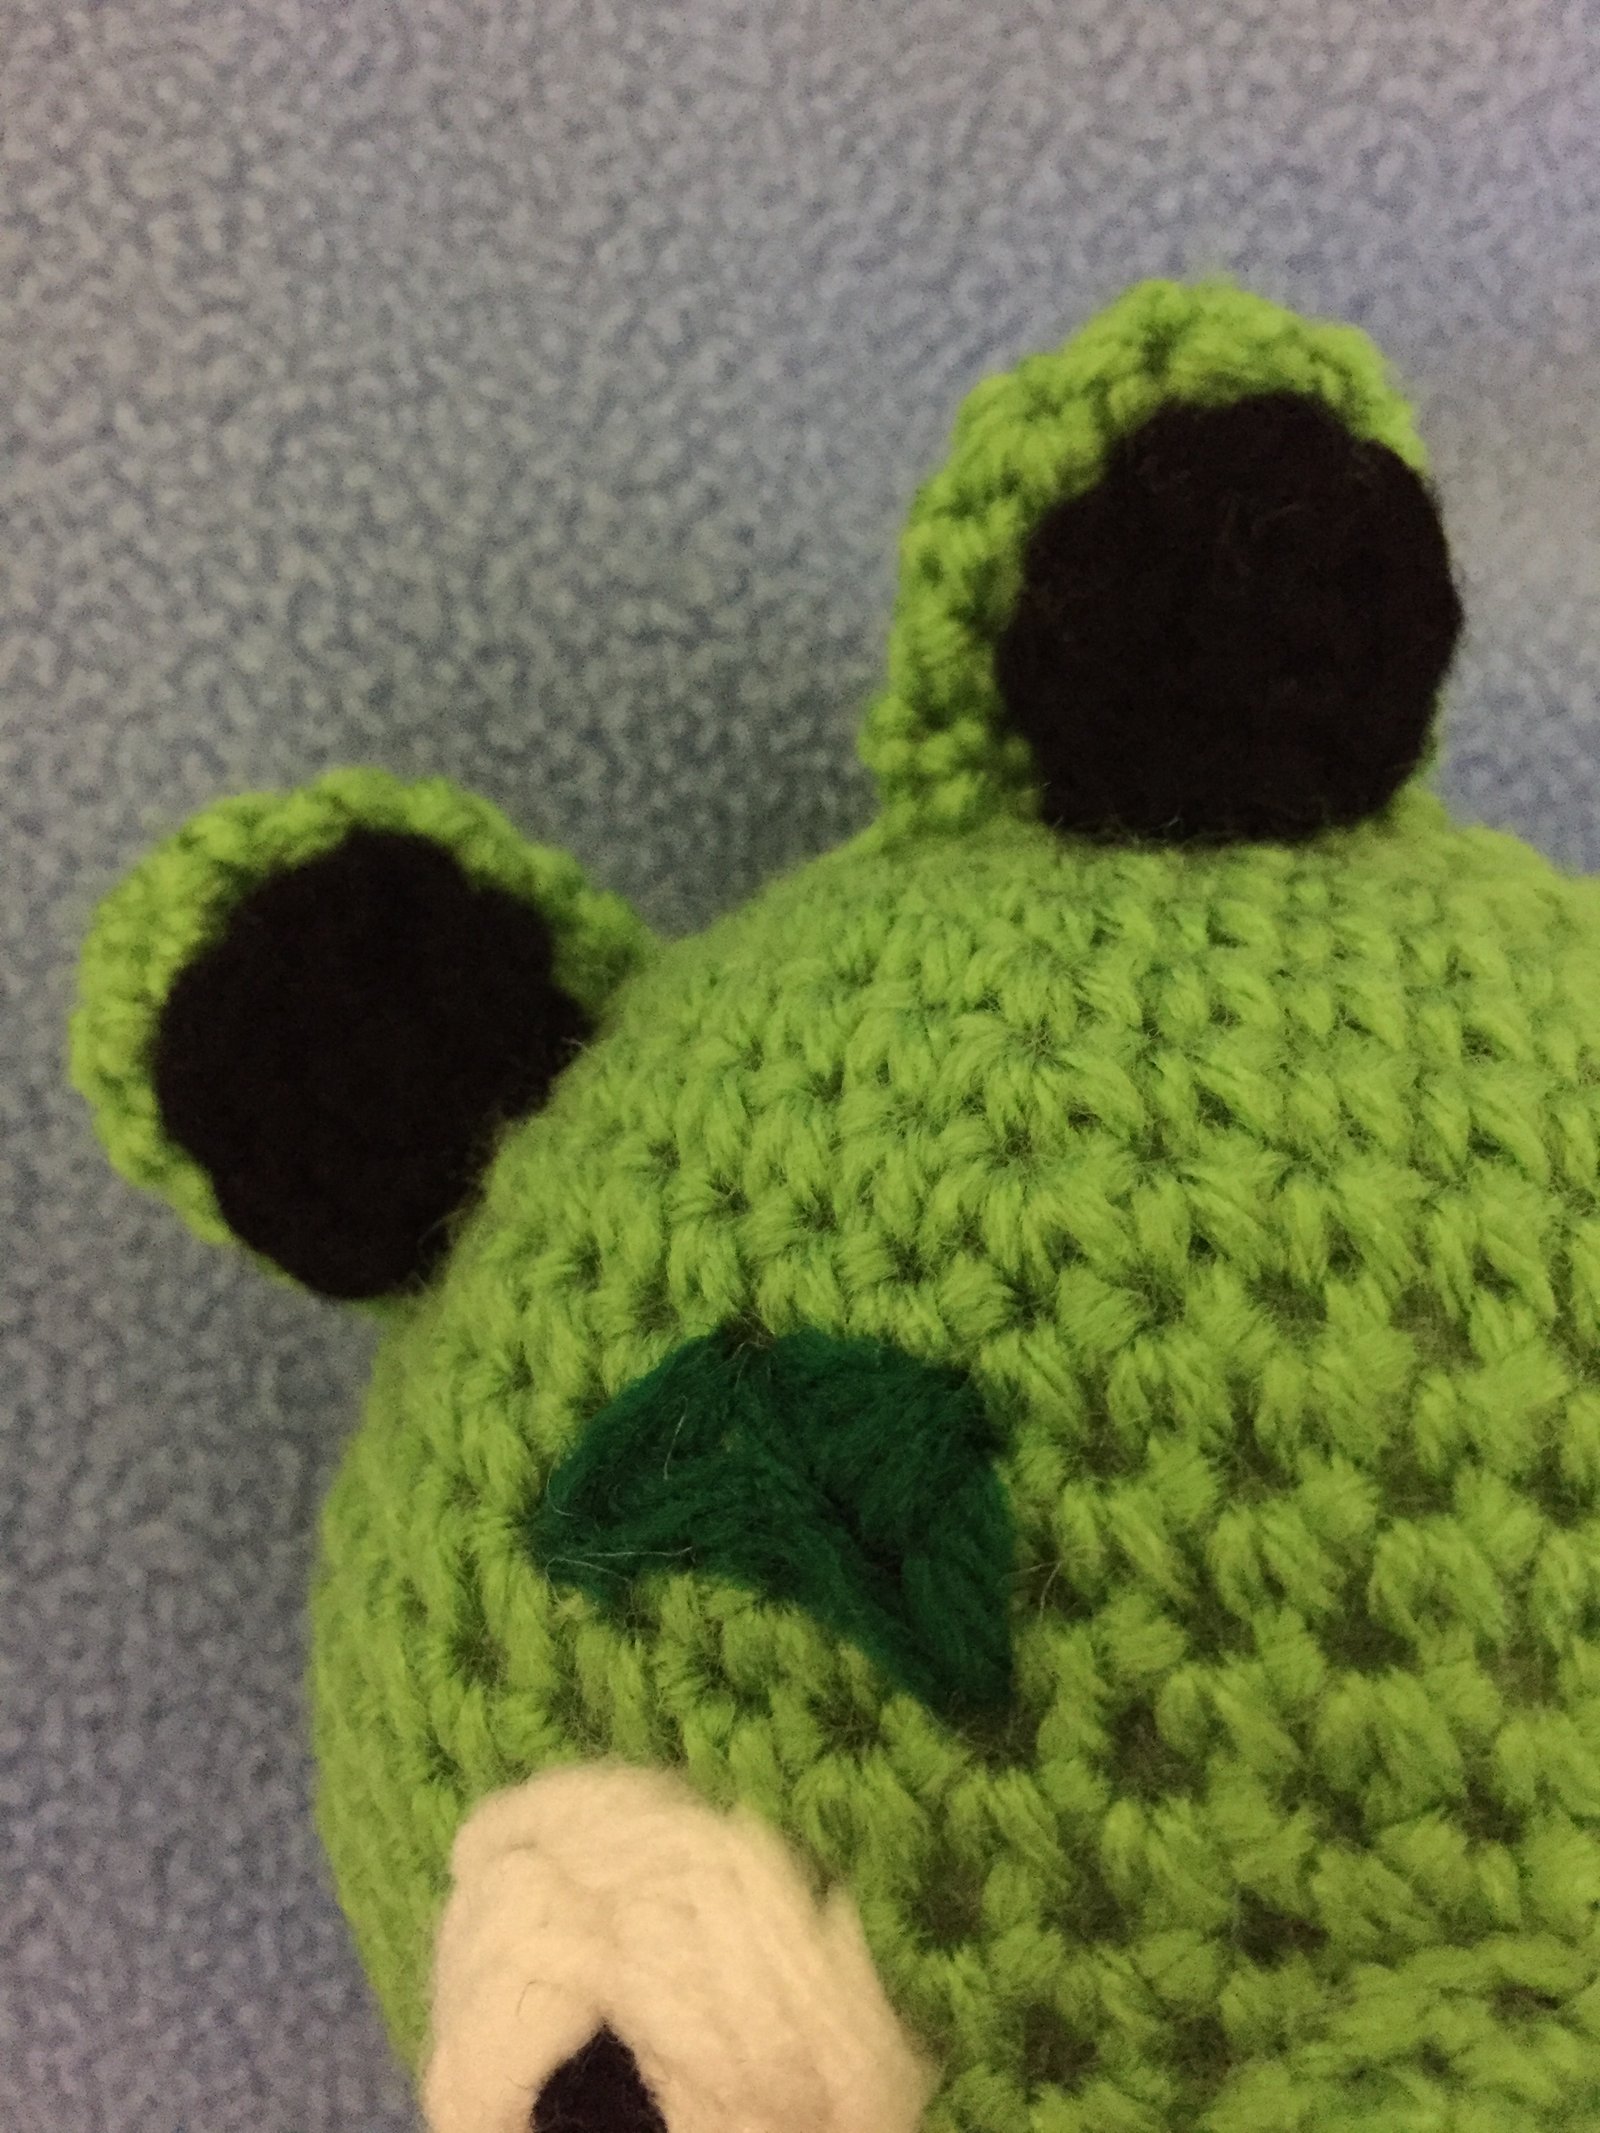
Eyes and eyebrows:
- Embroider the eyes using black and white.
- Embroider the eyebrows using dark green yarn.
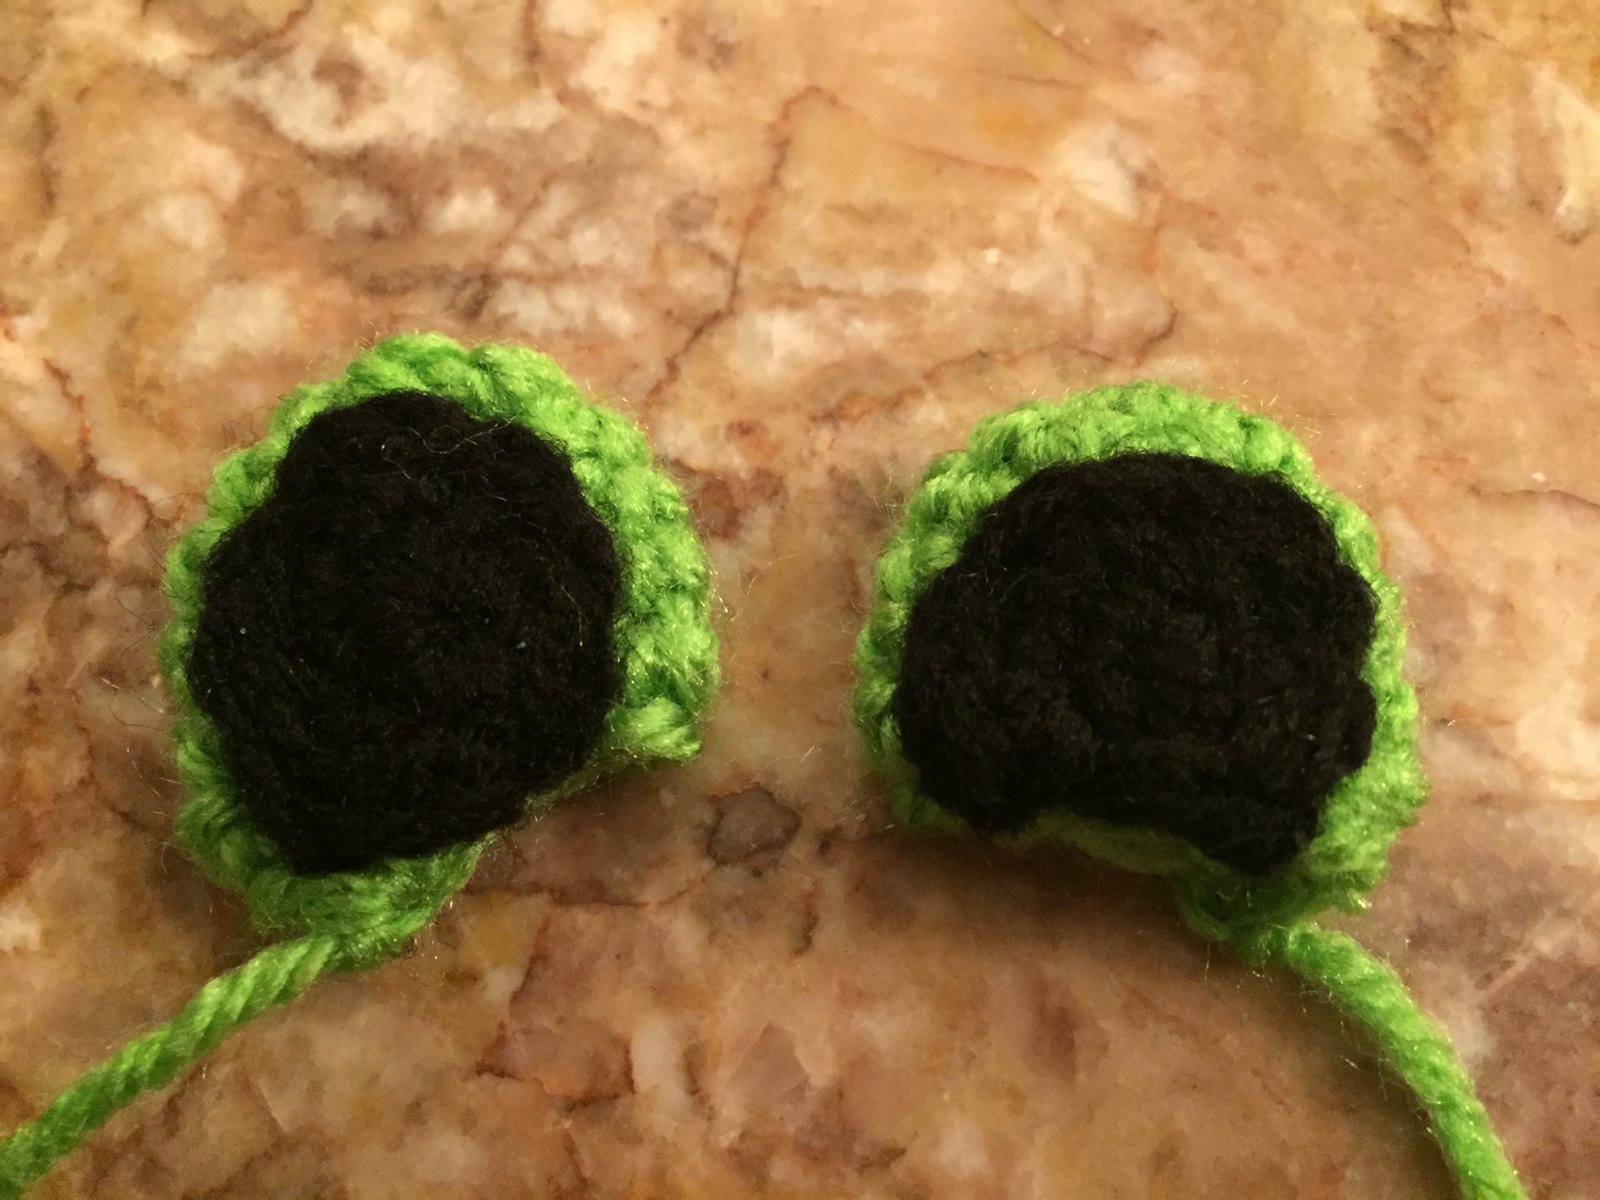
Ears:
- With green. 6sc in magic circle. [6]
- 2sc in each st around. [12]
- 1sc in each st around. For 3 rows. [12]
- (1sc in first st. Sc2tog.) Repeat around. [8]
- F.O.
- With black. You are going to create the black parts of the ears. 4sc in magic circle. [2]
- 2sc in each st around. [8]
- F.O.
- Sew the black part onto the green part of the ear.
- Sew the ear onto the head. Since the ears look uneven on the image, you don’t have to worry about centering the ears.
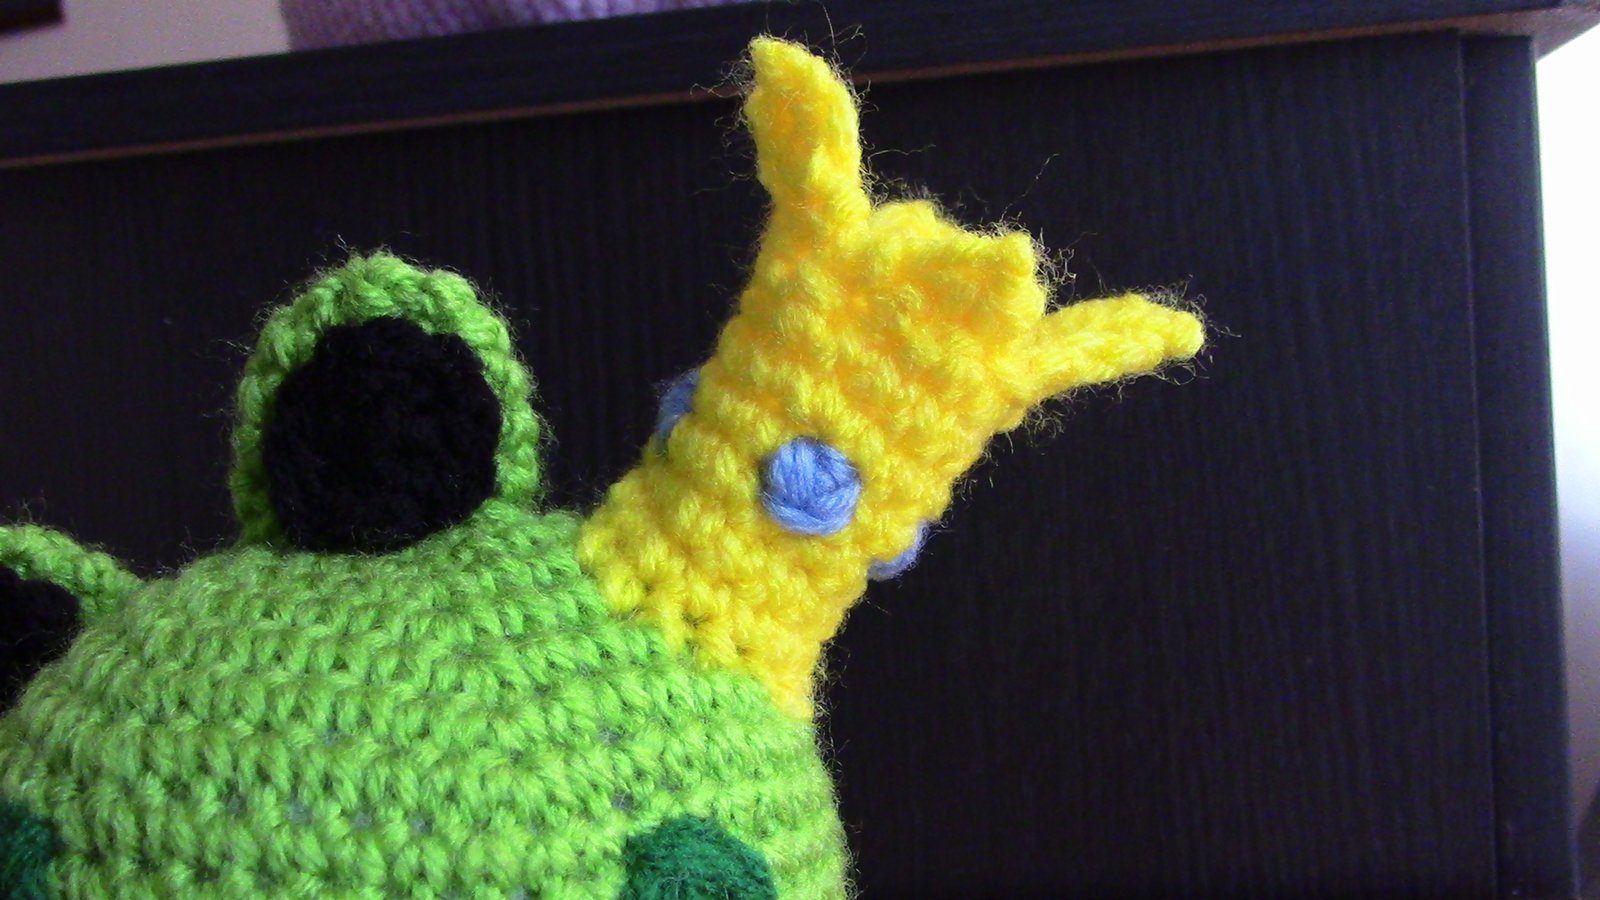
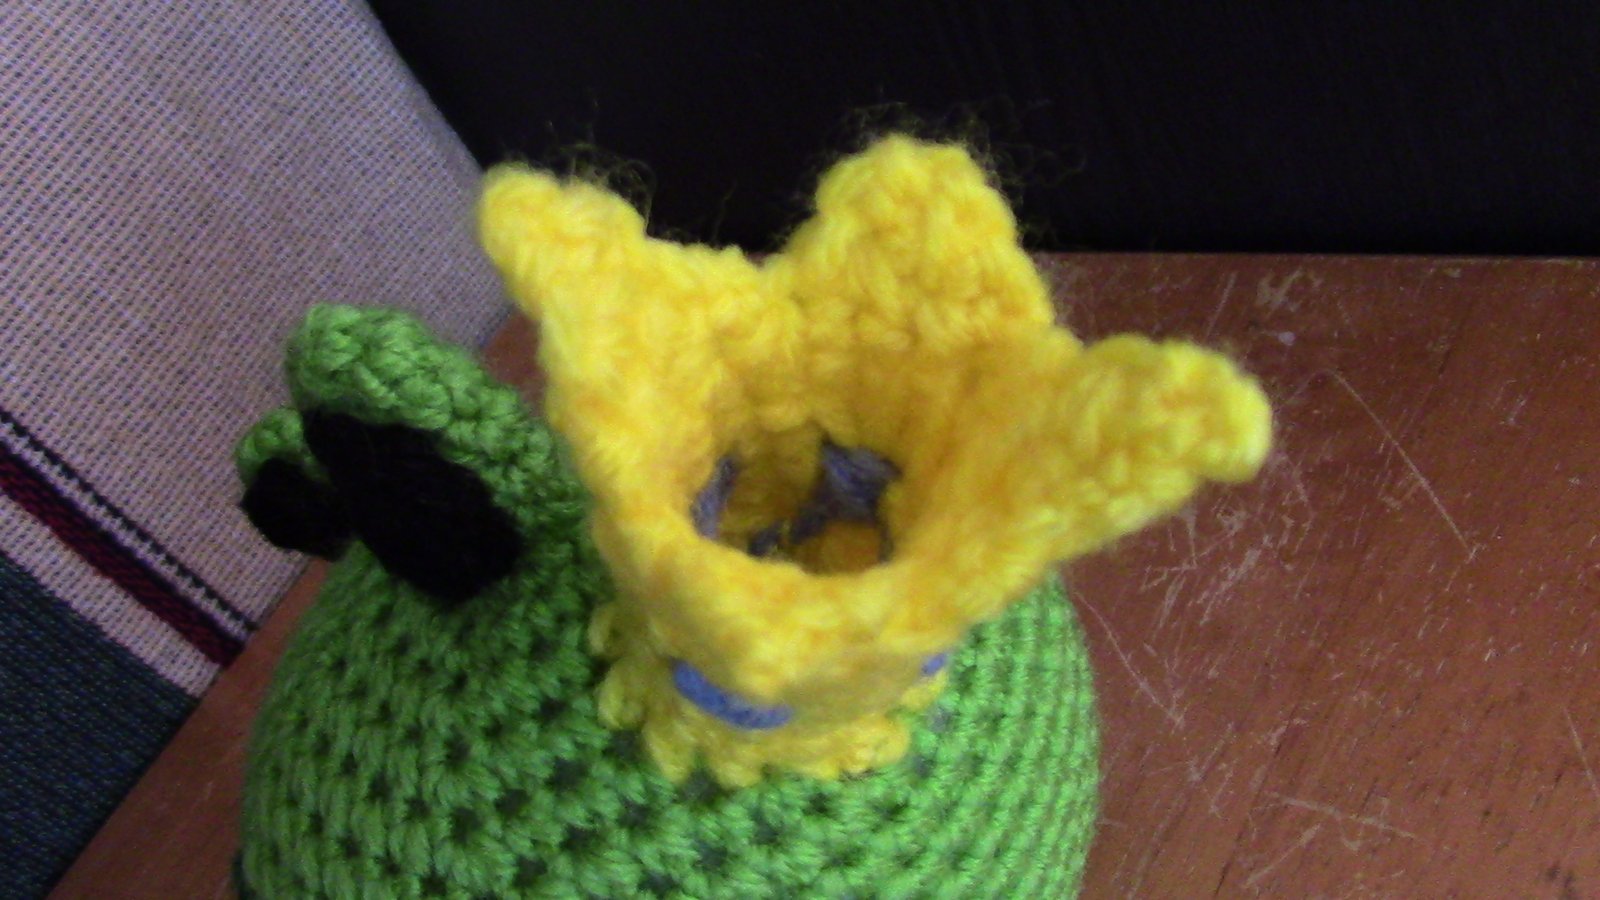
Crown:
- With yellow. Pick up 13 stitches. [13]
- 1sc in each st around. For 4 rows. [13]
- (1sc in first 3st. 2sc in next st.) Repeat until you reach the last st. 1sc in last st. [16]
- 1sc in each st around. [16]
- Now we are going to create the 4 triangular portions of the crown. 2 of them are longer than the other two. Each triangular portion is 4 stitches each. You are going to attach yarn to create these triangular parts.
- For the first, you can just continue where you left off. Chain 1. Turn. 1sc in first st. Sc2tog. 1sc in last st. [3]
- Chain 1. Turn. 1sc in each st. [3]
- Chain 1. Turn. Sc3tog. [1]
- Chain 1. Turn. 1sc in st. [1]
- F.O. You just finished making the longer triangular part. Repeat for the other one.
- For the shorter one do this. Pick up 4 st where the short triangular portion is suppose to be.
- Chain 1. Turn. 1st in first st. Sc2tog. 1sc in last st. [3]
- Chain 1. Turn. Sc3tog. [1]
- F.O. Do the same for the other short triangular portion.
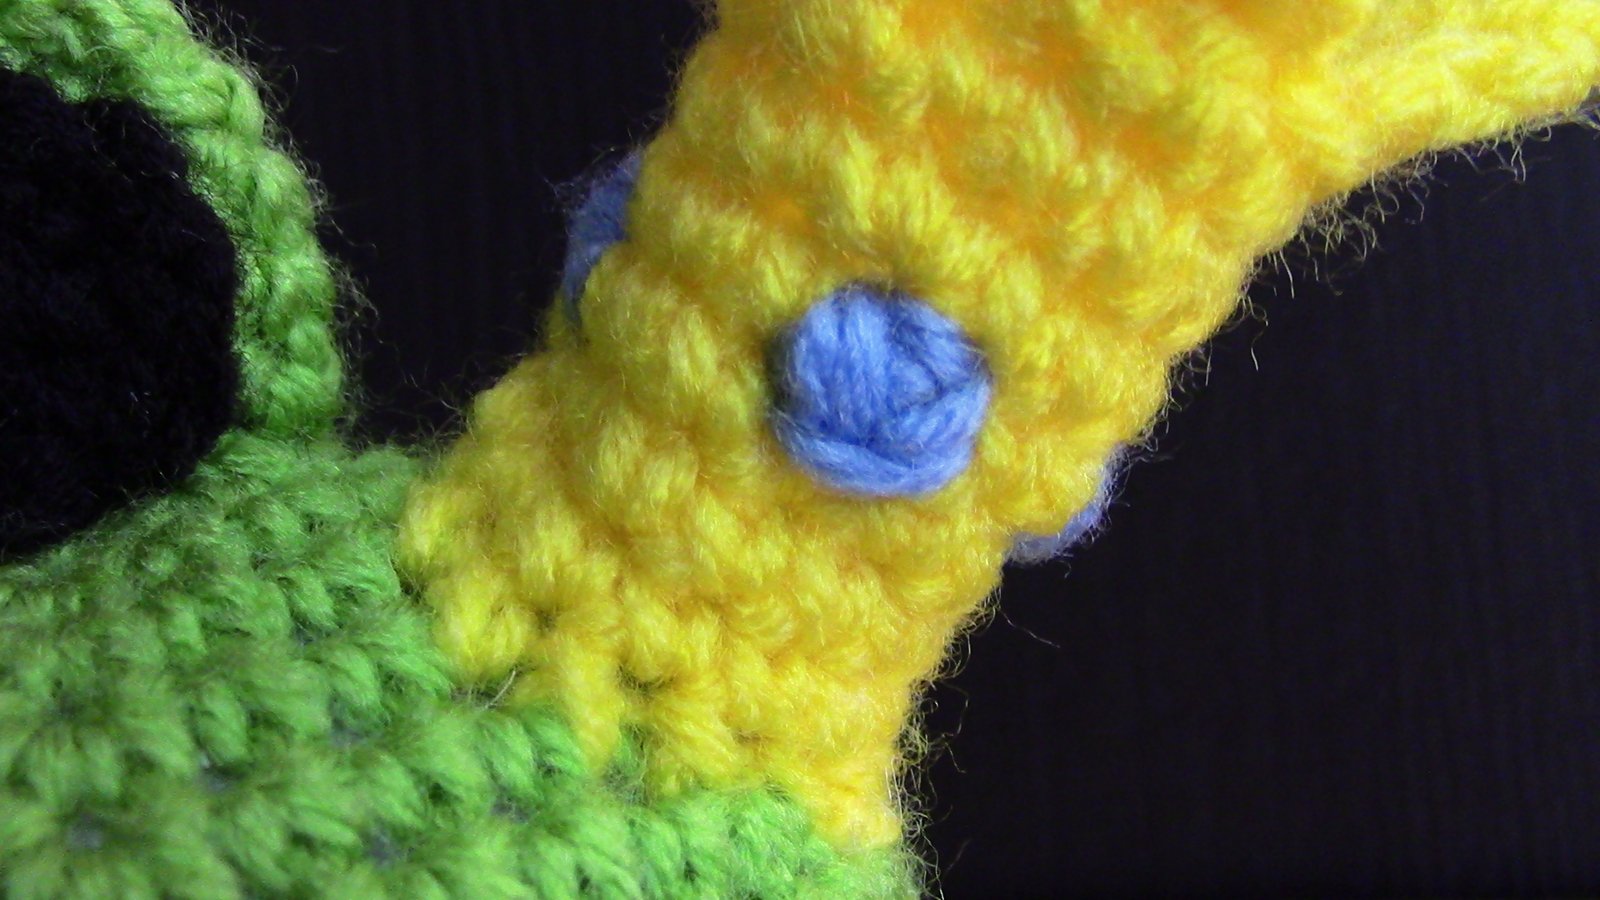
- For the blue circles on the crown, embroider these on with blue yarn.
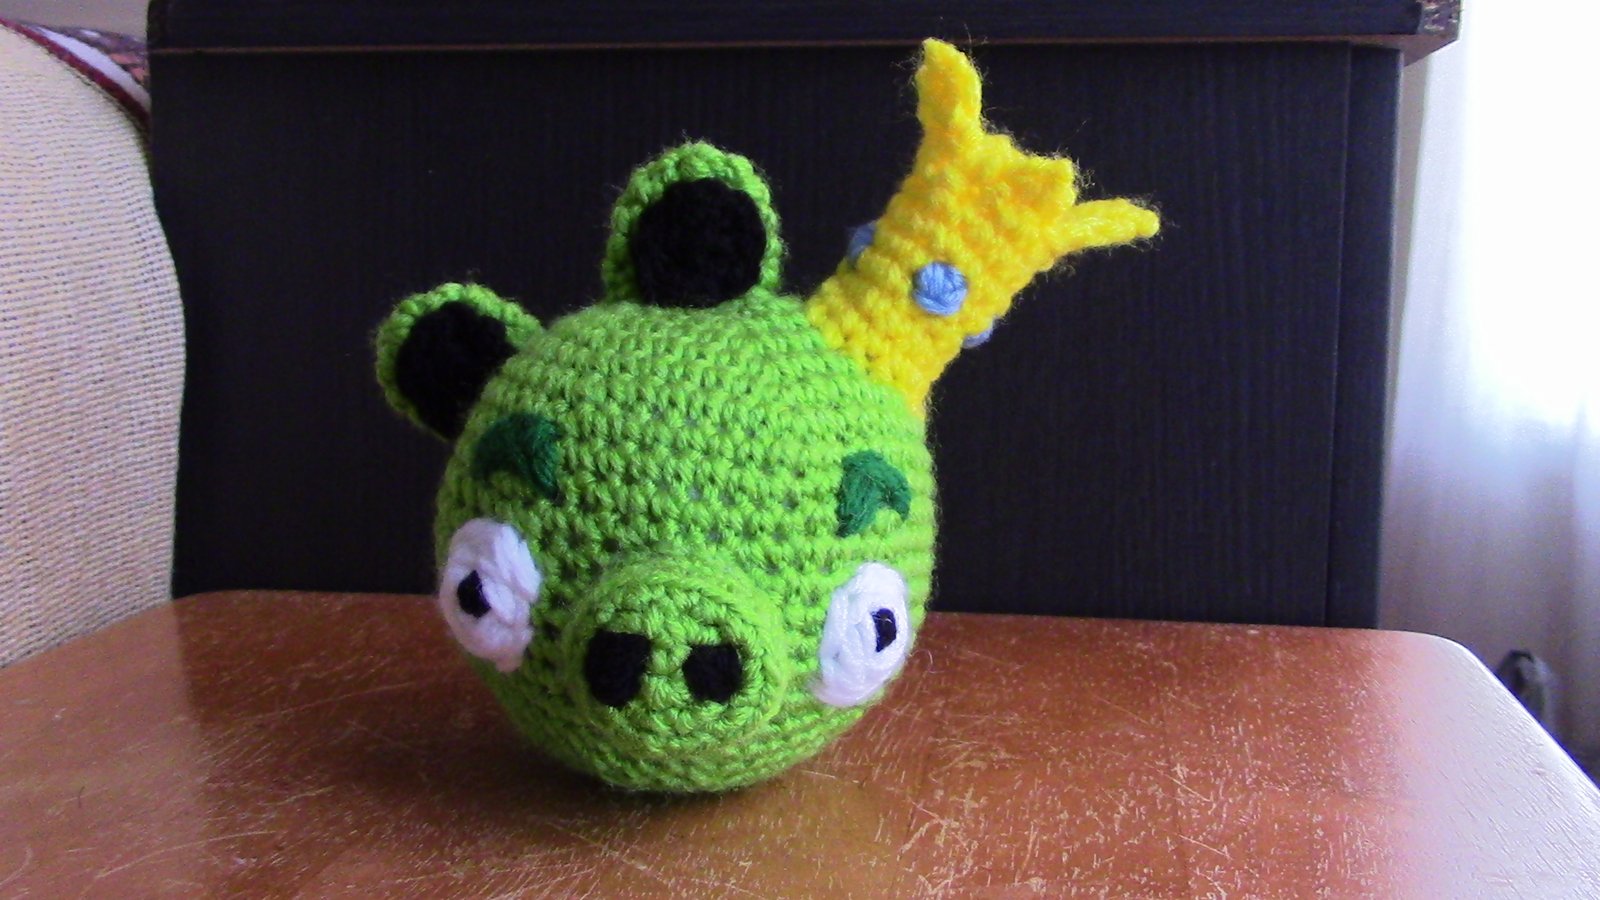
Now he’s finished!! Please post pictures of your creations on my Facebook page 🙂