Materials:
- Paddy green (hair), spring green (face and body), hunter green (pants), jade (dress), glowworm (flowers on dress), dark orchid (scarf), light blue (flowers on dress). All of the yarn colors are from Red Heart.
- Scissors
- Darning needle
Head:
- With paddy green. 6sc in magic circle. [6]
- 2sc in each st around. [12]
- (1sc in first st. 2sc in next st.) Repeat around. [18]
- (1sc in first 2st. 2sc in next st.) Repeat around. [24]
- (1sc in first 3st. 2sc in next st.) Repeat around. [30]
- (1sc in first 4st. 2sc in next st.) Repeat around. [36]
- (1sc in first 5st. 2sc in next st.) Repeat around. [42]
- (1sc in first 6st. 2sc in next st.) Repeat around. [48]
- (1sc in first 7st. 2sc in next st.) Repeat around. [54]
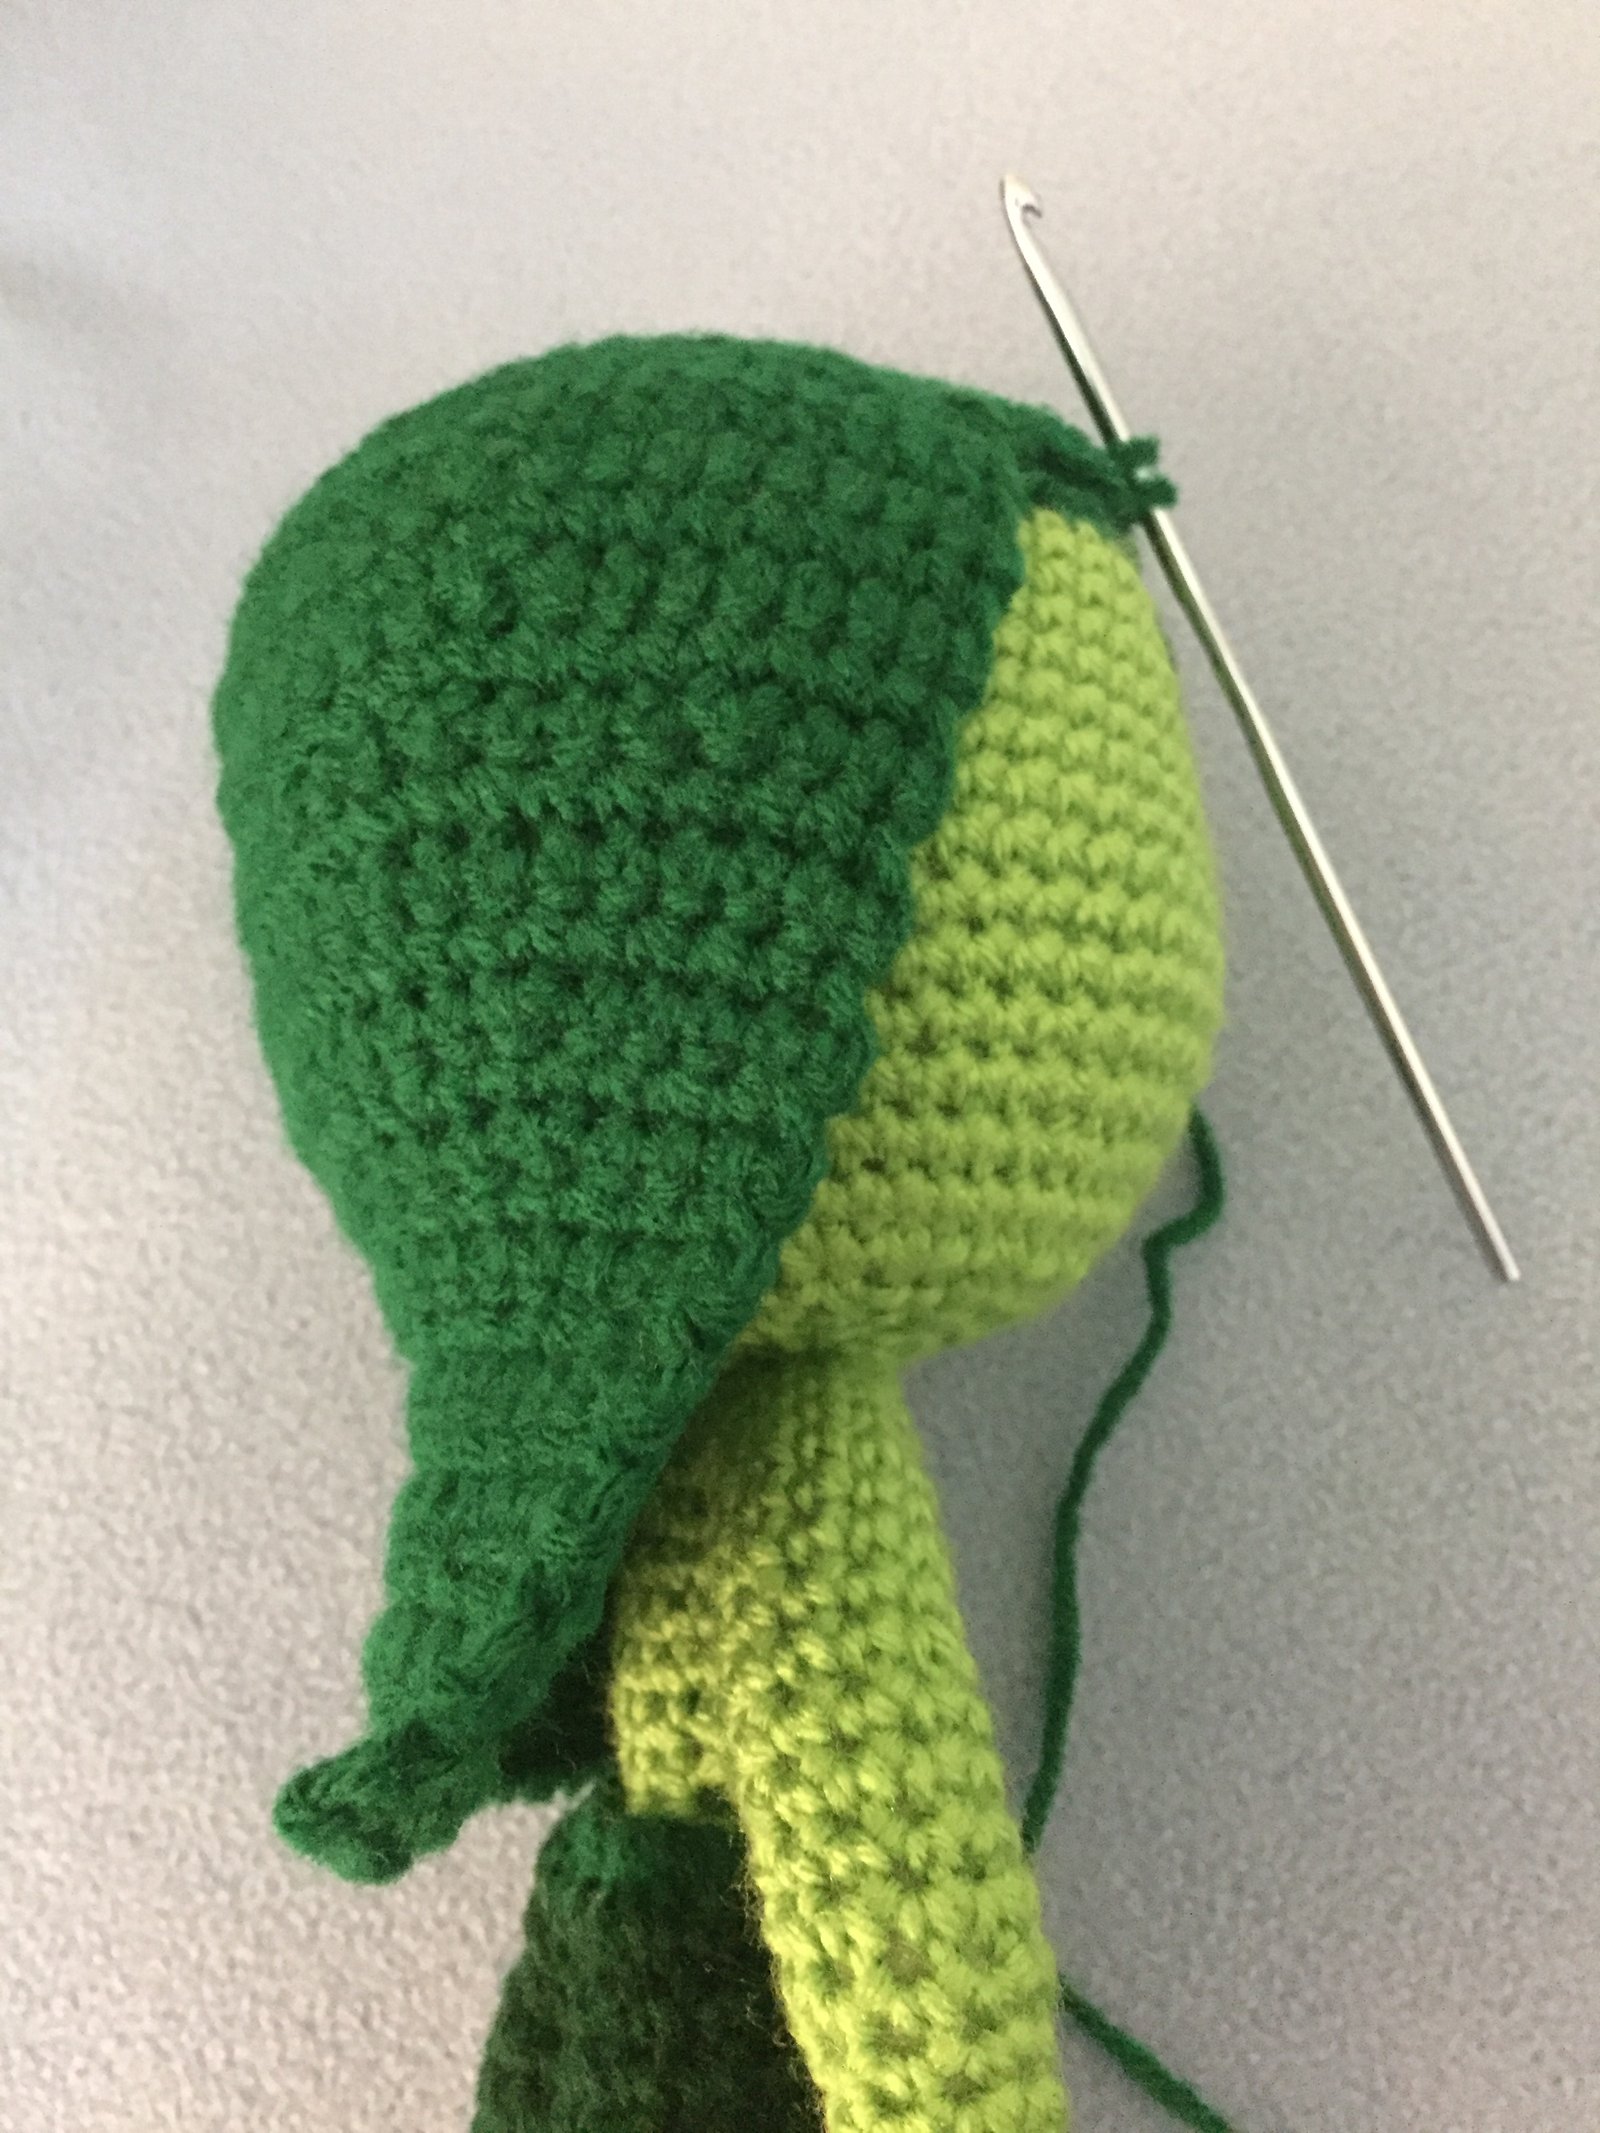
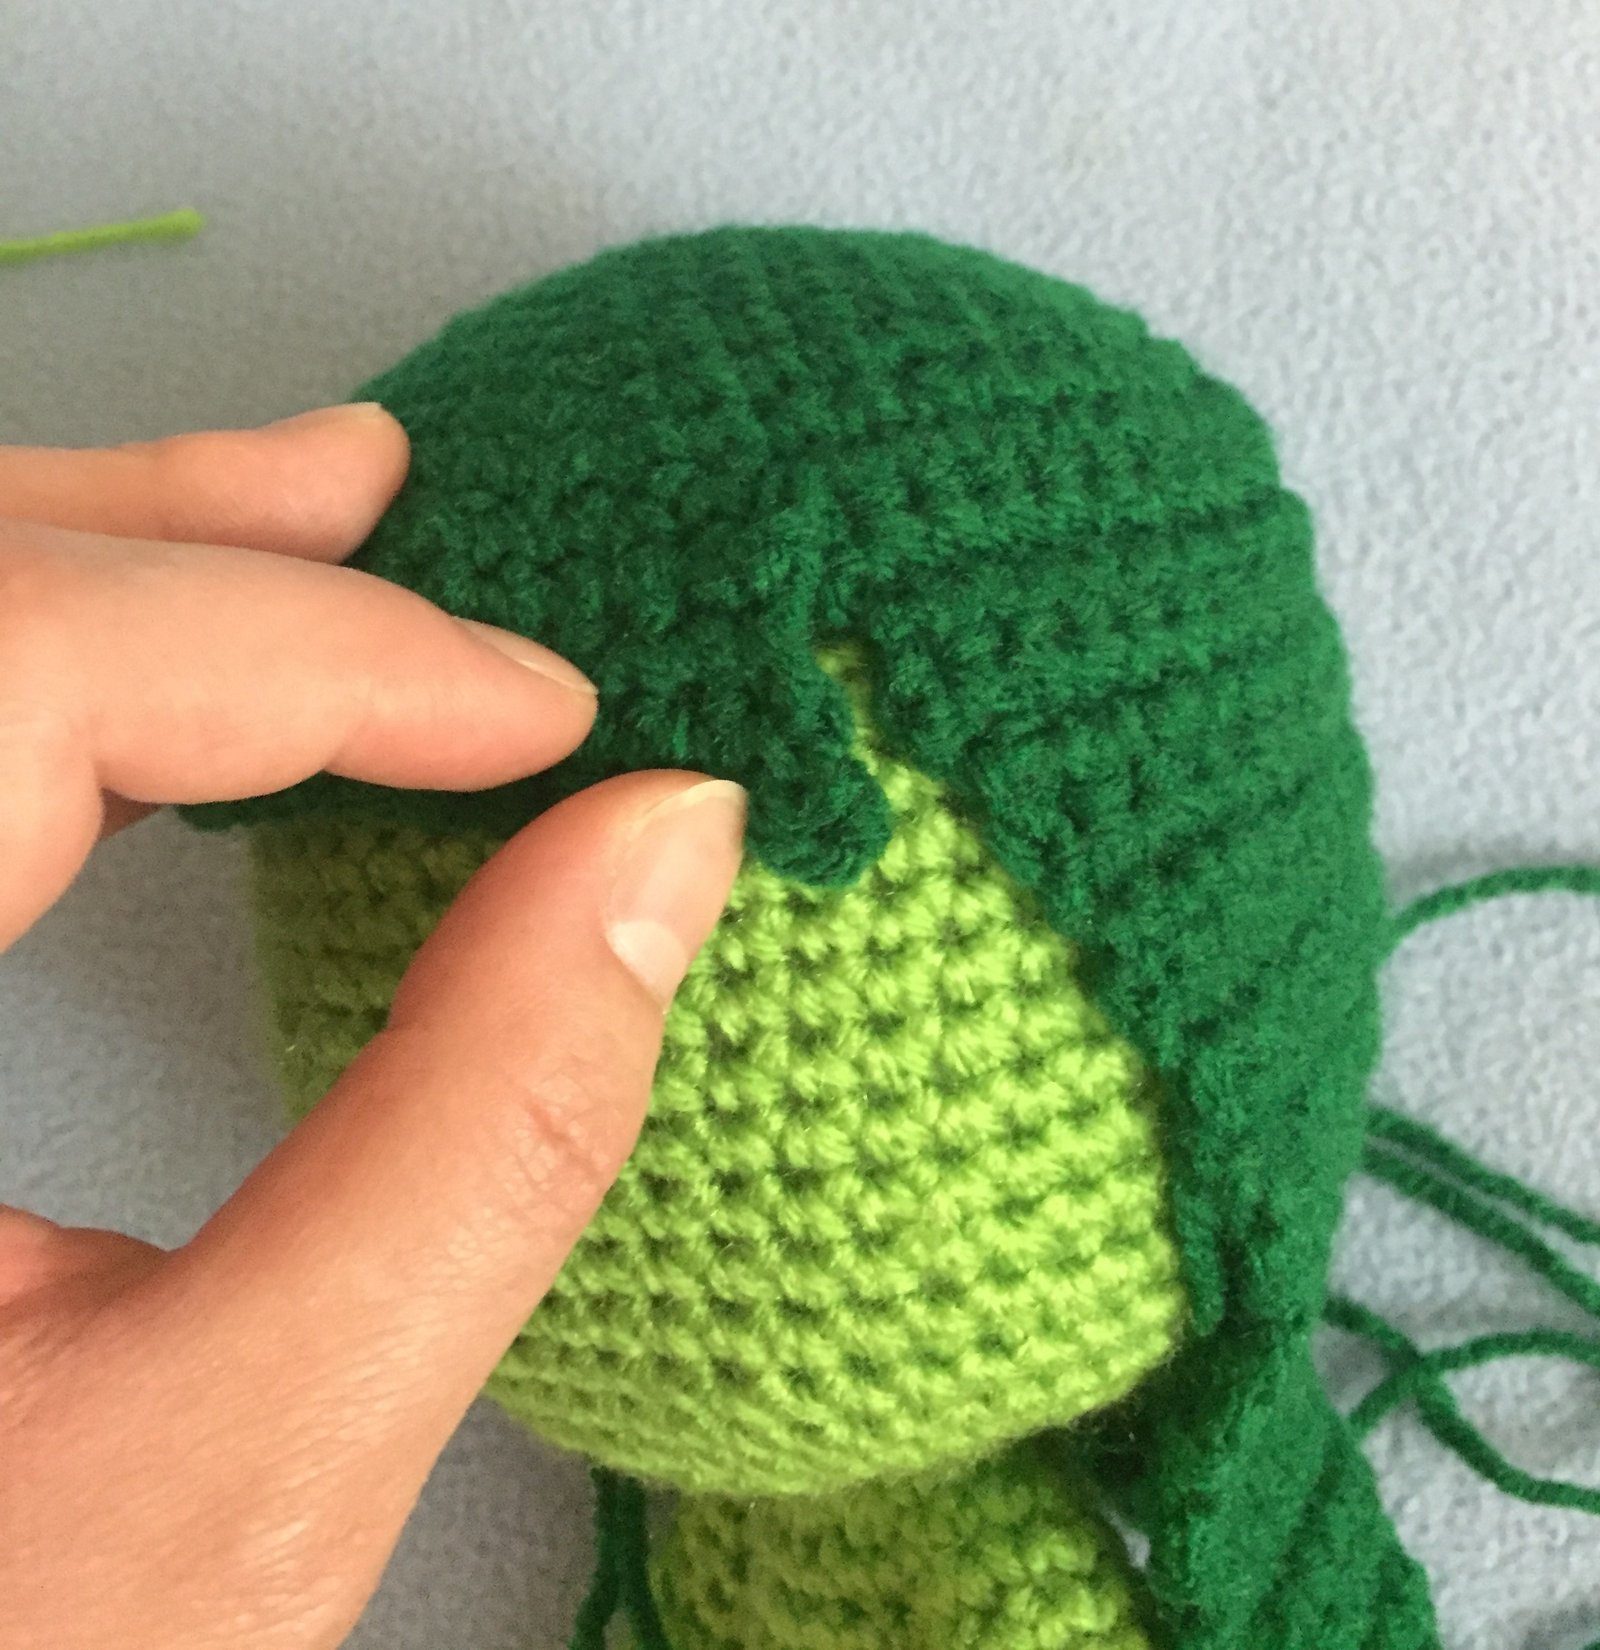
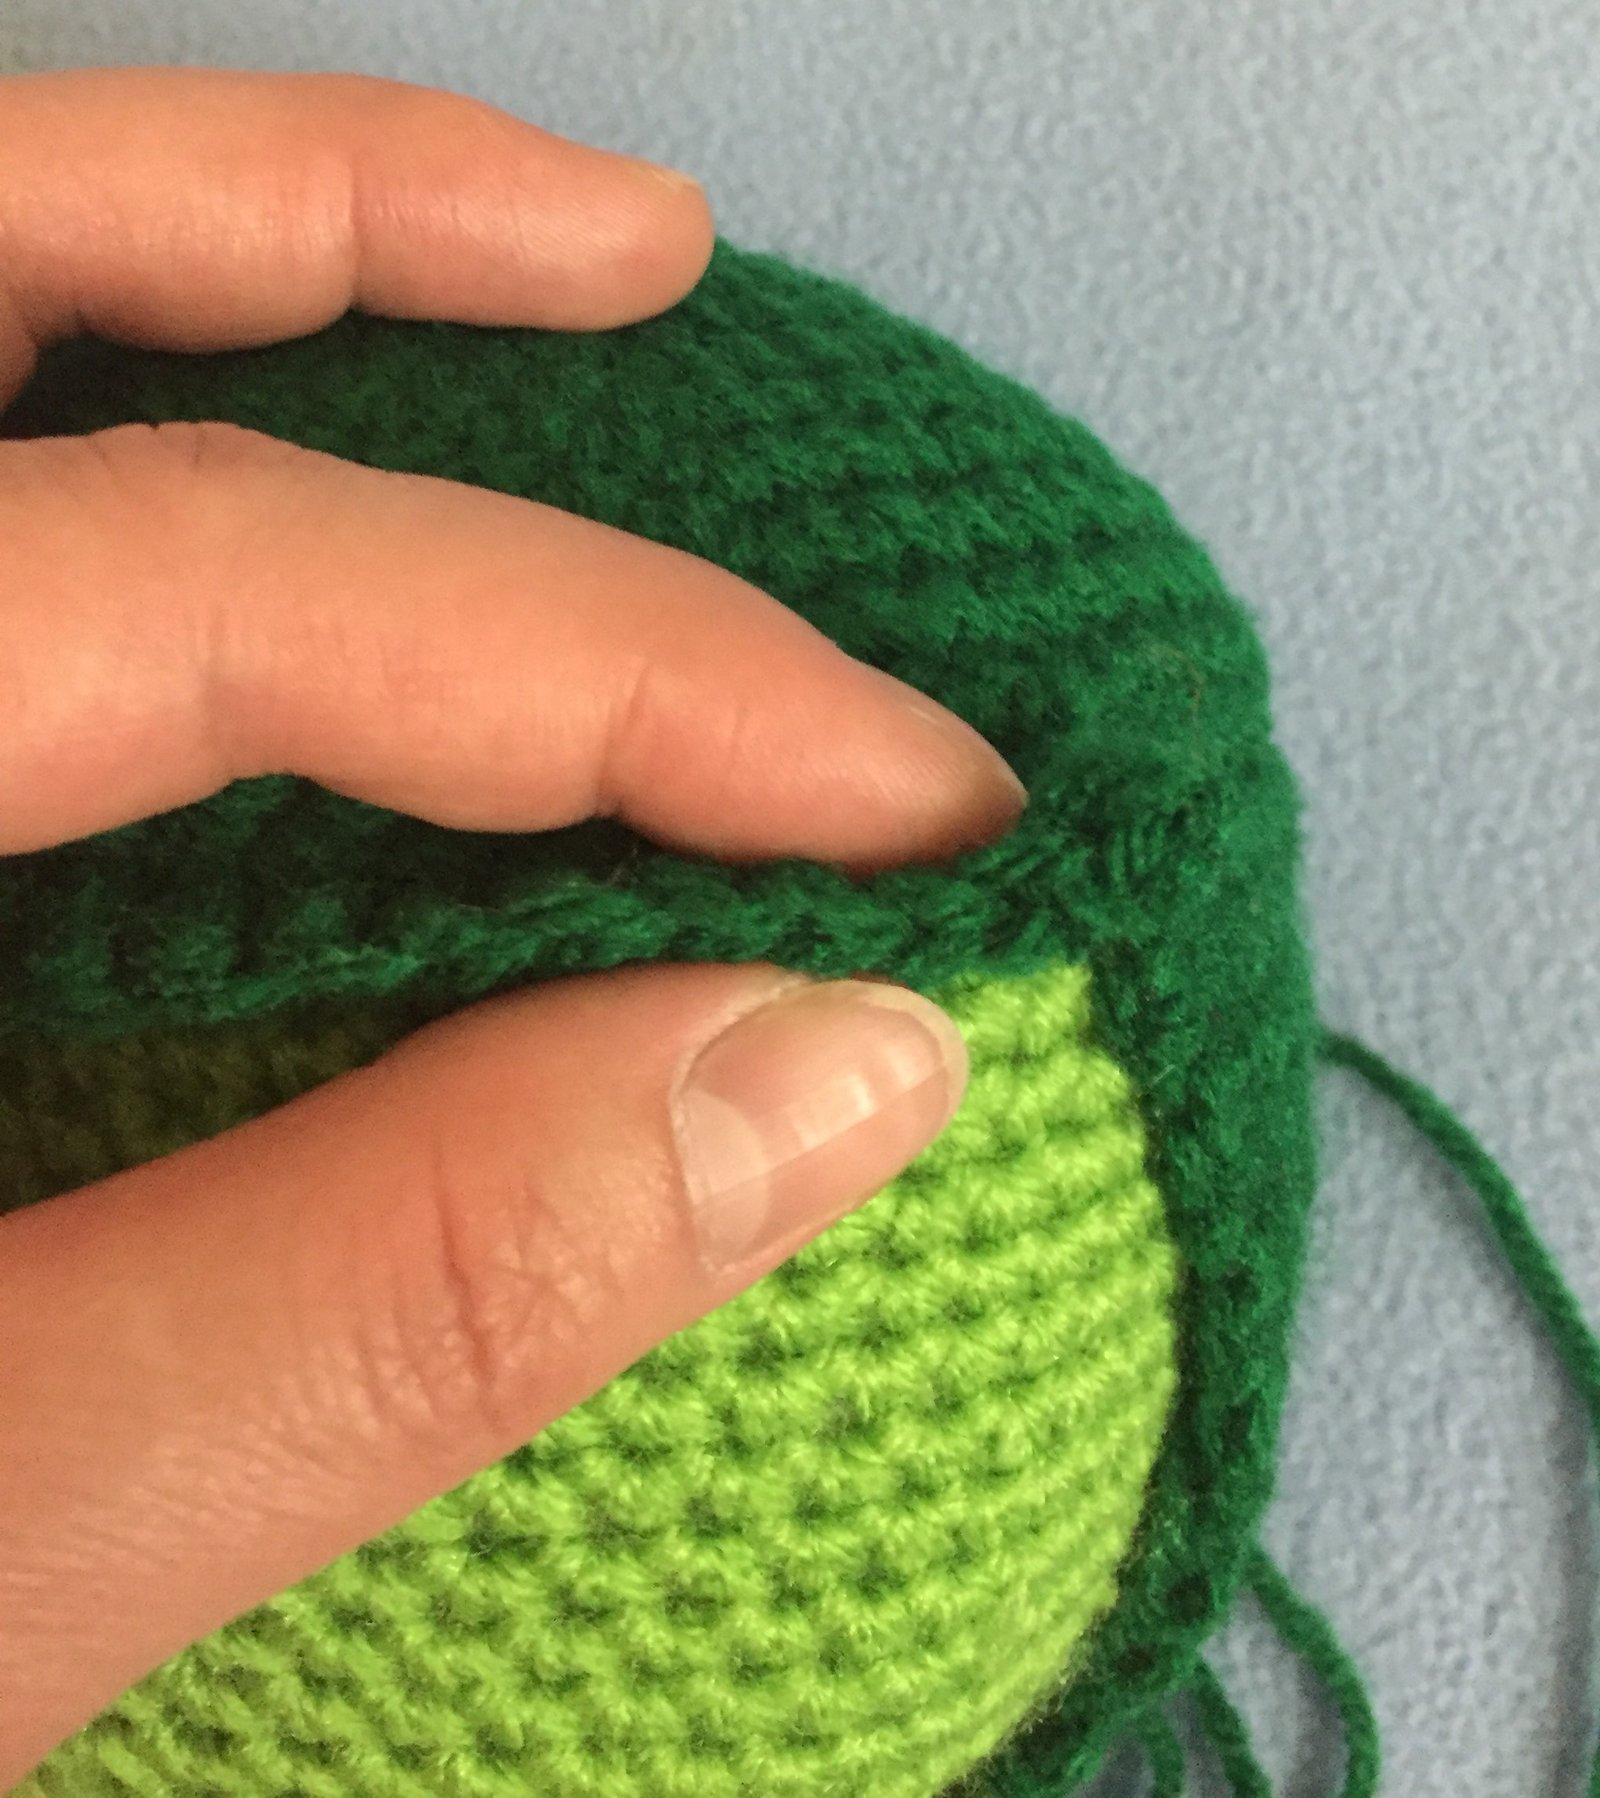
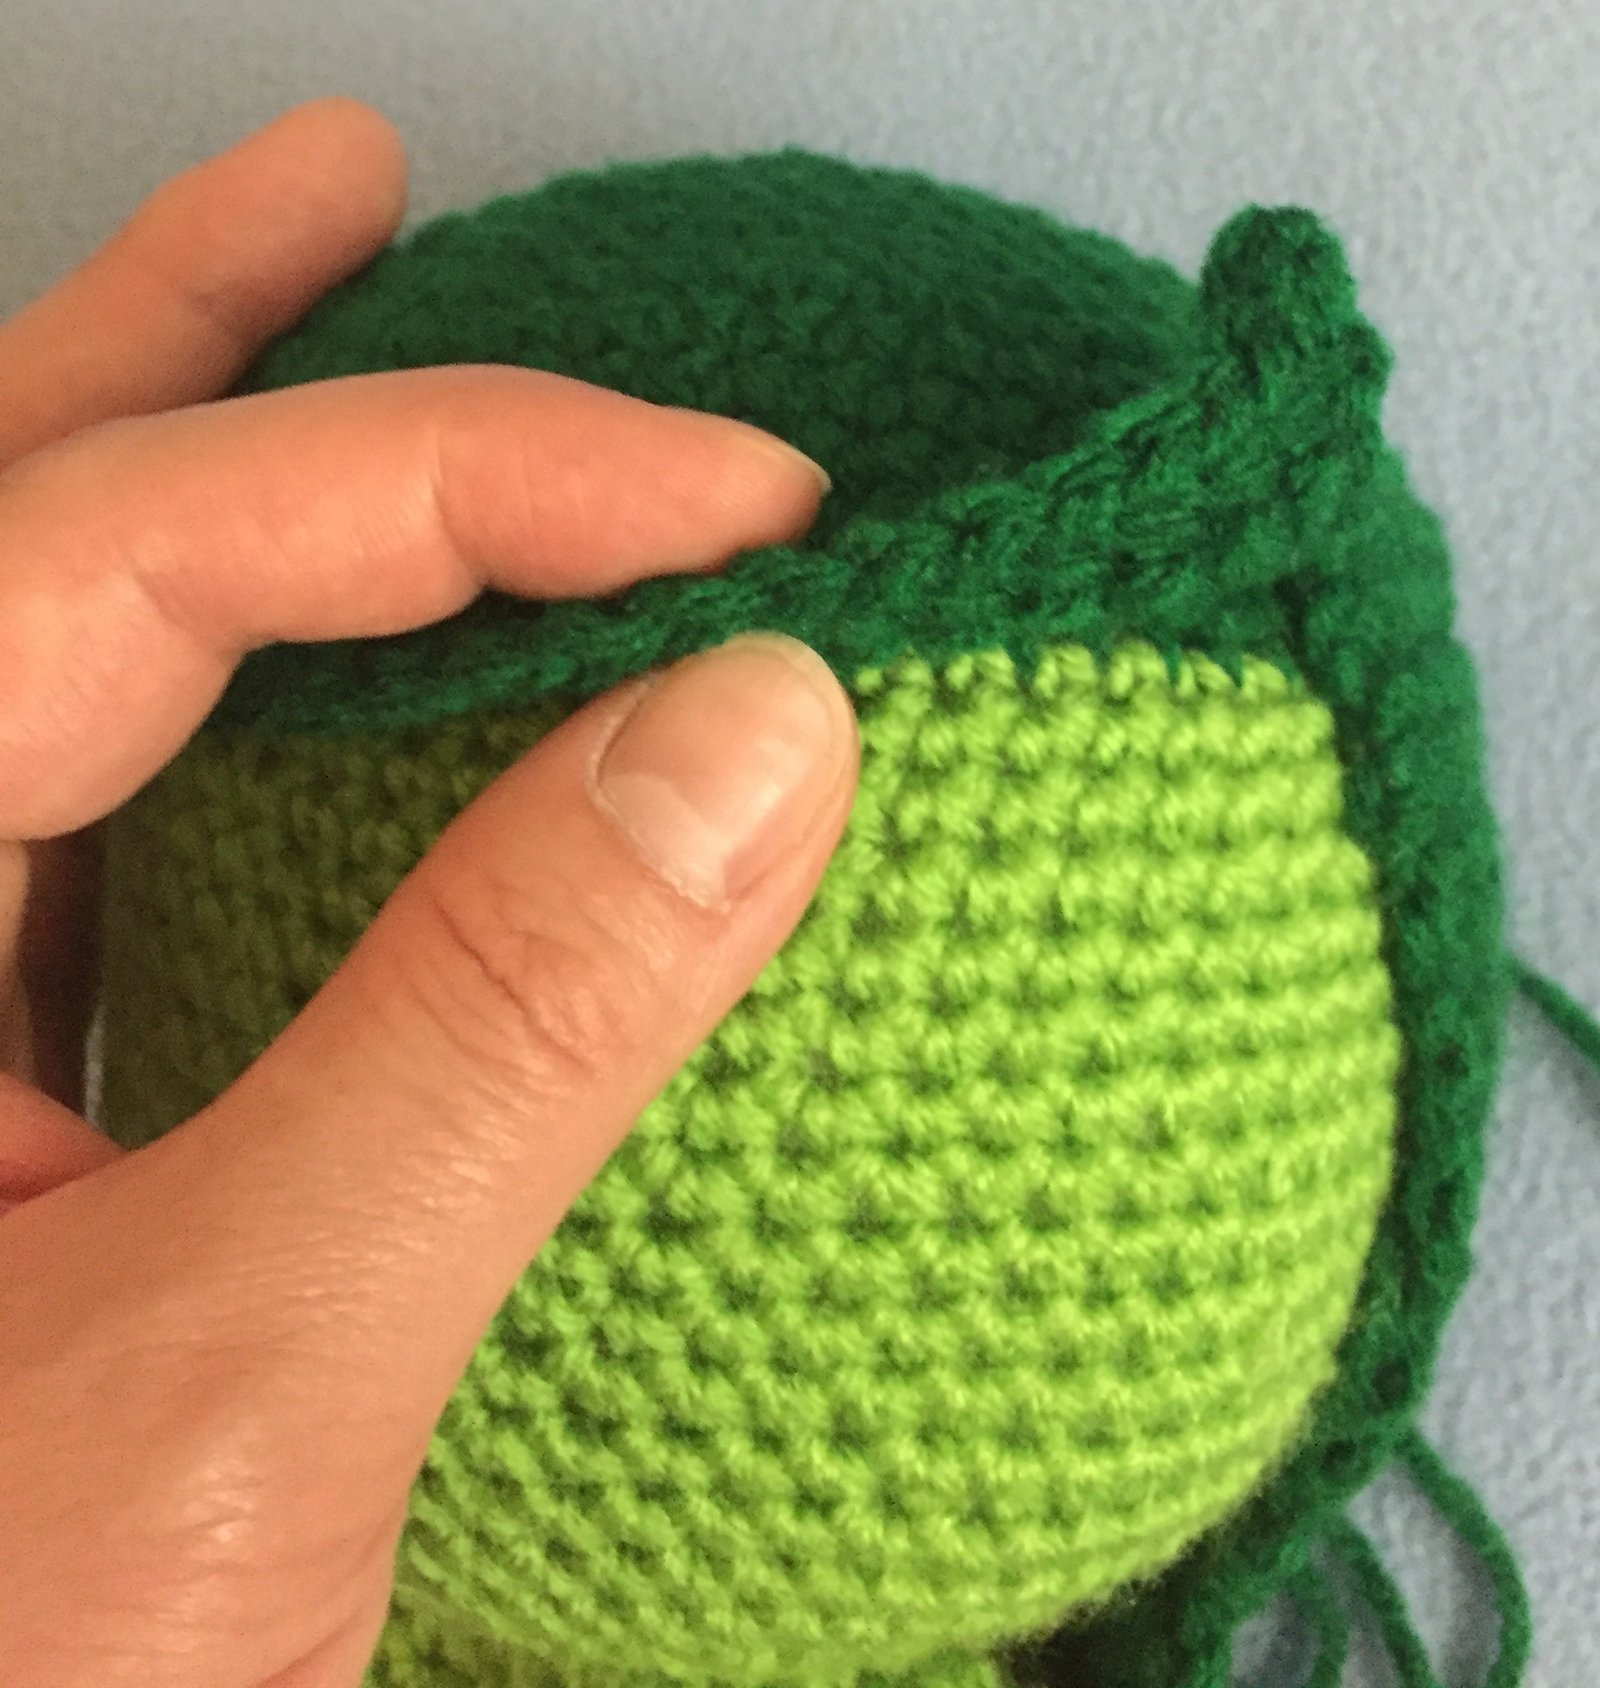
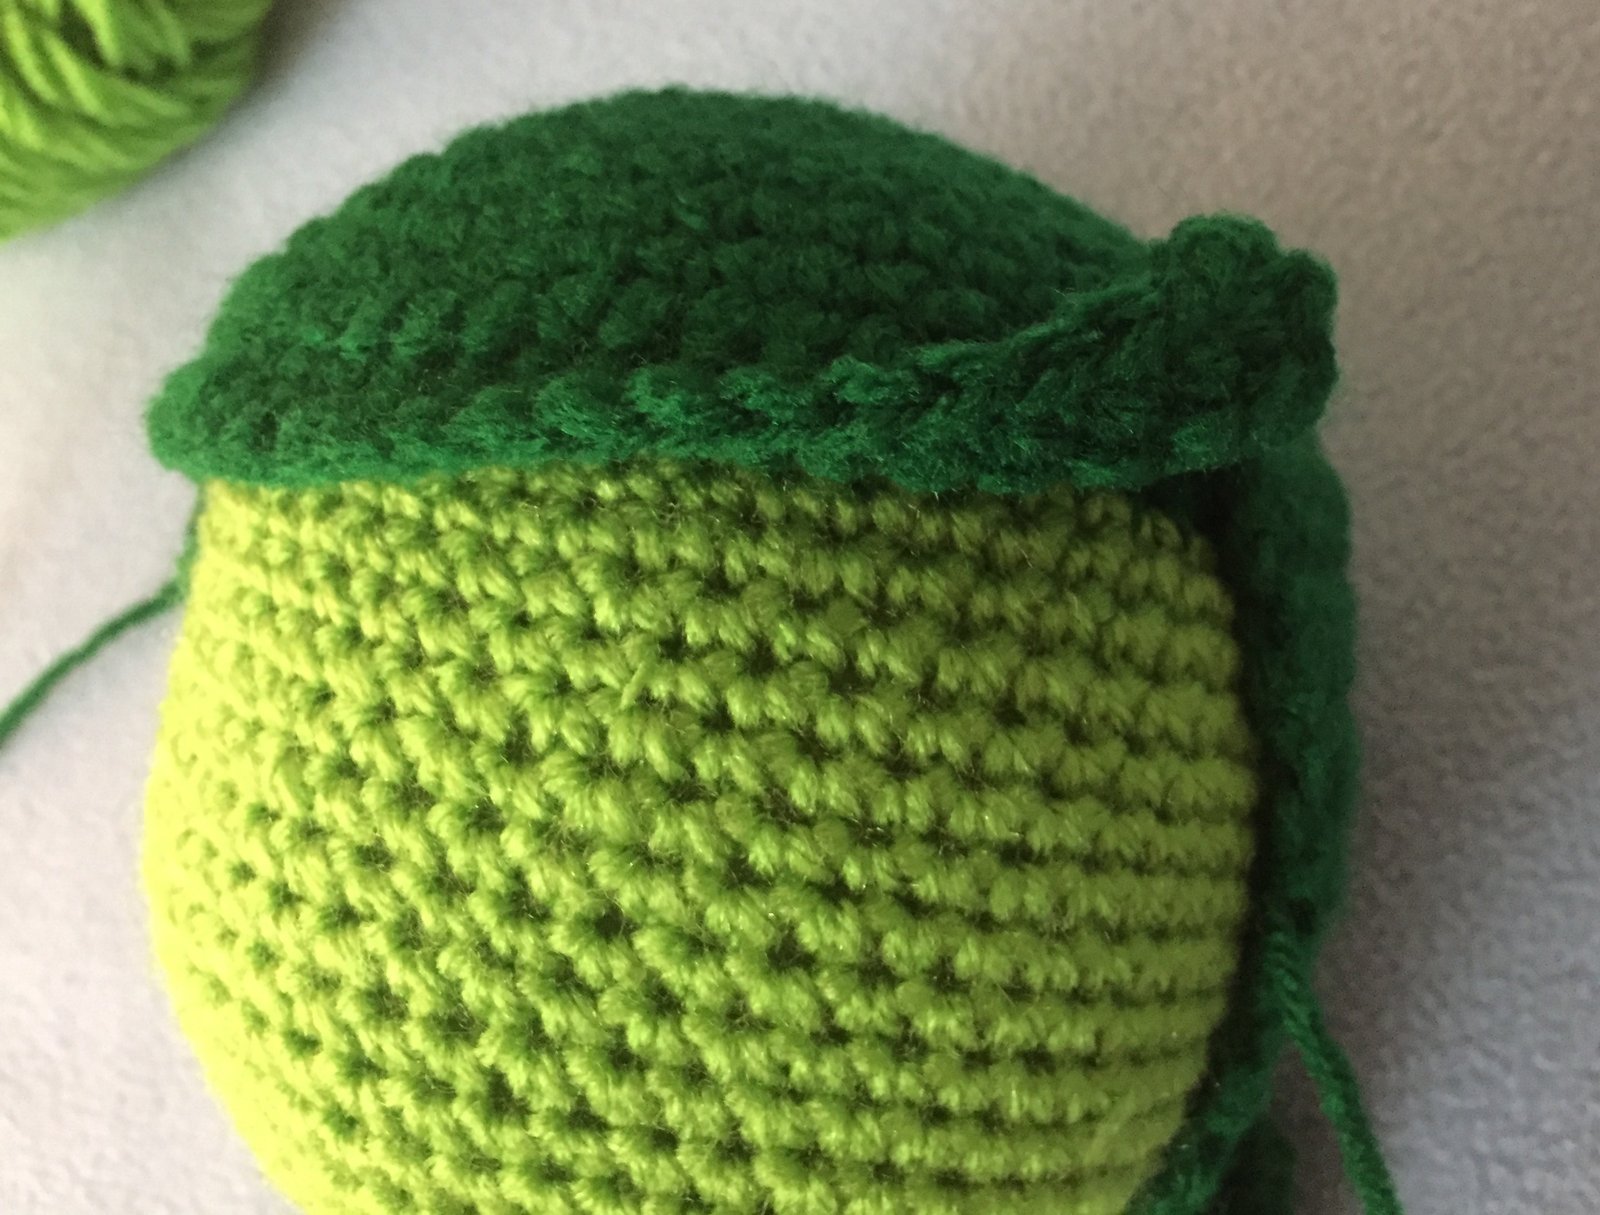
- Change to spring green. 1sc in each st around, only in the back loops. [54]
- 1sc in each st around. For 14 rows. [54]
- (1sc. Sc2tog.) Repeat until you have 9 stitches left. [9]
- 1sc in each st around. [10]
- 2sc in each st around. [20]
- (1sc in first st. 2sc in next st.) Repeat around. [30]
- (1sc in first 2st. 2sc in next st.) Repeat around. [40]
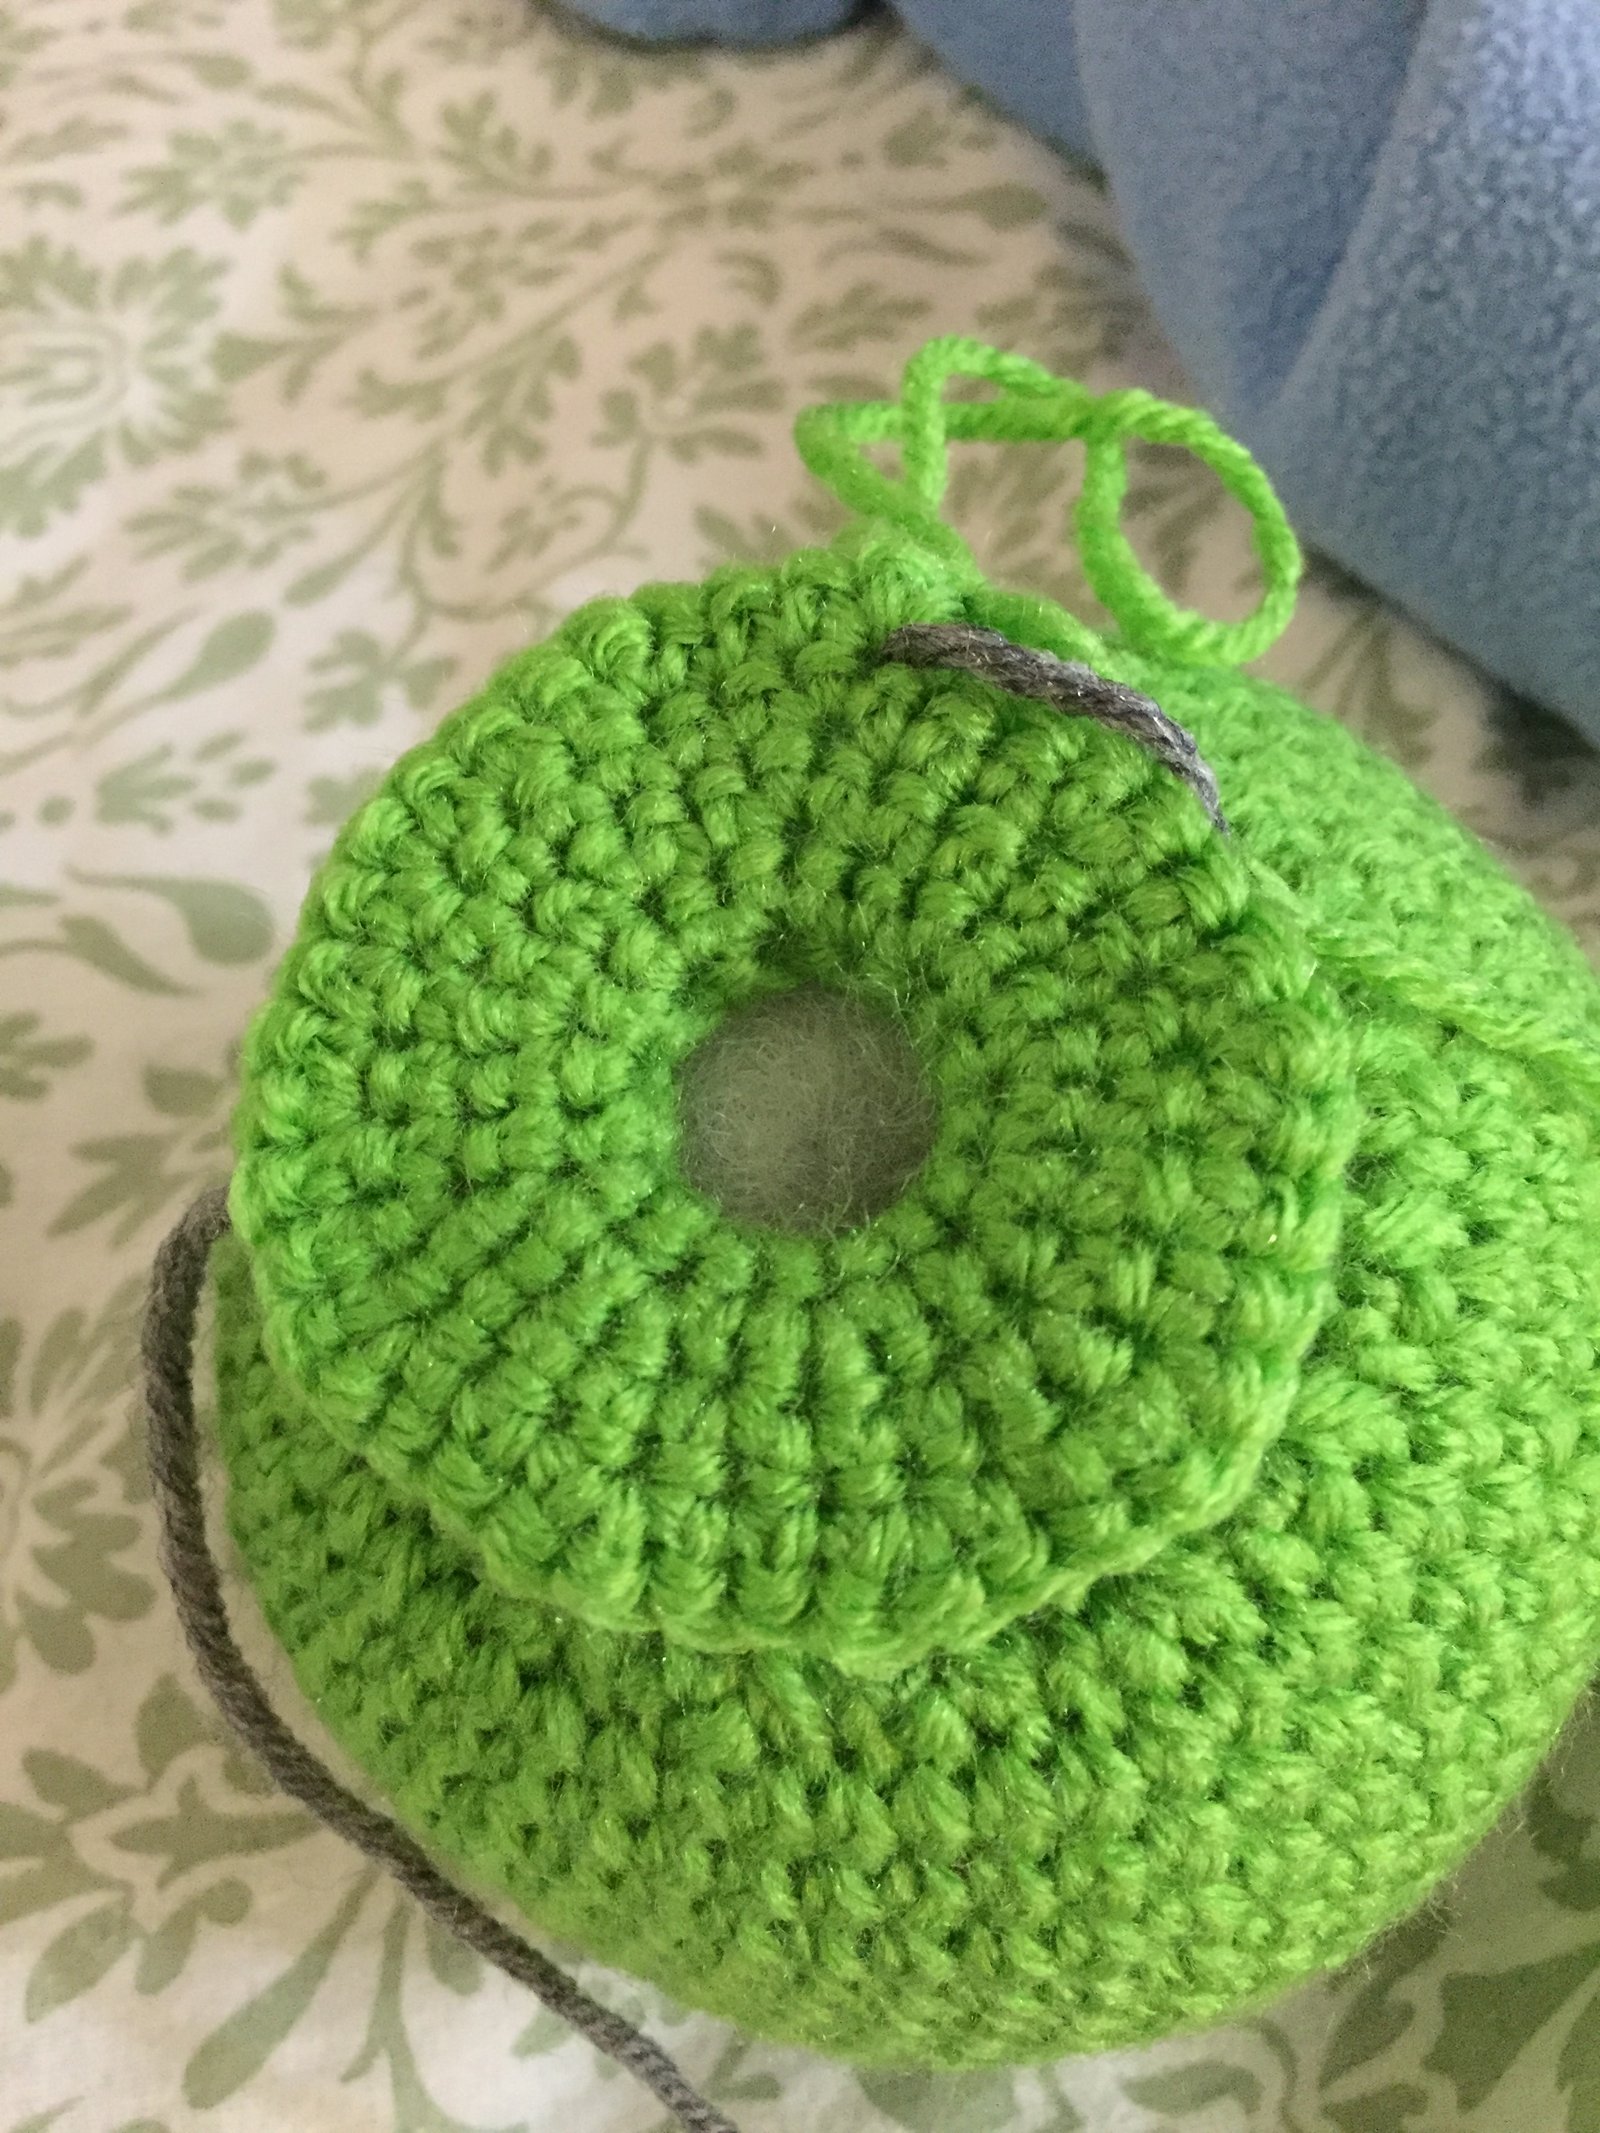
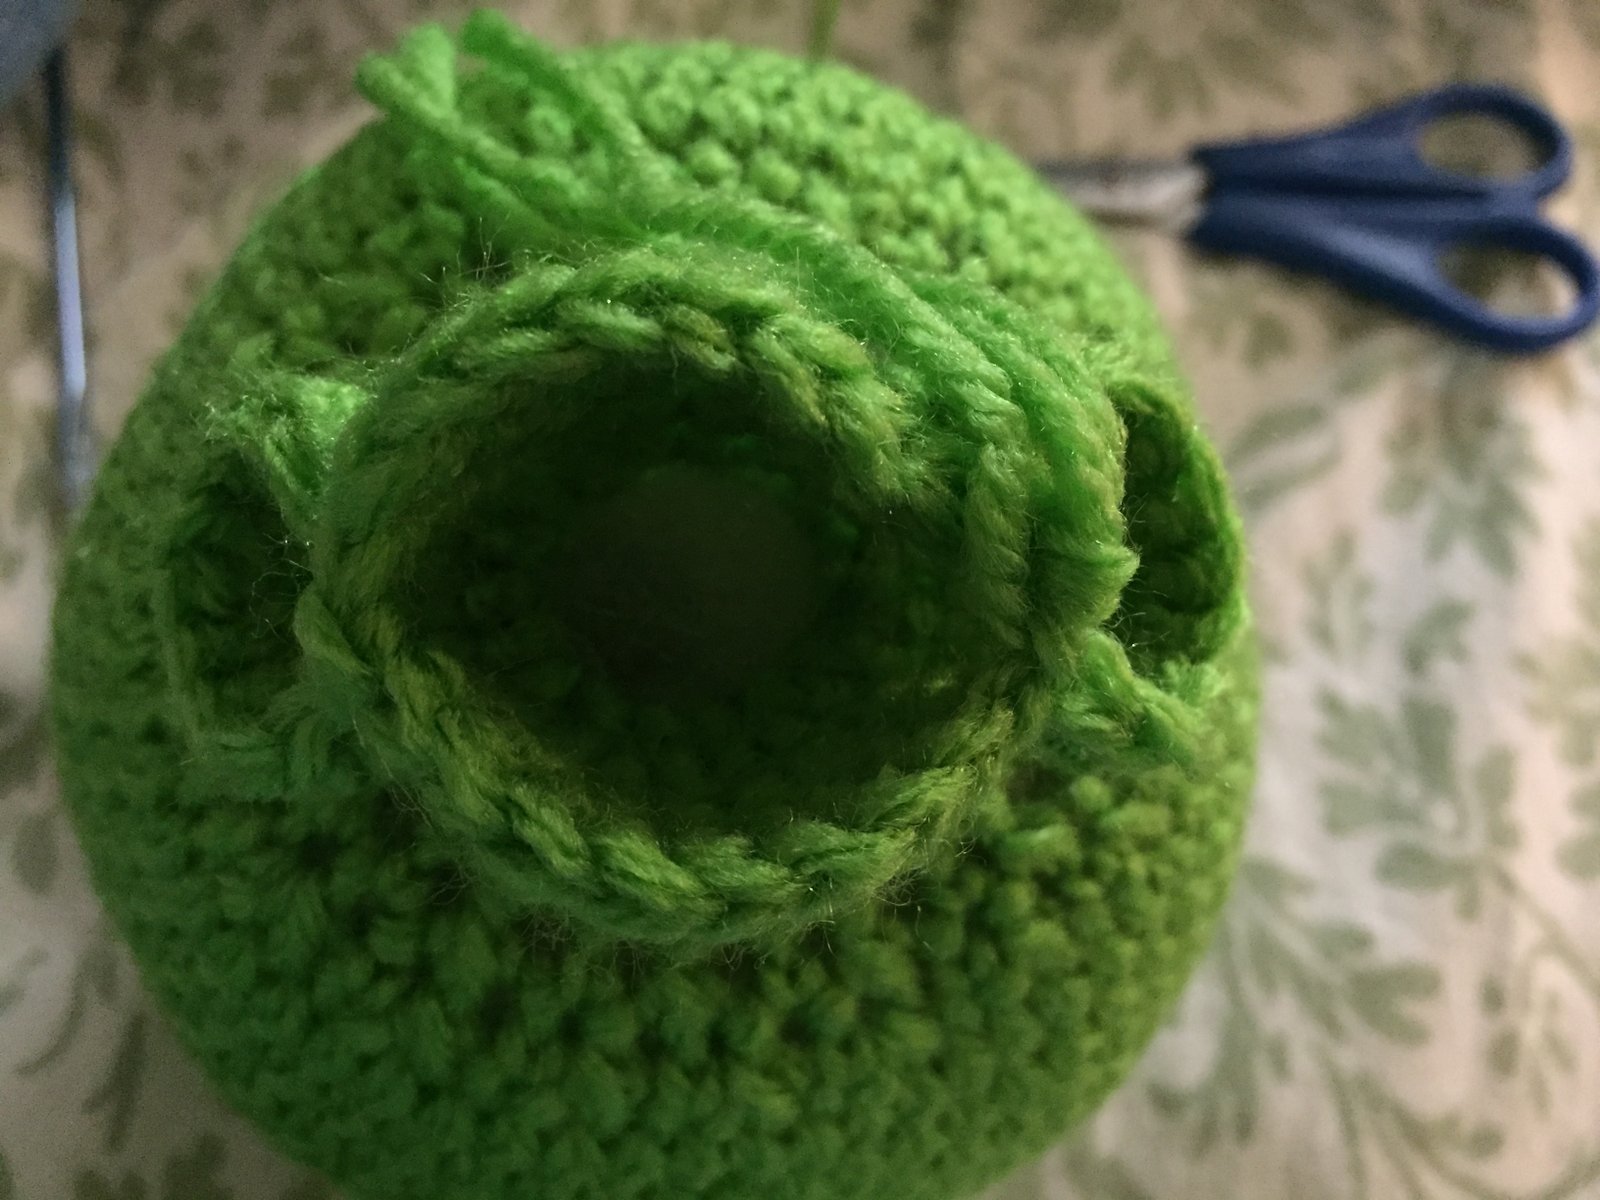
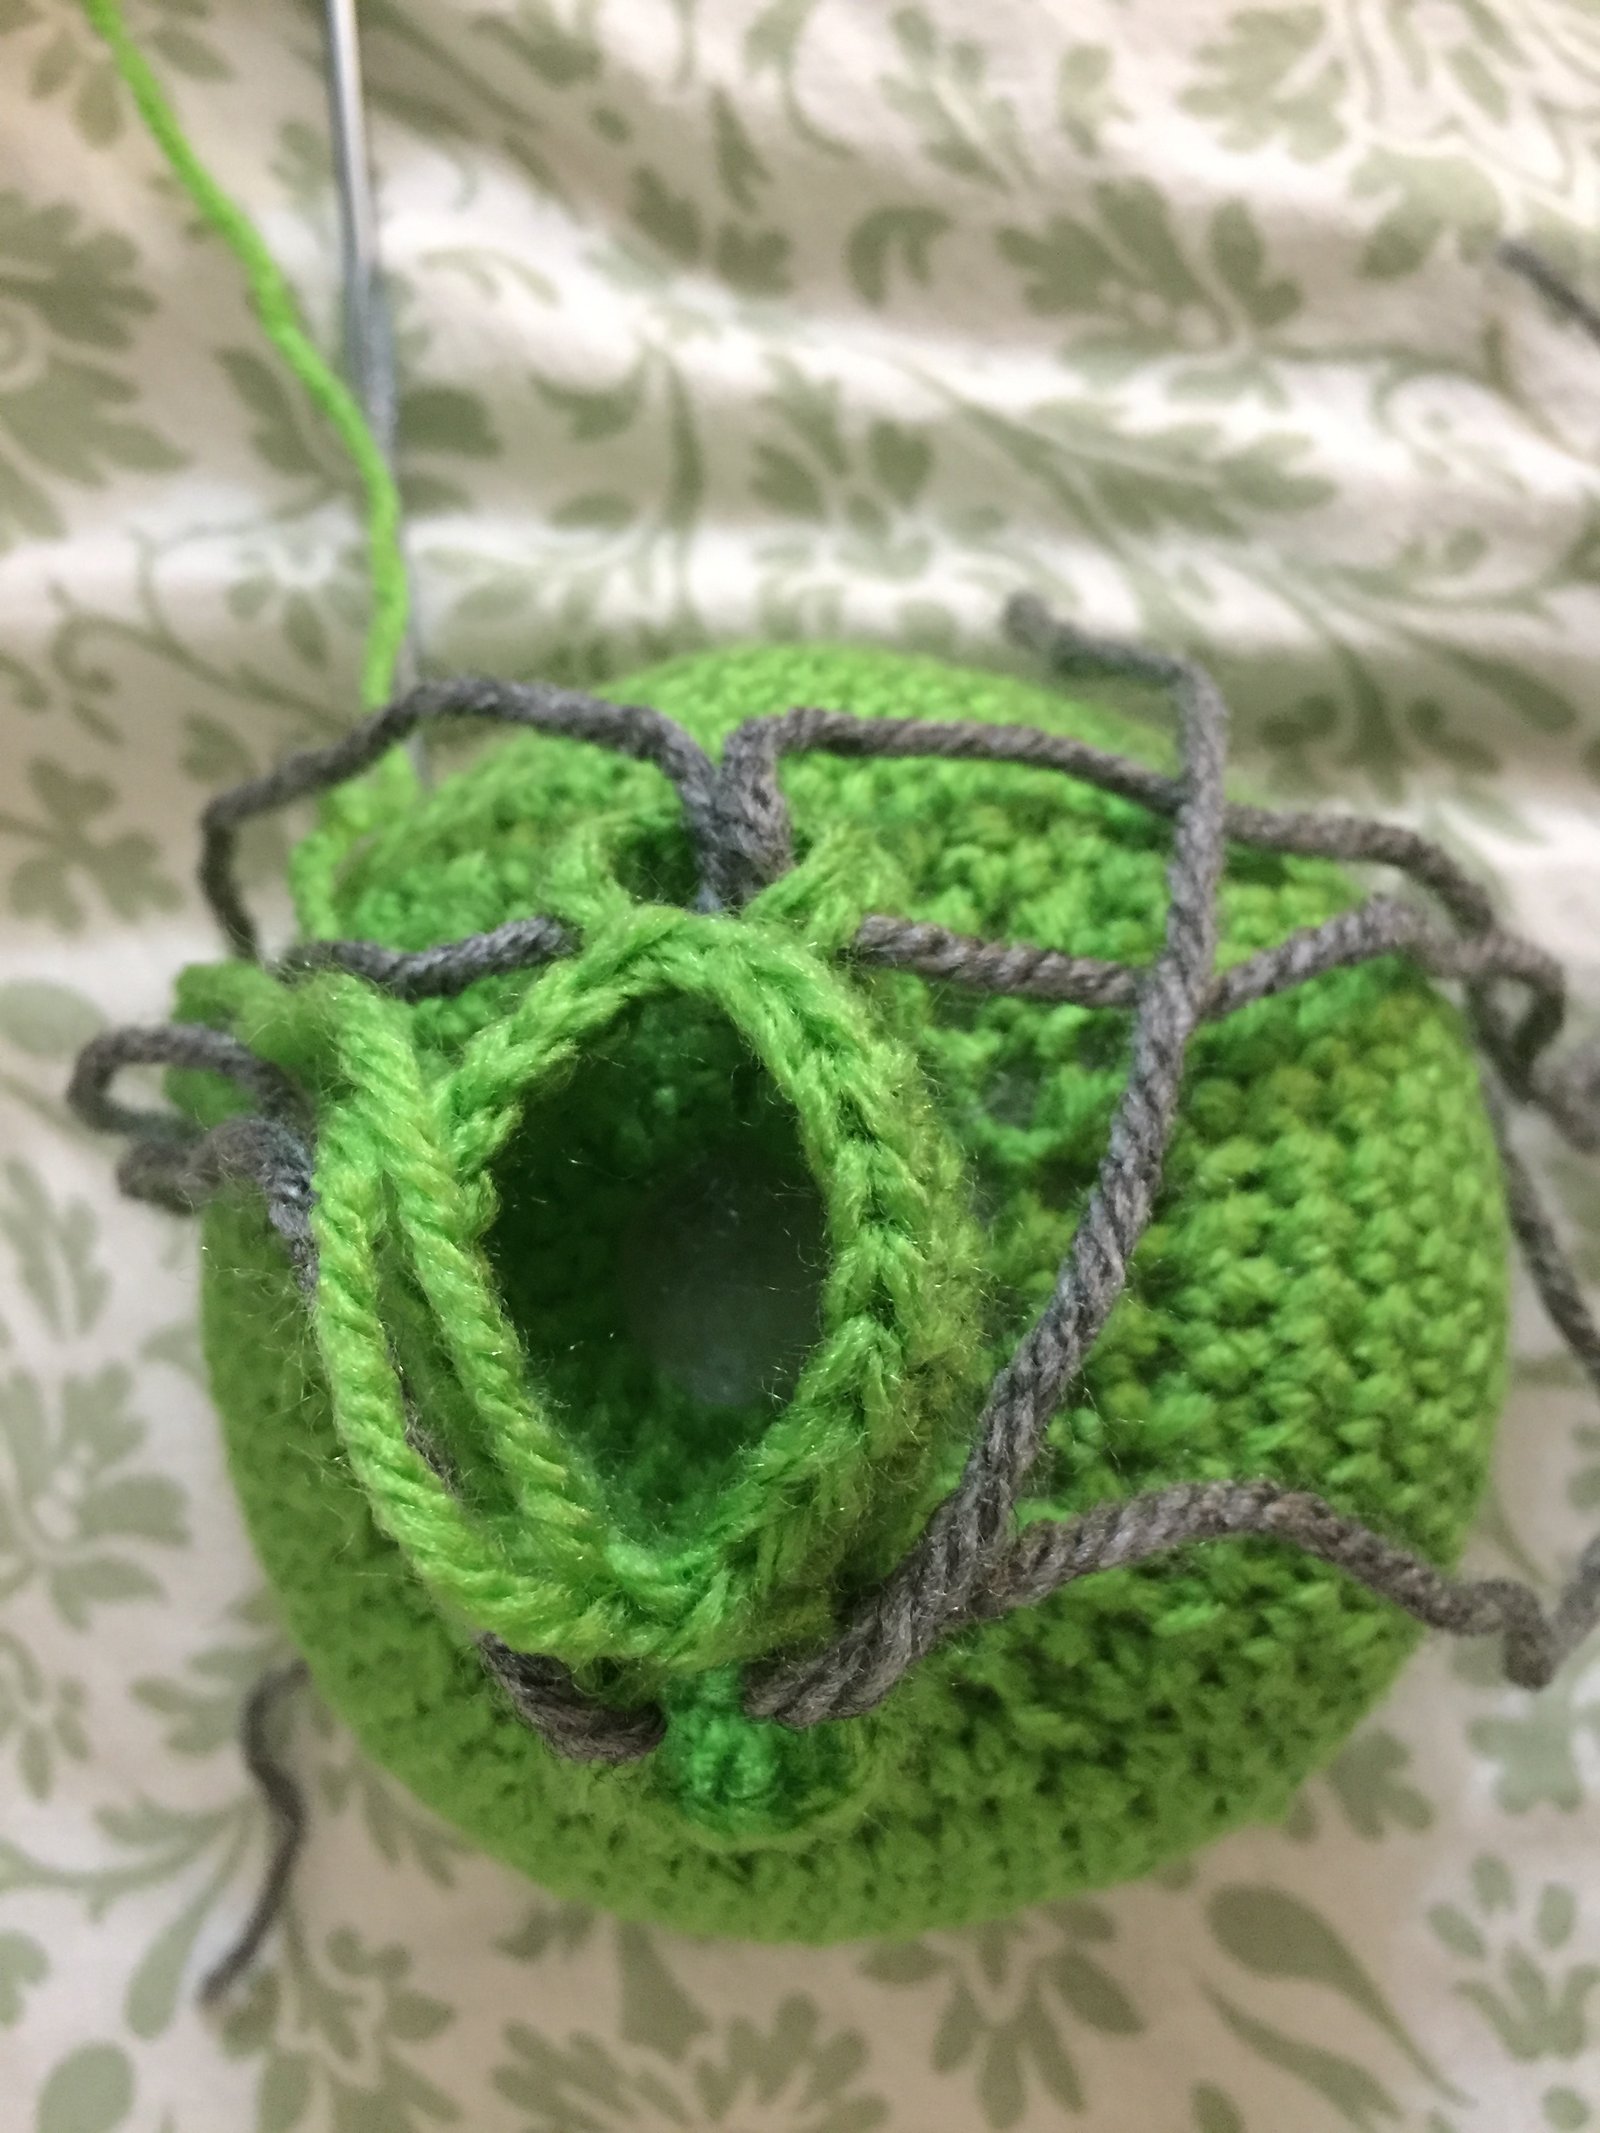
- This is where we are going to divide the body into three parts. We want to make 2 arms and a body. The arms are going to have 10 stitches each. The body is going to have 20. Right now we are going to work on the body.
- Use yarn as markers so you can see exactly where you want to divide the body section. I used grey yarn in mine.
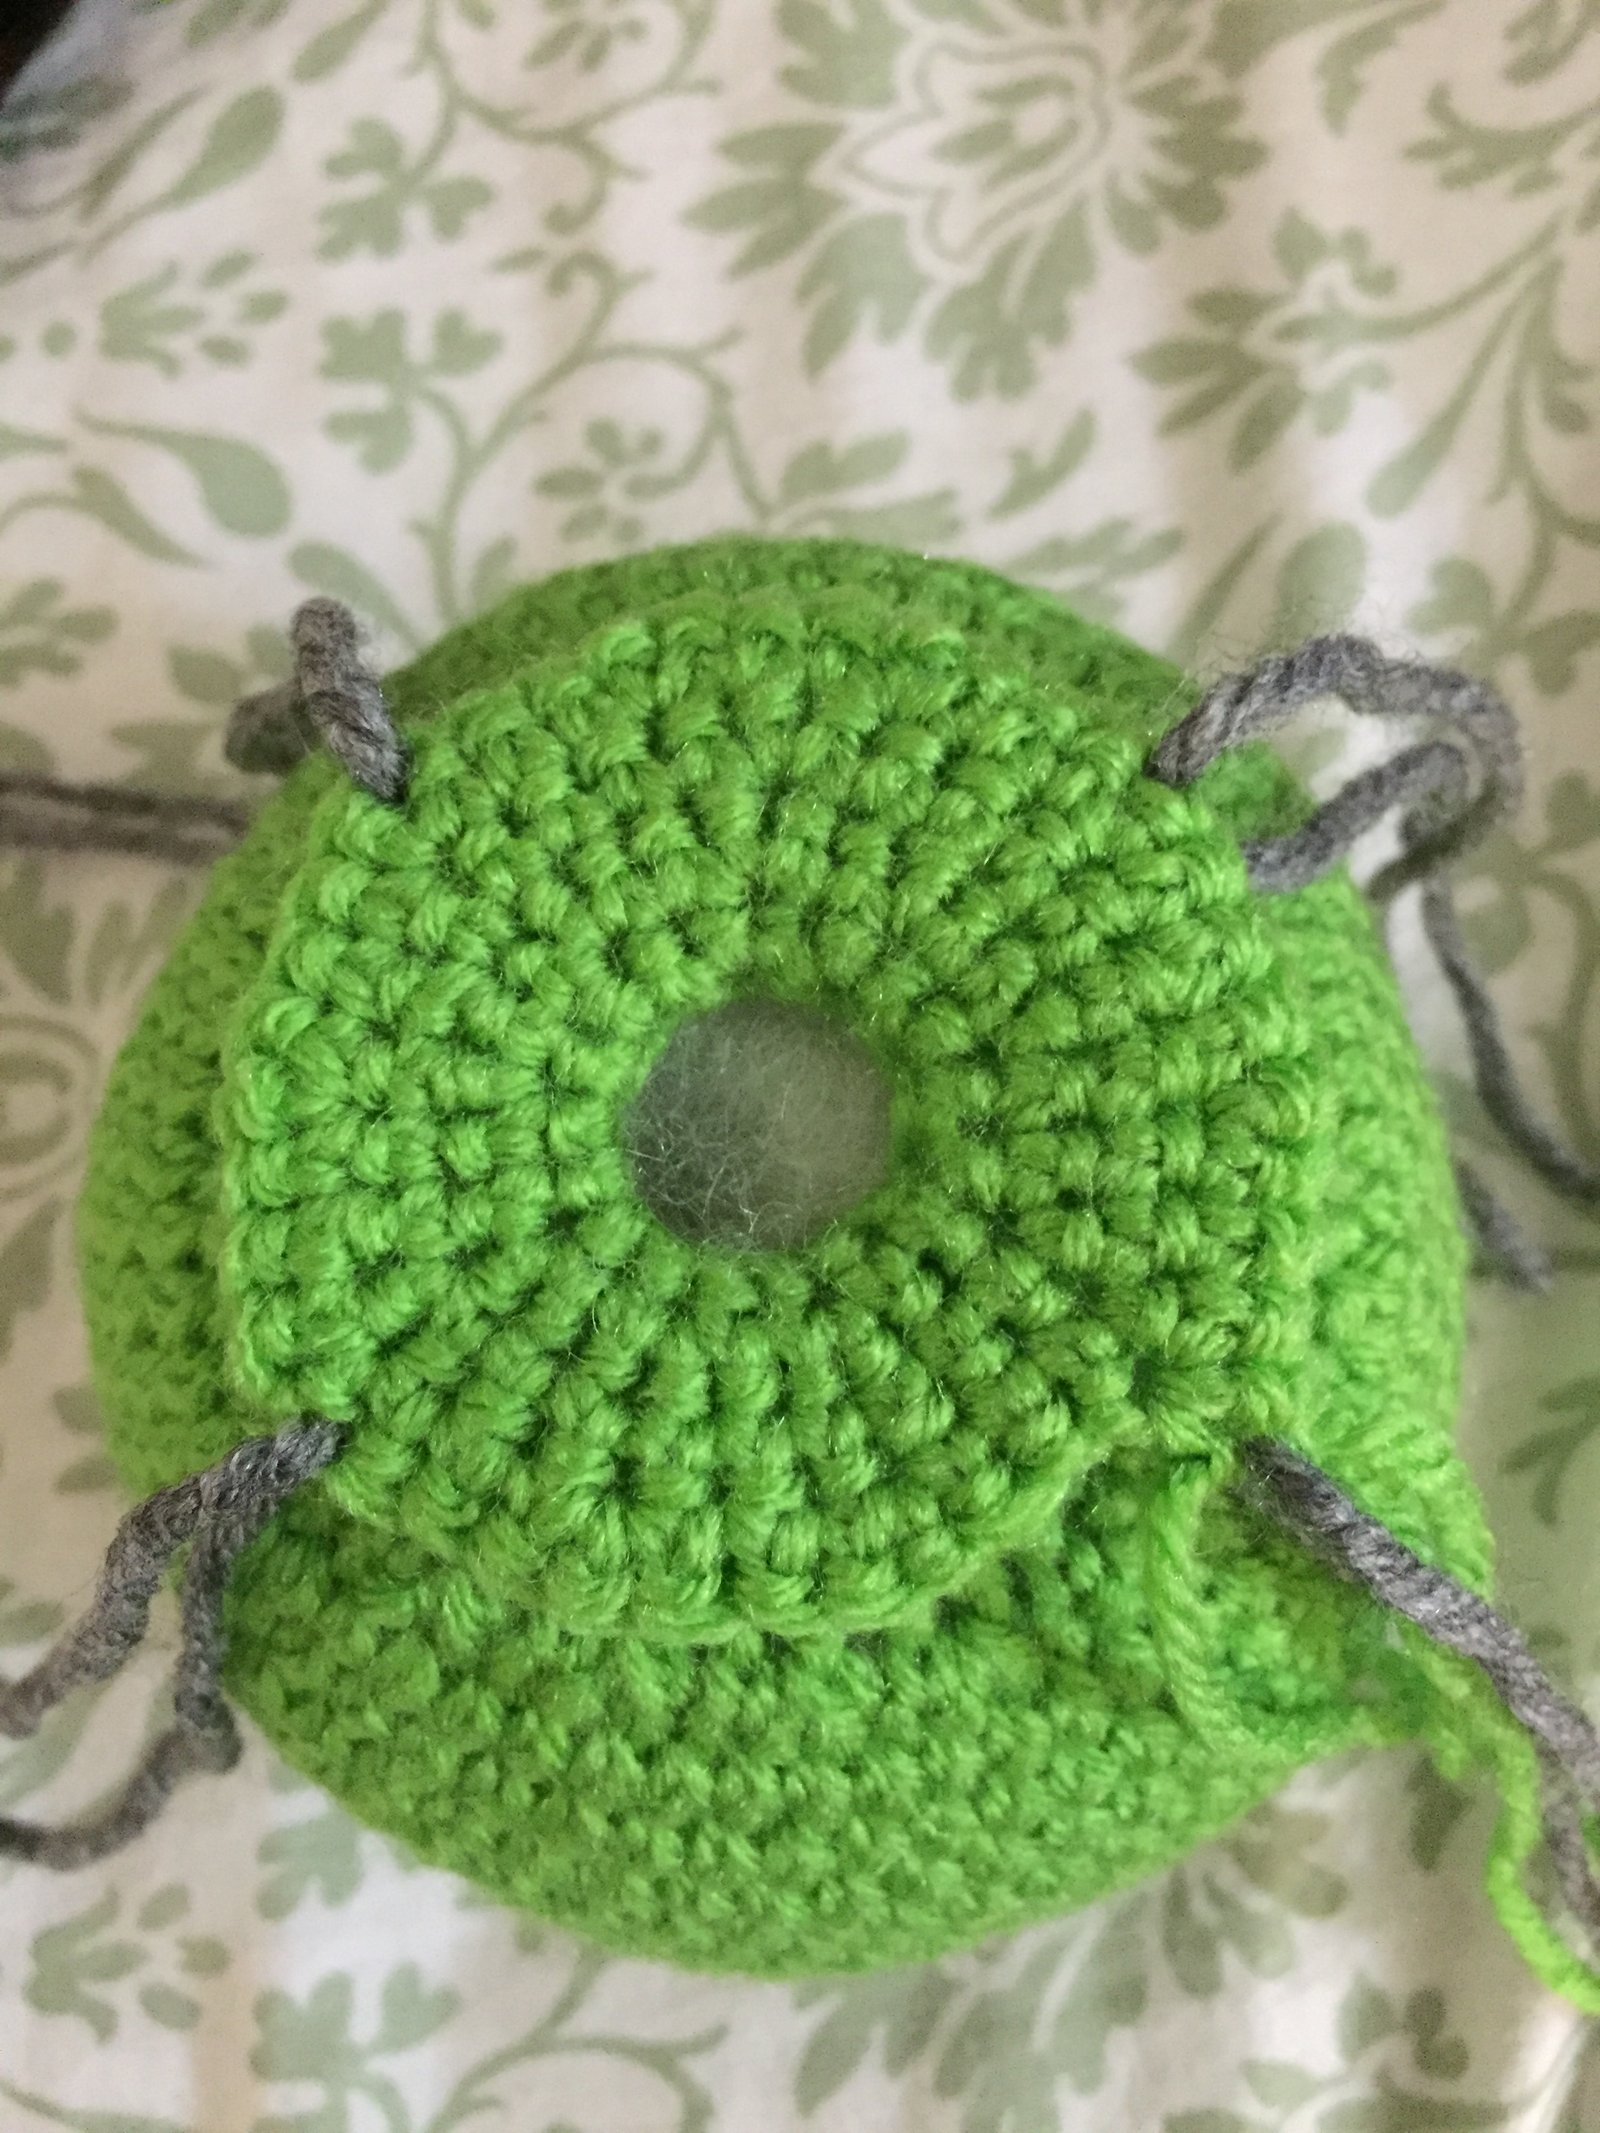
- Use yarn as markers so you can see exactly where you want to divide the body section. I used grey yarn in mine.
- When you create the body and the arms you have to cut across and create a single crochet with that stitch.
- 1sc in each st around. [20]
- (1sc in first 3st. Sc2tog.) Repeat around. [16]
- (1sc in first 2st. Sc2tog.) Repeat around. [12]
- 1sc in each st around. [12]
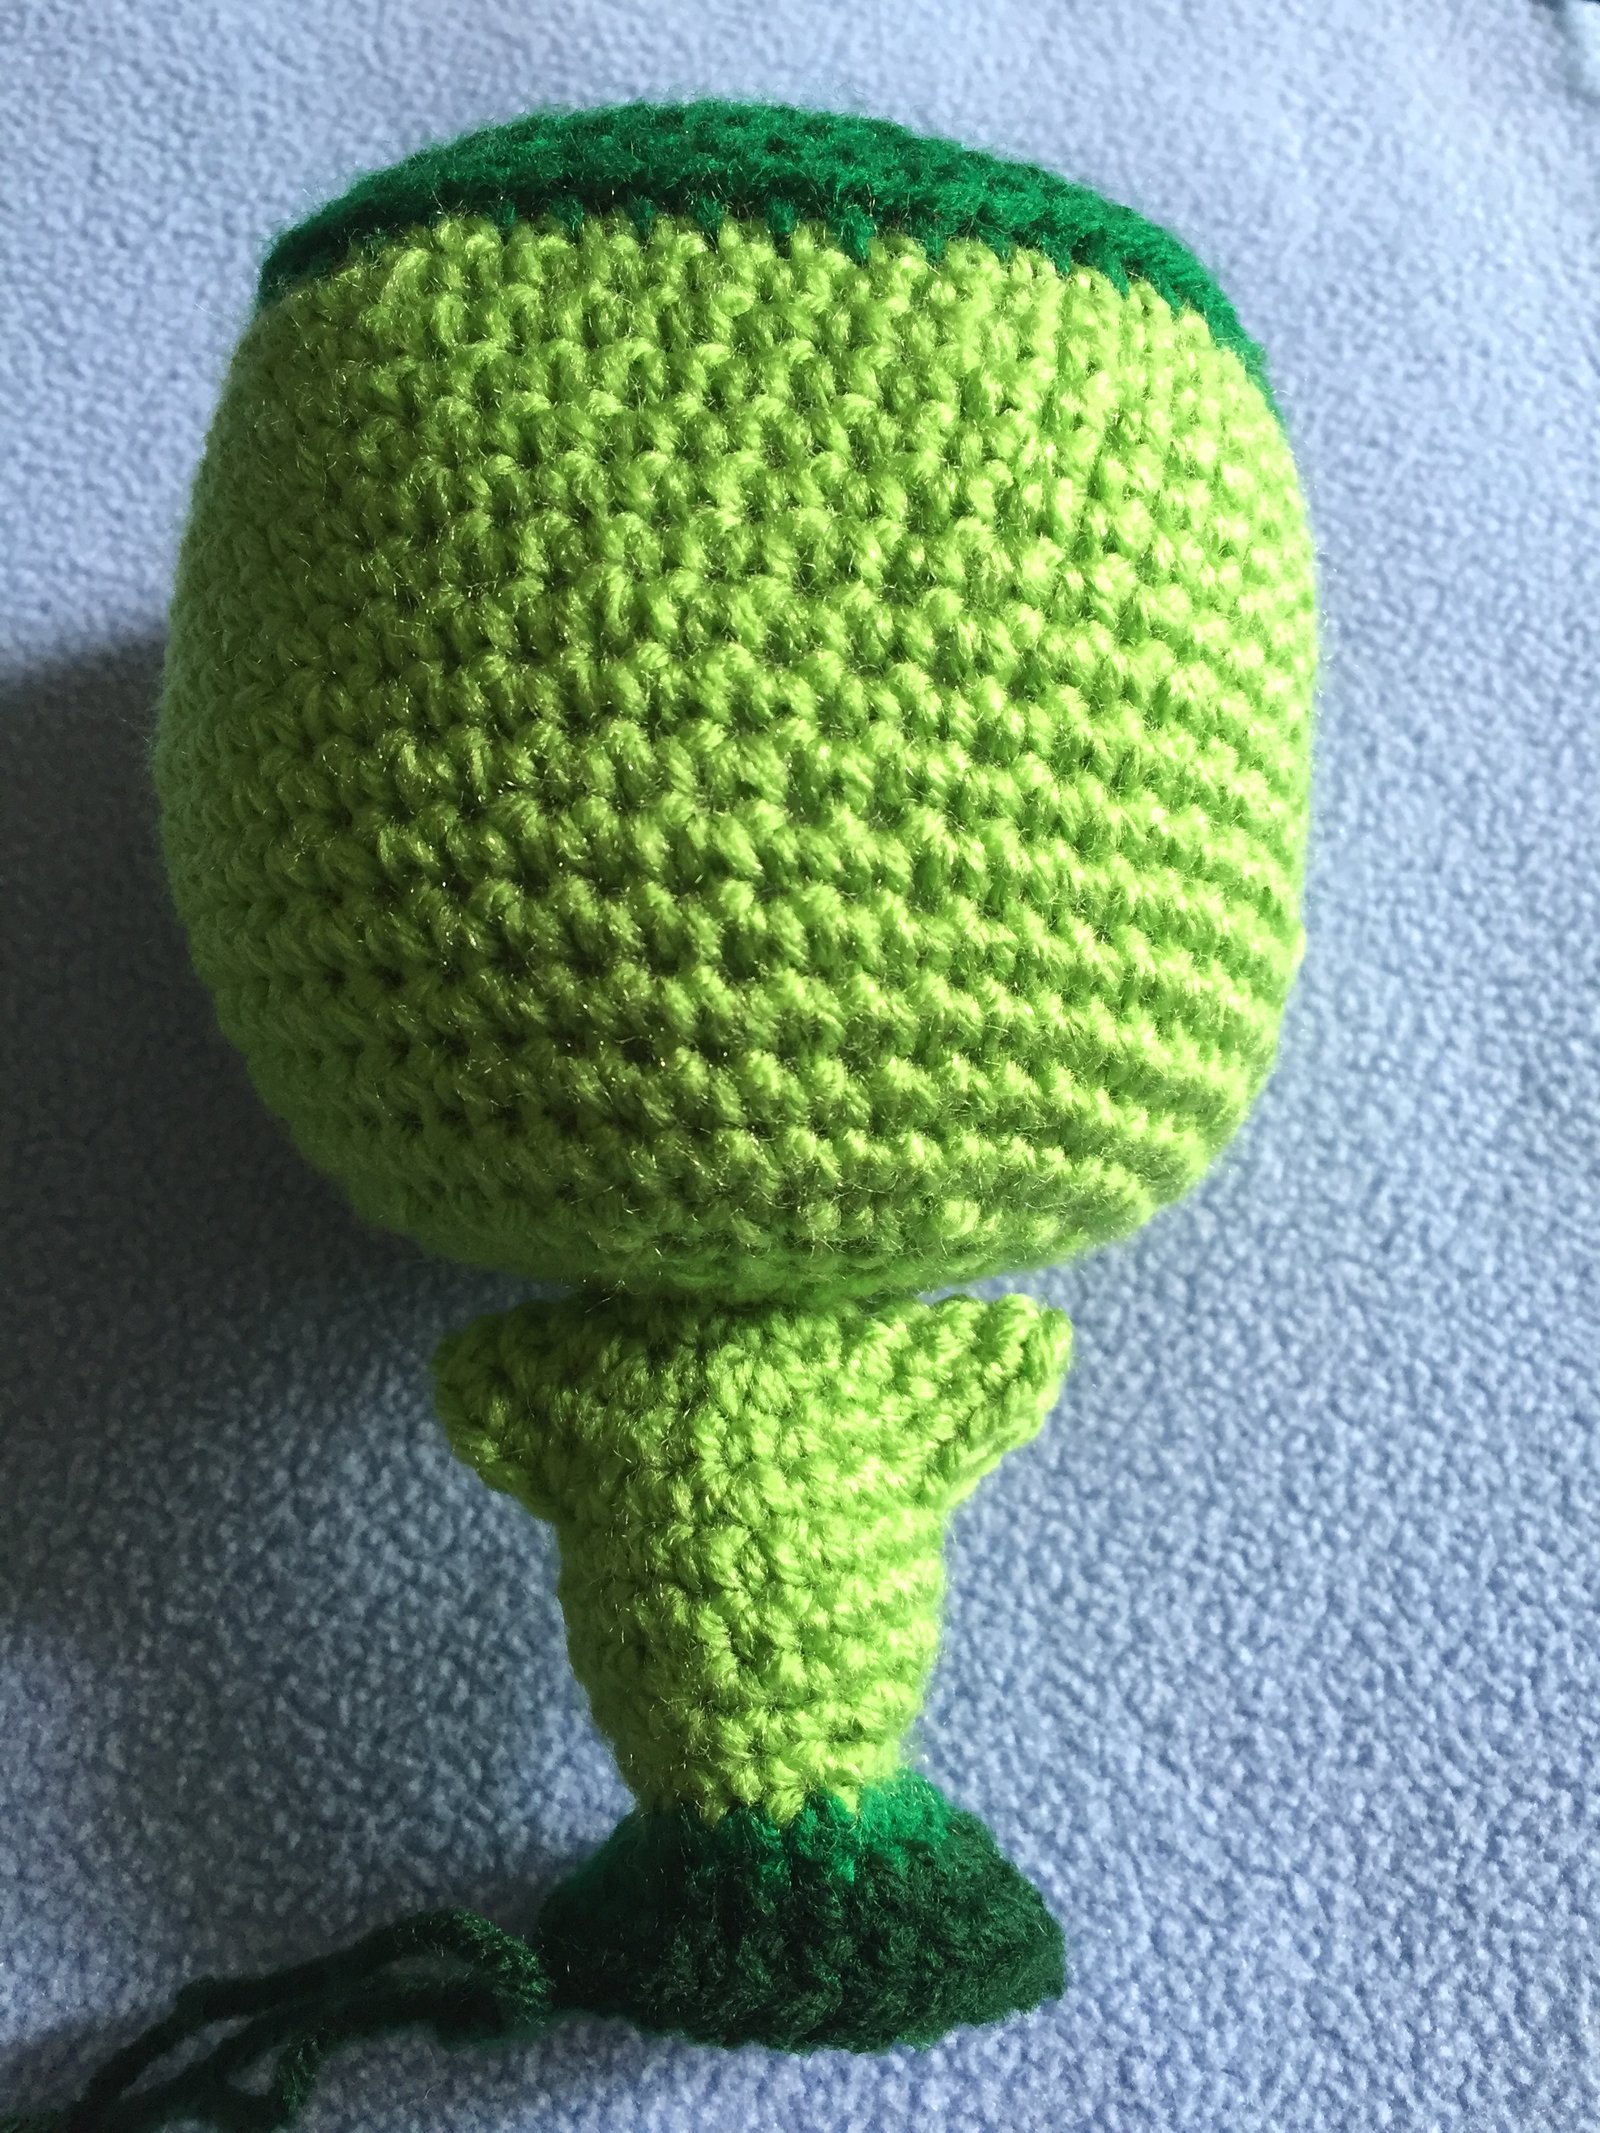
- Divide the body into the back part and the front part. We aren’t going increase in the front 6 stitches. 3sc in each of the 6 back stitches. You are going to end up with 24 stitches. Use hunter green yarn for this. This is where you start making her dark green pants.
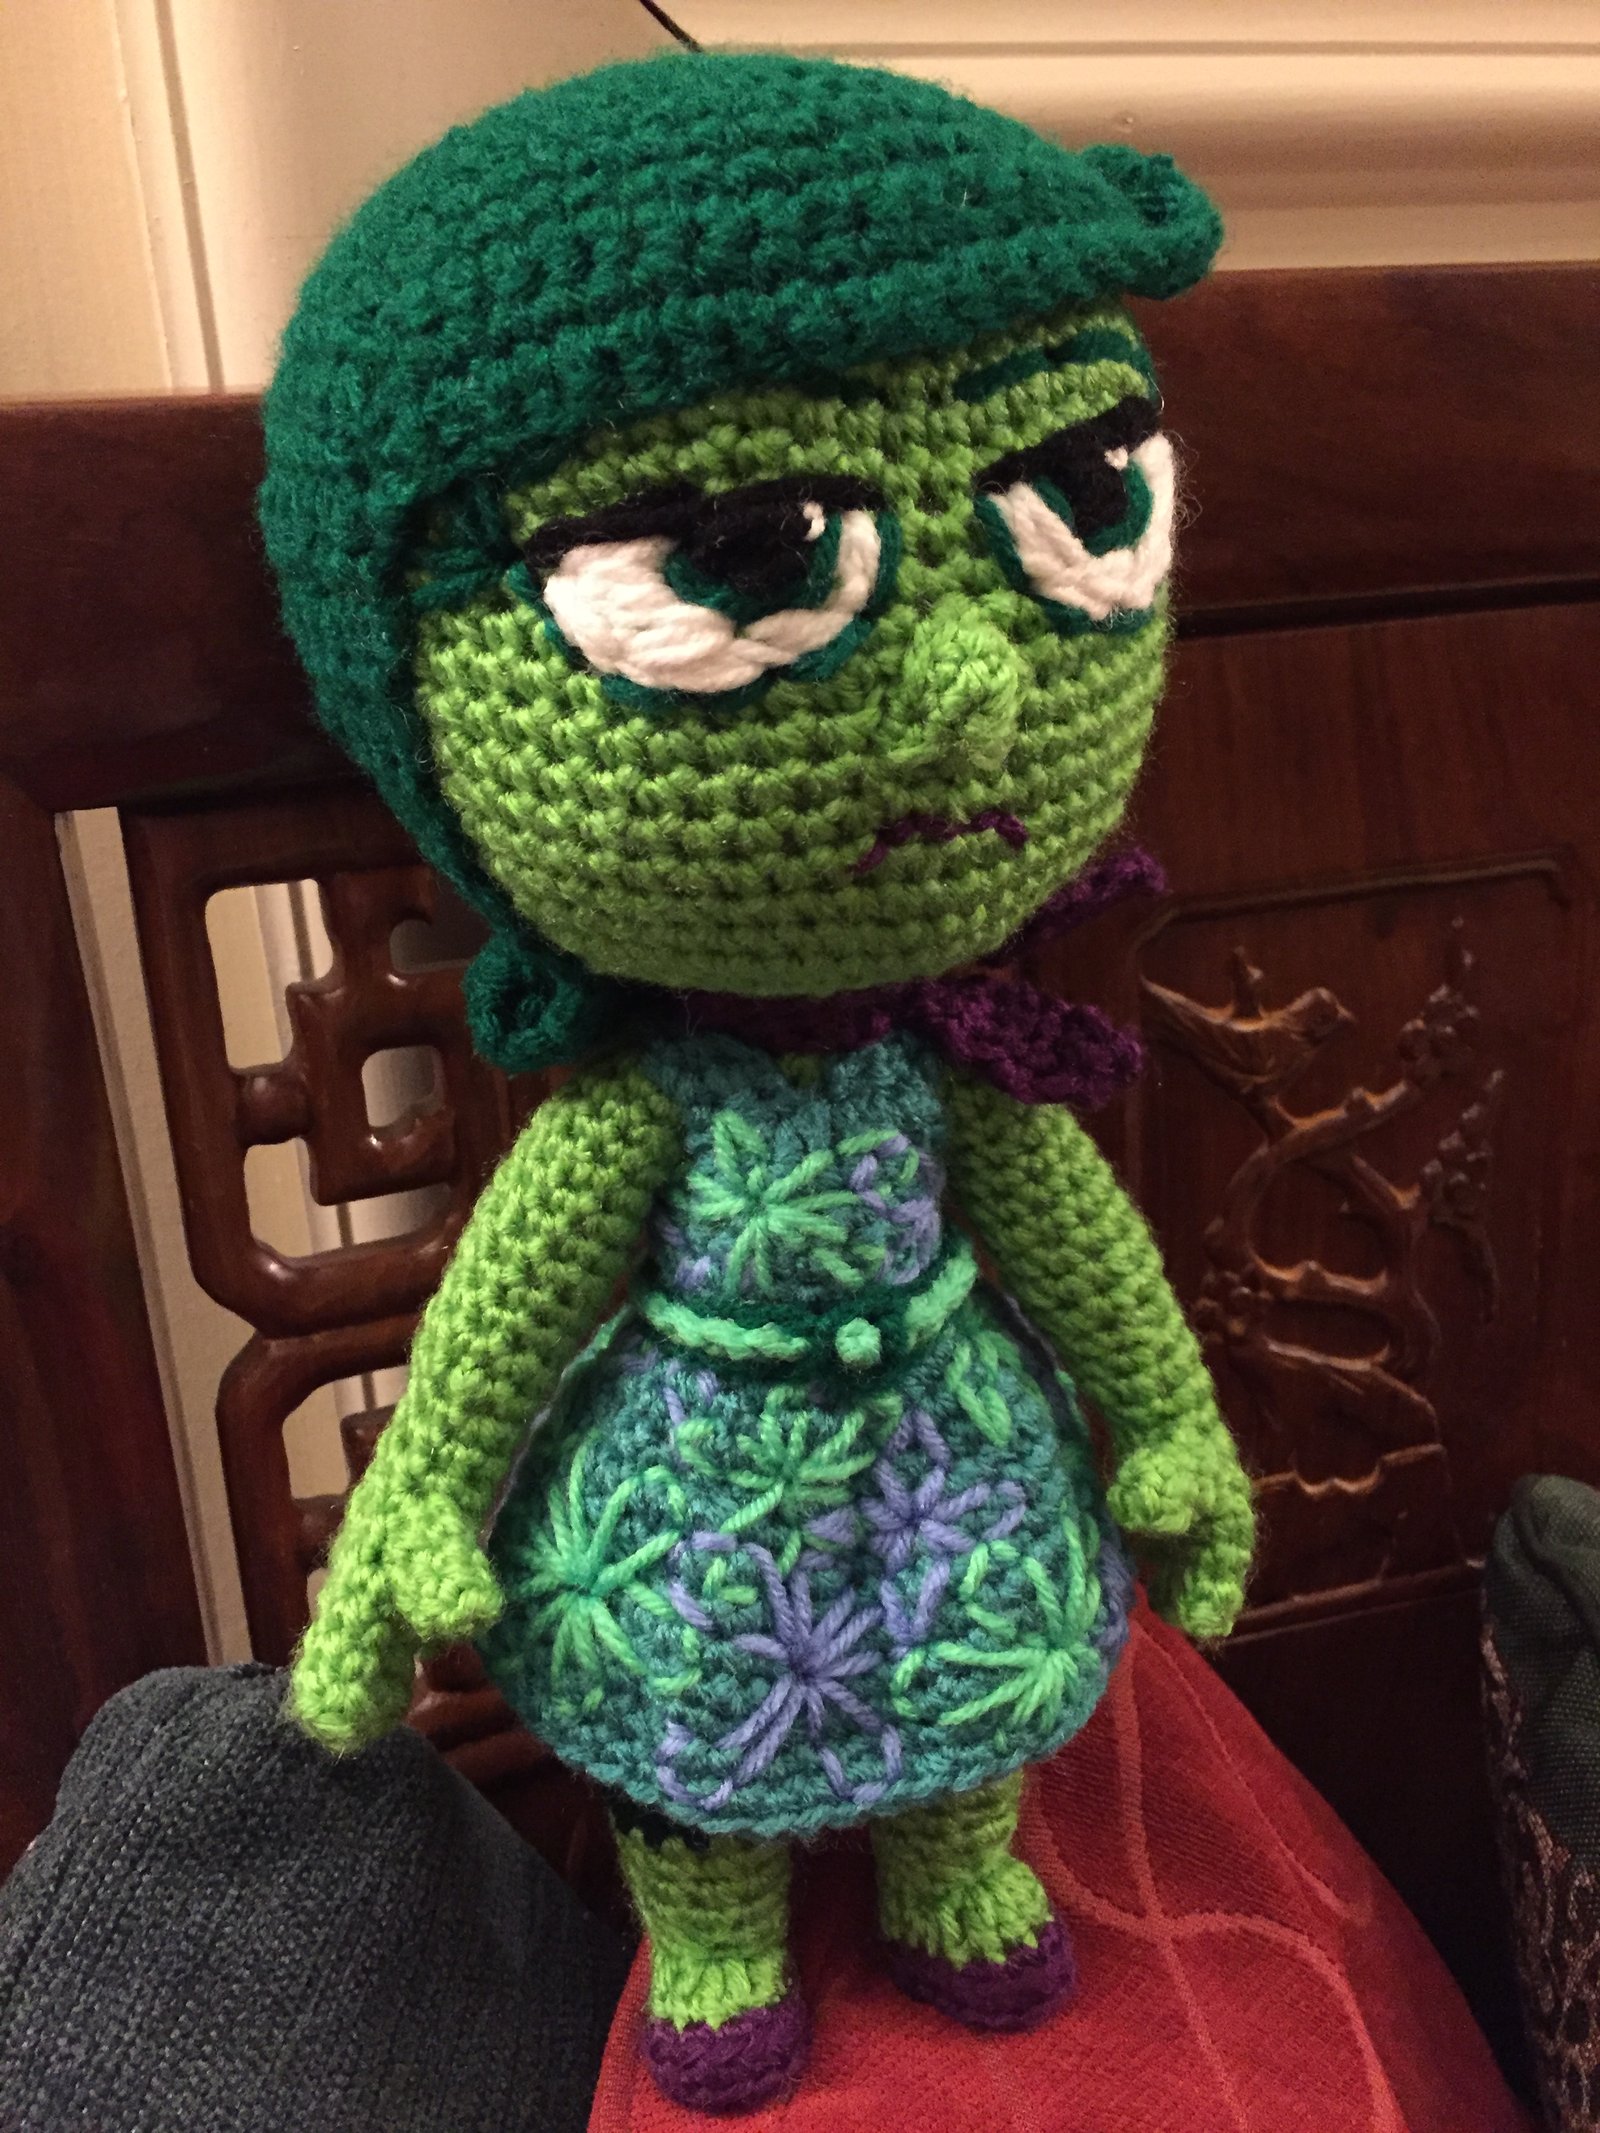
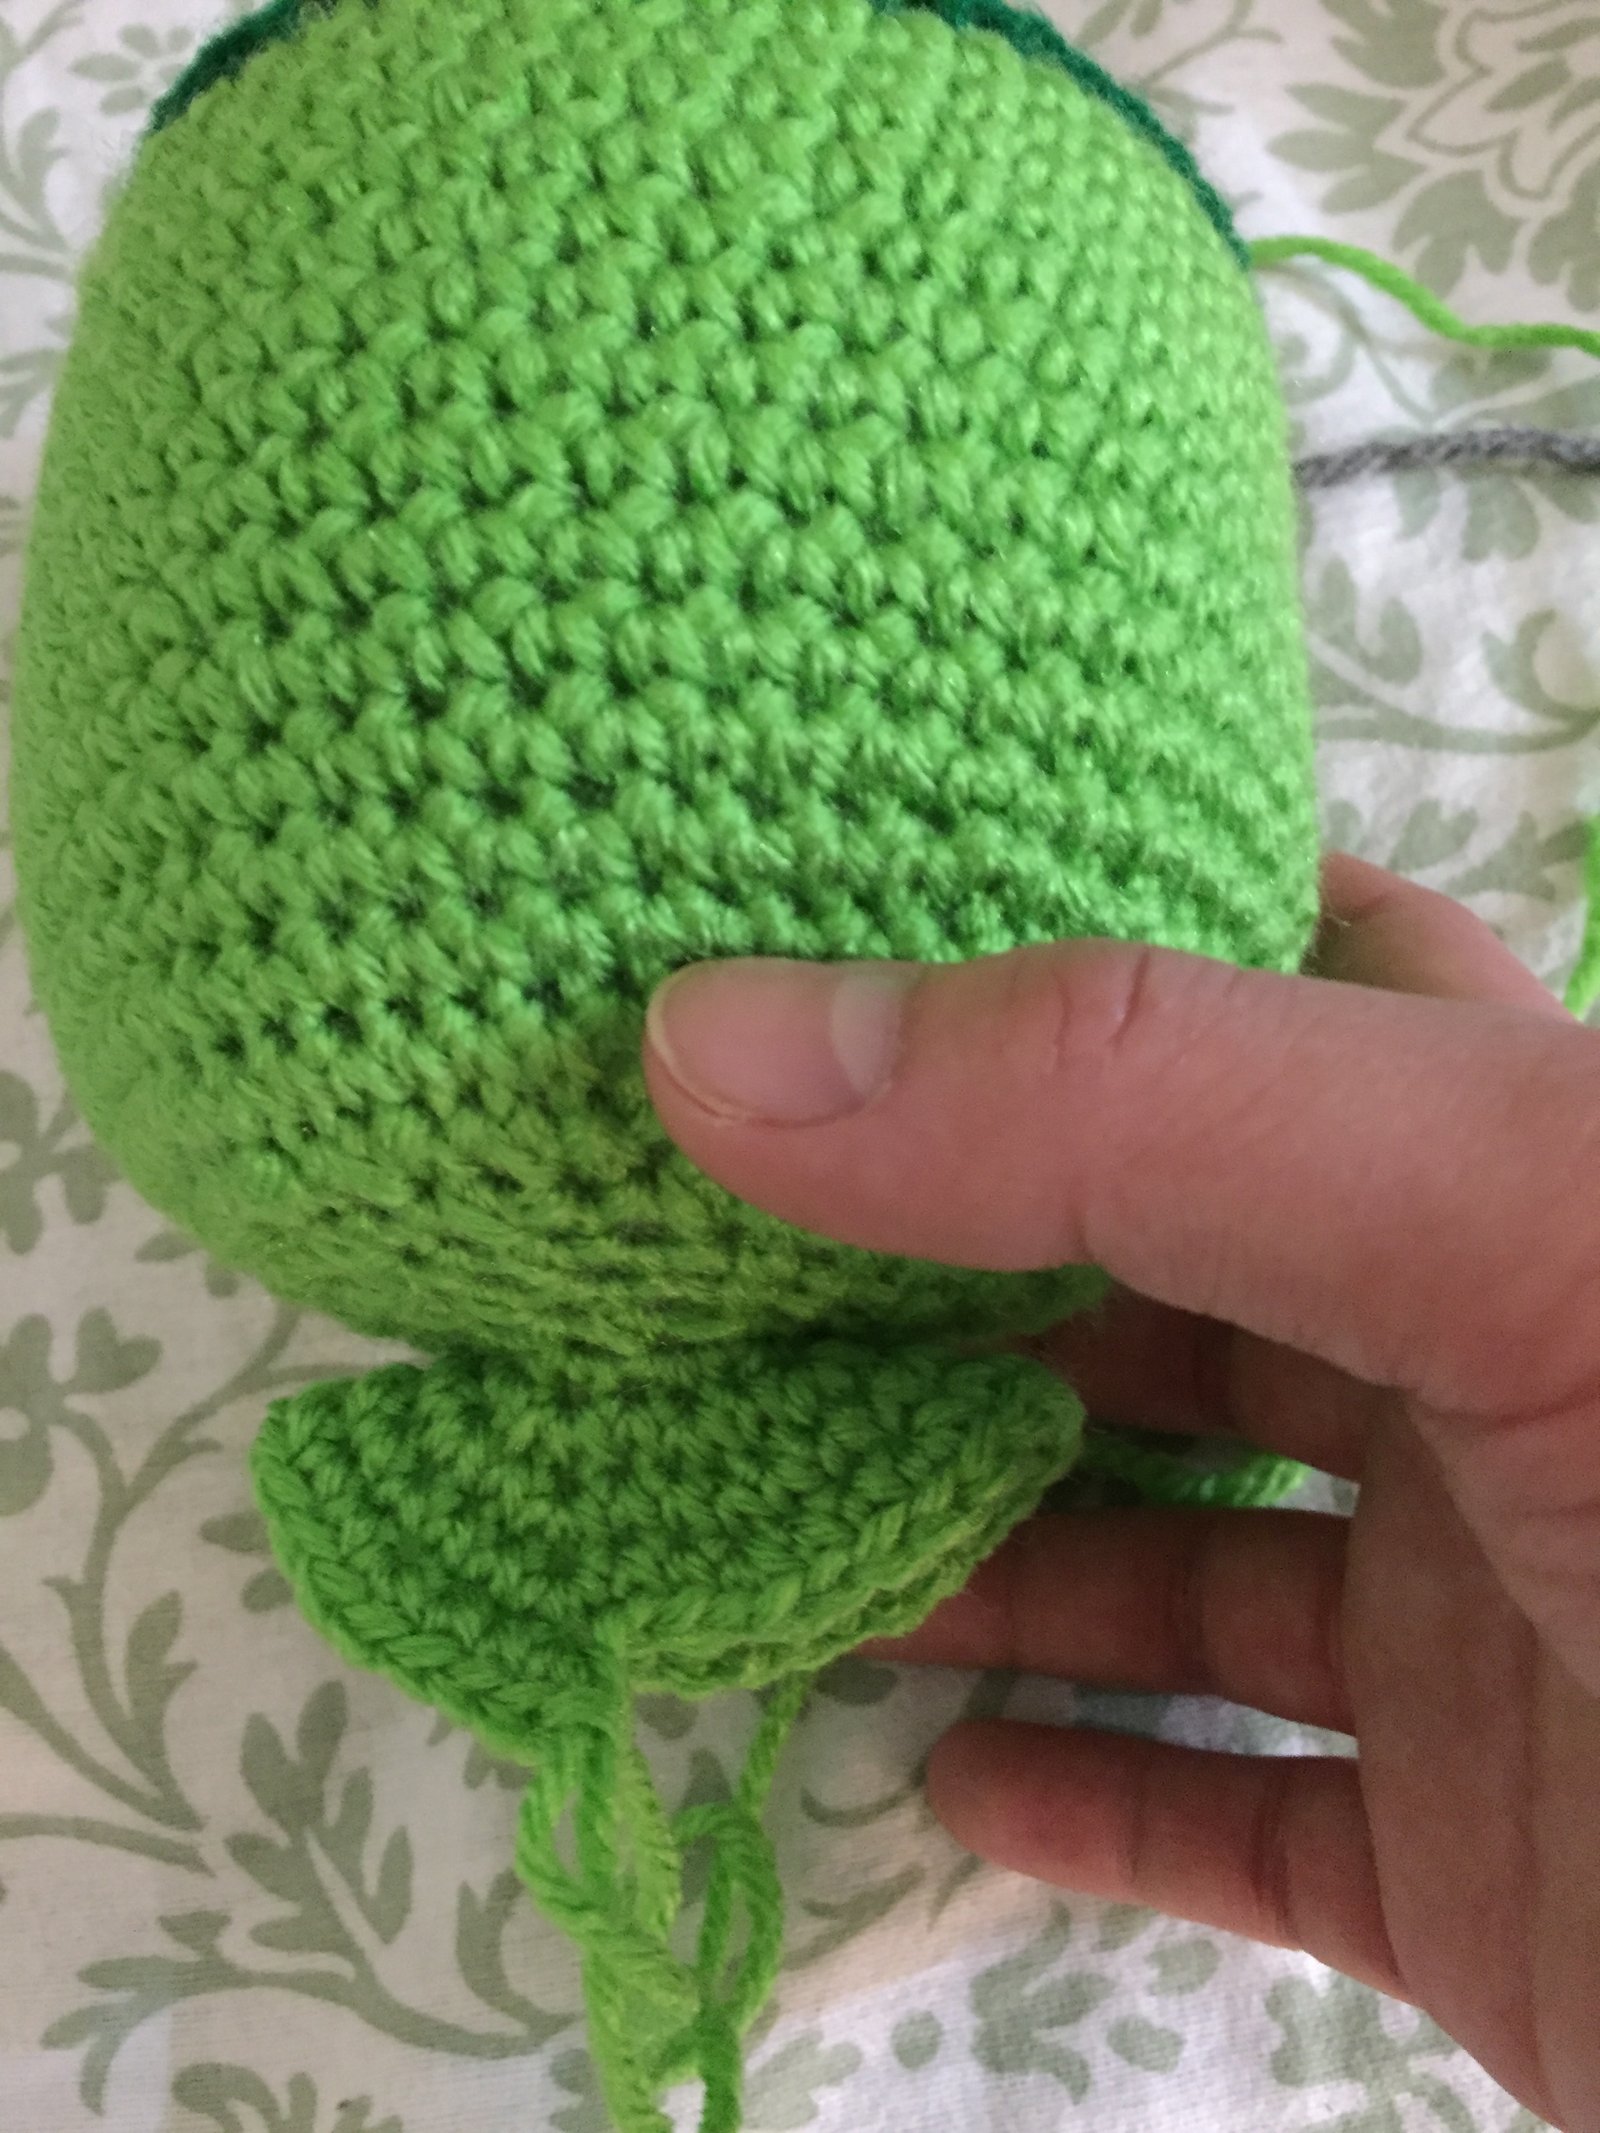
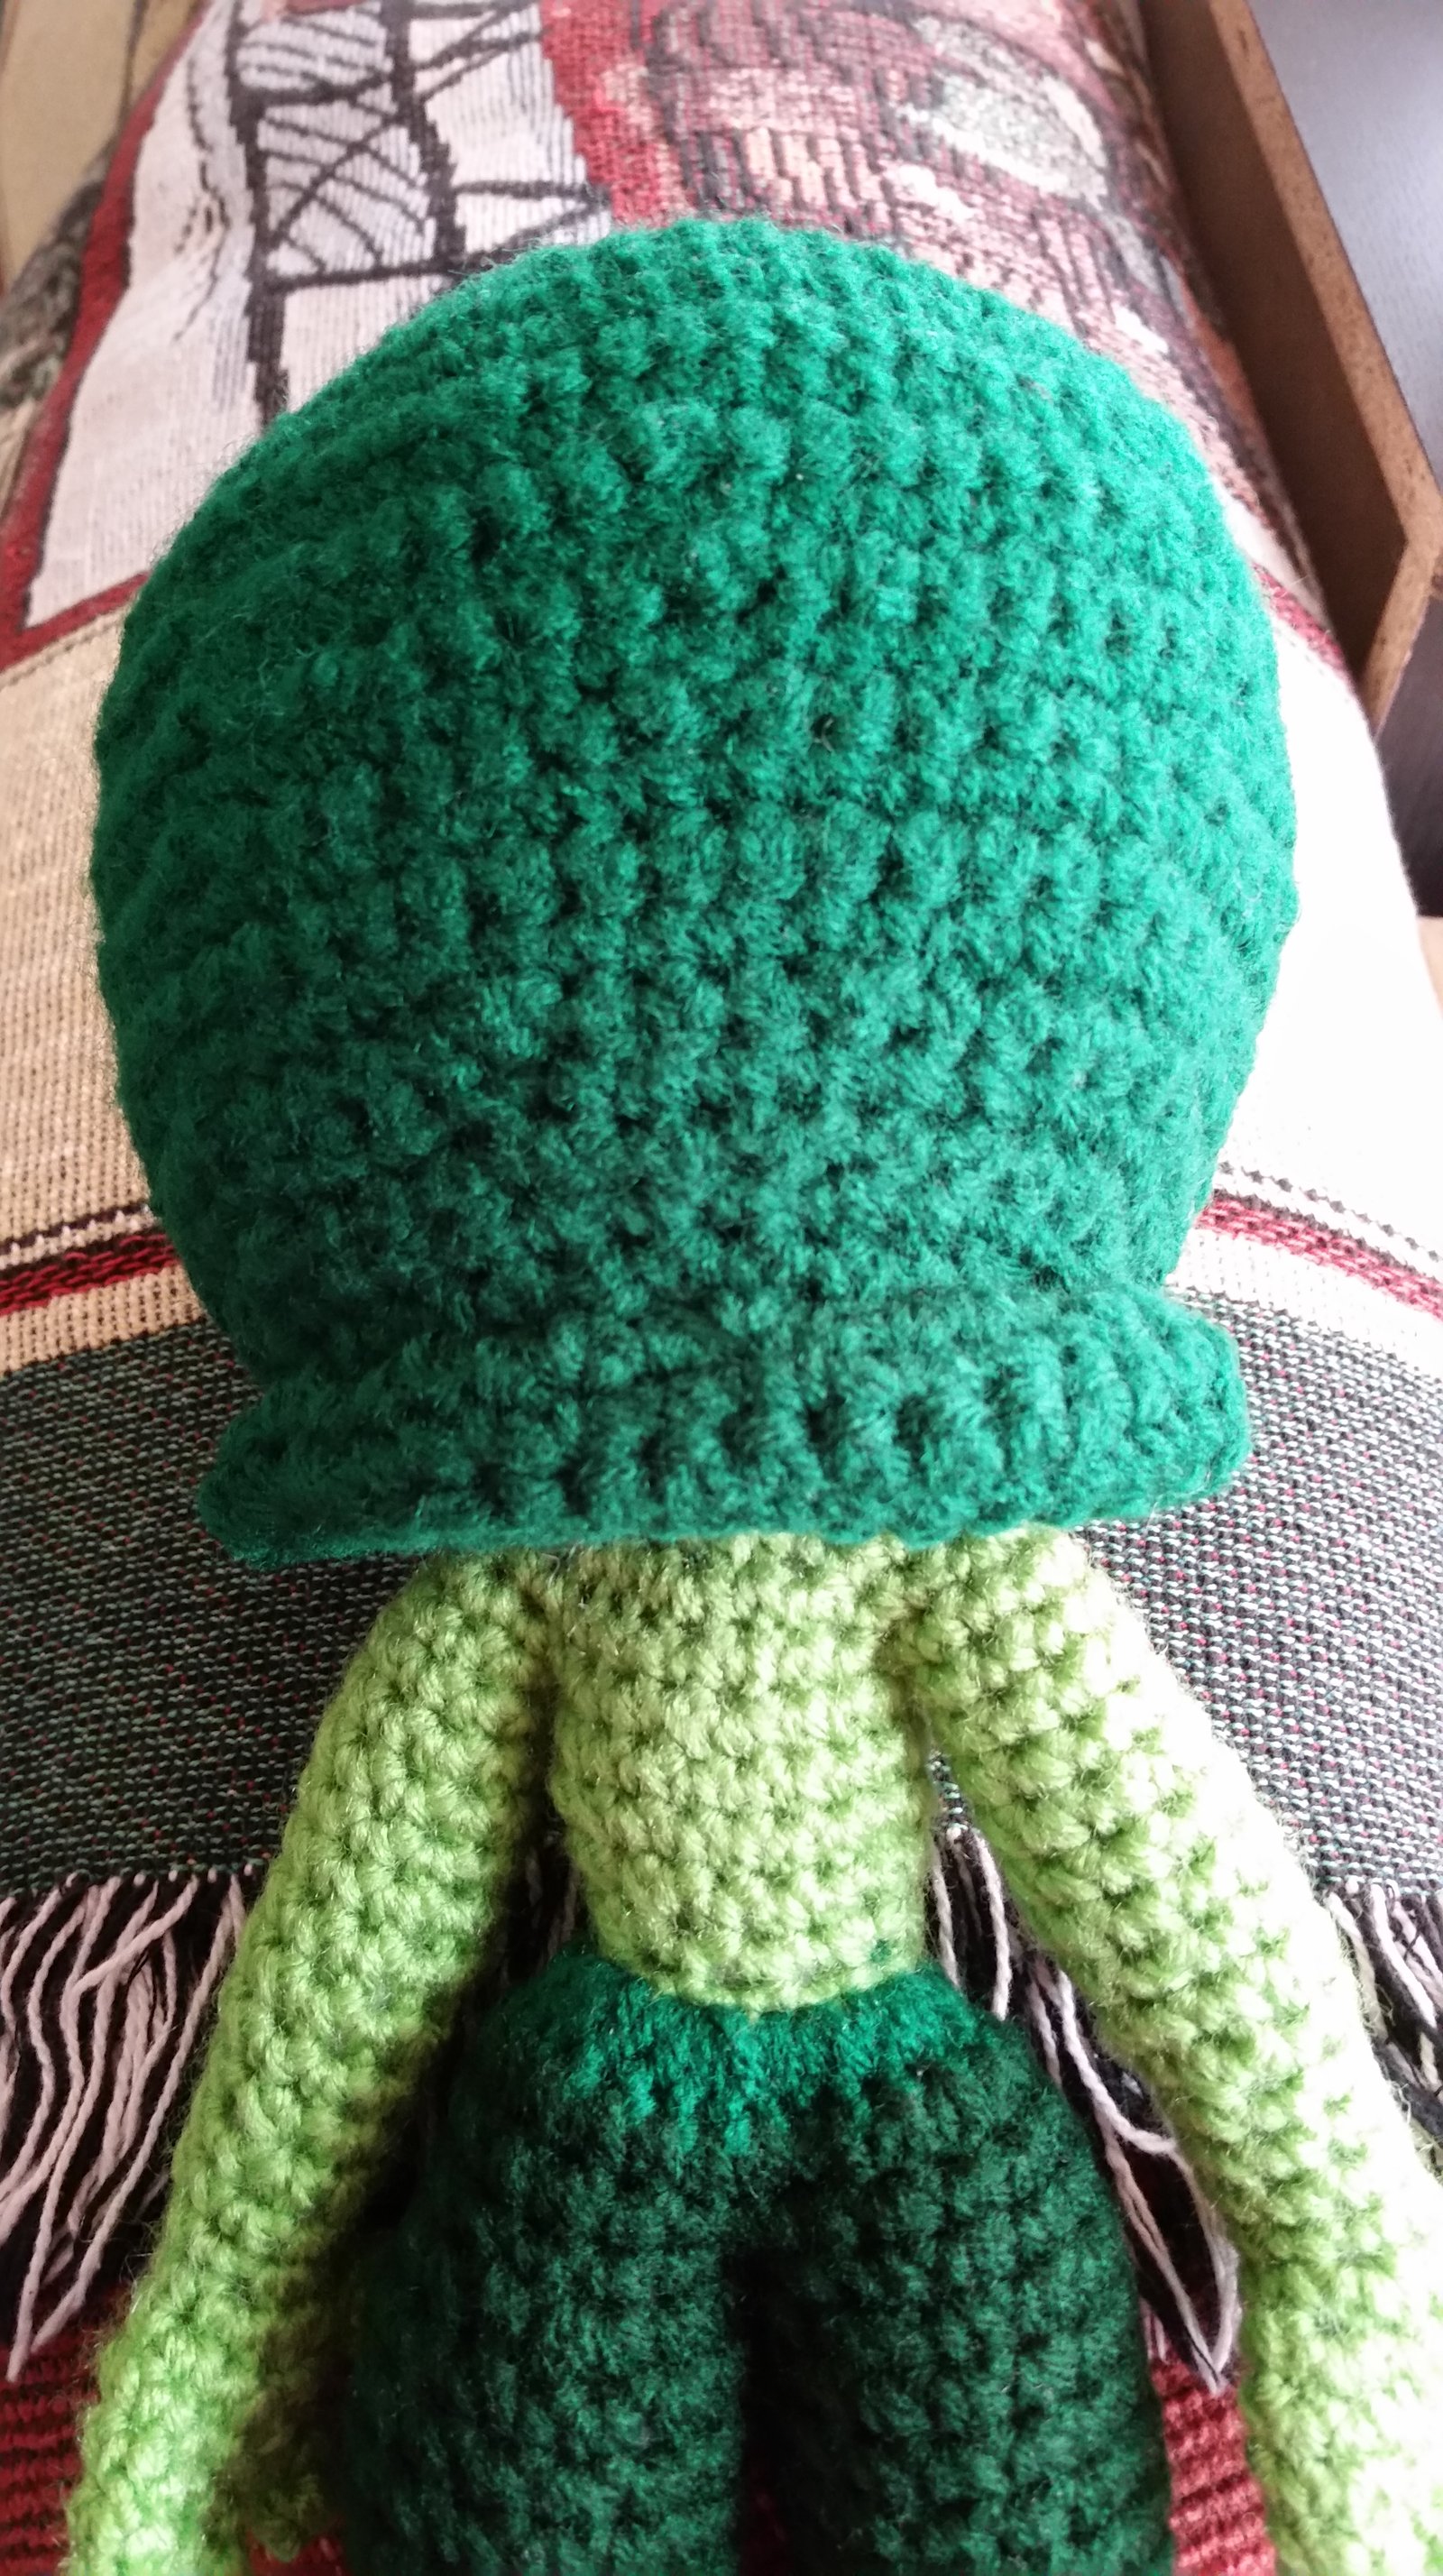
- Front view
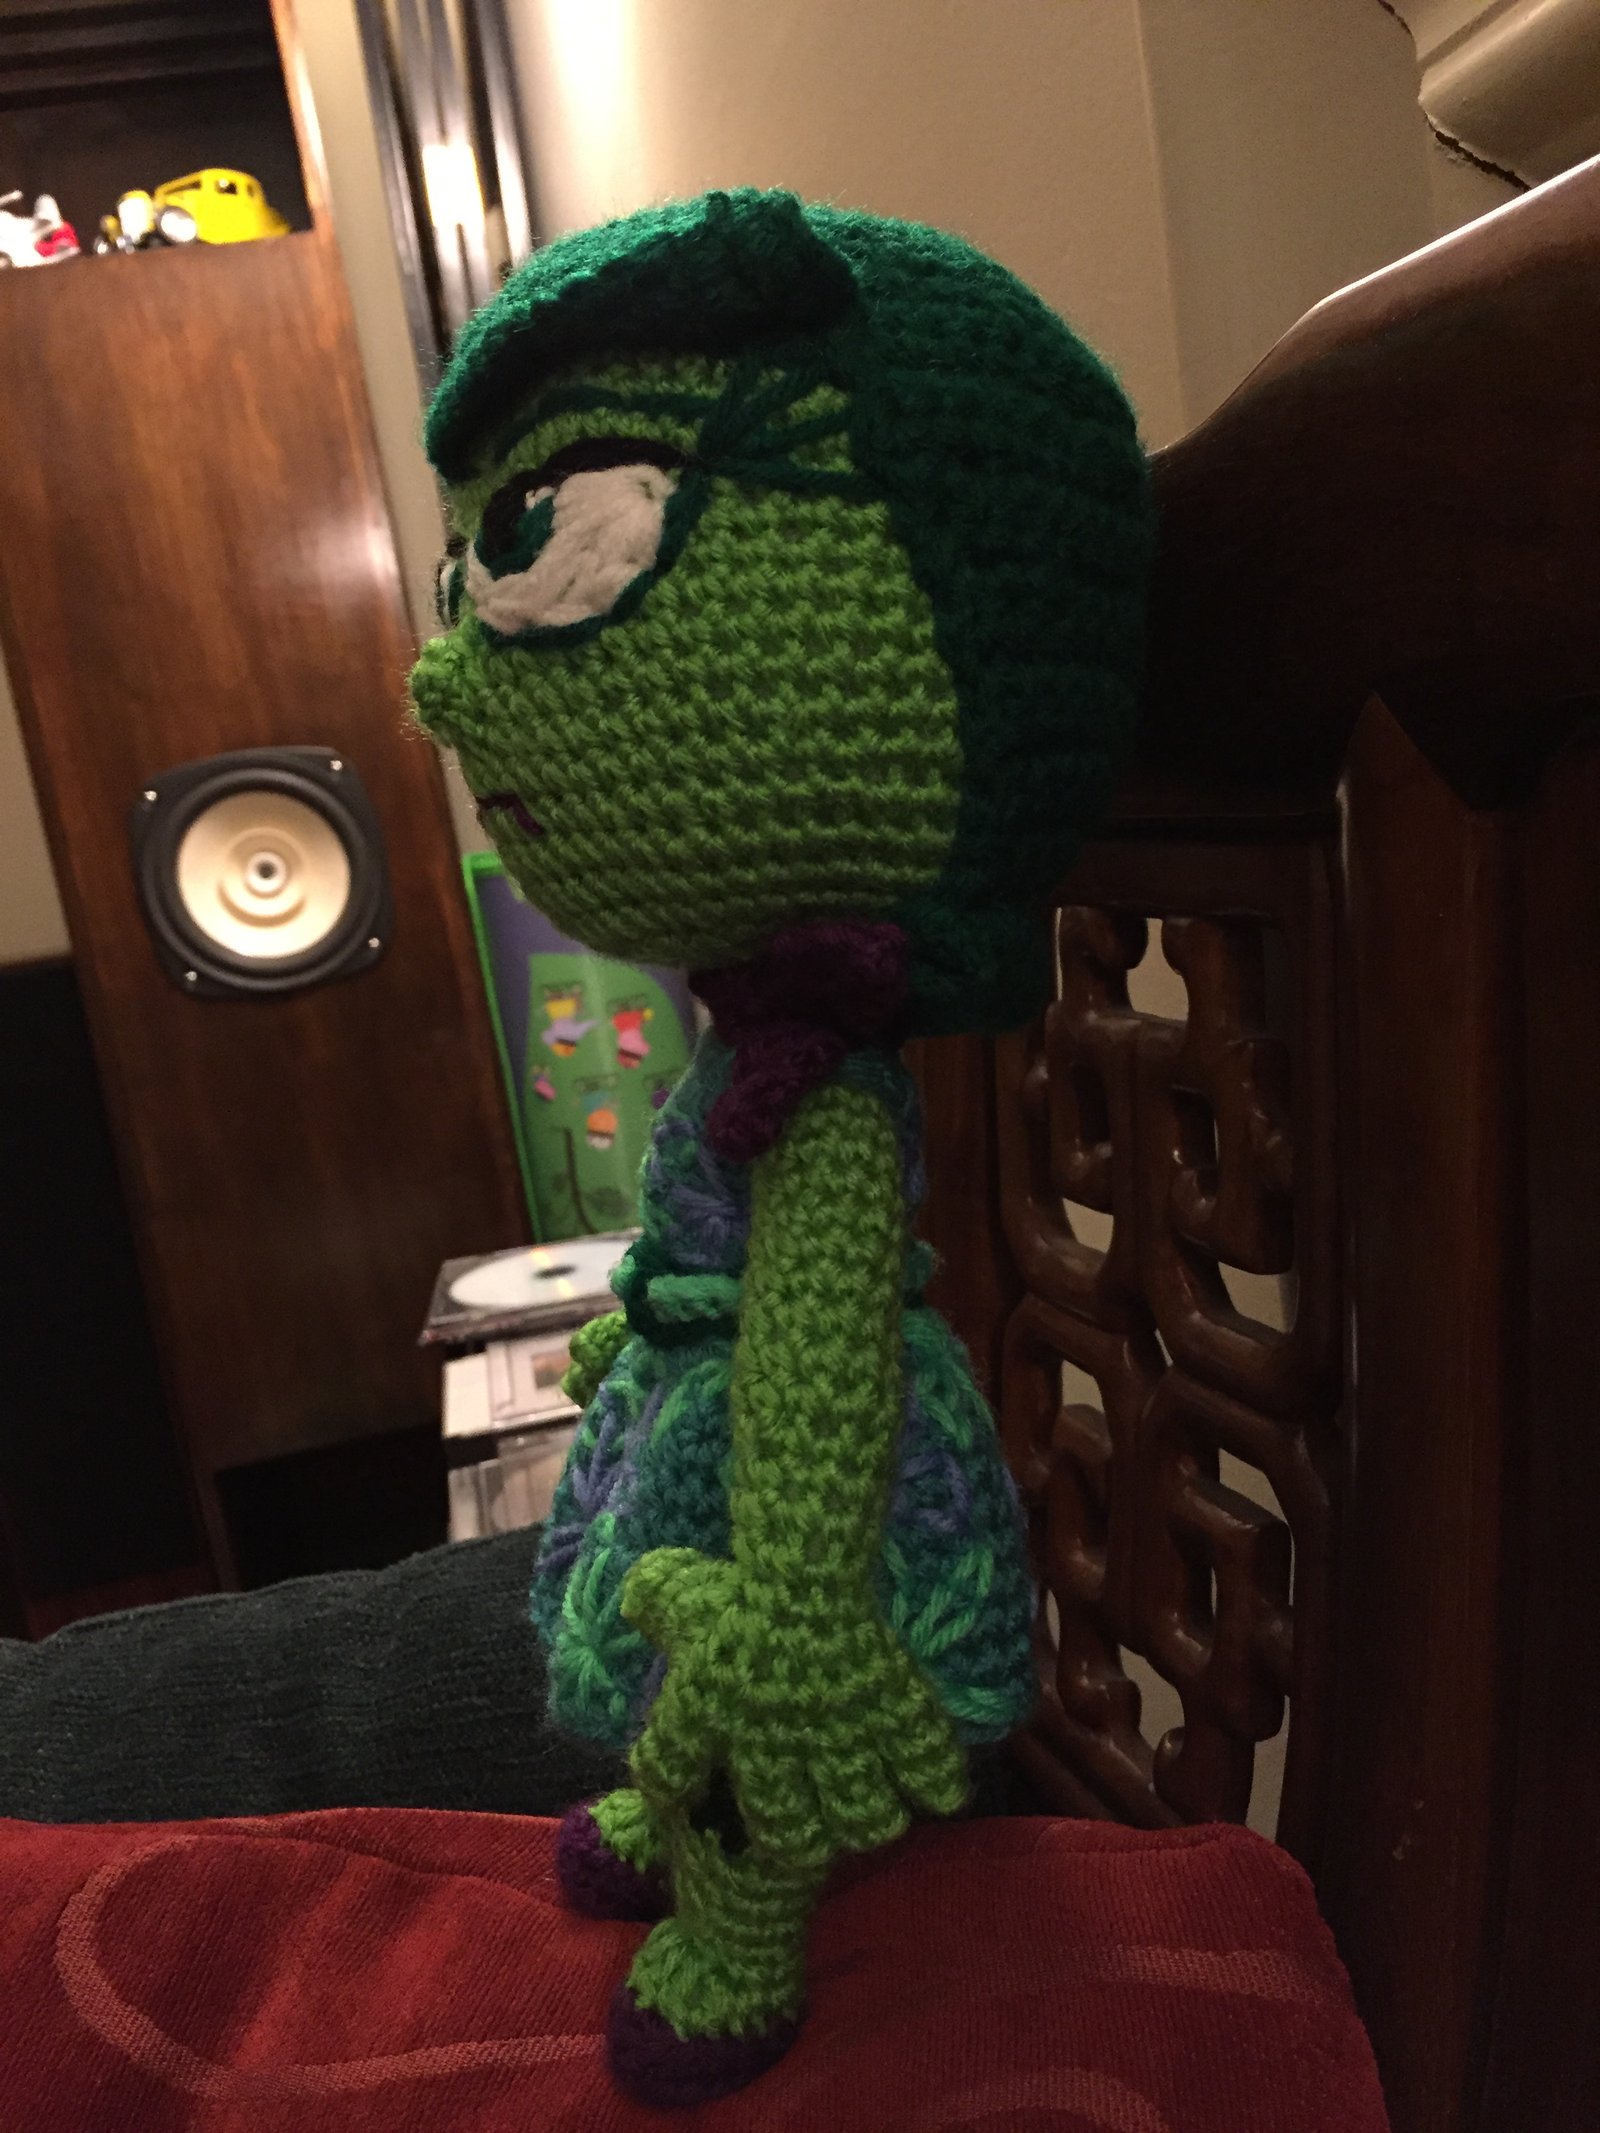
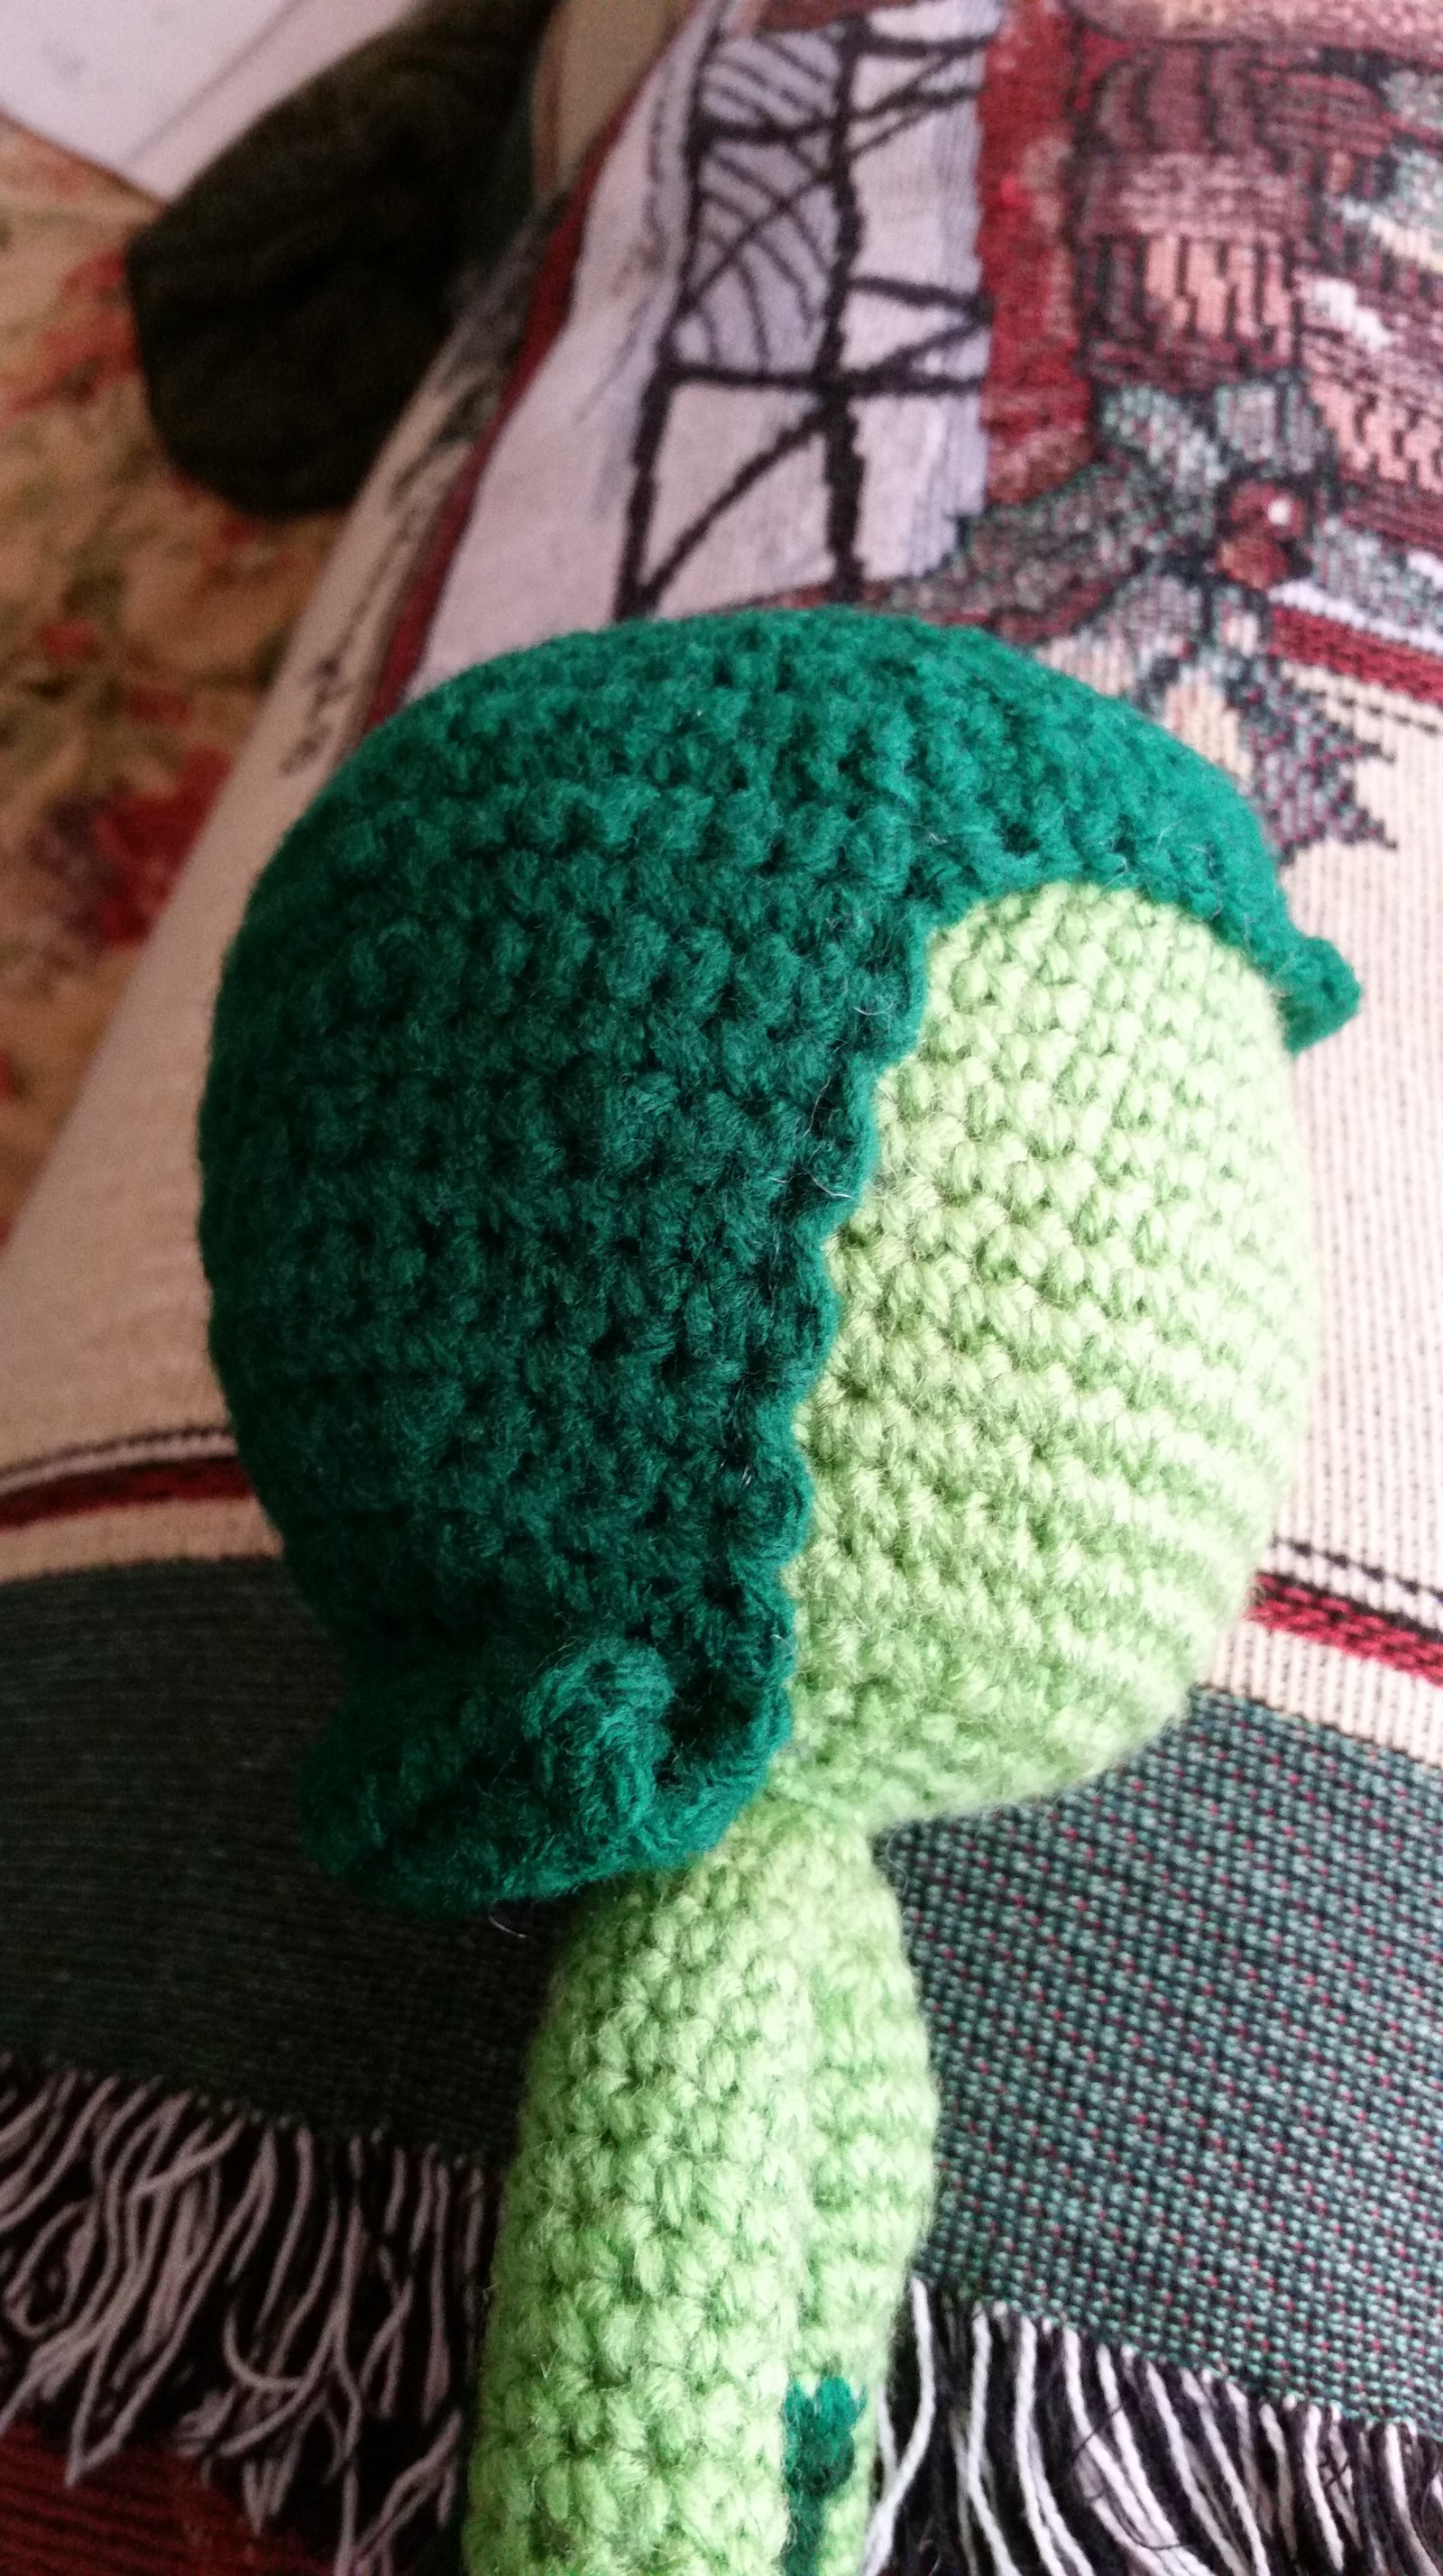
- Side view
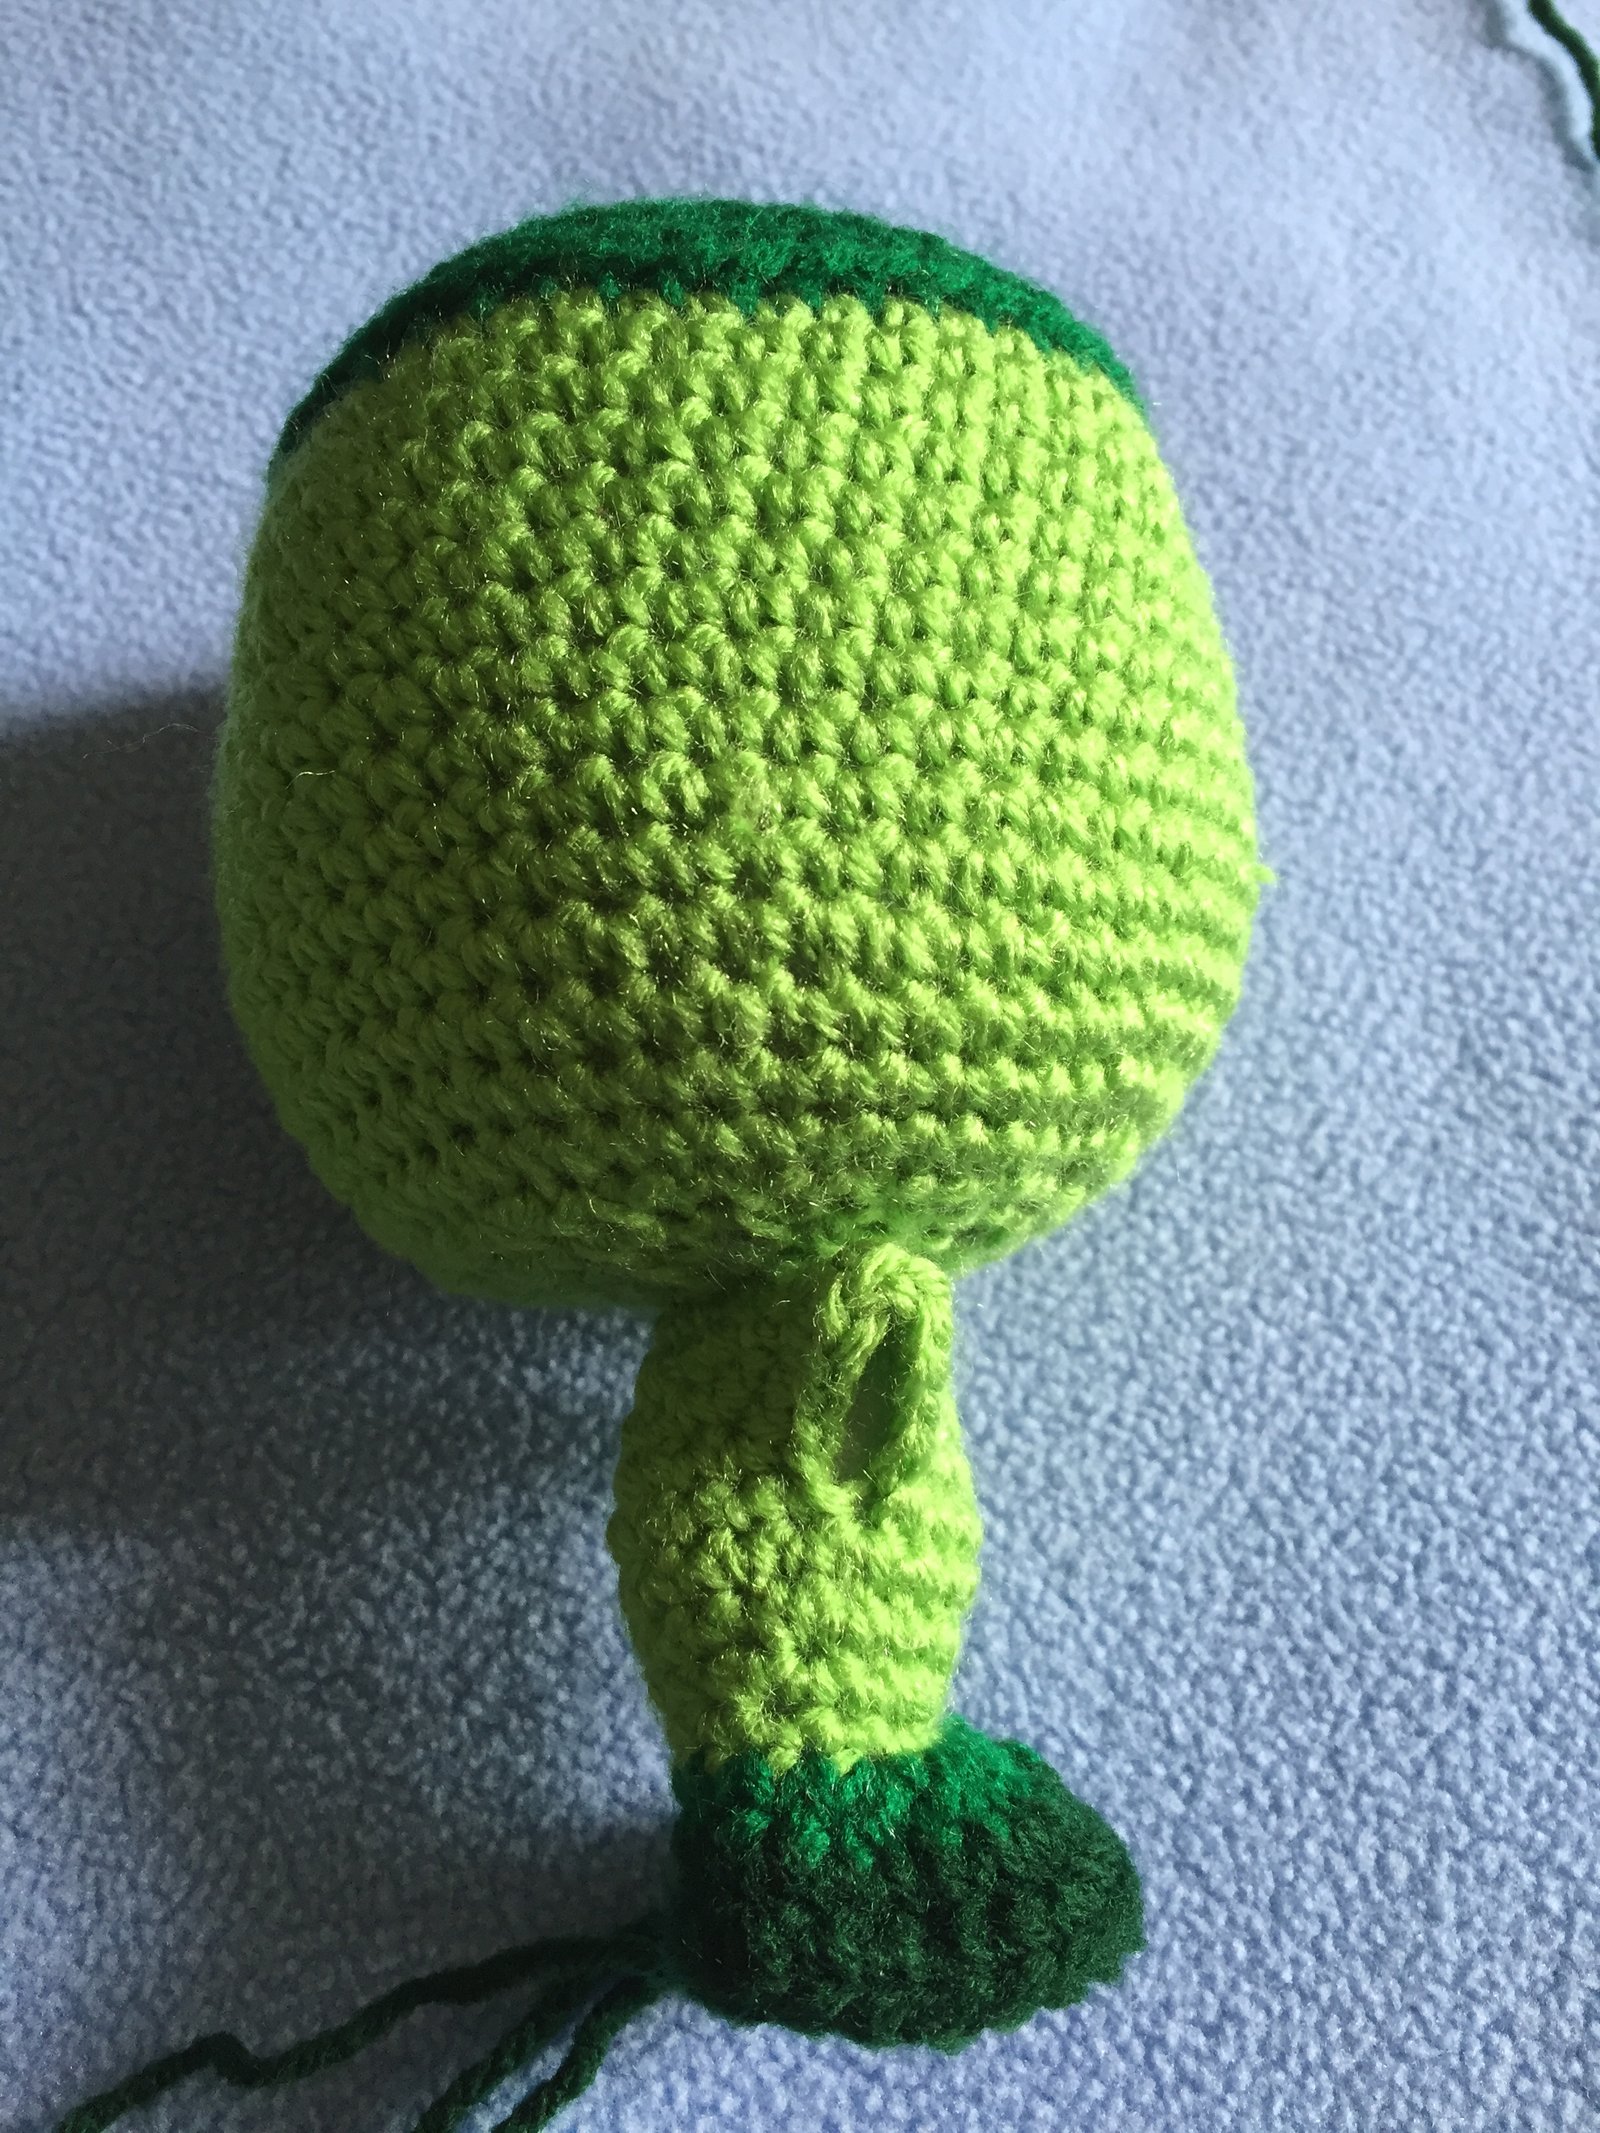
- Front view
- 1sc in each st around. [24]
- Divide the legs into 2 parts. Each leg should be equal. Each leg has 12 stitches.
- From here we are going to continue with one leg. Repeat the same for the other. 1sc in each st around. Do the same thing as you did when you divided the body into 3. [12]
- (1sc in first 2st. 2sc in next st.) Repeat around. [16]
- 1sc in each st around. For 5 rows. [16]
- (1sc in first 2st. Sc2tog.) Repeat around. [12]
- 1sc in each st around. For 2 rows. [12]
- Change to spring green. 1sc in each st around. [12]
- (1sc in first 4st. Sc2tog.) Repeat around. [10]
- 1sc in each st around. For 2 rows. [10]
- (1sc in first 3st. Sc2tog.) Repeat around. [8]
- 1sc in each st around. [8]
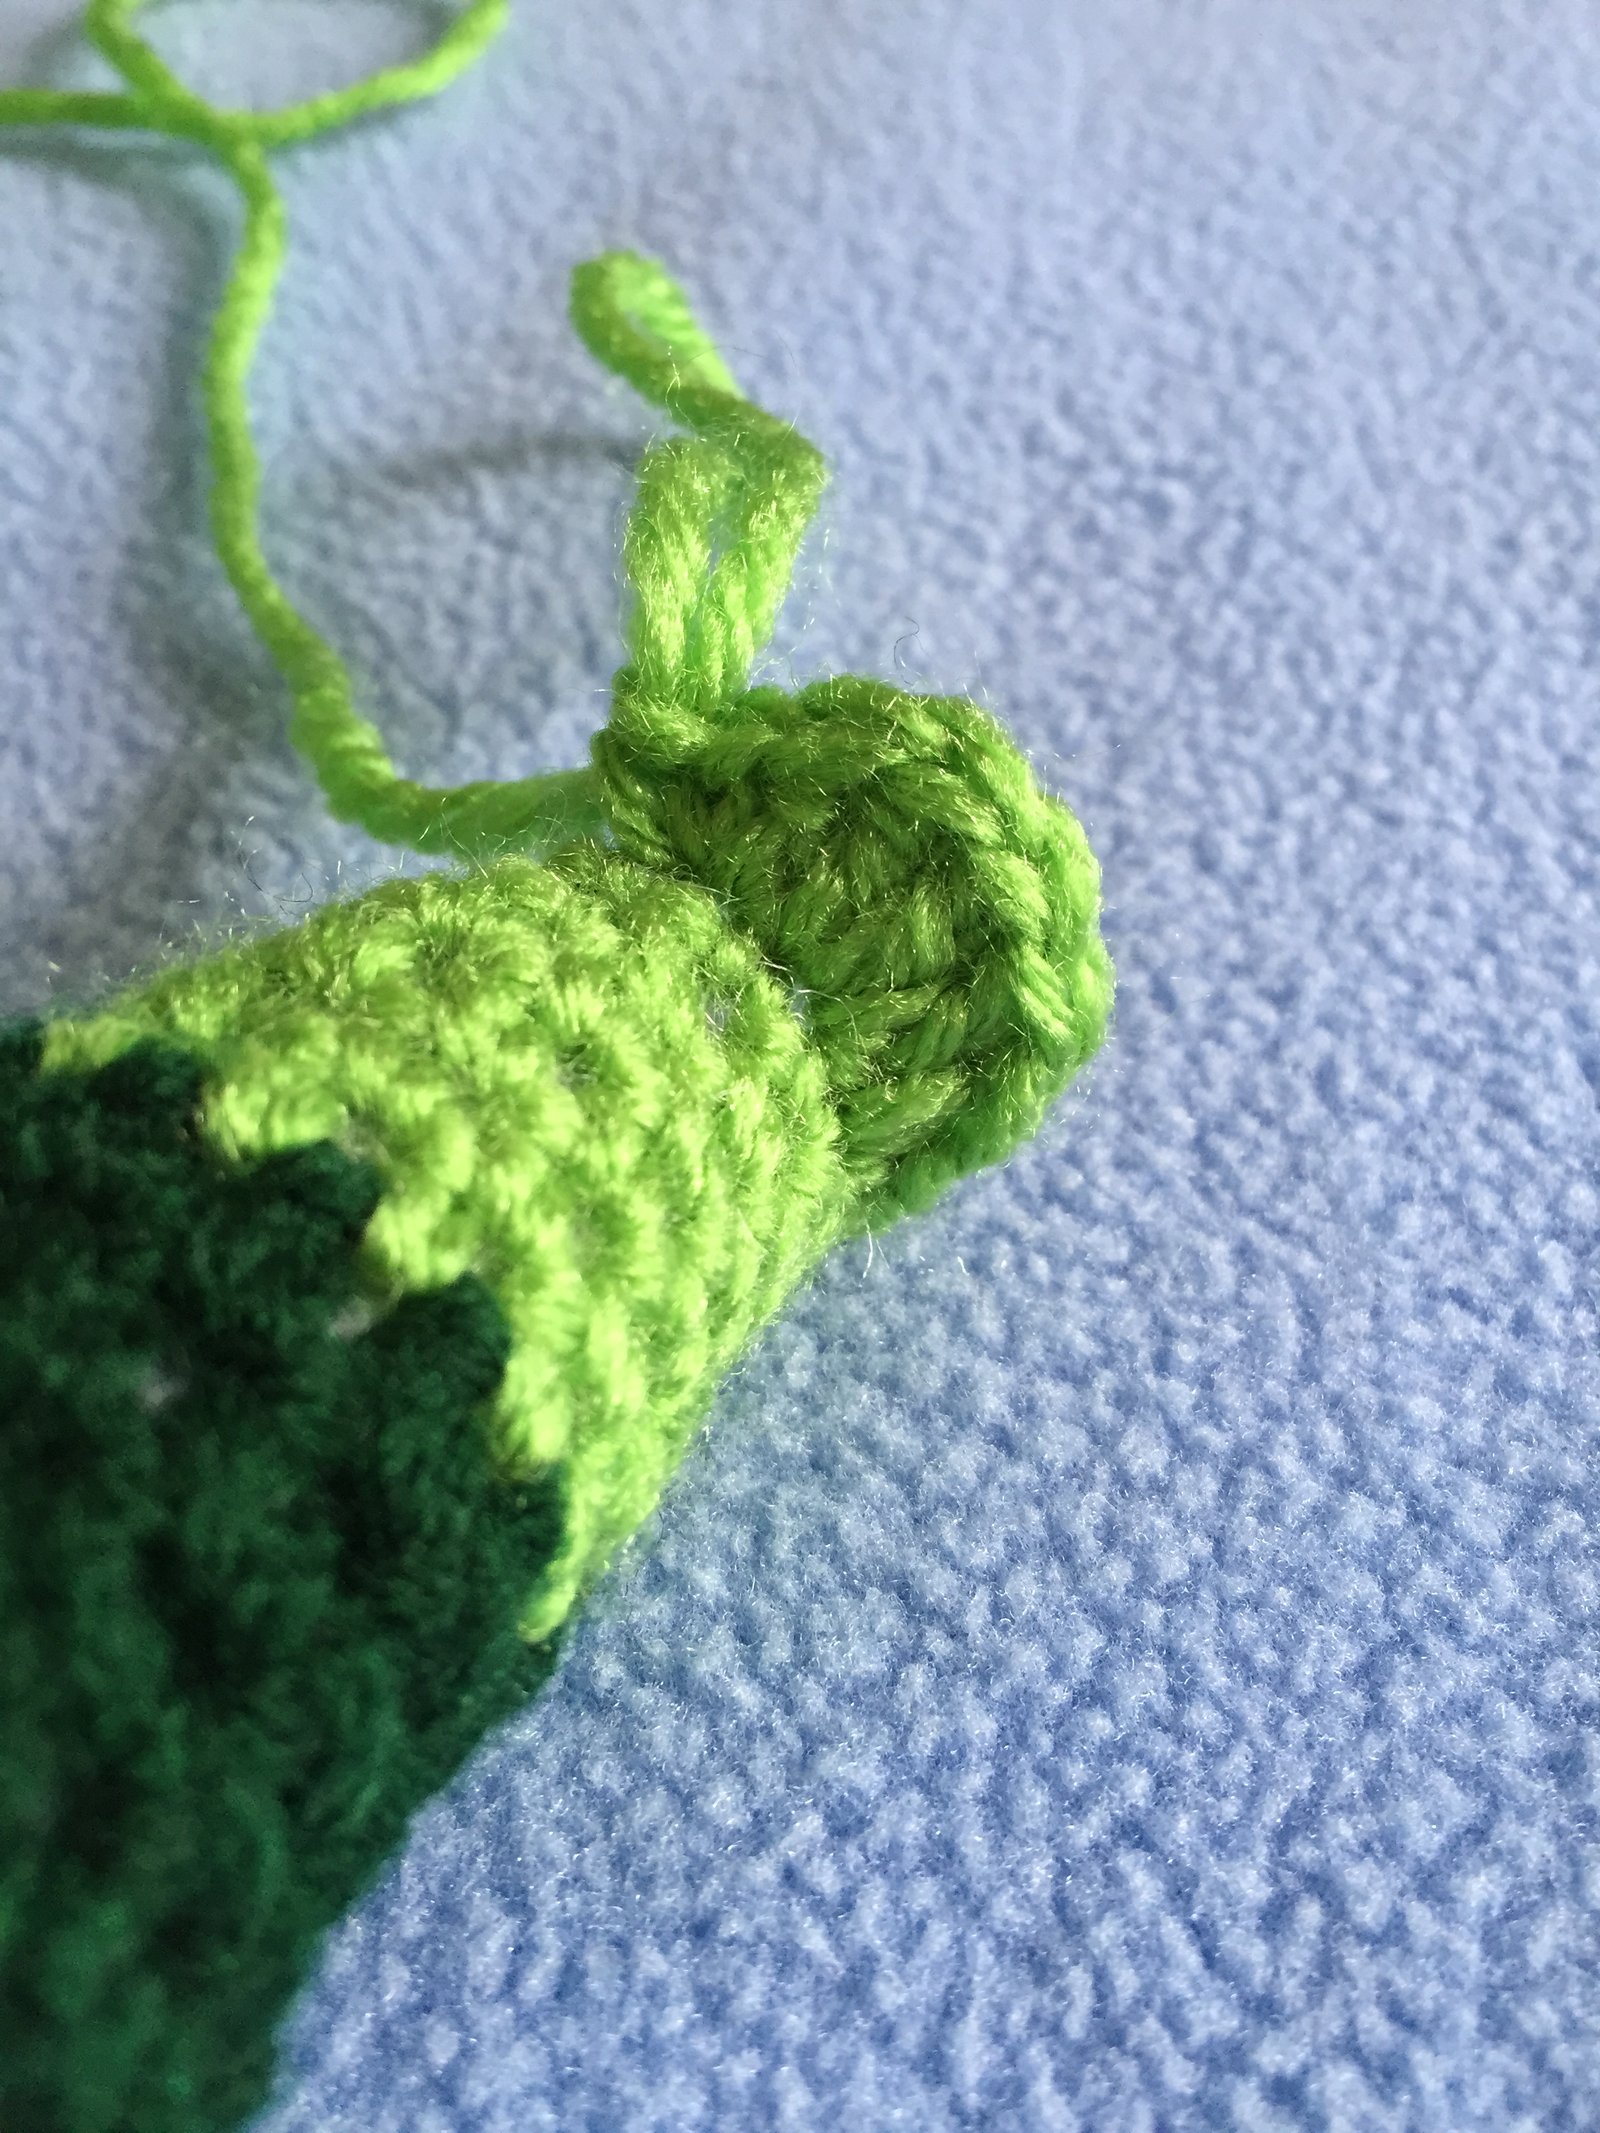
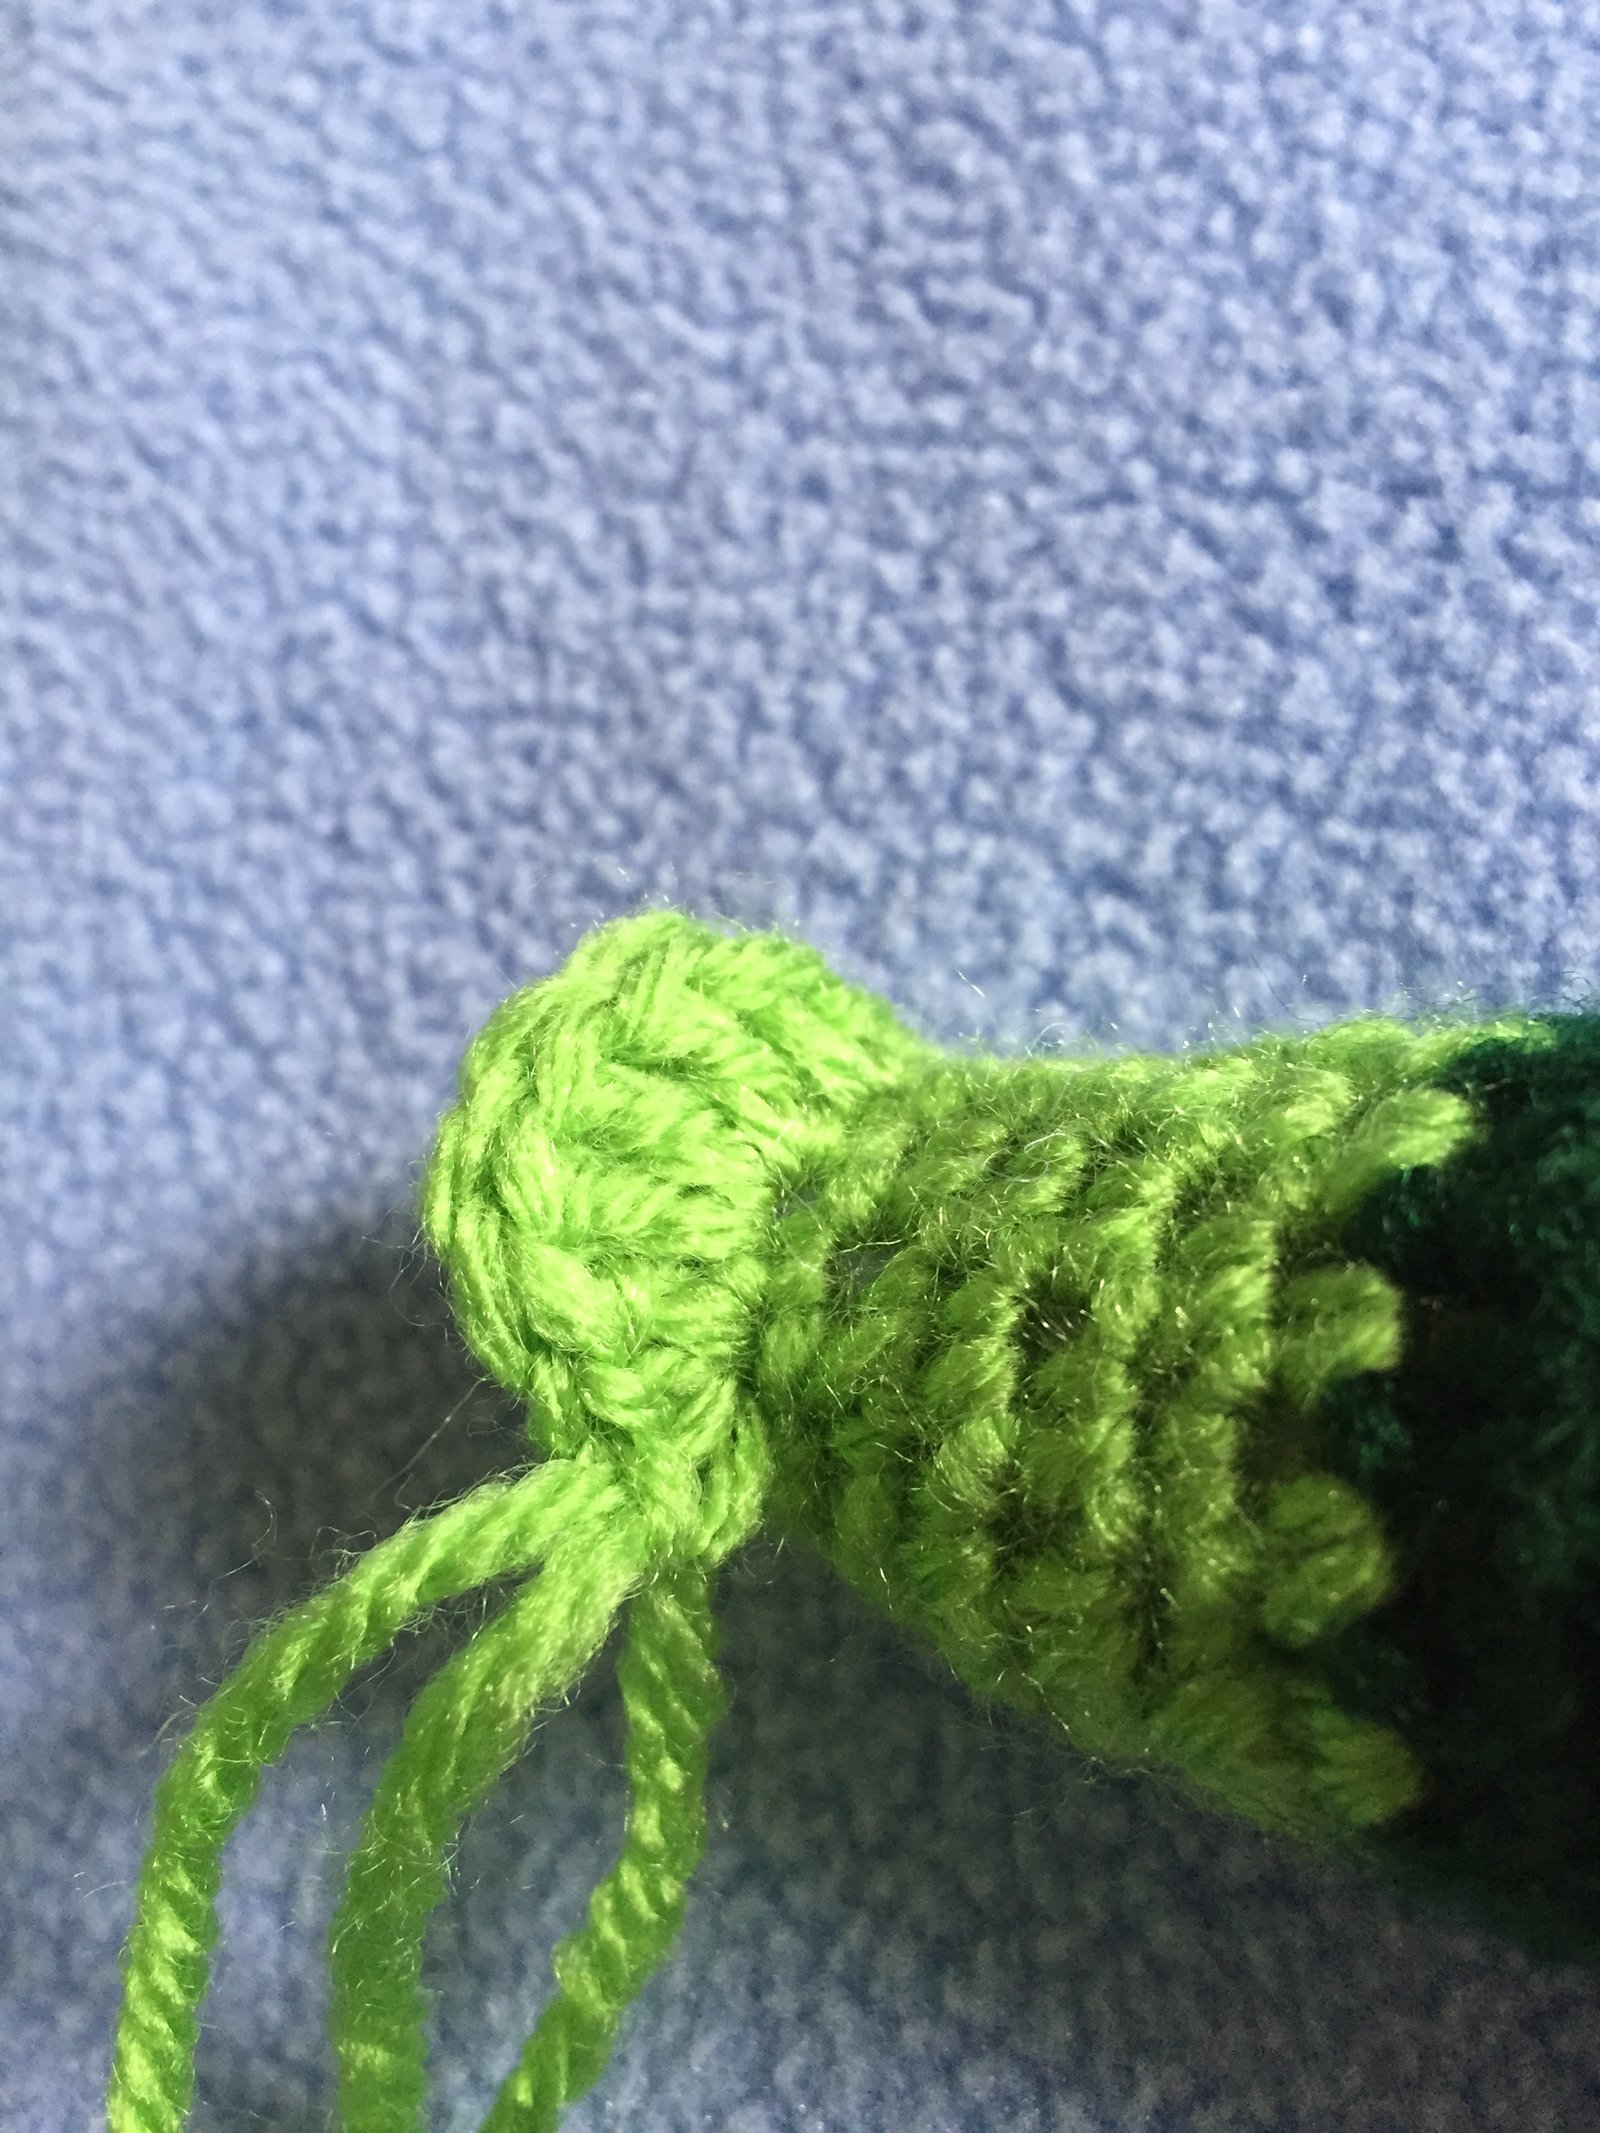
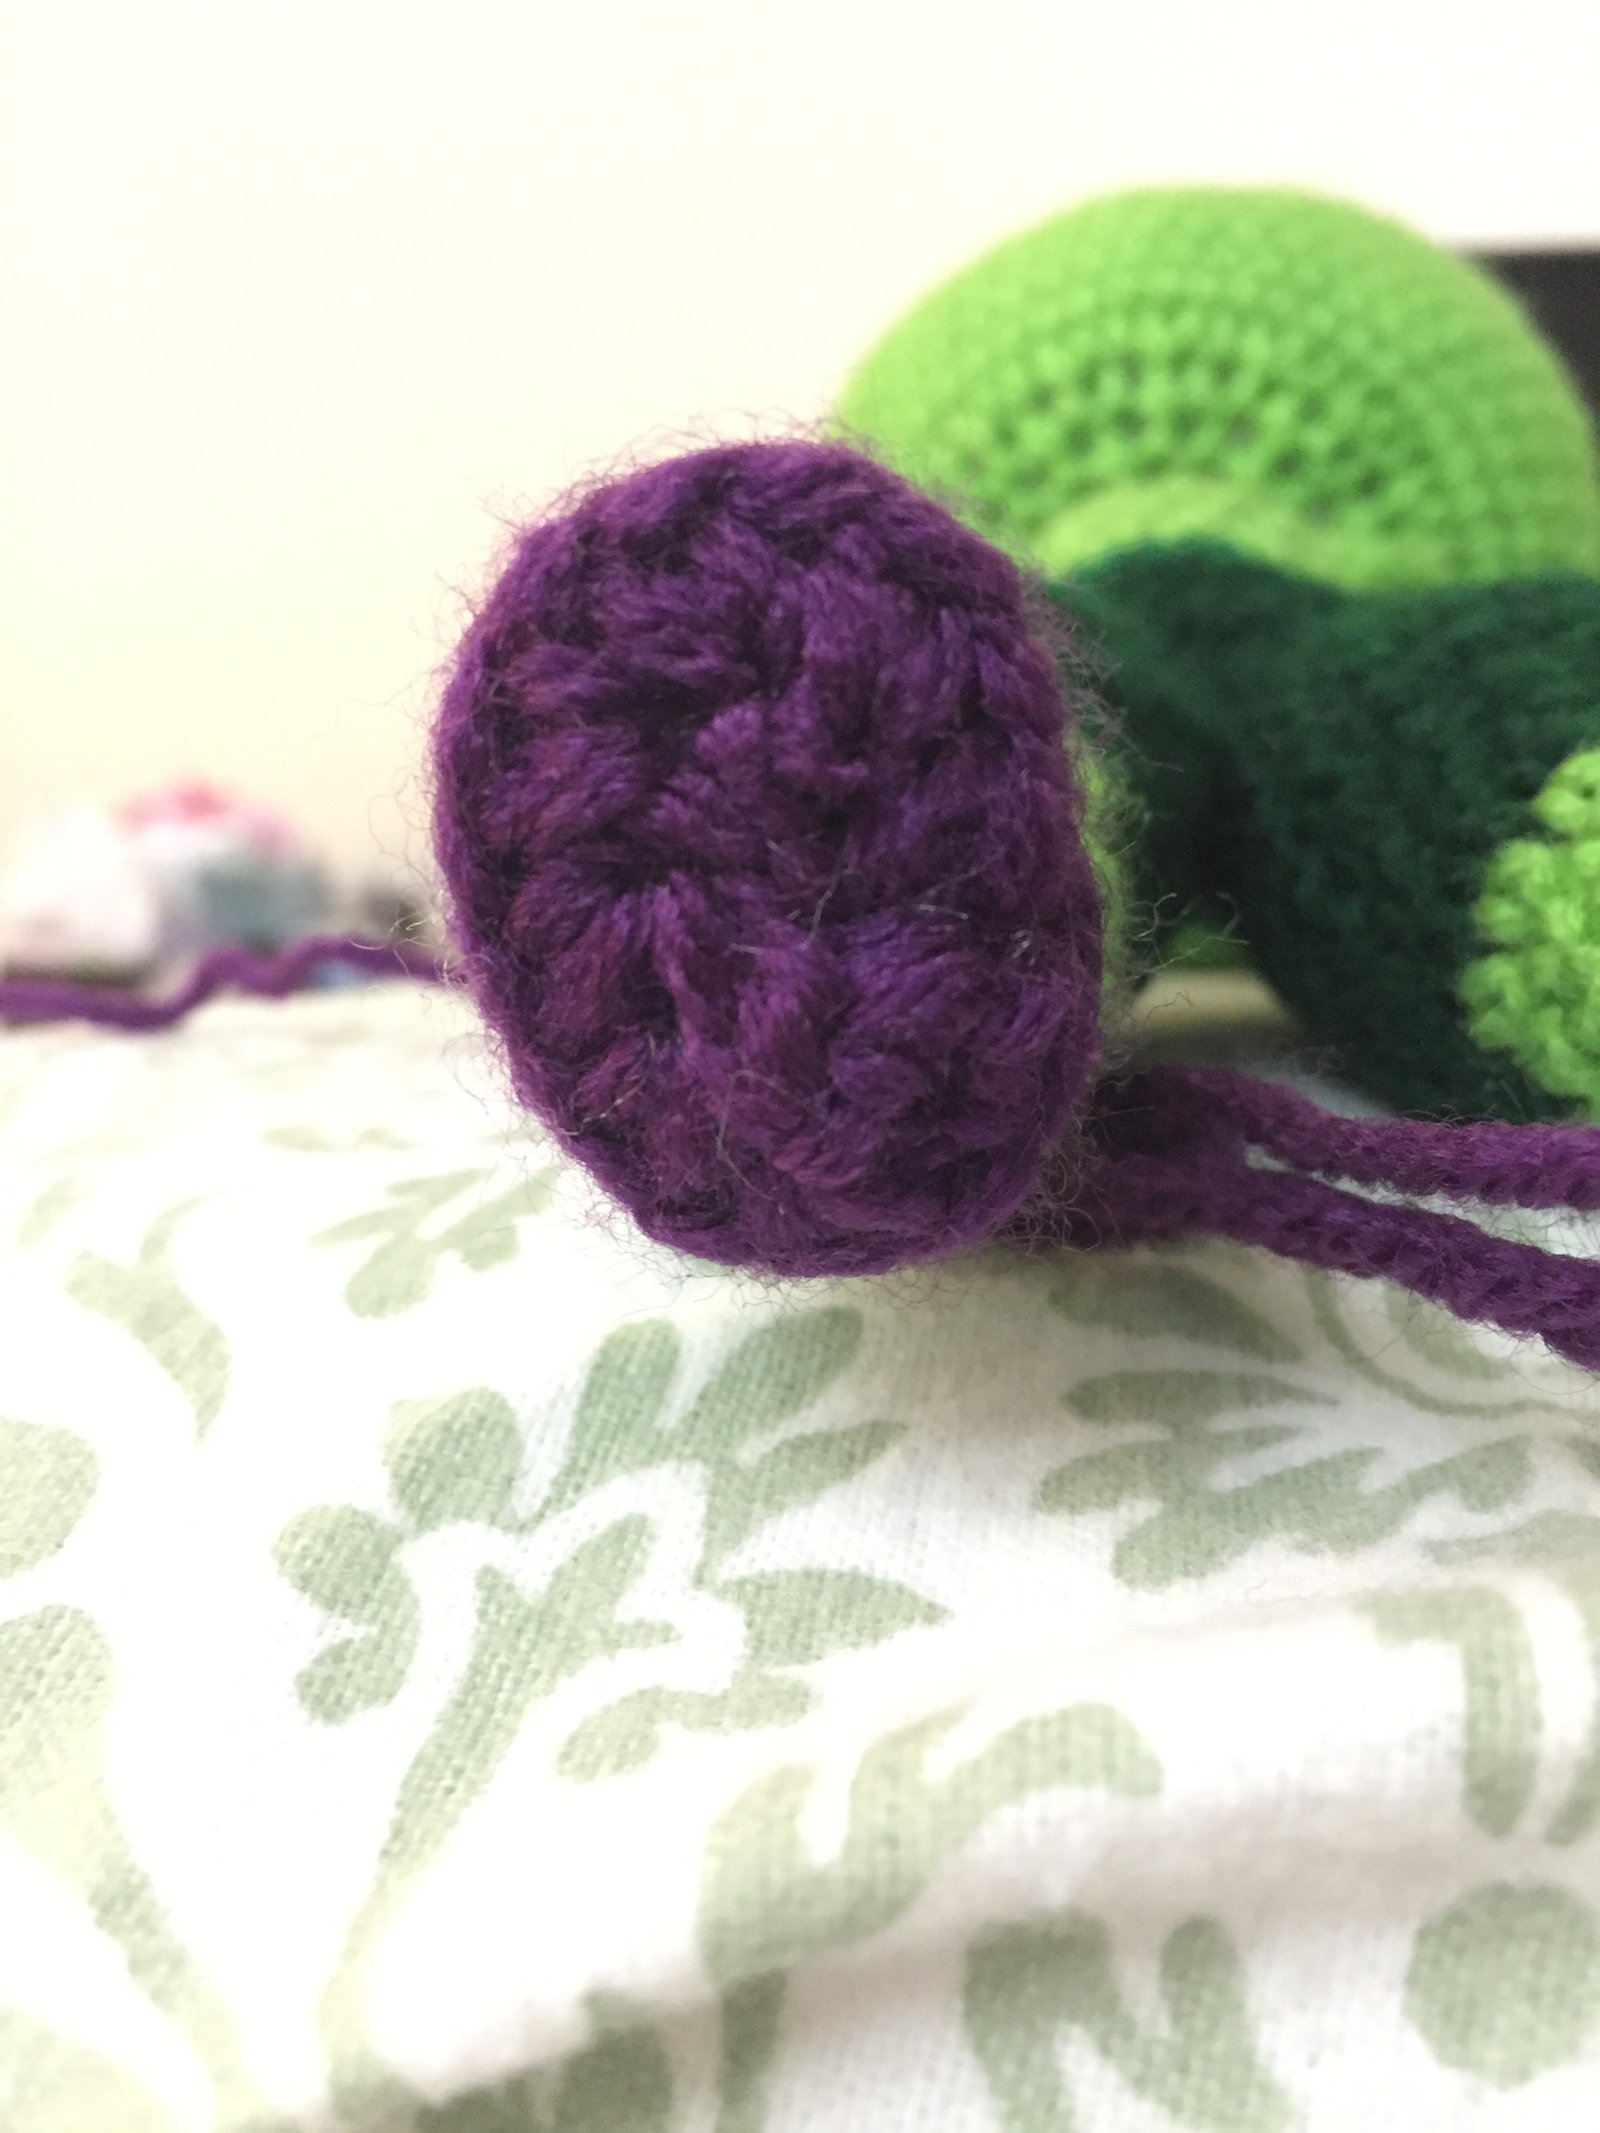
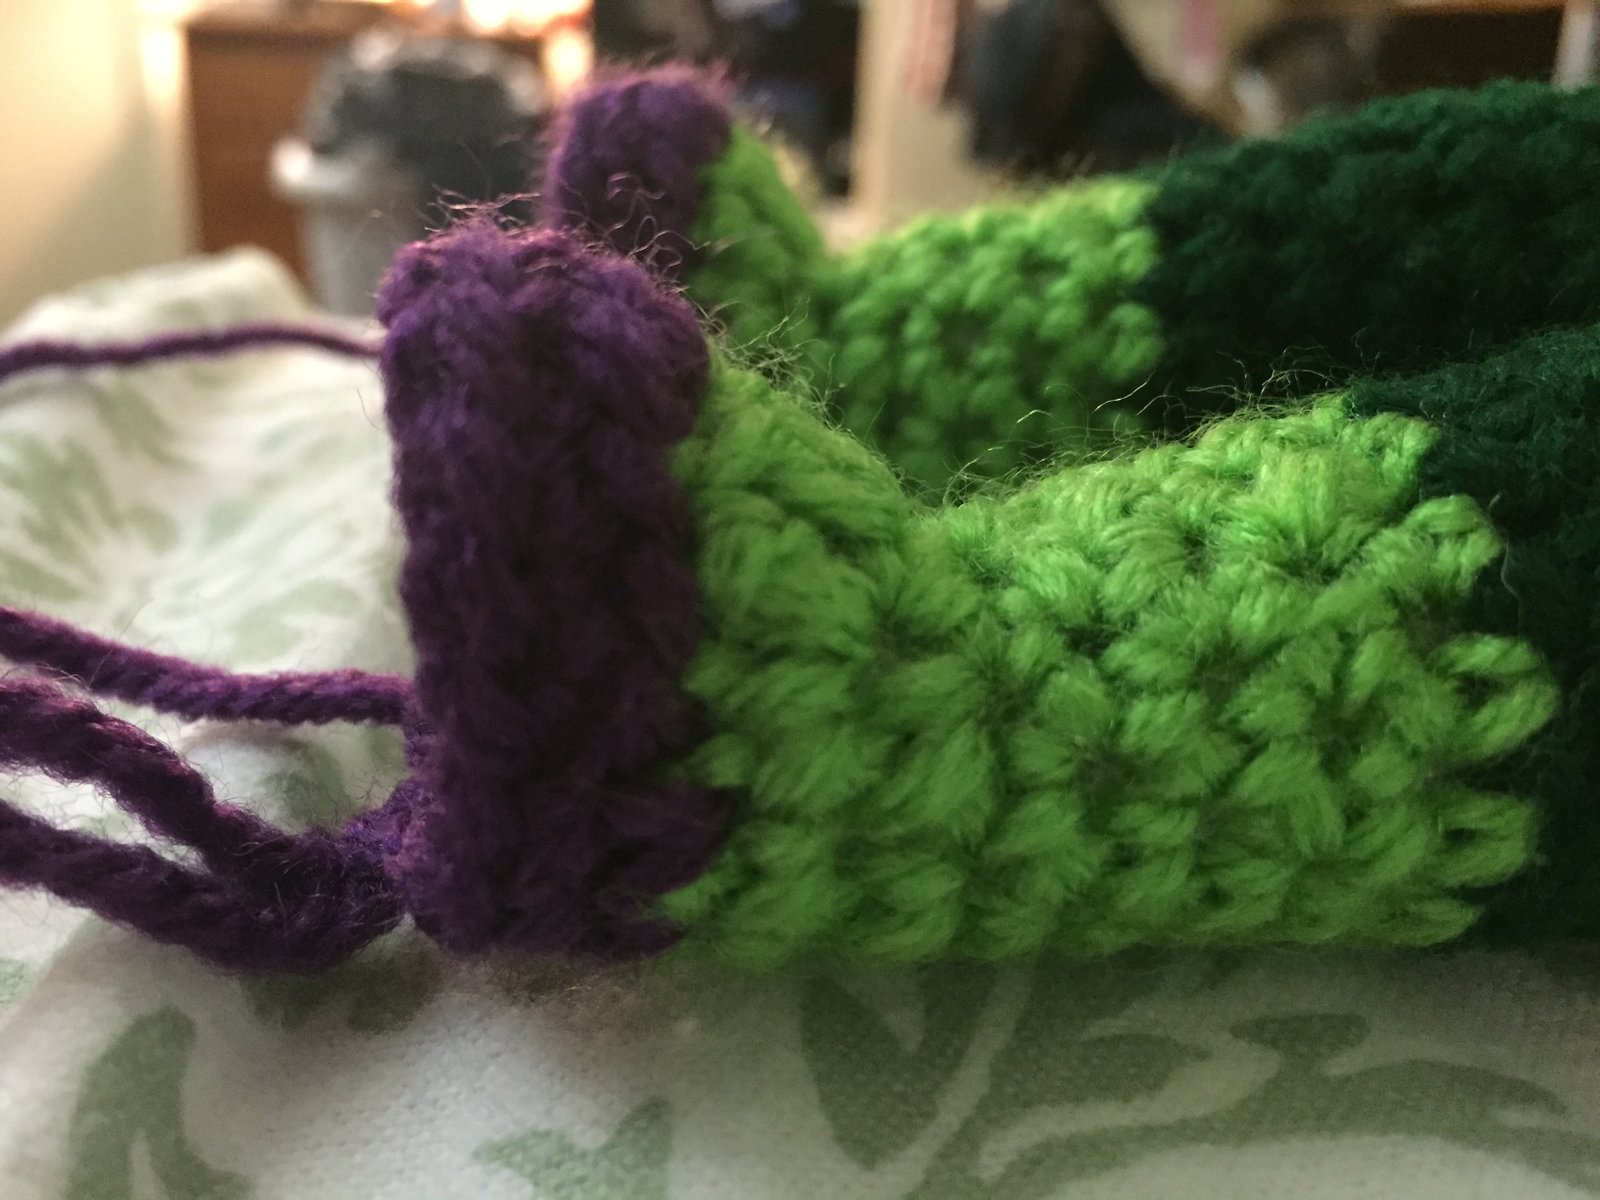
- This is where you will form the feet. Figure out where you want the front of her feet would be. This is where you are going to increase. Increase only in the front 3 stitches. This is what you will do in those 3 stitches –> In the first stitch you are going to work in 2sc and 1dc. (in that order) In the second stitch do 3dc. In the third stitch work in 1dc and 2sc (in that order). This will make your work stick out and make the foot. At this point you should have 14 stitches. [14]
- Change to dark orchid. Sl st in first 3st. 2sc in next st. 1sc in next st. 2sc in next st. Sl st in next 3st. 1sc in last 5st. [16]
- 1sc in first 11st, but only in the back loops. 1sc in last 5st. [16]
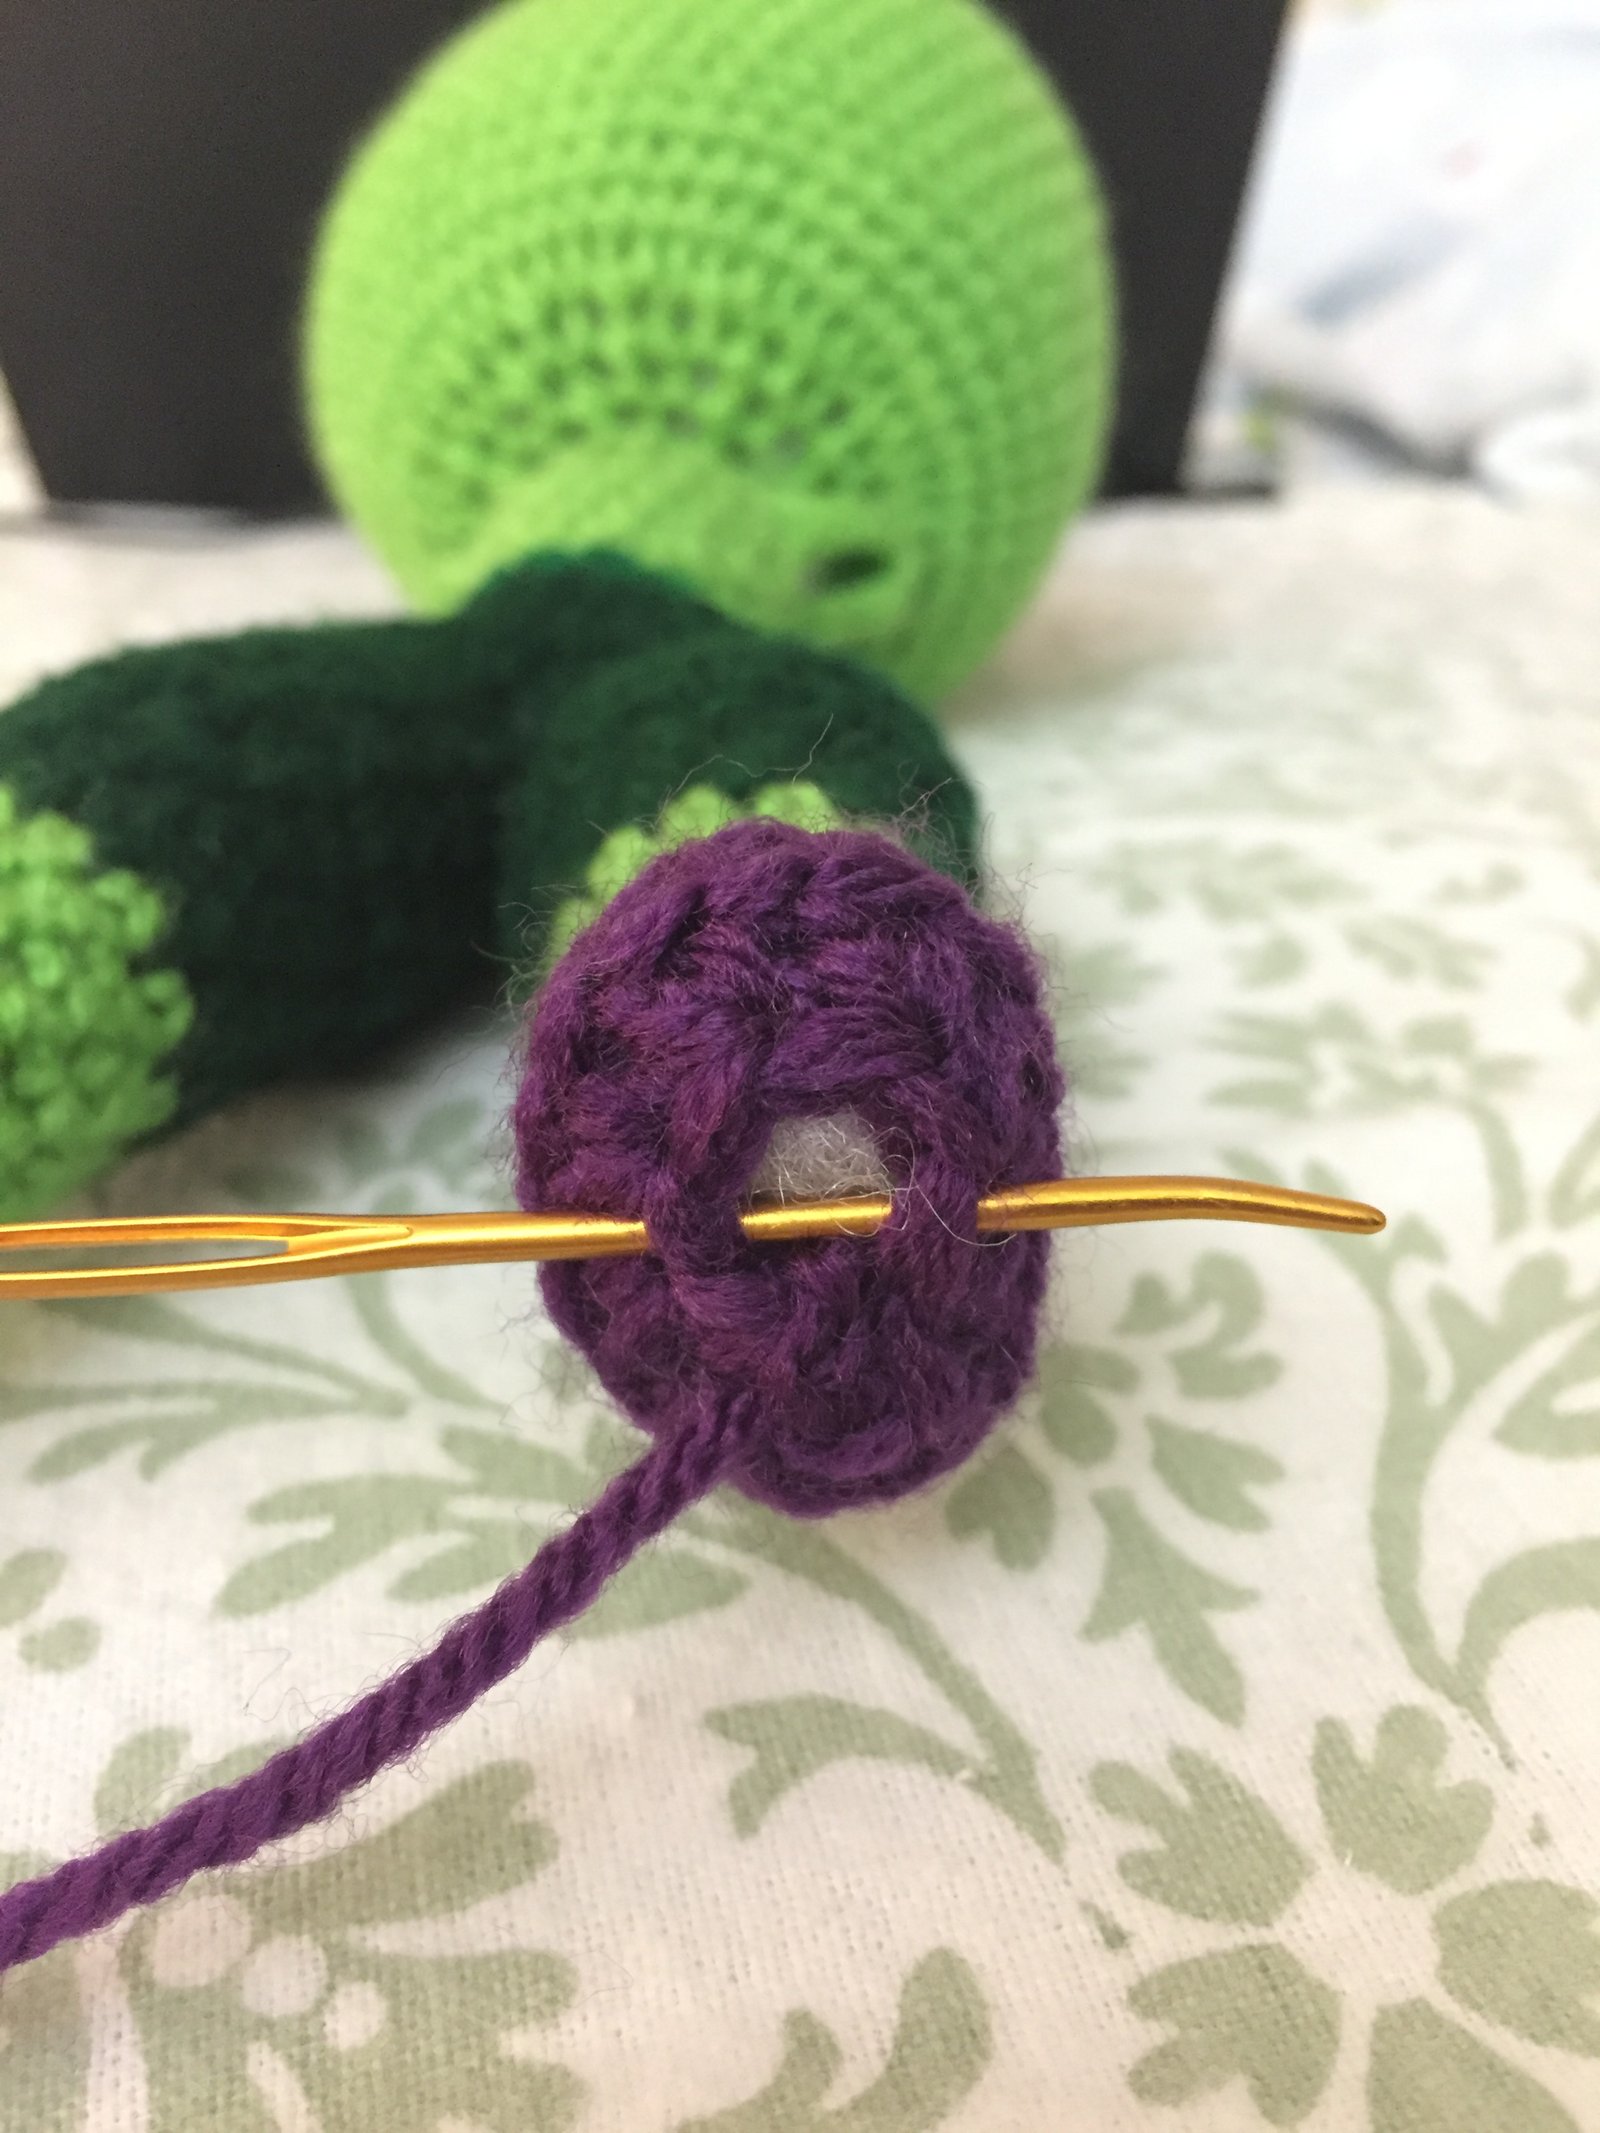
- Sc2tog only in the back loops.
- Sc2tog once.
- You can see that there is a small gap left. Sew this in a horizontally to create an oval shape on the sole of her shoe.
- F.O.

Arms (Make 2):
- Add spring green yarn to where the arms are. Create a slip knot and start crocheting around the arm hole.
- 1sc in each st around. For 9 rows. [10]
- (1sc in first 3st. Sc2tog.) Repeat around. [8]
- 1sc in each st around. For 4 rows. [8]
- (1sc in first st. 2sc in next st.) Repeat around. [12]
- (1sc in first st. 2sc in next st.) Repeat around. [18]
- This is where you start crocheting the fingers. If you have trouble please see this video here: Creating fingers. And you can also purchase my book where I show you how to create fingers: GJB Guide.
Hair:
- With paddy green. 6sc in magic circle. [6]
- 2sc in each st around. [12]
- (1sc in first st. 2sc in next st.) Repeat around. [18]
- (1sc in first 2st. 2sc in next st.) Repeat around. [24]
- (1sc in first 3st. 2sc in next st.) Repeat around. [30]
- (1sc in first 4st. 2sc in next st.) Repeat around. [36]
- (1sc in first 5st. 2sc in next st.) Repeat around. [42]
- (1sc in first 6st. 2sc in next st.) Repeat around. [48]
- (1sc in first 7st. 2sc in next st.) Repeat around. [54]
- (1sc in first 8st. 2sc in next st.) Repeat around. [60]
- Chain 1. Turn. 1sc in next 40st. [40]
- Chain 1. Turn. 1sc in each st. [40]
- Chain 1. Turn. (1sc in first 8st. Sc2tog.) Repeat around. [36]
- Chain 1. Turn. 1sc in each st. [36]
- Chain 1. Turn. (1sc in first 7st. Sc2tog.) Repeat around. [32]
- Chain 1. Turn. 1sc in each st. [32]
- Chain 1. Turn. 1sc in first 2st. Sc2tog. 1sc in next 3st. Sc2tog. 1sc in next 6st. Sc2tog. 1sc in next 6st. Sc2tog. 1sc in next 3st. Sc2tog. 1sc in last 2st. [27]
- 1sc in each st around. For 3 rows. [27]
- Chain 1. Turn. 1sc in first 4st. Sc2tog. 1sc in next 4st. Sc2tog. 1sc in next 3st. Sc2tog. 1sc in next 4st. Sc2tog. 1sc in last 4st. [23]
- Chain 1. Turn. 1sc in first 7st. Sc2tog. 1sc in next 6st. Sc2tog. 1sc in last 6st. [21]
- Chain 1. Turn. 1sc in first 3st. Sc2tog. 1sc in next 3st. Sc2tog. 1sc in next st. Sc2tog. 1sc in next 3st. Sc2tog. 1sc in last 3st. [17]
- 1sc in each st. For 10 rows. [17]
- F.O.
- For the bangs, add the same color yarn to the front part of the hair. 1sc in each of the 20st. [20]
- Chain 1. Turn. 1sc in each of 20st. Chain 1.
- Chain 1. Turn. 1sc in second chain from hook. 1sc in last 20st. [21]
- F.O.
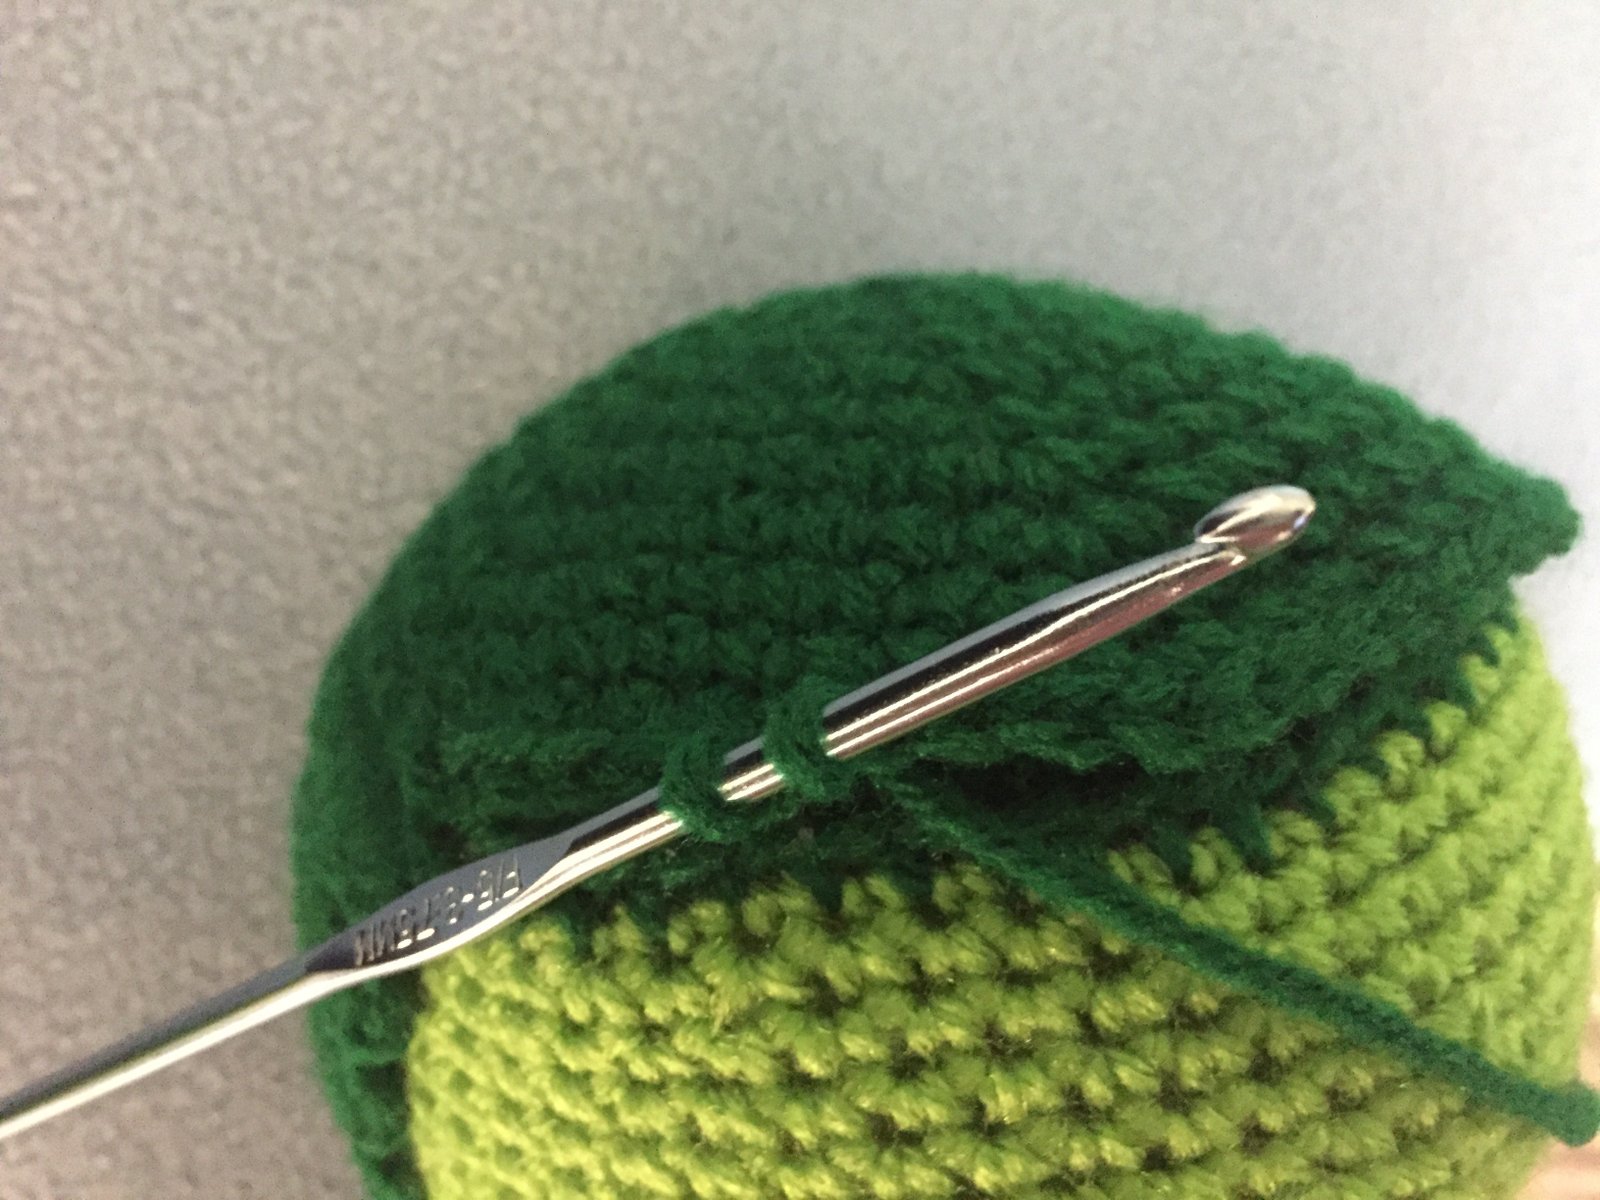
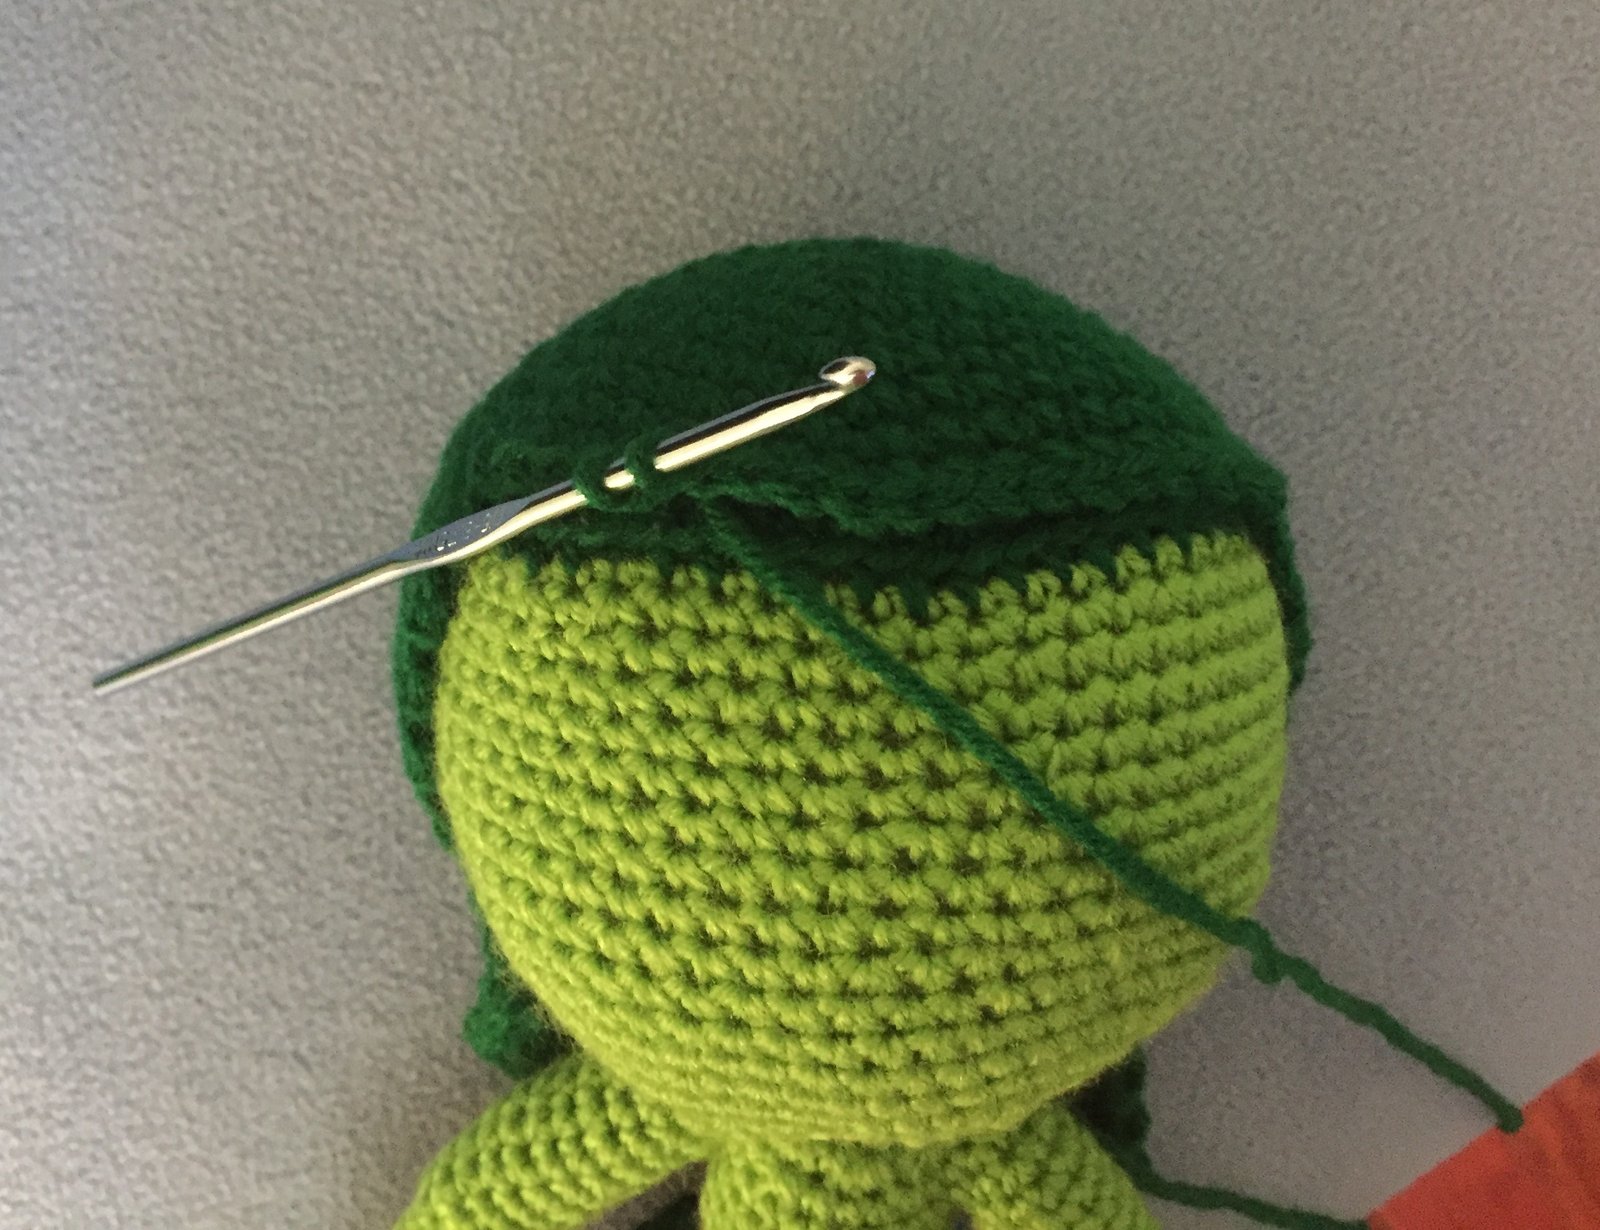
- Sew the hair onto the head.
- Curl the bangs up.
- Curl the bottom part of the hair up as well. You can secure this buy sewing the curl up or just leaving it as is.

Dress:
- With jade. First we are going to make the dress straps that go on the top of the dress. We will make two small rectangular pieces that we will be connecting together. Chain 3.
- 1sc in each chain starting in second from hook. [2]
- Chain 1. Turn. 1sc in each st. For 3 rows. [2]
- F.O.
- For the second piece we are going to create a longer piece. Do the same as above but add one row.
- Continue to crochet into the two stitches of the smaller rectangle. We are doing this to connect the two pieces together.
- Chain 1. Turn. 2sc in each st. [8]
- Chain 1. Turn. 1sc in each st. [8]
- Chain 1. Turn. (1sc in first 3st.) Repeat until end. [10]
- Chain 1. Turn. 1sc in each st. For 3 rows. [10]
- F.O.
- For the back we are going to make a separate rectangular piece to connect to the front. Chain 9.
- 1sc in each chain starting in second one from hook. [8]
- Chain 1. Turn. 1sc in each st. For 7 rows. [8]
- F.O. Sew the rectangular piece to the front part. Remember to put this on the doll before you sew because the head is to big to fit through the dress after sewing.
- Join the bottom of the two pieces together. You are going to continue to crochet from where you left off (from the back rectangular piece) into the front piece. This is shown in the picture. It might be easier to sew the sides together before doing this. But I did this first and then sewed the sides together. So after you join the front and the back pieces together, you will end up with 18st. [18]
- From here, you will be working on the skirt of the dress. (1sc in first st. 2sc in next st.) Repeat around. [27]
- (1sc in first st. 2sc in next st.) [40]
- 1sc in each st around. For 2 rows. [40]
- (1sc in first 3st. 2sc in next st.) Repeat around. [50]
- 1sc in each st around. For 7 rows. [50]
- F.O.
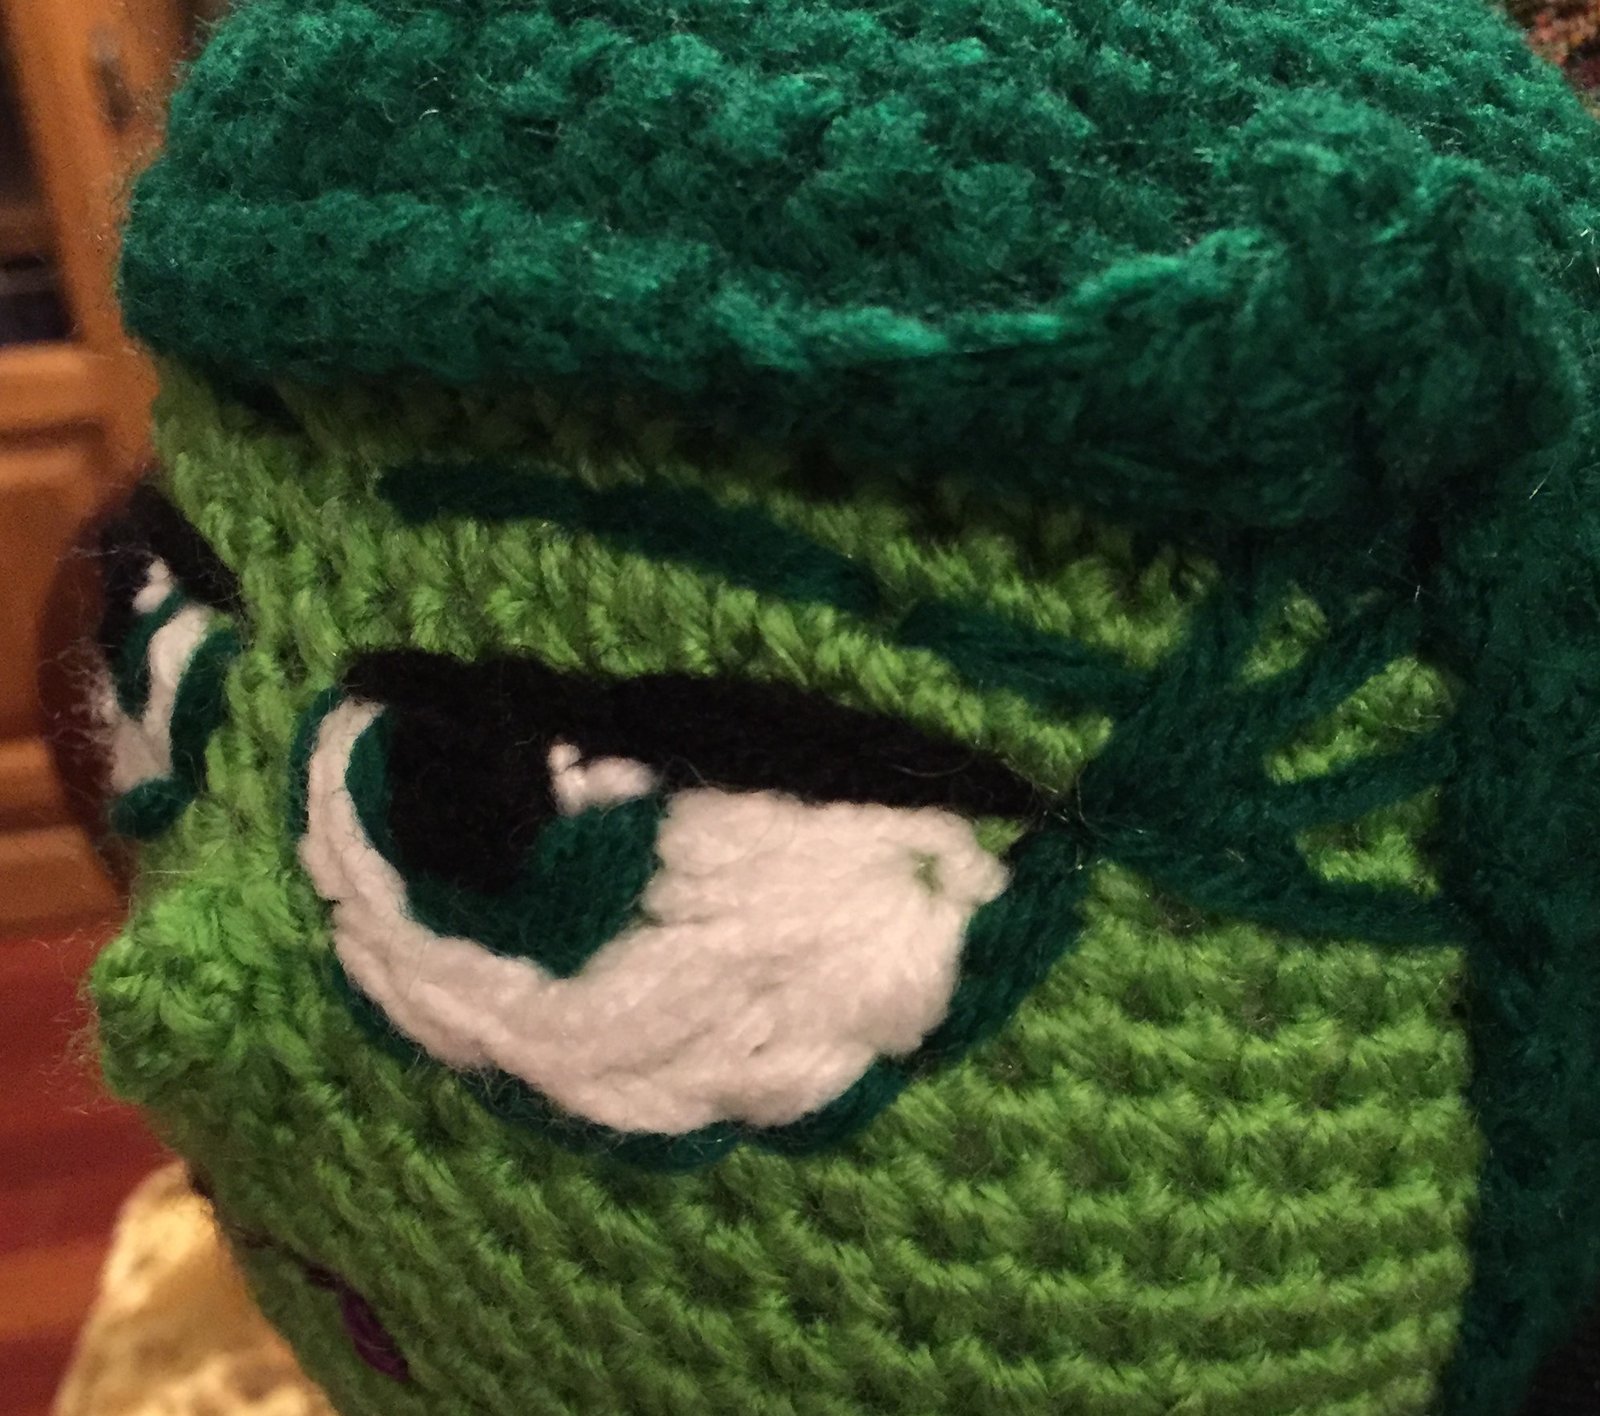
Eyes:
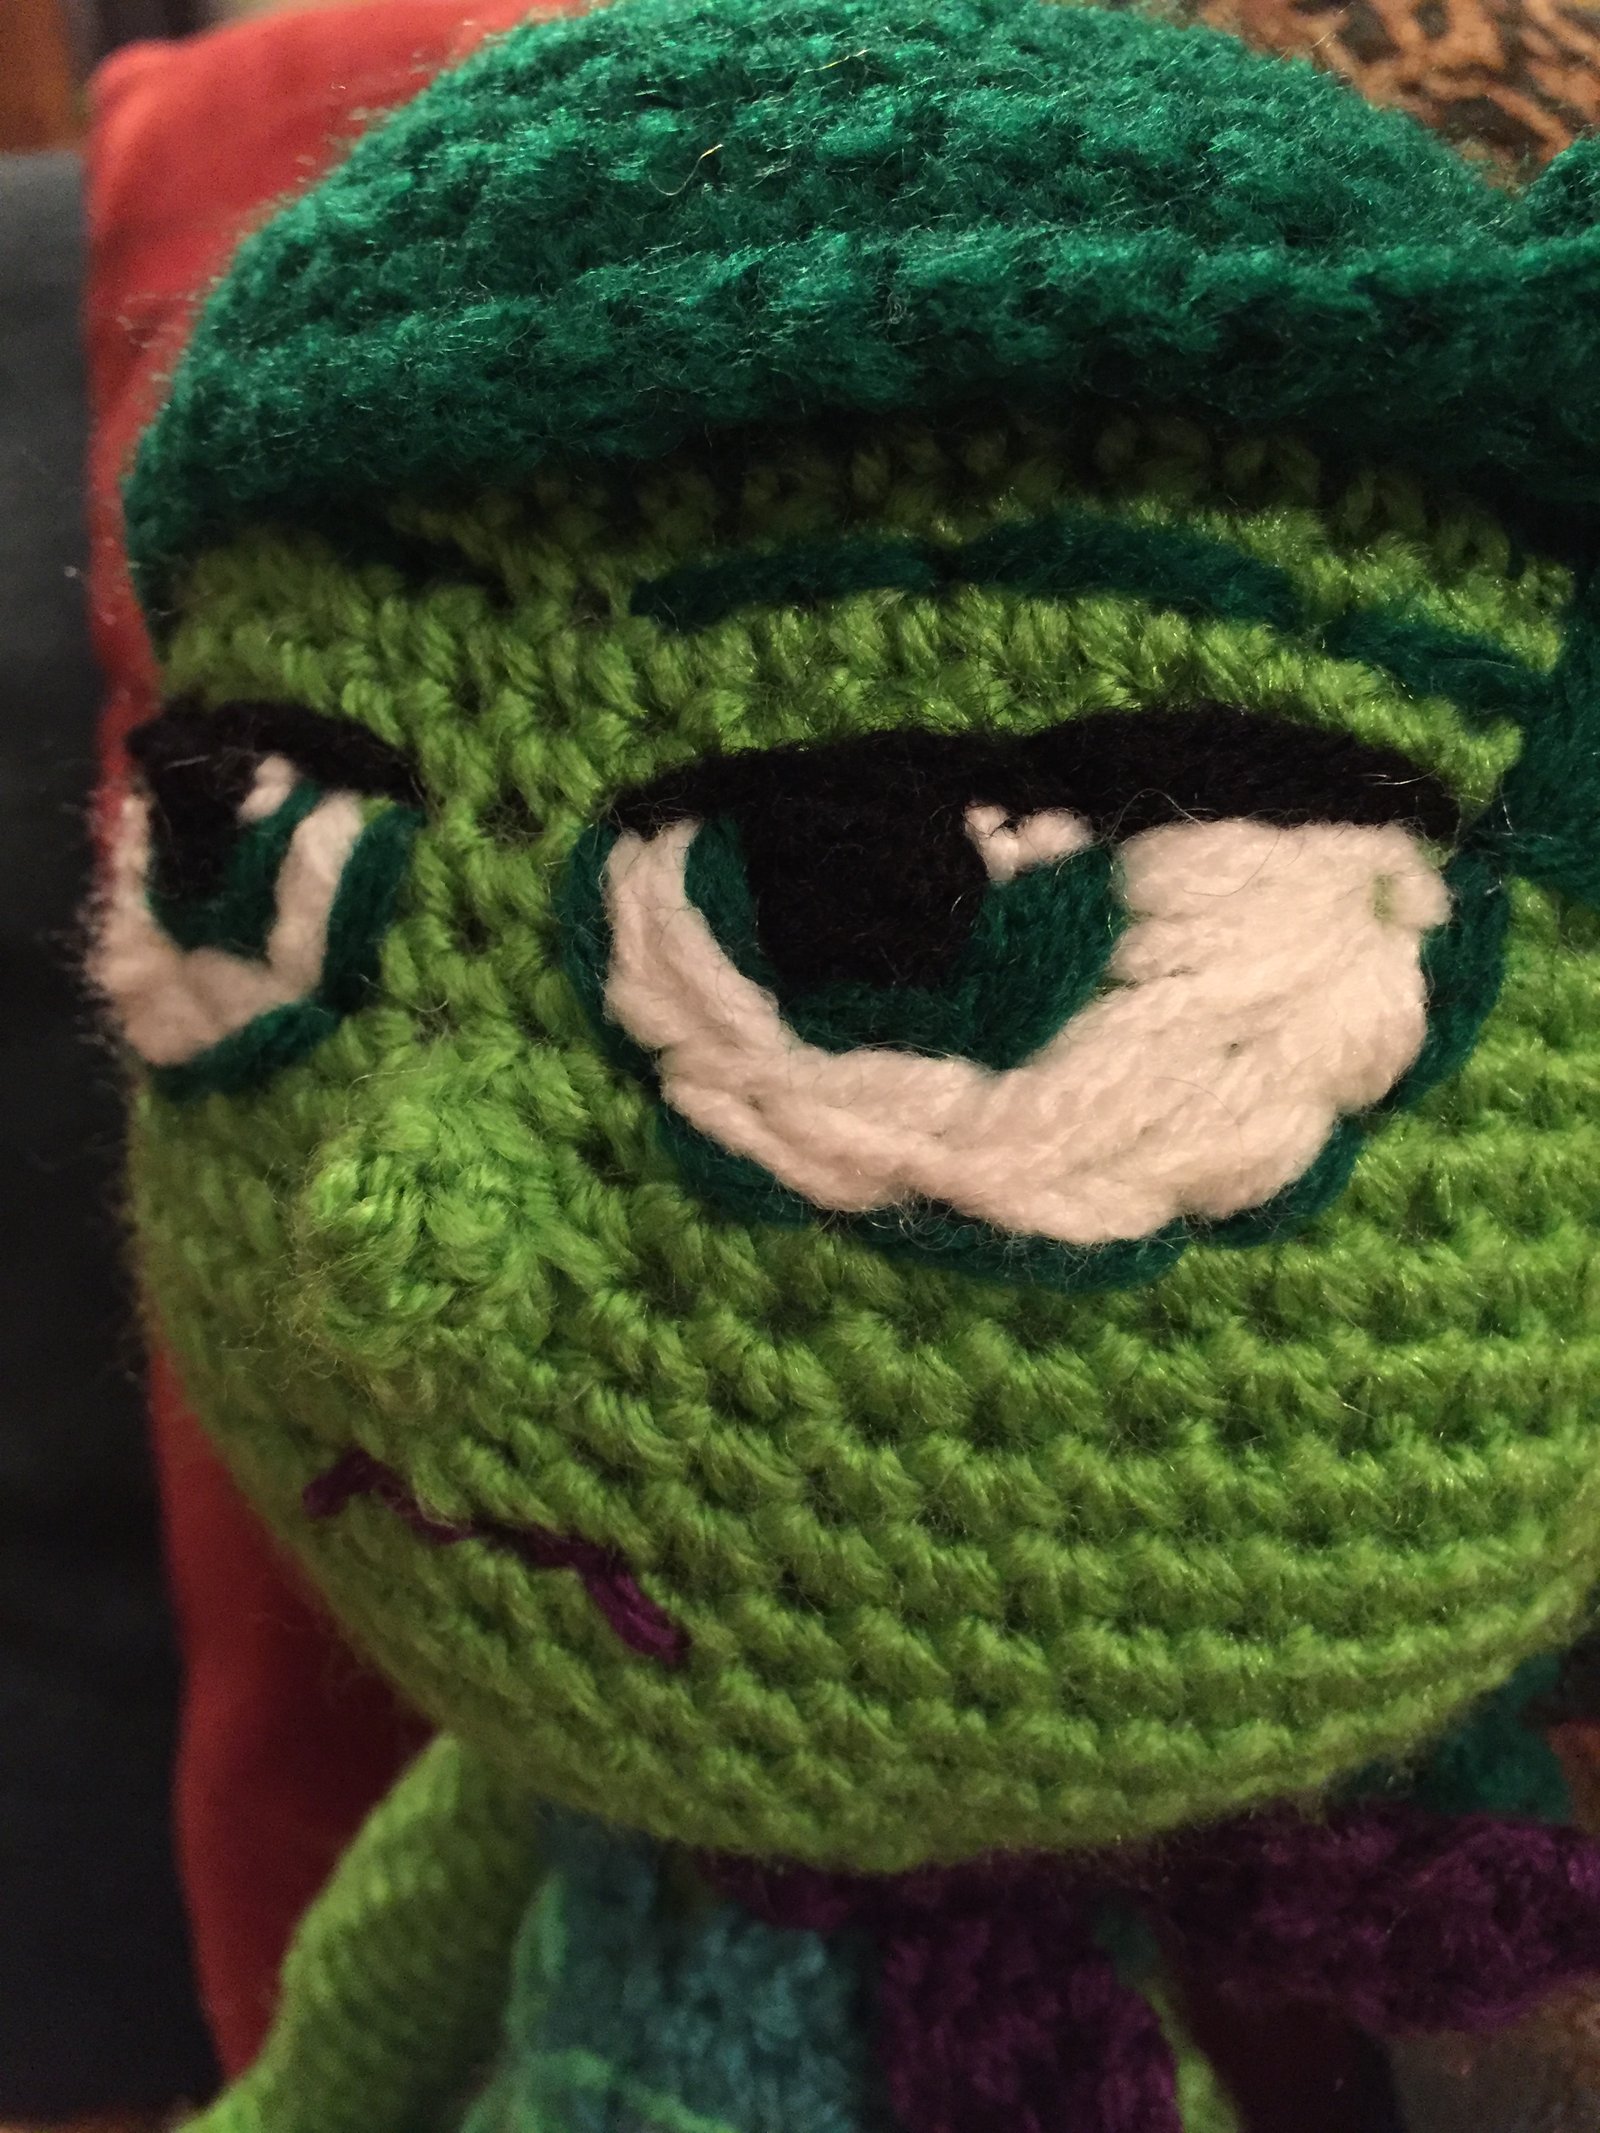
- You can embroider the eyes on or you can use felt. You can also crochet the eyes and sew them on. What I did was embroider it on because I didn’t have felt available. I tried crocheting it but I really didn’t like how it looked.
- I pretty much followed the images of Disgust when I embroidered the eyes. I started with the black then moved on to the green around the black. Then to the white. Don’t forget that her eyes are oval and not round. We don’t want Disgust looking alarmed. We want her to look like she disgusted with something. Also, the top of the eyes are lined with black and the bottom is lined with the same green at the eyes. I used the same green as I did with her hair but you can definitely use a different green if you want. Then I added the whites in the eyes to make them more alive.
Nose:
- With spring green. 6sc in magic circle. [6]
- 1sc in each st around. [6]
- F.O.
- Sew this onto the center of the face. I sewed her nose up high.
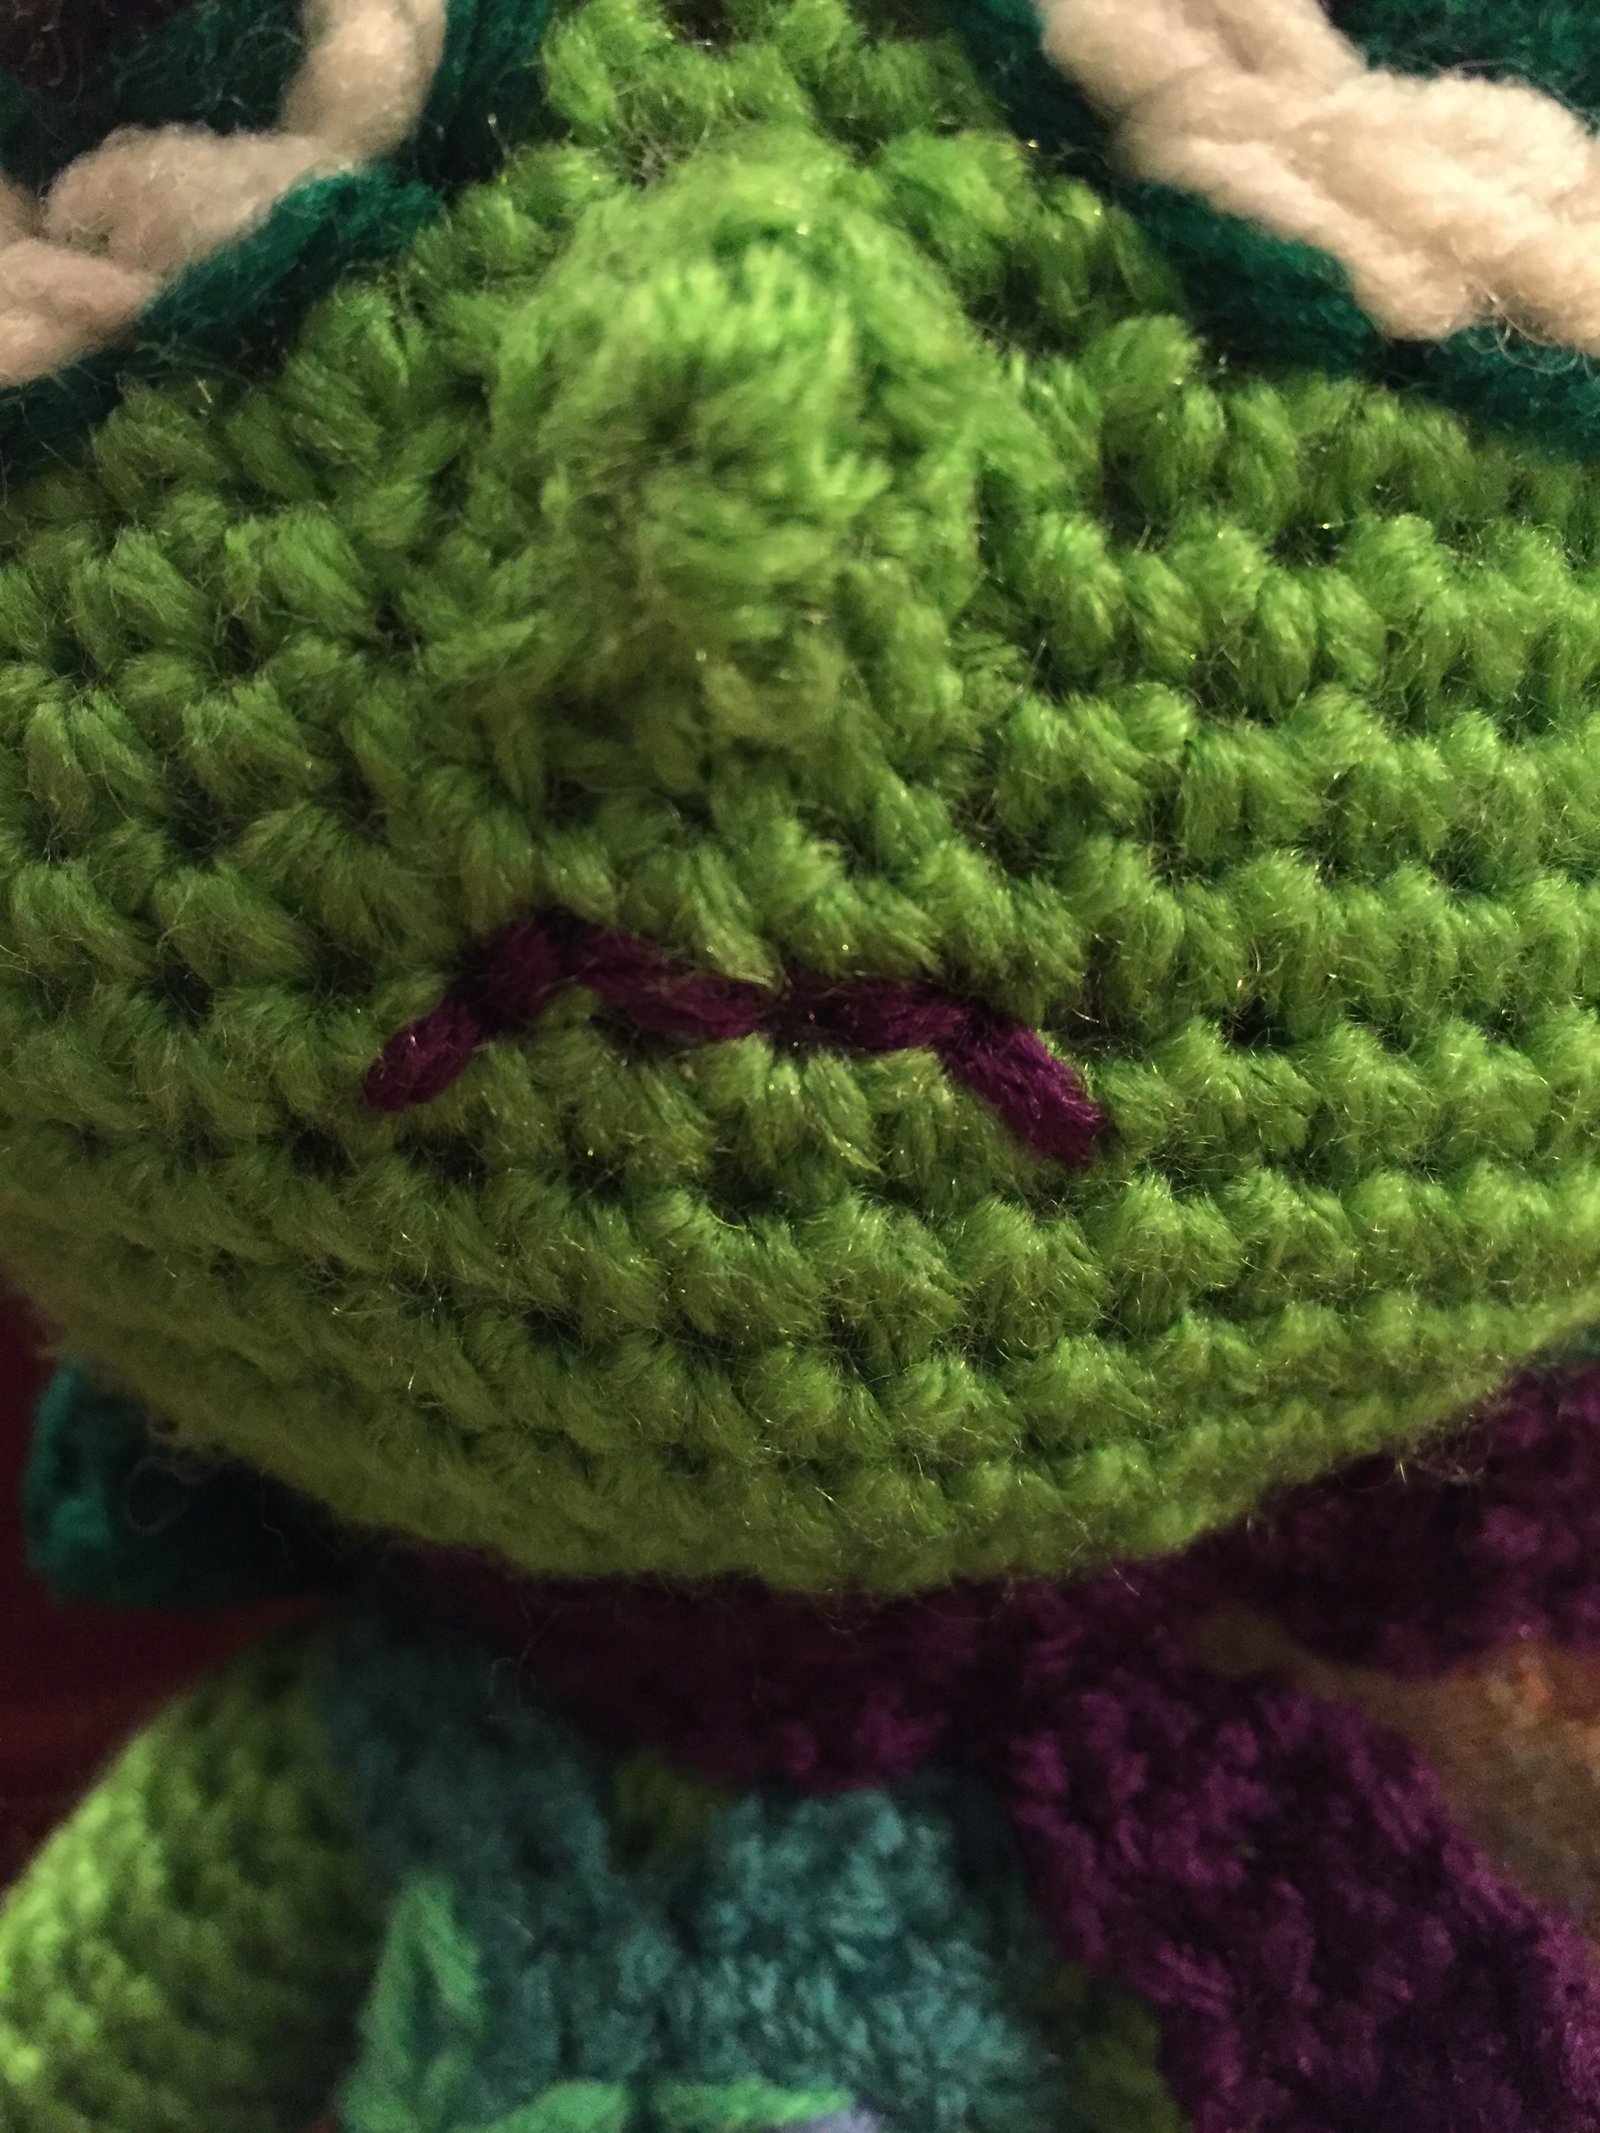
Mouth:
- Embroider the mouth with dark orchid.
- It was hard to make it look like the image. It was difficult to make her look disgusted. My doll looks a little angry.
Scarf:
- With dark orchid. Chain 2.
- 1sc in second chain from hook. [1]
- Chain 1. Turn. 2sc in st. [2]
- Chain 1. Turn. 1sc in first st. 2sc in last st. [3]
- Chain 1. Turn. 1sc in each st. For 24 rows. [3]
- Chain 1. Turn. Sc2tog. 1sc in last st. [2]
- Chain 1. Turn. Sc2tog. [1]
- Chain 1. Turn. 1sc in st. [1]
- F.O.
- Hide loose ends and tie around her neck like you would a scarf.
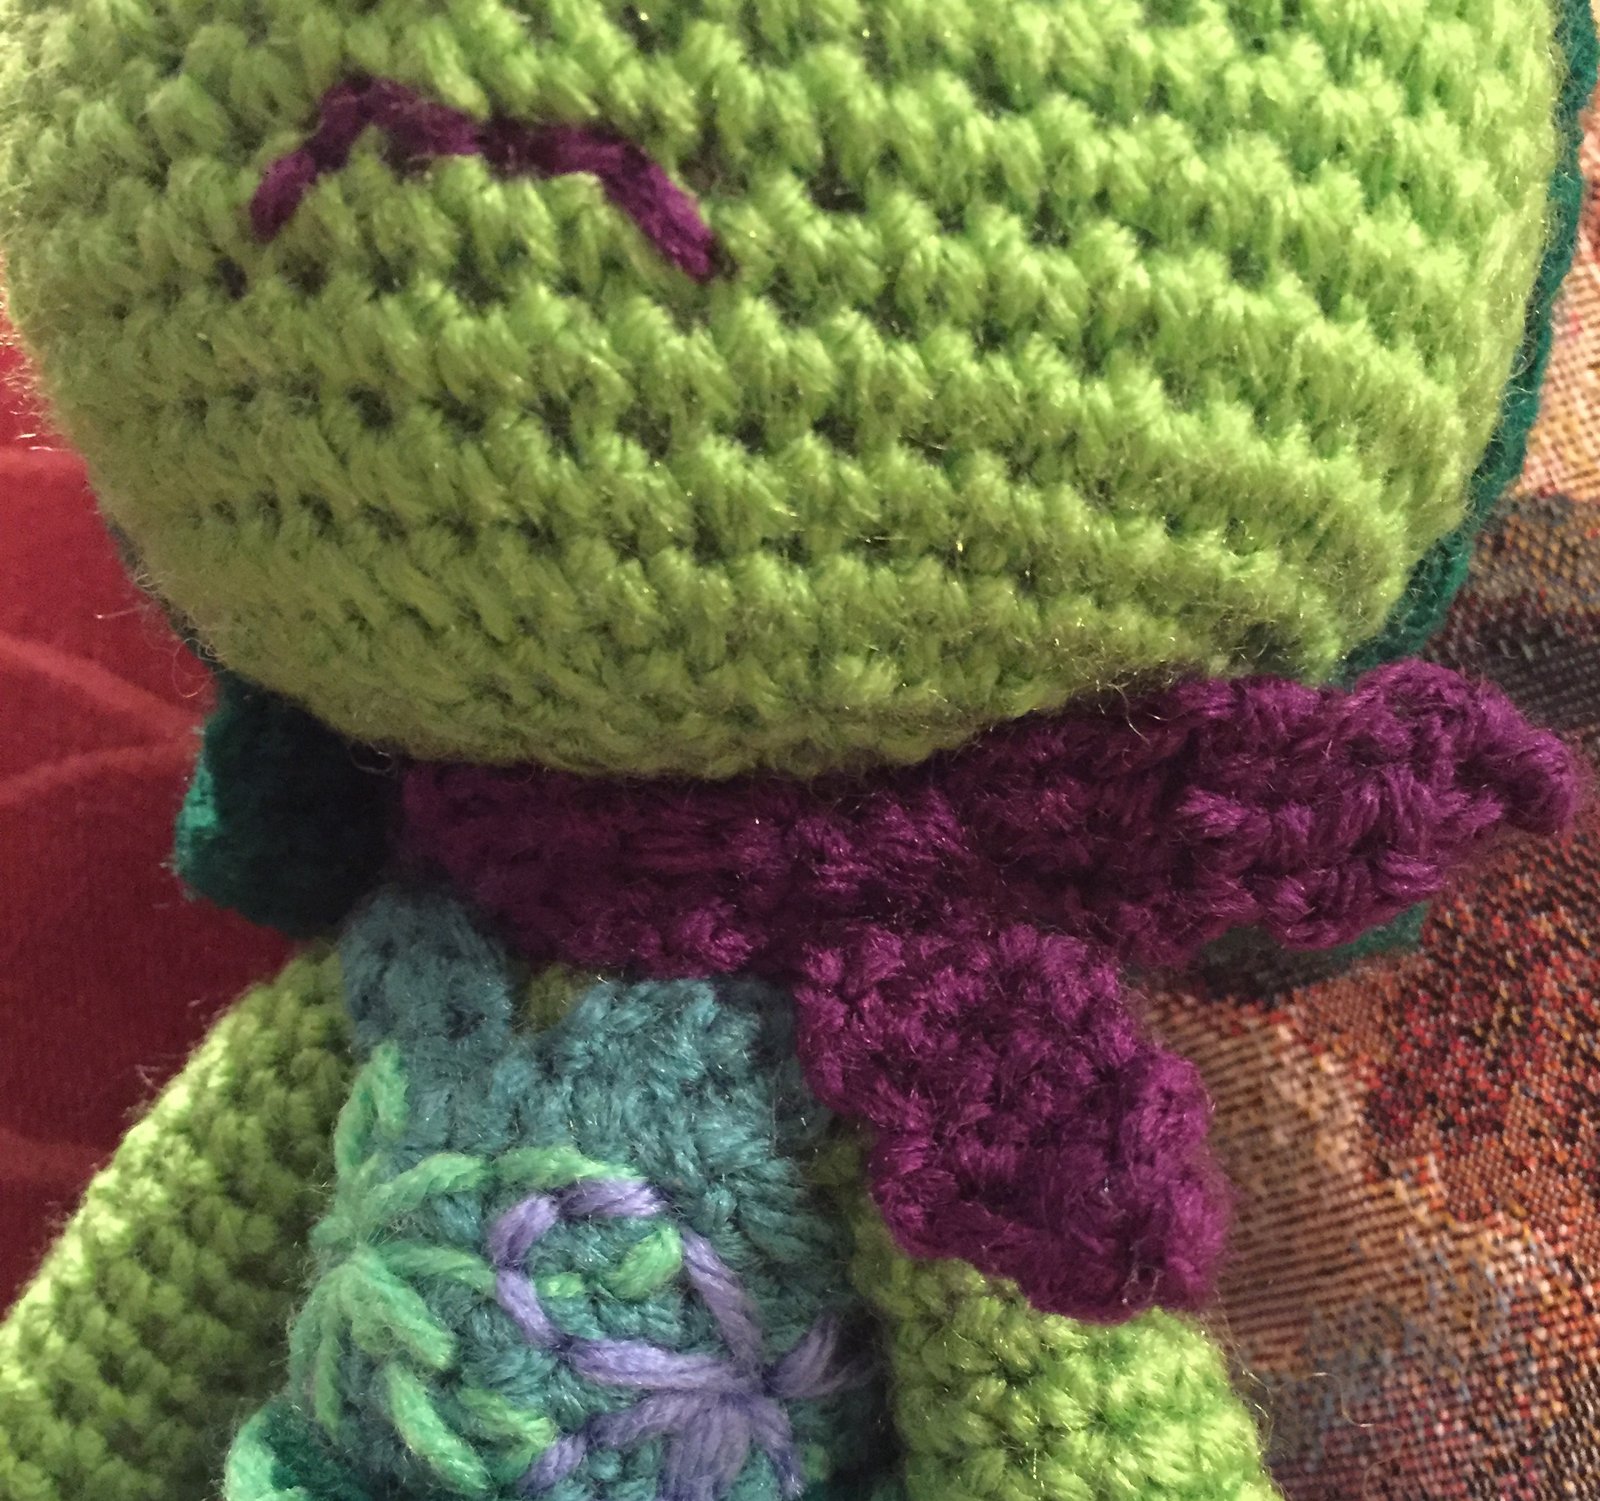
Flowers/Design on dress:
- Use blue and green yarn to embroider the design on the dress.
- Try to cover the whole dress to make it look like the dress in the image.
Belt:
- I used glowworm for the middle color and paddy green for the perimeter.
- You can use a smaller size crochet hook for the belt. I used the same size.
- With paddy green. Make two chains of 18-22. This depends on how wide the waist is.
- Crochet these two chains together with glowworm.
- F.O.
- Sew around the waist.
- Create a line in the front to make the buckle.
Eyelashes:
- Make these as lines coming out of the corners of the outer parts of her eyes.
- Use paddy green for this to match her hair.
Here is what she should look like: